-
在js中使用grpc(包括代理)后端使用Go
叙述
最近在研究web端的聊天系统,准备使用grpc作为通讯协议,因为客户端要主动的接受到消息,所以想要使用双向流的grpc。
但是经过几天的研究发现,grpc在浏览器上是不支持的,因为浏览器使用的协议是http1.1,而grpc底层使用的是http2协议,所以不兼容。
但是由于前端会有使用到grpc的需求,所以grpc官方也给出了一套解决方案,grpc-web
实际上grpc-web在浏览器中使用的还是http协议,但是会使用到代理,将http请求转换成grpc请求,‘欺骗’ 服务器,关于代理方面,我下文中会解释
而且grpc-web还有一个重要的缺点不支持双向流和客户端流,这显然与我最初的本意违背,但是毕竟研究了那么久,还是写篇博客纪念一下前端
我是将前端作为客户端使用的,所以这边这只会写客户端的代码,想要服务端的要使用node才行,纯浏览器就不要考虑服务端了
下载
1.下载protoc
下载 v3.20.1版本,不要下载最新版本因为最新版本有缺陷,跟grpc-web搭配不了
我下载的是protoc-3.20.1-win64.zip包下载地址: https://github.com/protocolbuffers/protobuf/releases
解压这个文件之后,将bin目录下的 protoc.exe文件复制到 Go目录下的bin文件夹下面,如果不知道Go目录在哪里的话,可以打开环境变量的path,可以看到
2.下载protoc-gen-grpc-web
下载地址 :https://github.com/grpc/grpc-web/releases/download/1.4.2/protoc-gen-grpc-web-1.4.2-windows-x86_64.exe
下载完成之后,将这个应用程序同样放到Go的bin目录下,并将其名字改成protoc-gen-grpc-web.exe
这两部都好了之后,go的bin目录下长这个样子:

编辑
然后就可以开始写代码啦
将官网的grpc-web的代码拉下
拉取完成后,使用cscode或其他软件打开
你存放项目的目录\grpc-web\net\grpc\gateway\examples\helloworld 这个文件夹在终端输入
npm install- 1
将他的所需要依赖下载下来
在项目(helloworld)根目录下创建文件夹hello,用于存放等下由命令生成的pb 和grpc_pb文件
在终端运行命令(如果你移动了proto文件的位置,那么要切换到在proto所在文件夹下运行命令)
protoc helloworld.proto --js_out=import_style=commonjs:../hello --grpc-web_out=import_style=commonjs,mode=grpcwebtext:../hello- 1
然后就可以看到

编辑client.js文件
改变后的client.js文件
const { HelloRequest, RepeatHelloRequest, HelloReply } = require('./hello/helloworld_pb.js'); const { GreeterClient } = require('./hello/helloworld_grpc_web_pb.js'); var client = new GreeterClient('http://localhost:9090', null, null); var but = document.getElementById('bu') //这里设置了一个点击事件,当点击按钮的时候,再向服务端发送请求 //按钮要联系到index.html文件上 but.onclick = function () { var request = new HelloRequest(); request.setName('World'); client.sayHello(request, {}, (err, response) => { if (err) { console.log(`Unexpected error for sayHello: code = ${err.code}` + `, message = "${err.message}"`); } else { console.log(response.getMessage()); } }); } // server streaming call // var streamRequest = new RepeatHelloRequest(); // streamRequest.setName('World'); // streamRequest.setCount(5); // var stream = client.sayRepeatHello(streamRequest, {}); // stream.on('data', (response) => { // console.log(response.getMessage()); // }); // stream.on('error', (err) => { // console.log(`Unexpected stream error: code = ${err.code}` + // `, message = "${err.message}"`); // });- 1
- 2
- 3
- 4
- 5
- 6
- 7
- 8
- 9
- 10
- 11
- 12
- 13
- 14
- 15
- 16
- 17
- 18
- 19
- 20
- 21
- 22
- 23
- 24
- 25
- 26
- 27
- 28
- 29
- 30
- 31
- 32
- 33
- 34
- 35
- 36
将clien.js文件打包成main.js
执行命令
npx webpack client.js- 1
如果中途有需要确认的命令 直接yes或者y就好
然后就会生成一下文件

将main.js引入index.html,并编辑index.html
<!DOCTYPE html> <html lang="en"> <head> <meta charset="UTF-8"> <title>gRPC-Web Example</title> </head> <body> <p>Open up the developer console and see the logs for the output.</p> <button id="bu" >发送消息</button> <script src="./dist/main.js"></script> </body> </html>- 1
- 2
- 3
- 4
- 5
- 6
- 7
- 8
- 9
- 10
- 11
- 12
- 13
- 14
- 15
Go后端
设置proto文件
将前端的helloworld.proto文件复制到后端go项目中,创建hello目录
syntax = "proto3"; package helloworld; option go_package = "../hello";//这里相较于前端增加一行,这里是pb和grpc_pb文件生成的目录 service Greeter { // unary call rpc SayHello(HelloRequest) returns (HelloReply); // server streaming call rpc SayRepeatHello(RepeatHelloRequest) returns (stream HelloReply); } message HelloRequest { string name = 1; } message RepeatHelloRequest { string name = 1; int32 count = 2; } message HelloReply { string message = 1; }- 1
- 2
- 3
- 4
- 5
- 6
- 7
- 8
- 9
- 10
- 11
- 12
- 13
- 14
- 15
- 16
- 17
- 18
- 19
- 20
- 21
- 22
- 23
- 24
- 25

生成pb和grpc_pb文件
在终端中进入proto文件所在的目录
cd pbfiles- 1
然后运行 命令
protoc -I . --go_out=. helloworld.proto --go-grpc_out=. helloworld.proto- 1
生成一下两个文件

创建服务端
helloWorldServer.go
package main import ( "context" "fmt" "google.golang.org/grpc" protos "grpc_server/hello" "net" ) type helloServer struct { protos.UnimplementedGreeterServer } func (s *helloServer) SayHello(ctx context.Context, req *protos.HelloRequest) (*protos.HelloReply, error) { //获取到的客户端传来的值 fmt.Println("服务端被调用了") name := req.GetName() fmt.Printf("Data from client : %s\n", name) //将值传回到客户端 return &protos.HelloReply{ Message: "我是服务端", }, nil } func main() { //创建rpc 服务器 server := grpc.NewServer() protos.RegisterGreeterServer(server, &helloServer{}) //创建 Listen,监听 TCP 端口 listen, err := net.Listen("tcp", ":8080") if err != nil { panic(err) } defer listen.Close() //开启服务 err = server.Serve(listen) if err != nil { panic(err) } }- 1
- 2
- 3
- 4
- 5
- 6
- 7
- 8
- 9
- 10
- 11
- 12
- 13
- 14
- 15
- 16
- 17
- 18
- 19
- 20
- 21
- 22
- 23
- 24
- 25
- 26
- 27
- 28
- 29
- 30
- 31
- 32
- 33
- 34
- 35
- 36
- 37
- 38
- 39
- 40
- 41
- 42
配置代理
代理我这边使用的是grpcwebproxy,官方的那个用的envoy.yaml,是用在后端的,不会用,换了个简单的
下载
https://github.com/improbable-eng/grpc-web/releases/tag/v0.13.0- 1
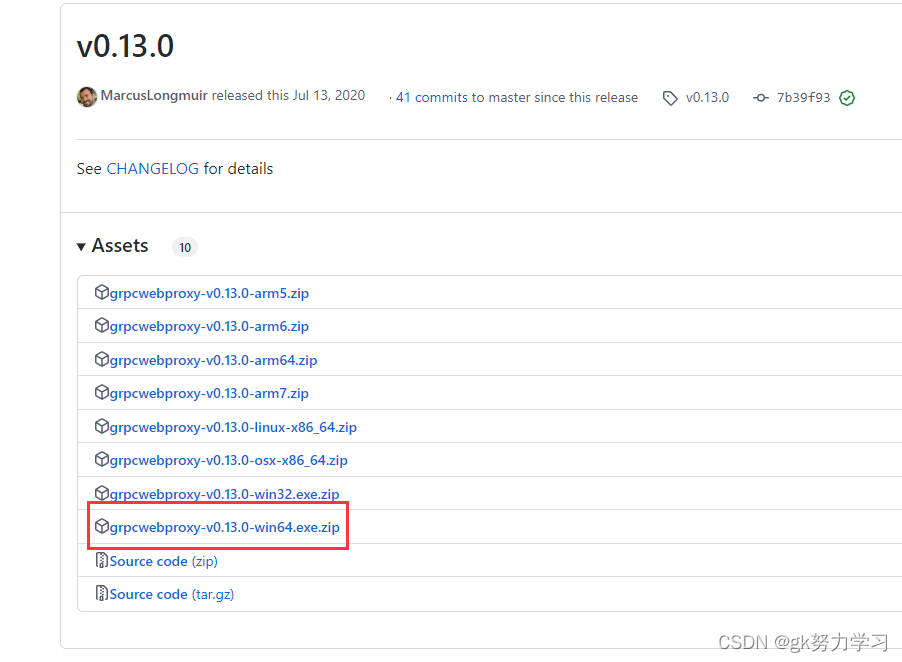
然后将这个exe文件放到helloworld项目的根目录里面

运行exe文件
在exe文件所在目录下执行命令
grpcwebproxy-v0.15.0-win64.exe --allow_all_origins --backend_addr=localhost:8080 --run_tls_server=false --server_http_debug_port=9090 --allow_all_origins=true- 1
如果你和我的grpcwebproxy版本不同,记得换成你的grpcwebproxy的名字,不然报错至于这个命令的详解,可以去看这篇博客grpcwebproxy代理服务2步启动
运行
先开启服务端

后开启客户端
在index.html文件中 按F5或Fn+F5,就可以开启,并点击按钮向服务端发送消息
运行结果


完结,撒花
-
相关阅读:
2024-05-30 vscode python不能调试
(4)paddle---PCB检测的例子
2023_Spark_实验二十:SparkStreaming累加计算单词频率
楼宇臭味传感器
【头歌-Python】8.5 中文词频统计(project) 1~5关
485modbus转profinet网关在混料配料输送系统应用博图配置案例
pycharm常见报错解决方法(1)
李沐深度学习记录1:零碎知识记录、08线性回归
DCMM认证的标准
【前沿学习】美国零信任架构发展现状与趋势研究
- 原文地址:https://blog.csdn.net/qq_45634989/article/details/128151766
