-
SpringBoot项目如何引入外部jar及将外部jar打包到项目发布jar包
1、创建一个SpringBoot项目
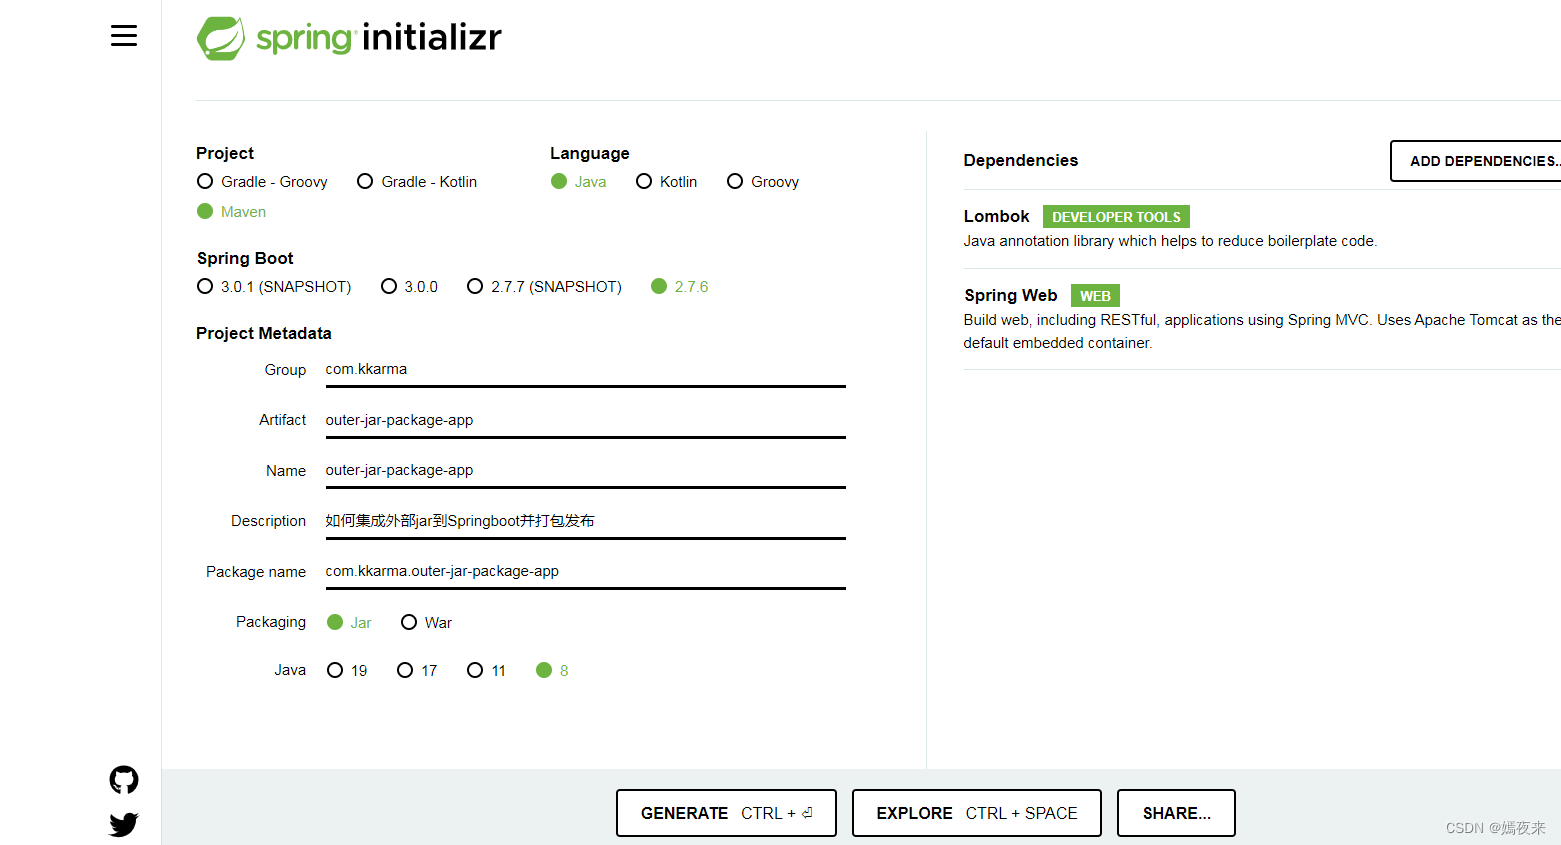
下载项目之后将项目导入IDEA2、如何添加外部jar包
准备一个外部的jar包, 我这里使用的是
guava-31.1-jre.jar作为演示
下载地址:https://repo1.maven.org/maven2/com/google/guava/guava/31.1-jre/guava-31.1-jre.jar在项目根路径下创建一个文件夹libs,将guava-31.1-jre.jar放到libs下。
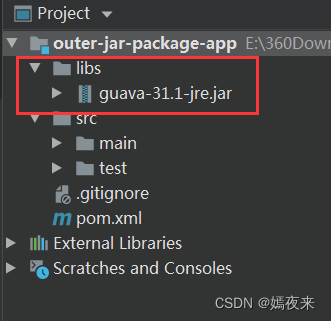
在pom.xml添加外部jar依赖:<dependency> <groupId>com.google.guavagroupId> <artifactId>guavaartifactId> <version>31.1-jreversion> <scope>systemscope> <systemPath>${project.basedir}/libs/guava-31.1-jre.jarsystemPath> dependency>- 1
- 2
- 3
- 4
- 5
- 6
- 7
- 8
- 9
- 10
- 11
- 12
- 13
- 14
通过以上步骤, 外部的这个guava-31.1-jre.jar文件就被成功引入到当前项目中了,测试一下
新建一个Test测试类文件
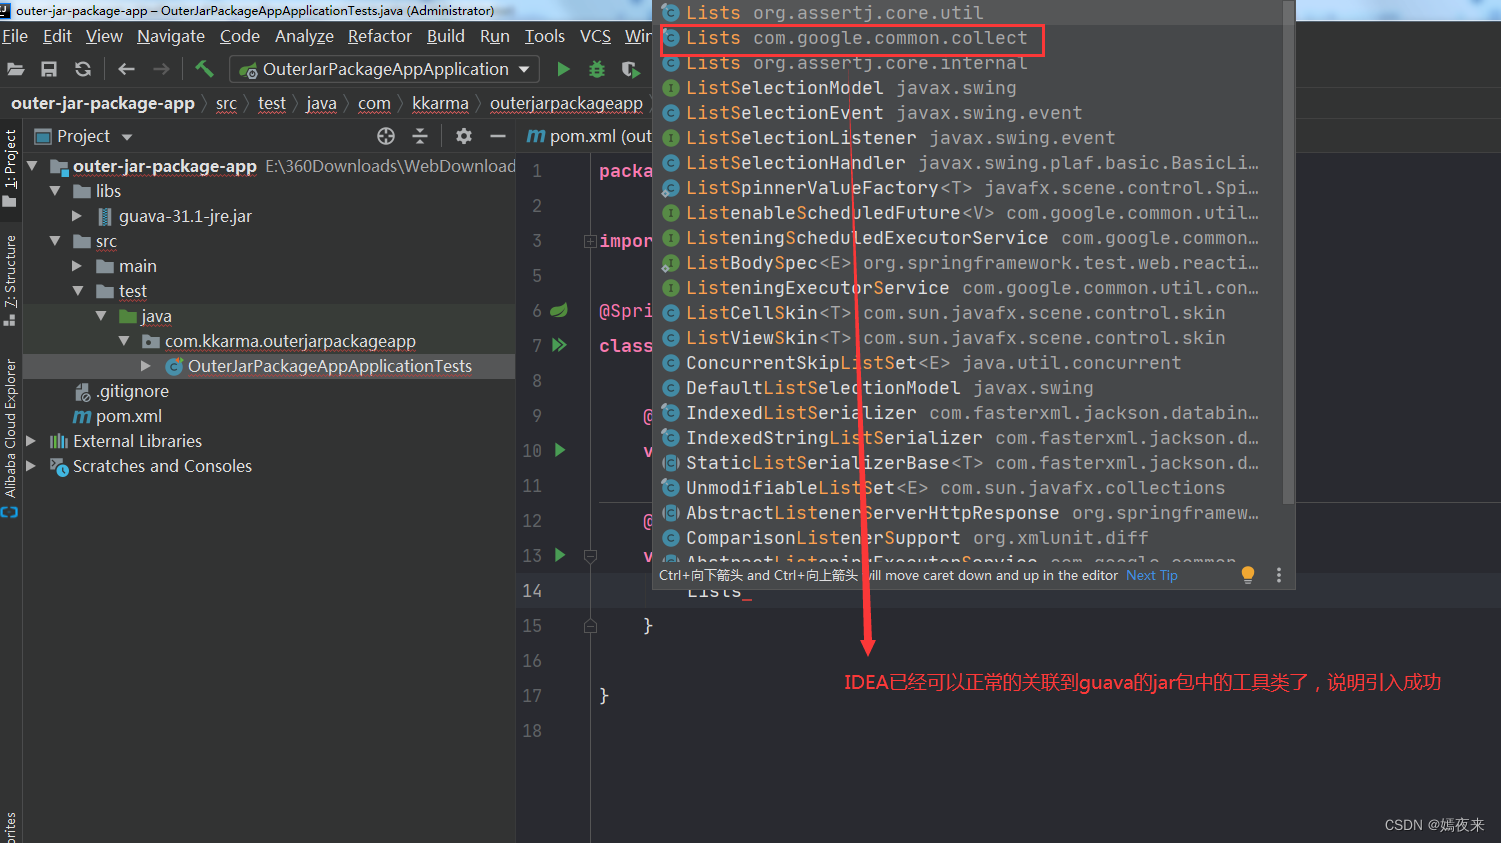
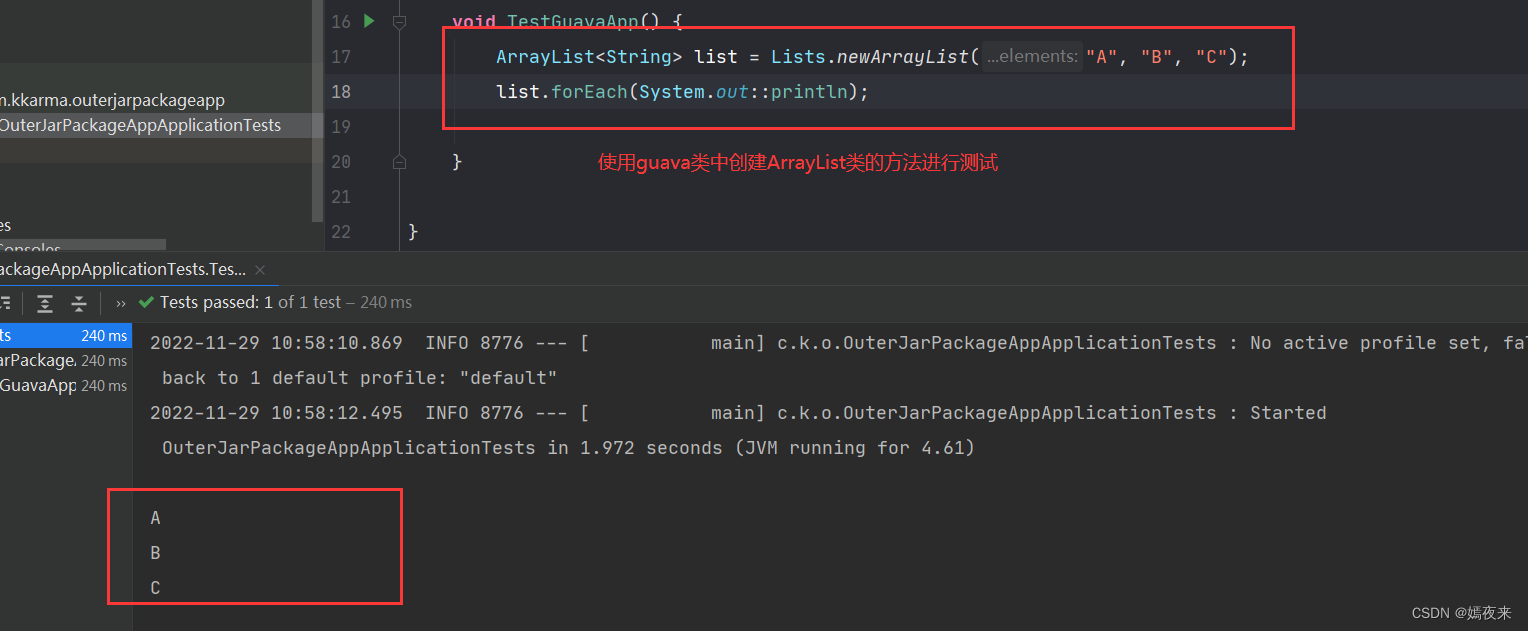
测试通过, 外部jar包成功集成到项目中3、如何将外部jar包打包到当前项目jar包中
如果我们不进行配置,打包的时候是不会将外部的jar打包到jar/war中的
Spring Boot的项目,一般都会使用到打包插件,那么只需要添加一个配置即可
修改pom.xml文件, 修改内容如下:
<build> <plugins> <plugin> <groupId>org.springframework.bootgroupId> <artifactId>spring-boot-maven-pluginartifactId> <configuration> <excludes> <exclude> <groupId>org.projectlombokgroupId> <artifactId>lombokartifactId> exclude> excludes> <includeSystemScope>trueincludeSystemScope> configuration> plugin> plugins> build>- 1
- 2
- 3
- 4
- 5
- 6
- 7
- 8
- 9
- 10
- 11
- 12
- 13
- 14
- 15
- 16
- 17
- 18
includeSystemScope为true这一个参数配置最为重要如果有些配置文件,并非Spring Boot的默认路径,那么可能就需要借助resouce配置(resources节点和plugins节点同级):
<build> <plugins> <plugin> <groupId>org.springframework.bootgroupId> <artifactId>spring-boot-maven-pluginartifactId> <configuration> <excludes> <exclude> <groupId>org.projectlombokgroupId> <artifactId>lombokartifactId> exclude> excludes> <includeSystemScope>trueincludeSystemScope> configuration> plugin> plugins> <resources> <resource> <directory>libsdirectory> <targetPath>/BOOT-INF/lib/targetPath> <includes> <include>**/*.jarinclude> includes> resource> resources> build>- 1
- 2
- 3
- 4
- 5
- 6
- 7
- 8
- 9
- 10
- 11
- 12
- 13
- 14
- 15
- 16
- 17
- 18
- 19
- 20
- 21
- 22
- 23
- 24
- 25
- 26
- 27
- 28
- 29
- 30
- 31
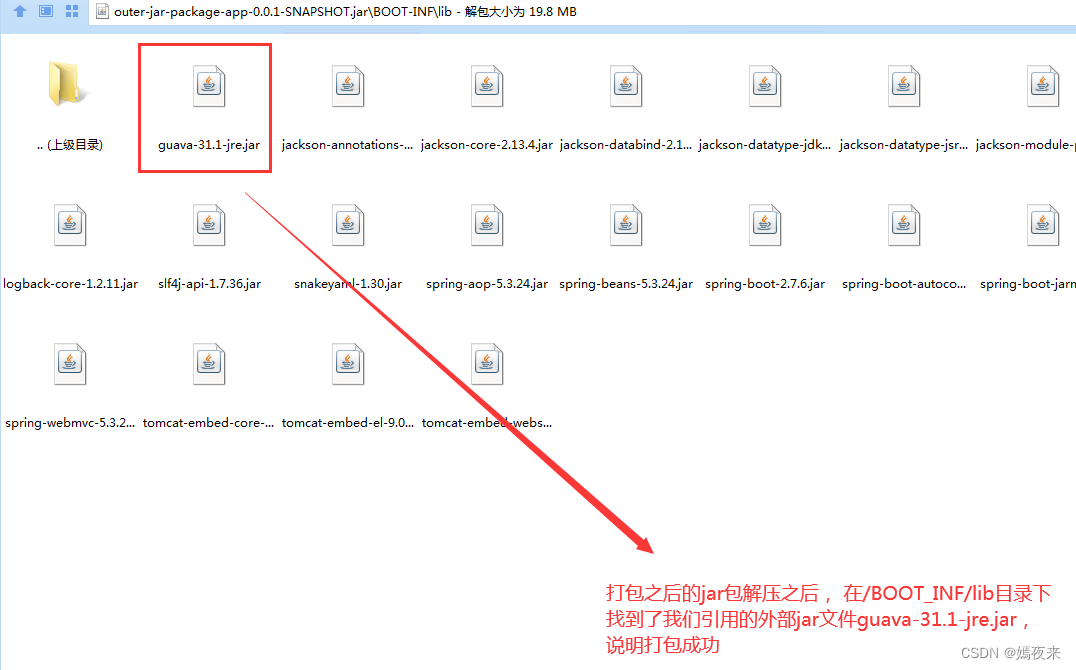
以上配置完成, 执行打包进行测试, 看看打包完成之后的项目包中是否包含外部jar
4、总结
- 引入jar包, 最关键的以下配置
<dependency> <groupId>com.google.guavagroupId> <artifactId>guavaartifactId> <version>31.1-jreversion> <scope>systemscope> <systemPath>${project.basedir}/libs/guava-31.1-jre.jarsystemPath> dependency>- 1
- 2
- 3
- 4
- 5
- 6
- 7
- 8
- 9
- 10
- 11
- 12
- 13
- 14
- 发布jar包, 最关键的以下配置,使用spring-boot-maven-plugin插件及以下配置
<build> <plugins> <plugin> <groupId>org.springframework.bootgroupId> <artifactId>spring-boot-maven-pluginartifactId> <configuration> <excludes> <exclude> <groupId>org.projectlombokgroupId> <artifactId>lombokartifactId> exclude> excludes> <includeSystemScope>trueincludeSystemScope> configuration> plugin> plugins> <resources> <resource> <directory>libsdirectory> <targetPath>/BOOT-INF/lib/targetPath> <includes> <include>**/*.jarinclude> includes> resource> resources> build>- 1
- 2
- 3
- 4
- 5
- 6
- 7
- 8
- 9
- 10
- 11
- 12
- 13
- 14
- 15
- 16
- 17
- 18
- 19
- 20
- 21
- 22
- 23
- 24
- 25
- 26
- 27
- 28
- 29
- 30
- 31
-
相关阅读:
oracle统计信息
EasyCVR视频播放一段时间后不能播放,重启又可以正常播放是什么原因?
Axure8.0教程:自动带出邮箱
《六月集训》(第二十六天)——并查集
力扣 146. LRU 缓存
主办方:上海视频媒体,多样式多渠道跨屏传播
在博客园随笔中插入3D分子模型
【优化算法】凌日搜索算法【含Matlab源码 2150期】
如何书写一篇好的博客?
设计模式之观察者模式(Observer)
- 原文地址:https://blog.csdn.net/qq_41865652/article/details/128093540