-
Jitamin 安装与配置
Jitamin
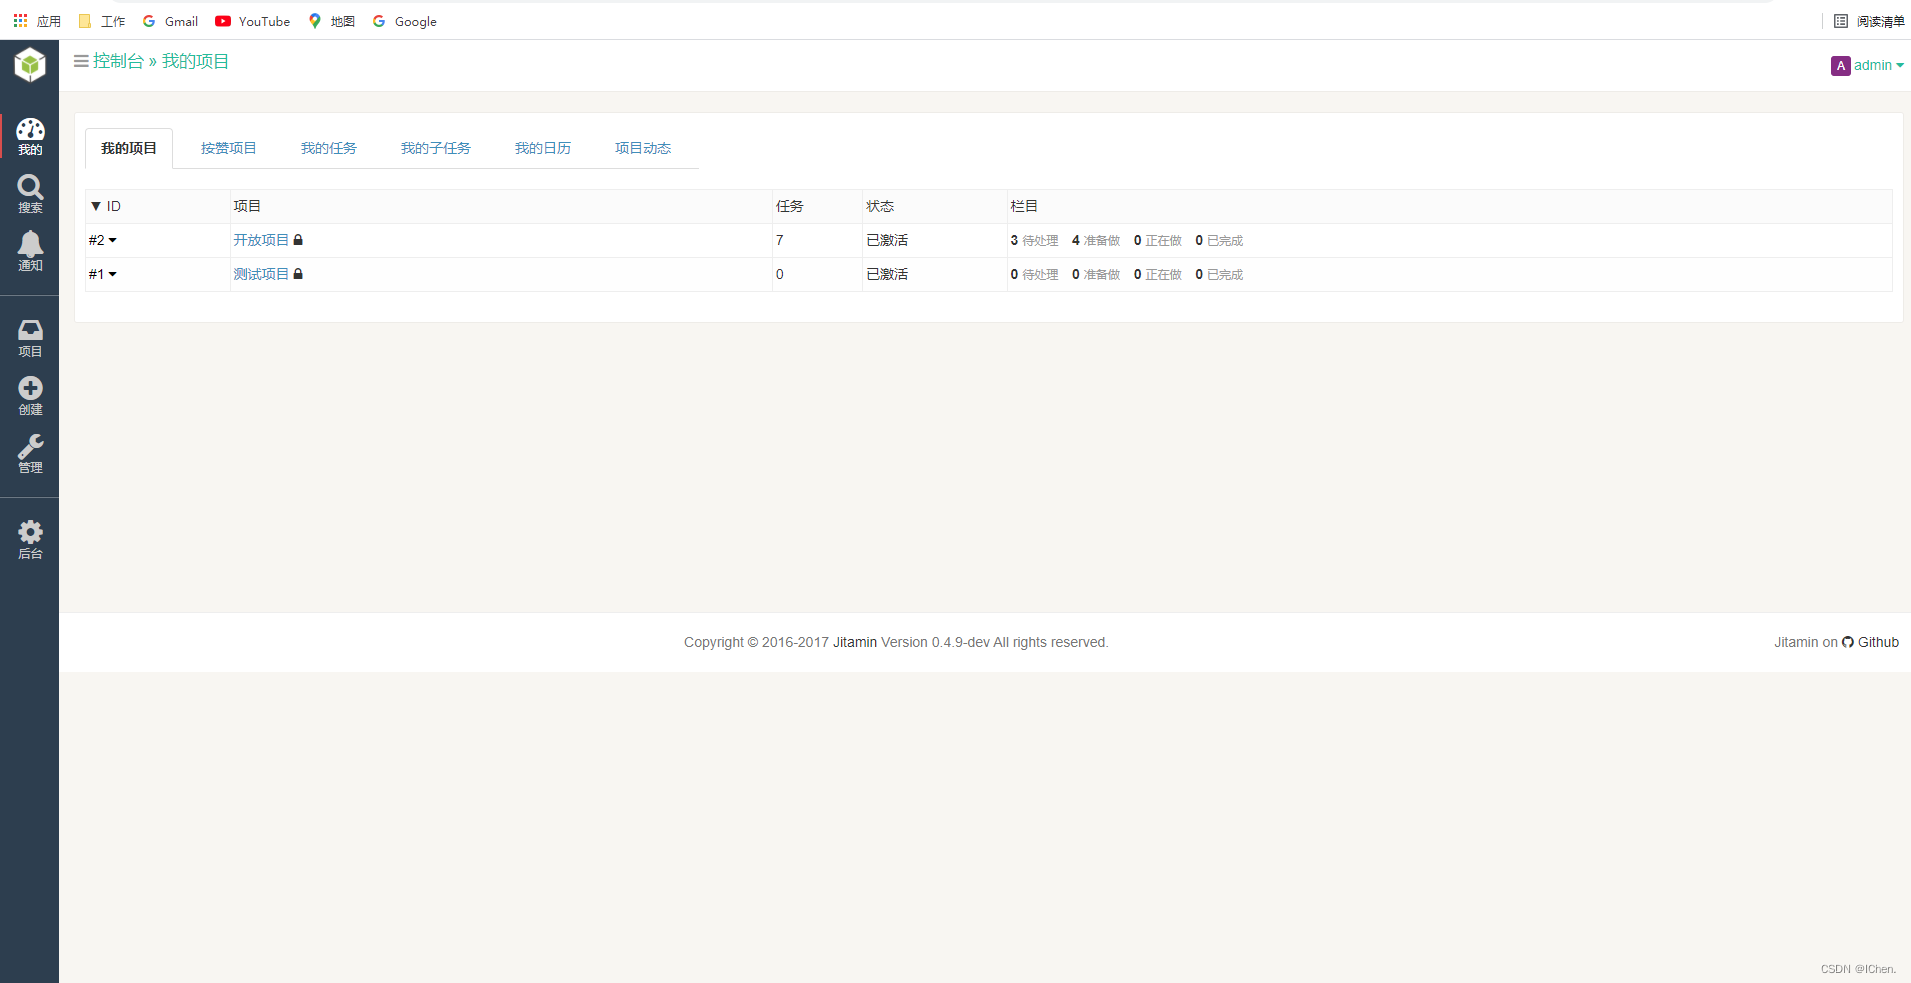
Jitamin (读作/ˈdʒɪtəmɪn/) 是一款免费、开源,使用PHP语言开发的项目管理系统。Jitamin灵感来自于Vitamin,并结合了Just In Time(准时)和敏的拼音min,意指效率与敏捷是项目管理的维他命。

功能特性
- 简洁、美观的界面
- 支持多主题
- 可视化的任务管理
- 支持列表、看板和甘特图等任务视图
- 可拖拽式的任务操作
- 支持多语言,内置英文和简体中文语言包
- 过滤搜索
- 可创建团队项目和个人项目
- 支持任务、子任务、附件和评论
- 动作自动触发
- 可视化的统计
- 第三方集成
- 支持插件
安装环境要求
PHP 5.6或更高(推荐使用PHP7)
数据库, 推荐使用MySQL 或 PostgreSQL。 当然SQLite也可以运行。
Composer安装手册
一. 克隆代码
假设我们把jitamin部署在 /var/www
$ cd /data/app/ $ git clone https://github.com/jitamin/jitamin.git jitamin $ cd jitamin- 1
- 2
- 3
二. 设置配置文件
$ cp .env.example .env- 1
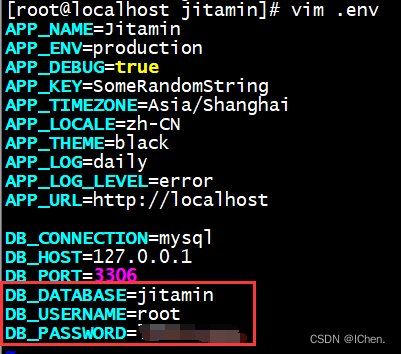
根据实际情况修改
.env相关配置文件,重点关注数据库相关的设置。
或者创建一个新的用户create user 'jitamin'@'127.0.0.1' identified by '123.com' grant all on *.* to 'jitamin'@'%' with grant option; grant all on *.* to root@'127.0.0.1' identified by '123.com';- 1
- 2
- 3
三. 安装依赖包
$ composer install -o --no-dev- 1
四. 安装数据库迁移和初始数据
- 创建数据表
vendor/bin/phinx migrate- 1
- 安装初始数据
vendor/bin/phinx seed:run- 1
Windows环境请将上述命令中的 vendor/bin/phinx 替换为 vendor\robmorgan\phinx\bin\phinx.bat五. 确保bootstrap/cache和storage目录可写。
$ chmod -R 0777 bootstrap/cache $ chmod -R 0777 storage- 1
- 2
可选步骤
$ php artisan config:cache $ php artisan route:cache- 1
- 2
六. 配置Web服务器
请将Web服务器的根目录指向 public/
apache.conf<VirtualHost *:80> ServerName jitamin.test.com DocumentRoot "/var/www/jitamin/public" DirectoryIndex index.php <Directory "/var/www/jitamin/public"> AllowOverride all </Directory> ErrorLog "/var/log/apache2/jitamin.yourdomain.com-error.log" </VirtualHost>- 1
- 2
- 3
- 4
- 5
- 6
- 7
- 8
- 9
- 10
- 11
- 12
nginx.confserver { listen 80; server_name jitamin.test.com; root "/var/www/jitamin/public"; index index.php; charset utf-8; location / { try_files $uri $uri/ /index.php?$query_string; } access_log off; error_log /var/log/nginx/jitamin.yourdomain.com-error.log error; sendfile off; client_max_body_size 100m; location ~ \.php$ { fastcgi_split_path_info ^(.+\.php)(/.+)$; fastcgi_pass unix:/var/run/php/php7.0-fpm.sock; #fastcgi_pass 127.0.0.1:9000; fastcgi_index index.php; include fastcgi_params; fastcgi_param SCRIPT_FILENAME $document_root$fastcgi_script_name; fastcgi_intercept_errors off; fastcgi_buffer_size 16k; fastcgi_buffers 4 16k; } location ~ /\.ht { deny all; } }- 1
- 2
- 3
- 4
- 5
- 6
- 7
- 8
- 9
- 10
- 11
- 12
- 13
- 14
- 15
- 16
- 17
- 18
- 19
- 20
- 21
- 22
- 23
- 24
- 25
- 26
- 27
- 28
- 29
- 30
- 31
- 32
- 33
- 34
- 35
- 36
supervisor.conf[program:jitamin-worker] command=php artisan worker directory=/var/www/jitamin numprocs=1 stdout_logfile=/var/log/supervisor/jitamin-worker-stdout.log stderr_logfile=/var/log/supervisor/jitamin-worker-stderr.log stderr_logfile_maxbytes=1MB stdout_logfile_maxbytes=1MB redirect_stderr=true autostart=true autorestart=true- 1
- 2
- 3
- 4
- 5
- 6
- 7
- 8
- 9
- 10
- 11
七. 通过浏览器访问
安装完成后,请通过浏览器访问你的Jitamin网址,如:
http://jitamin.test.com初始管理员的用户名和密码:
用户名:
adminoradmin@admin.com
密码:admin升级步骤
一. 获取最新代码
$ git fetch --all $ git checkout latest_tag // 请将 latest_tag 修改为最新的tag,比如:0.4.4- 1
- 2
二. 更新依赖
$ composer install -o --no-dev- 1
三. 更新数据表
vendor/bin/phinx migrate Windows环境请将上述命令中的 vendor/bin/phinx 替换为 vendor\robmorgan\phinx\bin\phinx.bat- 1
- 2
可选步骤
$ php artisan config:cache $ php artisan route:cache- 1
- 2
开发相关
Jitamin代码里自带编译后的前端静态资源。如果你不想修改前端样式,请直接忽略本环节。
工具集:
Node.js Bower Gulp yarn install || npm install bower install gulp- 1
- 2
- 3
- 4
- 5
- 6
相关问题处理方法:
报错:Fatal error: Uncaught Error: Class 'PicoDb\UrlParser' not found in /data/app/jitamin-0.5.0/bootstrap/autoload.php:17- 1
问题解析:
composer自动加载的问题 autoload_classmap.php里应该缺少这个类,可以在composer.json里指定 autoload 加载的目录
解决方法:
vim composer.json
修改前:
"autoload" : { "classmap" : ["app/"], "psr-4" : { "Jitamin\\" : "app/" },- 1
- 2
- 3
- 4
- 5
修改后:
vim composer.json"autoload" : { "classmap" : ["app/","vendor/jitamin/"], "psr-4" : { "Jitamin\\" : "app/" },- 1
- 2
- 3
- 4
- 5
重新执行
composer install -o --no-dev- 1
或者
在bootstrap/autoload.php 引入
添加:
require DIR.'/../vendor/jitamin/picodb/src/UrlParser.php';- 1
验证码显示错误 受损
问题解析:
原因是因为PHP版本导致得7.3不支持参数为空,5.6没问题得
解决方法:
/data/jitamin/app/Http/Controllers/CaptchaController.php下添加参数$builder->setTextColor(rand(0, 150), rand(0, 150), rand(0, 150));$this->response->withContentType('image/jpeg')->send(); $builder = new CaptchaBuilder(); $builder->setTextColor(rand(0, 150), rand(0, 150), rand(0, 150)); //增加 $builder->build(); $this->sessionStorage->captcha = $builder->getPhrase(); $builder->output();- 1
- 2
- 3
- 4
- 5
- 6
-
相关阅读:
MySql 数据库【约束】
函数式编程概述
Tensorflow中的会话、张量、变量
python3基础知识复习 --异步IO(asyncio,aiohttp)
四大函数式接口(重点,必须掌握)
【学习教程】GIS数据制备,空间分析与高级建模实践应用
函数8:高阶函数
基于Django的租房数据展示系统设计与实现
java项目-第104期基于ssm出租车管理系统-java毕业设计
Nginx
- 原文地址:https://blog.csdn.net/ichen820/article/details/127979125
