-
centos7.8手动部署php环境 01 nginx1.8.0编译安装
环境说明:
一、使用电脑 MacBook Pro
二、ssh 工具 finalShell
三、本地虚拟机 VMware Fusion
四、服务器配置 CentOS 7.8 64位
ps:虚拟机安装CentOS省略
登录服务器
一、安装基础工具yum install net-tools -y yum install wget -y- 1
- 2
二、将yum源更改为腾讯【个人习惯】
# 先备份 mv /etc/yum.repos.d/CentOS-Base.repo /etc/yum.repos.d/CentOS-Base.repo.backup- 1
- 2
# 下载 wget -O /etc/yum.repos.d/CentOS-Base.repo http://mirrors.cloud.tencent.com/repo/centos7_base.repo- 1
- 2
#更新缓存 yum clean all yum makecache- 1
- 2
- 3
三、安装依赖
yum install gcc-c++ -y yum install -y pcre pcre-devel yum install -y zlib zlib-devel yum install -y openssl openssl-devel- 1
- 2
- 3
- 4
四、 安装nginx 版本 1.8.0
ps:下载地址:http://nginx.org/download/#下载 wget http://nginx.org/download/nginx-1.8.0.tar.gz #解压 tar -zxvf nginx-1.8.0.tar.gz # 进入文件夹 cd nginx-1.8.0 # 设置configure参数 ./configure \ --prefix=/usr/local/nginx \ --pid-path=/var/run/nginx/nginx.pid \ --lock-path=/var/lock/nginx.lock \ --error-log-path=/var/log/nginx/error.log \ --http-log-path=/var/log/nginx/access.log \ --with-http_gzip_static_module \ --http-client-body-temp-path=/var/temp/nginx/client \ --http-proxy-temp-path=/var/temp/nginx/proxy \ --http-fastcgi-temp-path=/var/temp/nginx/fastcgi \ --http-uwsgi-temp-path=/var/temp/nginx/uwsgi \ --http-scgi-temp-path=/var/temp/nginx/scgi # 编译 make & make install # ps 上边将临时文件目录指定为/var/temp/nginx,需要在/var下创建temp及nginx目录 cd /var mkdir temp cd temp mkdir nginx # 启动nginx进入nginx下的sbin目录 cd /usr/local/nginx/sbin/ ./nginx- 1
- 2
- 3
- 4
- 5
- 6
- 7
- 8
- 9
- 10
- 11
- 12
- 13
- 14
- 15
- 16
- 17
- 18
- 19
- 20
- 21
- 22
- 23
- 24
- 25
- 26
- 27
- 28
- 29
操作结果

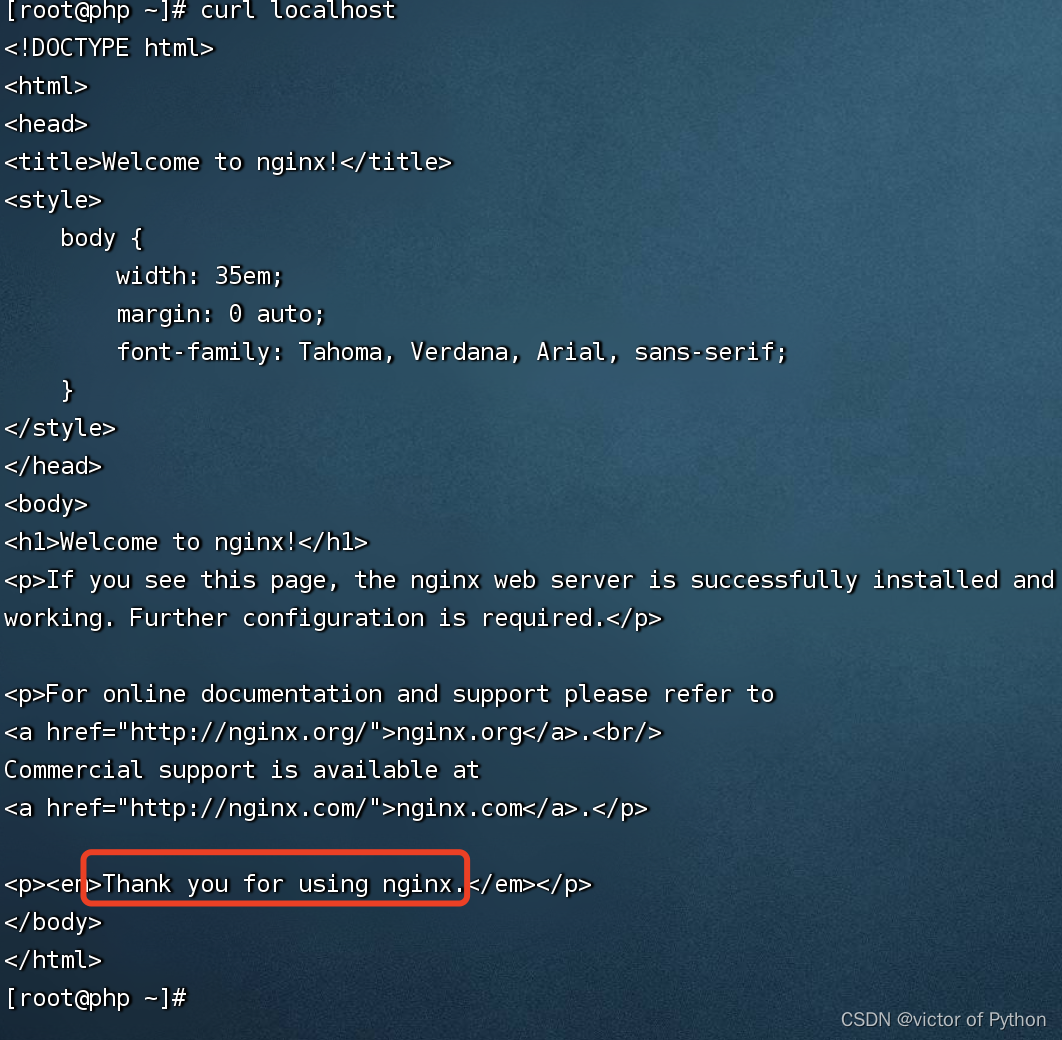
ps:如果无法访问到这个页面 可以现在服务器测试是否可以访问curl localhost ``` 如果显示以上界面 表示nginx启动成功,之所以‘外网’无法访问,是因为服务器防火墙有限制,来一个简单粗暴的,直接永久性关闭防火墙 ```bash systemctl disable firewalld.service- 1
- 2
- 3
- 4
- 5
- 6
ps 防火墙基础知识
1、命令行界面输入命令“systemctl status firewalld.service”并按下回车键。
2、然后在下方可度以查看得到“active(running)”,此时说明防火墙已经被打开了。
3、在命令行中输入systemctl stop firewalld.service命令,进行关闭防火墙。
4、然后再使用命令systemctl status firewalld.service,在下方出现disavtive(dead),这权样就说明防火墙已经关闭。
5、再在命令行中输入命令“systemctl disable firewalld.service”命令,即可永久关闭防火墙
nginx的其他配置
1、基础配置mkdir /var/run/nginx/ mkdir /usr/local/nginx/logs cp /var/run/nginx/nginx.pid /usr/local/nginx/logs cd /usr/lib/systemd/system touch nginx.service vim nginx.service [Unit] Description=nginx After=network.target [Service] Type=forking ExecStart=/usr/local/nginx/sbin/nginx ExecReload=/usr/local/nginx/sbin/nginx -s reload ExecStop=/usr/local/nginx/sbin/nginx -s quit PrivateTmp=true [Install] WantedBy=multi-user.target- 1
- 2
- 3
- 4
- 5
- 6
- 7
- 8
- 9
- 10
- 11
- 12
- 13
- 14
- 15
- 16
- 17
- 18
- 19
- 20
- 21
命令注释如下:
[Unit]:服务的说明
Description:描述服务
After:描述服务类别
[Service]服务运行参数的设置
Type=forking是后台运行的形式
ExecStart为服务的具体运行命令
ExecReload为重启命令
ExecStop为停止命令
PrivateTmp=True表示给服务分配独立的临时空间
注意:
[Service]的启动、重启、停止命令全部要求使用绝对路径
[Install]运行级别下服务安装的相关设置,可设置为多用户,即系统运行级别为3
2、设置开机自启systemctl enable nginx.service- 1
设置完开机自启动后杀死原来进程(手动路径启动方式),用启动命令重新启动nginx,即可正常开机自启动。
3.设置取消开机自启systemctl disable nginx.service- 1
4.nginx服务启动、重启、停止、查看服务、查看状态
systemctl start nginx.service #开启 systemctl stop nginx.service #关闭 systemctl restart nginx.service #重新启动服务 systemctl reload nginx.service #重新加载配置 systemctl status nginx.service #查看当前nginx服务状态 systemctl list-units --type=service 查看所有已启动的服务- 1
- 2
- 3
- 4
- 5
- 6
- 7
- 8
5.通过查看nginx进程,判断服务是否存在
ps -ef|grep nginx # 查看特定端口的进程服务:如查看80端口的服务 lsof -i:80- 1
- 2
- 3
# 通过编译的方式 cd /usr/local/nginx/sbin ./nginx -v # 通过yum安装的方案 nginx -v- 1
- 2
- 3
- 4
- 5
- 6
ps:通过 rpm -qa|grep nginx命令查找服务的方式(通过yum源安装的方式可使用)
rpm -qa|grep nginx- 1
ps:到这里 nginx的部署工作已经完成
-
相关阅读:
空中计算(Over-the-Air Computation)学习笔记
wy的leetcode刷题记录_Day50
算法小题3
【c++】stack和queue模拟实现
Kafka由浅入深(5)RecordAccumulator的工作原理
Global View的概念和实现|OneFlow学习笔记
Android 系统通过pid和vid固定usb声卡节点
辛苦复习两个月,线上三面阿里Java高开岗,终如愿拿到offer
Kafka源码分析之网络通信
Ubuntu18.04下opencv基础操作(打开图片及视频)
- 原文地址:https://blog.csdn.net/weixin_44213550/article/details/127977333
