-
SpringBoot SpringBoot 开发实用篇 5 整合第三方技术 5.12 j2cache 基本操作 5.12.3 j2cache 基本操作
SpringBoot
【黑马程序员SpringBoot2全套视频教程,springboot零基础到项目实战(spring boot2完整版)】
SpringBoot 开发实用篇
5 整合第三方技术
5.12 j2cache 基本操作
5.12.3 j2cache 基本操作
【导入坐标】
先查一下坐标


<dependency> <groupId>net.oschina.j2cachegroupId> <artifactId>j2cache-coreartifactId> <version>2.8.5-releaseversion> dependency>- 1
- 2
- 3
- 4
- 5
还有一个


<dependency> <groupId>net.oschina.j2cachegroupId> <artifactId>j2cache-spring-boot2-starterartifactId> <version>2.8.0-releaseversion> dependency>- 1
- 2
- 3
- 4
- 5
OK,都贴到我们的工程中
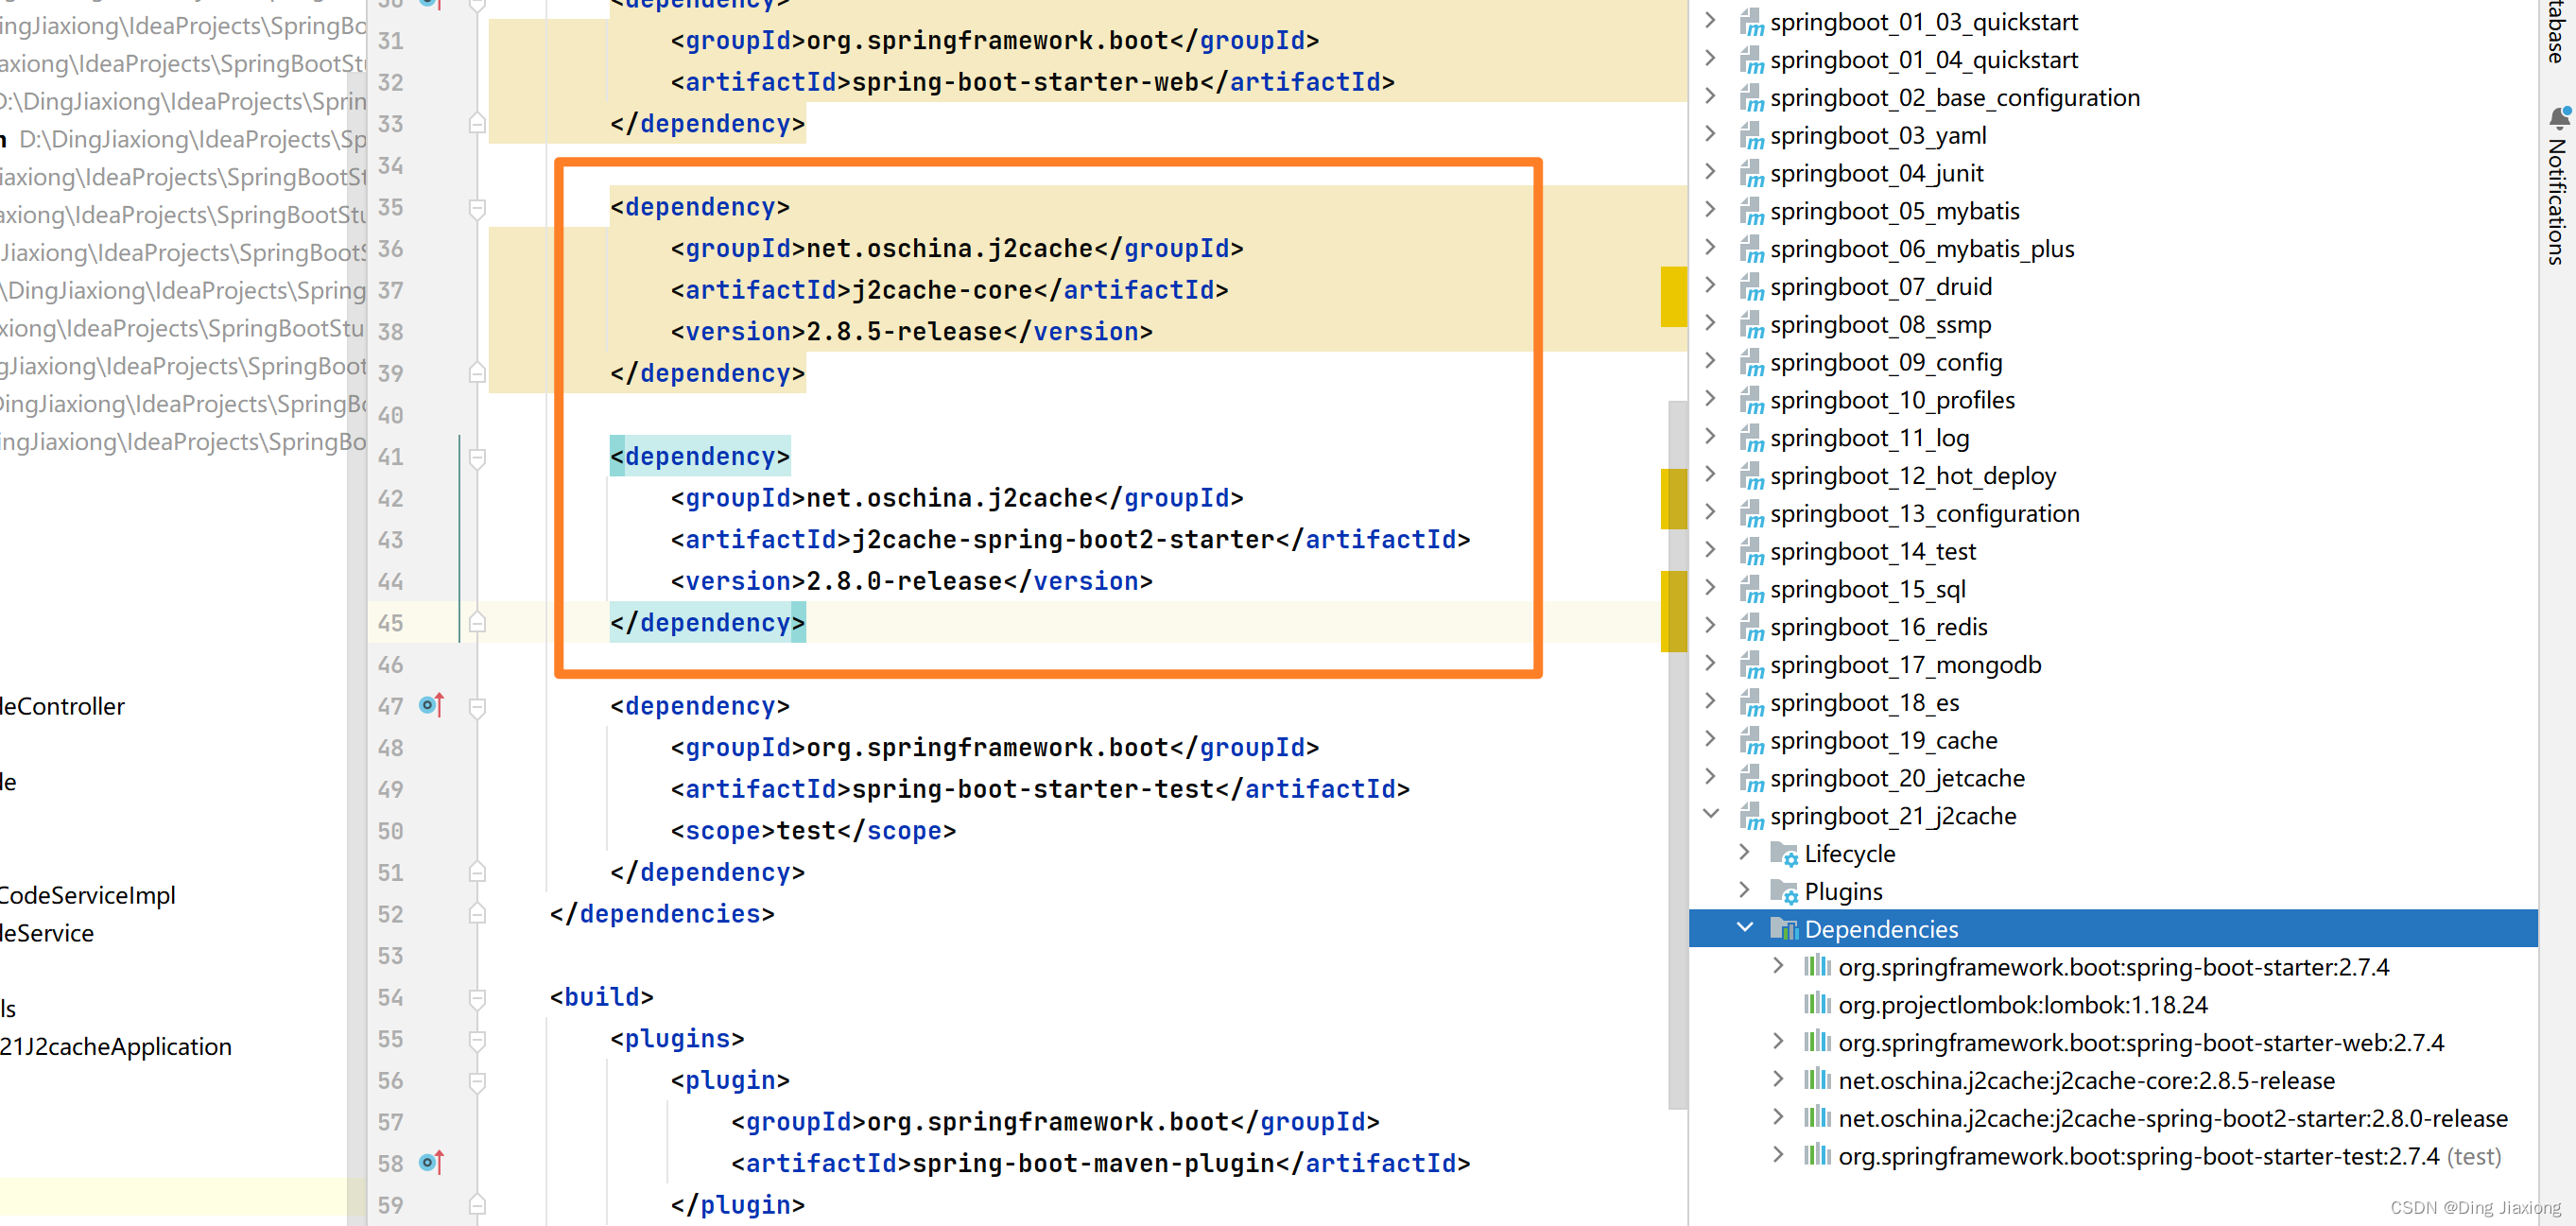
OK,记得刷一下

可以看到,它也推荐用Redis 进行整合
还要一个Ehcache 的包
<dependency> <groupId>net.sf.ehcachegroupId> <artifactId>ehcacheartifactId> dependency>- 1
- 2
- 3
- 4

OK,齐活儿
【配置】
server: port: 80 j2cache: config-location: j2cache.properties- 1
- 2
- 3
- 4
- 5

【创建配置文件】
可以看看官方给的东西

caffeine 缓存的配置文件


和我们之前写的差不多
当然这里我们就用以前整合ehcache 用的配置文件,直接贴过来
<ehcache xmlns:xsi="http://www.w3.org/2001/XMLSchema-instance" xsi:noNamespaceSchemaLocation="http://ehcache.org/ehcache.xsd" updateCheck="false"> <diskStore path="D:\ehcache" /> <defaultCache eternal="false" diskPersistent="false" maxElementsInMemory="1000" overflowToDisk="false" timeToIdleSeconds="60" timeToLiveSeconds="60" memoryStoreEvictionPolicy="LRU" /> ehcache>- 1
- 2
- 3
- 4
- 5
- 6
- 7
- 8
- 9
- 10
- 11
- 12
- 13
- 14
- 15
- 16
- 17
- 18
- 19
- 20
- 21
- 22
- 23
- 24
- 25


看看最后这个关键的 j2cache.properties

很多很多…

直接全部删了,有些东西还没接触过

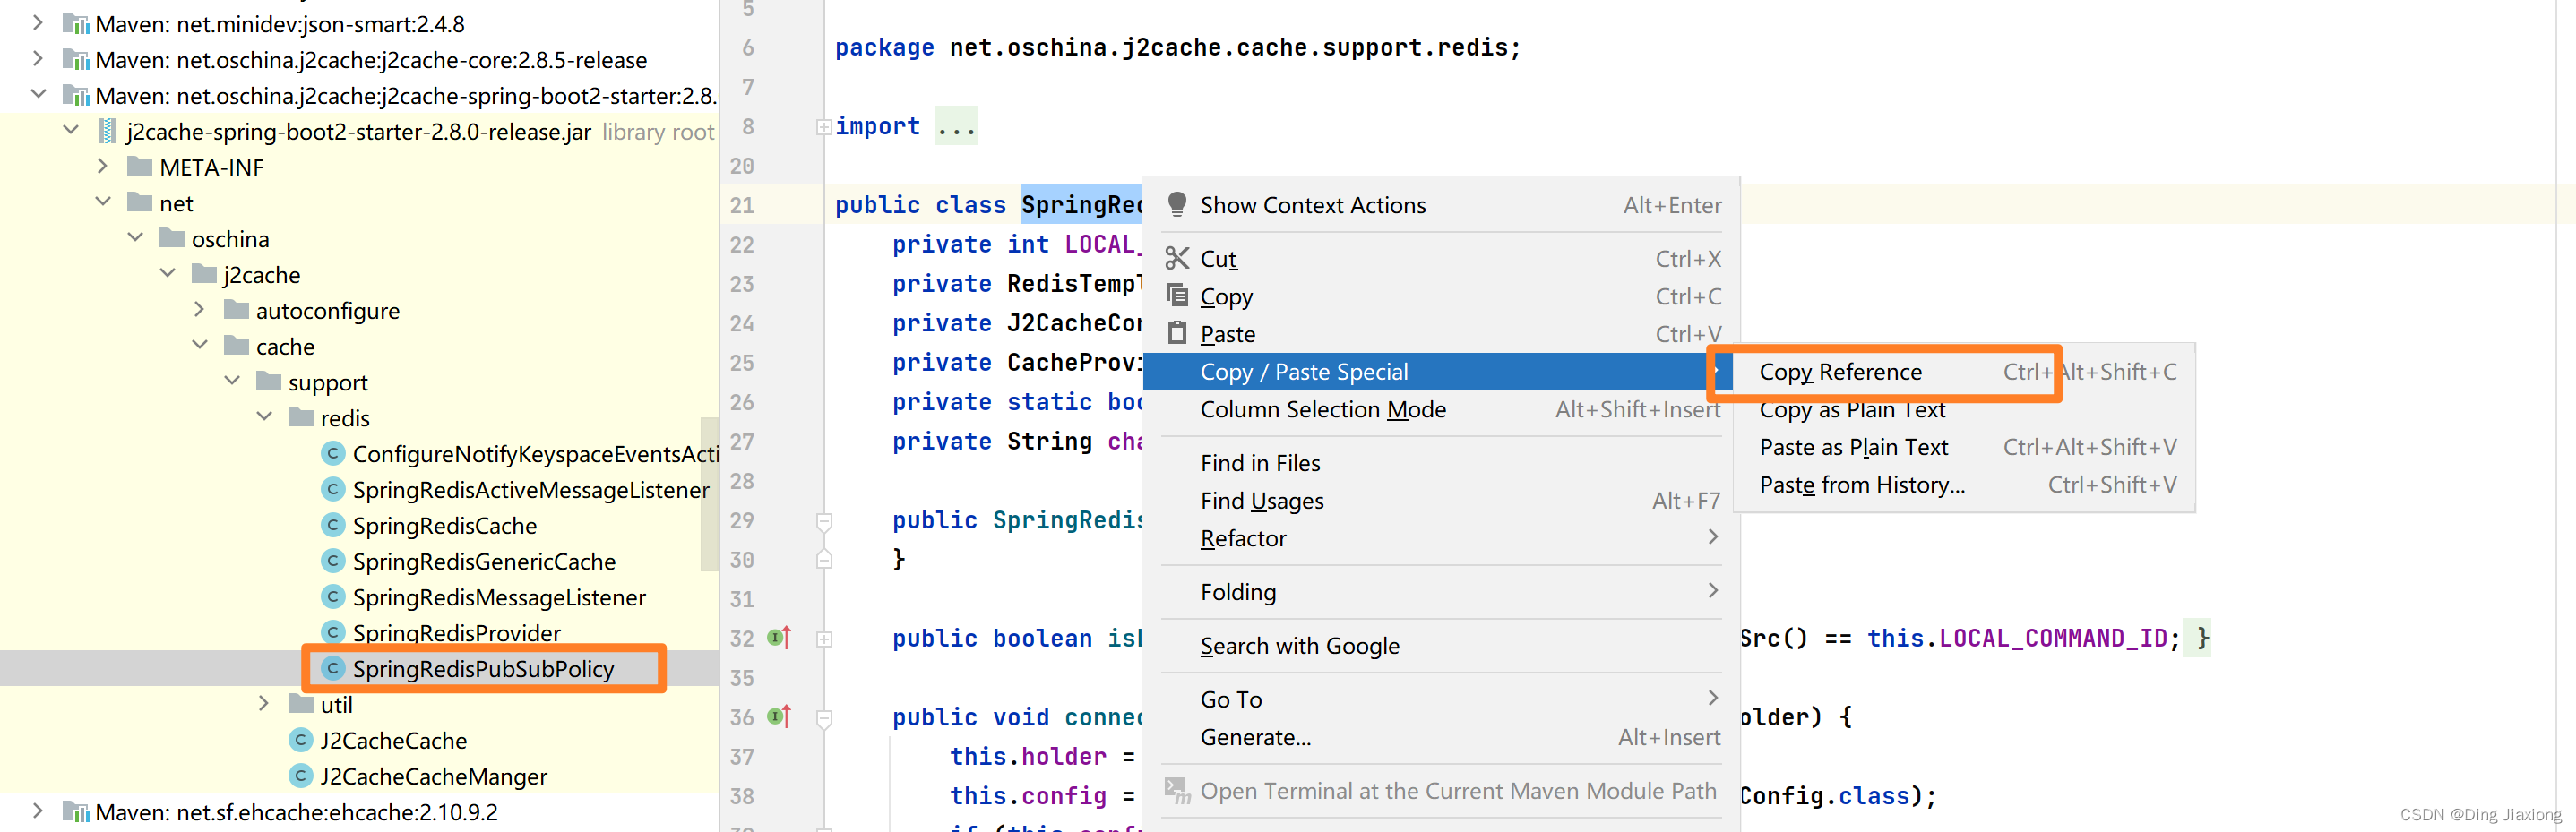
这两个类的全路径名,要贴到配置文件中
# 1级缓存 j2cache.L1.provider_class = ehcache ehcache.configXml = ehcache.xml # 2级缓存 j2cache.L2.provider_class = net.oschina.j2cache.cache.support.redis.SpringRedisProvider j2cache.L2.config_section = redis redis.hosts = localhost:6379 # 1级缓存中的数据如何到达2级缓存 j2cache.broadcast = net.oschina.j2cache.cache.support.redis.SpringRedisPubSubPolicy- 1
- 2
- 3
- 4
- 5
- 6
- 7
- 8
- 9
- 10
- 11
这就是一个最基础的配置 了…
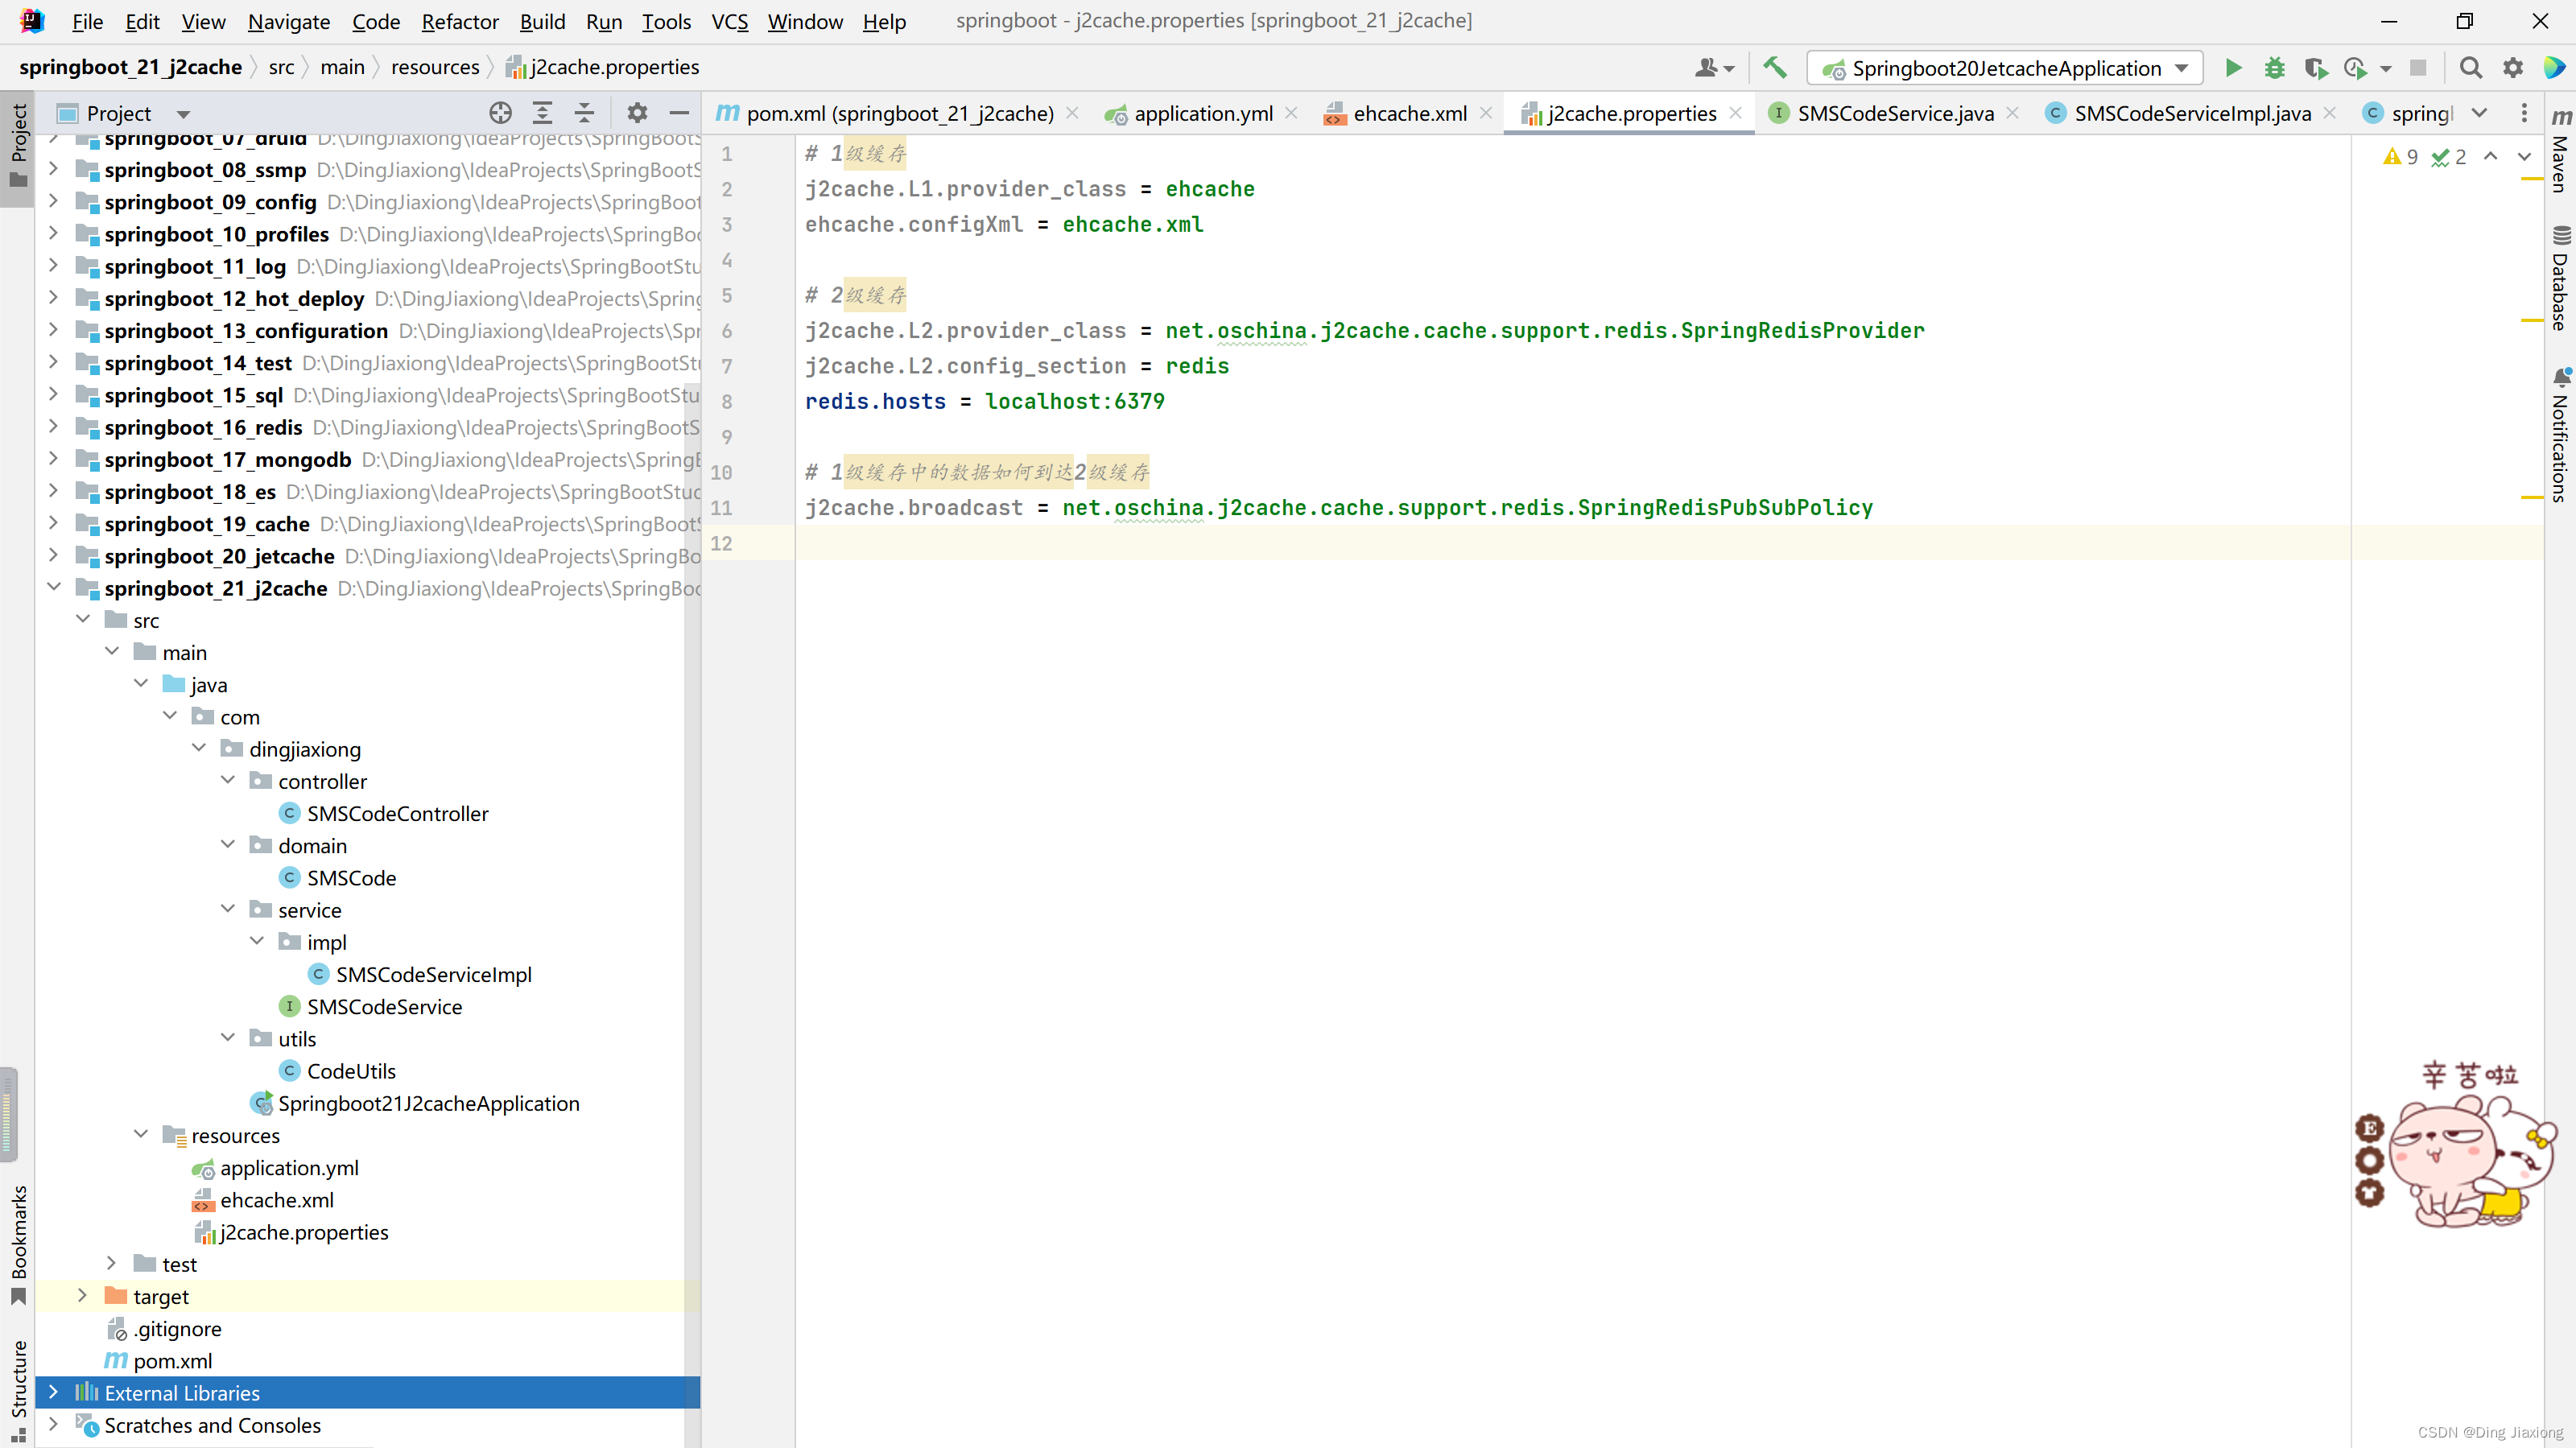
消息的订阅与发布的广播模式
【直接开干!】
package com.dingjiaxiong.service.impl; import com.dingjiaxiong.domain.SMSCode; import com.dingjiaxiong.service.SMSCodeService; import com.dingjiaxiong.utils.CodeUtils; import net.oschina.j2cache.CacheChannel; import org.springframework.beans.factory.annotation.Autowired; import org.springframework.stereotype.Service; /** * ClassName: SMSCodeServiceImpl * date: 2022/10/22 10:28 * * @author DingJiaxiong */ @Service public class SMSCodeServiceImpl implements SMSCodeService { @Autowired private CodeUtils codeUtils; @Autowired private CacheChannel cacheChannel; @Override public String sendCodeToSMS(String tele) { String code = codeUtils.generator(tele); cacheChannel.set("sms",tele,code); return code; } @Override public boolean checkCode(SMSCode smsCode) { String code = cacheChannel.get("sms",smsCode.getTele()).asString(); return smsCode.getCode().equals(code); } }- 1
- 2
- 3
- 4
- 5
- 6
- 7
- 8
- 9
- 10
- 11
- 12
- 13
- 14
- 15
- 16
- 17
- 18
- 19
- 20
- 21
- 22
- 23
- 24
- 25
- 26
- 27
- 28
- 29
- 30
- 31
- 32
- 33
- 34
- 35
- 36
- 37
- 38
- 39
- 40
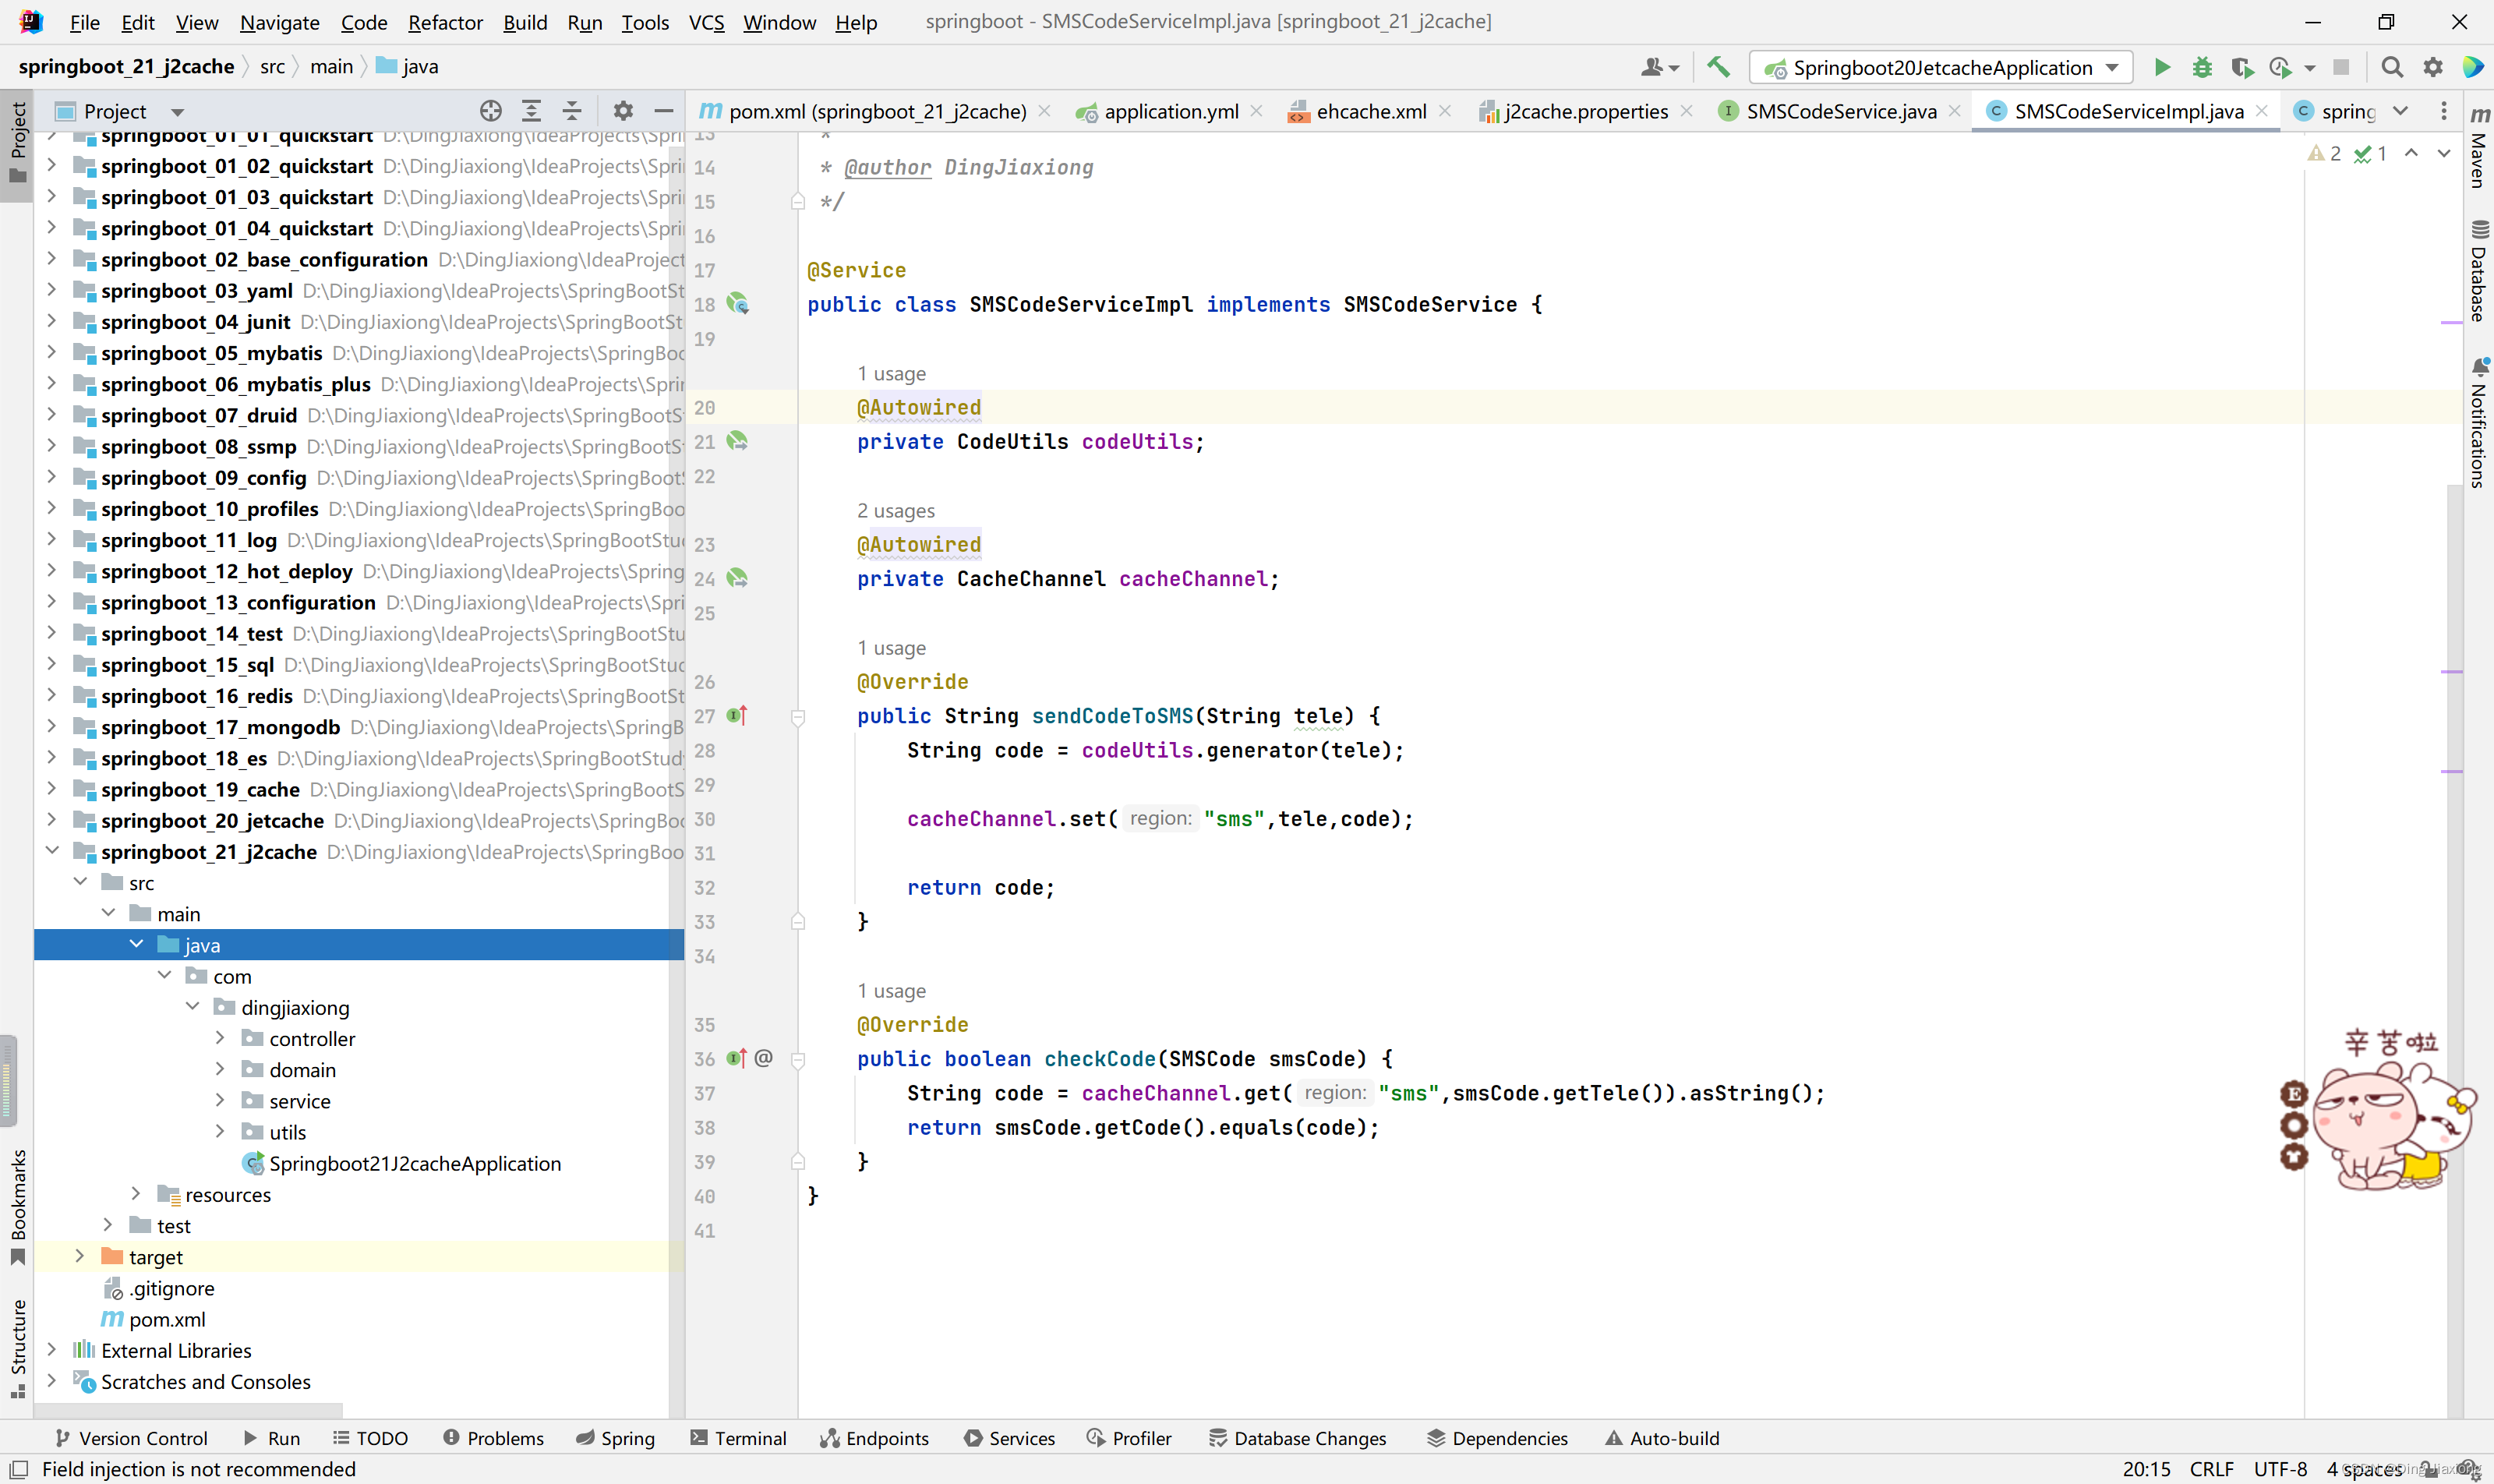
这样就可以用了
先看看服务器,清空已有数据
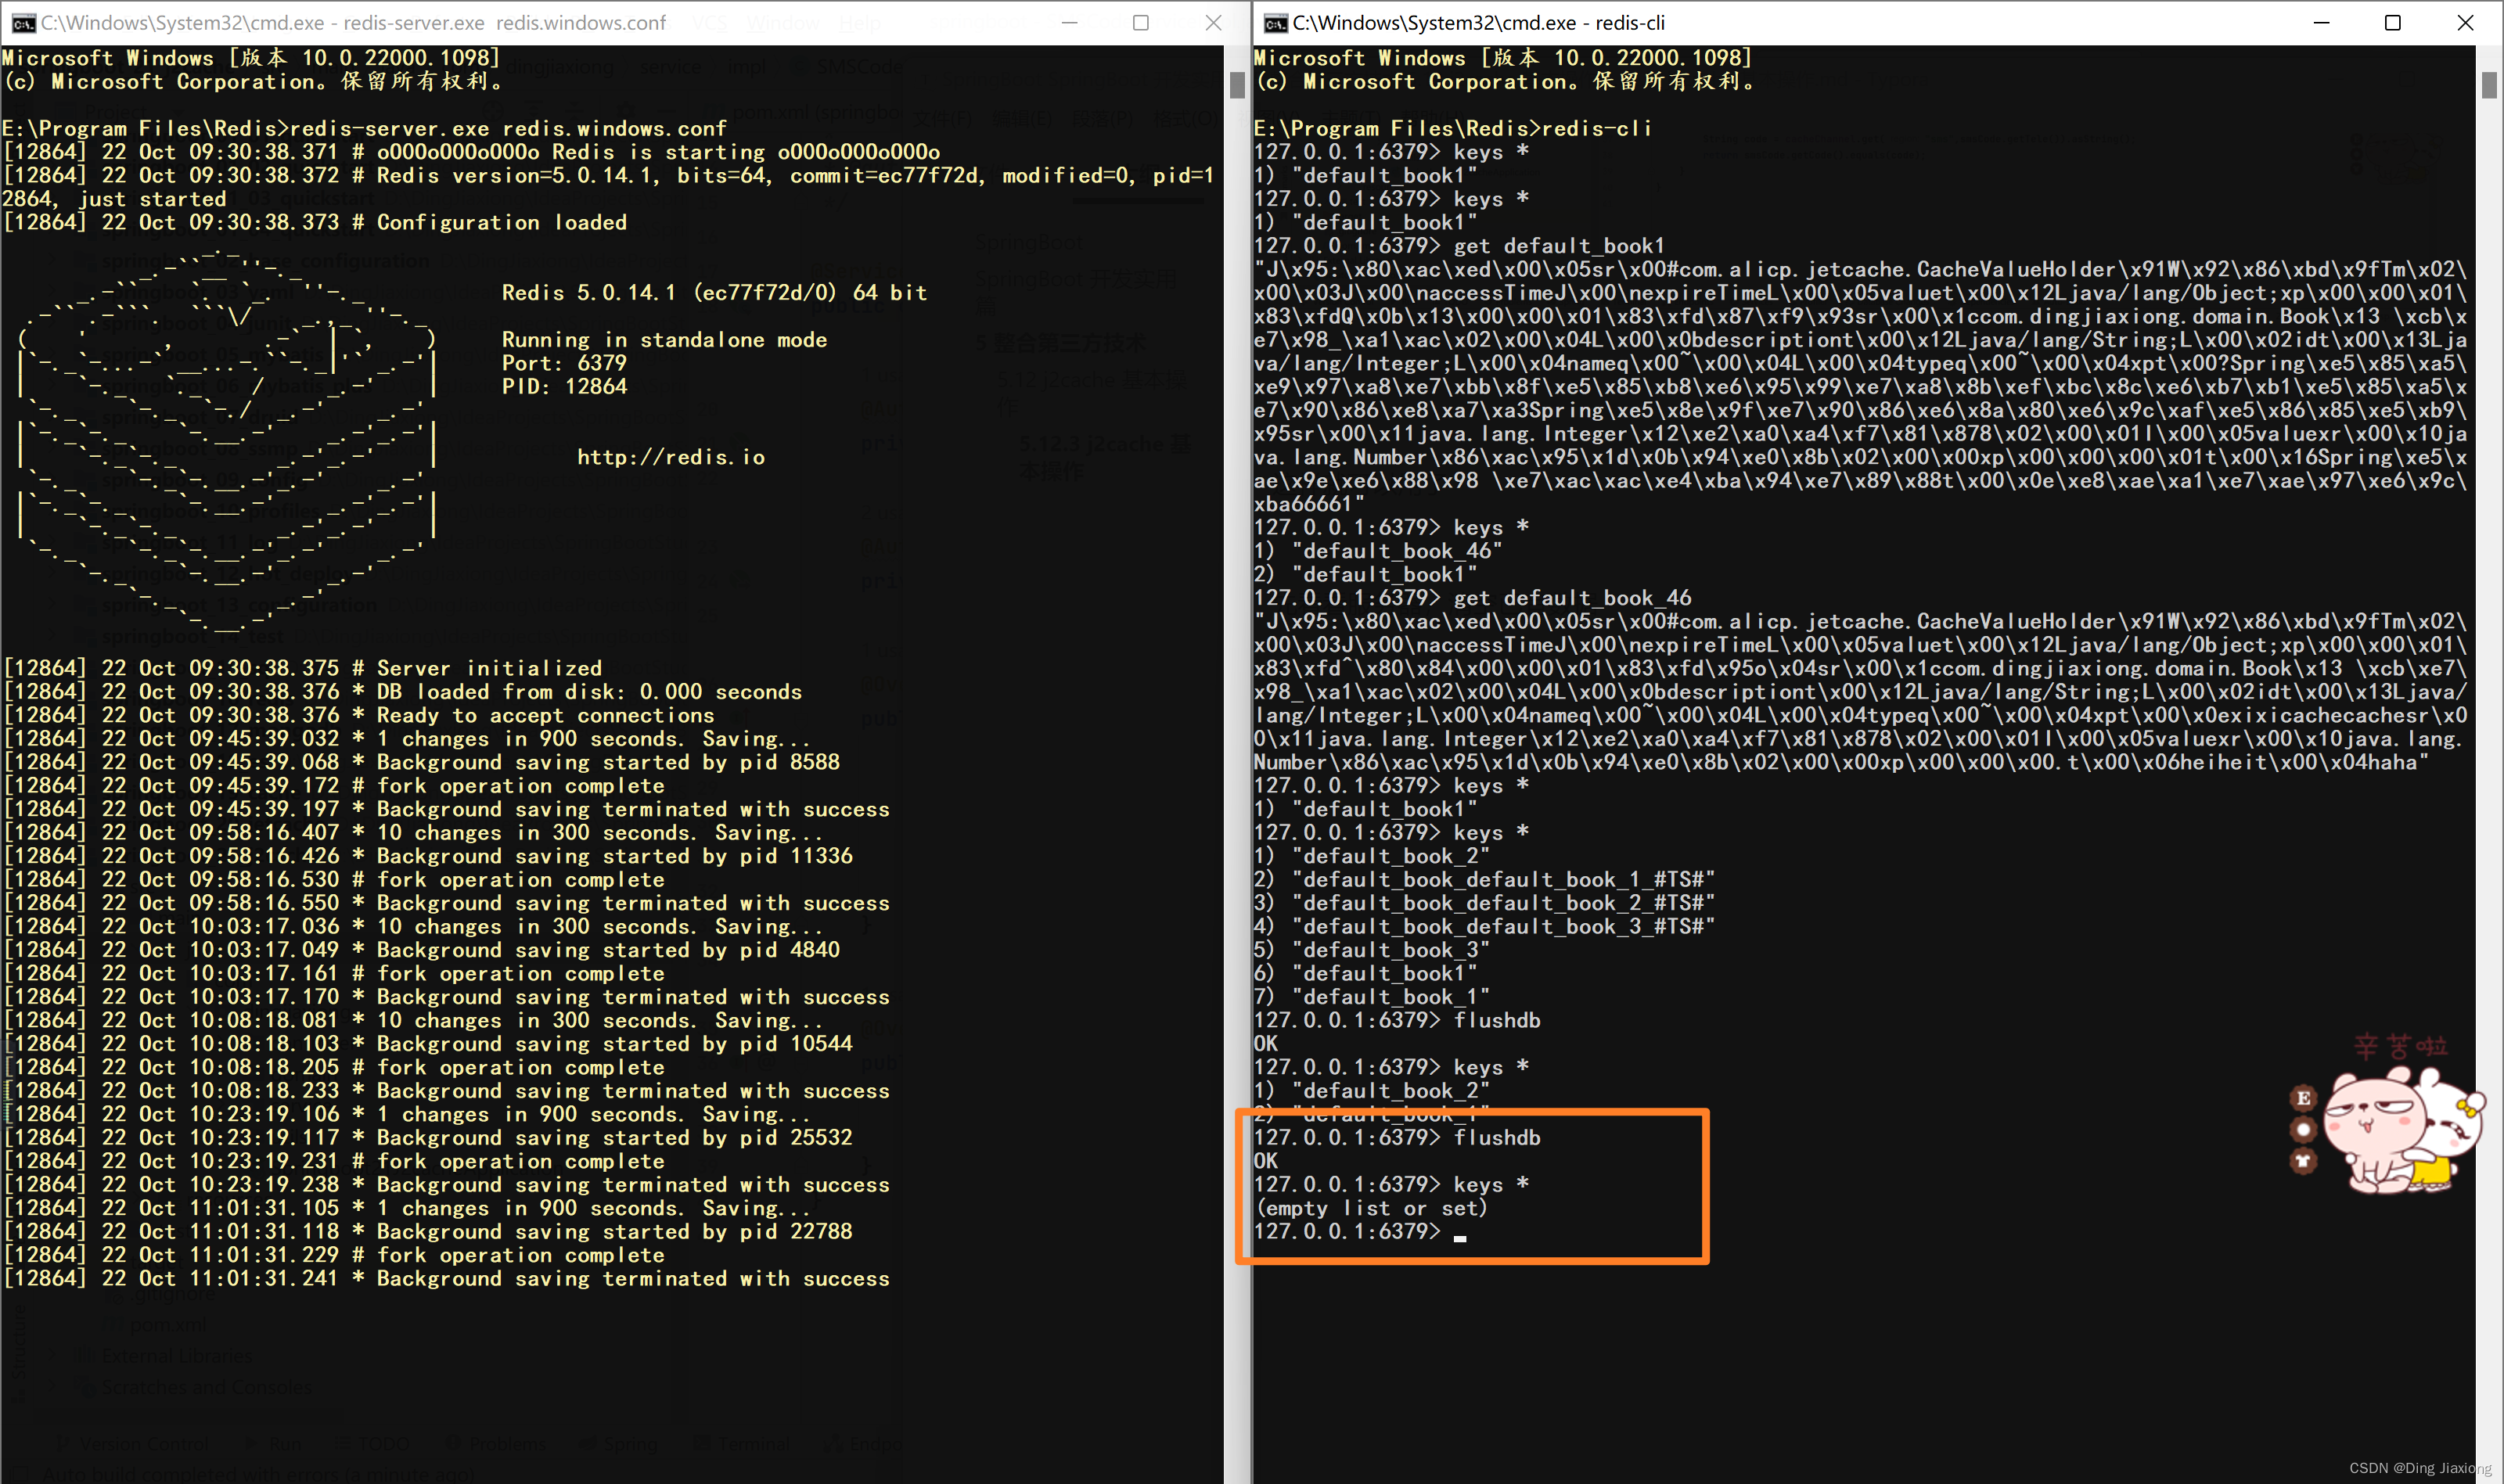
OK,启动服务器,直接开测!

测试

校验

牛逼!!!
查看一下服务器

没毛病
-
相关阅读:
浏览器缓存机制概述
python 存储变量的几种方法
双系统ubuntu20.04(neotic版本)从0实现Gazebo仿真slam建图
强化历程7-排序算法(2023.9.12)
03 变量
html中登录按钮添加回车键登录
Mongodb7 分片集群的搭建
RabbitMQ 常见问题
C#S7.NET实现西门子PLCDB块数据采集的完整步骤
有了这份2022Java面试八股文,进大厂稳了!
- 原文地址:https://blog.csdn.net/weixin_44226181/article/details/127975835