-
C++模拟OpenGL库——图片处理及纹理系统(三):图片缩放操作:简单插值&二次线性插值
目录
简单插值

如图,我们想把一张小图缩放成一张大图,自然的想法就是按照它们的长宽比例进行缩放(zoomX)。
但是问题也显而易见,在缩放的过程中,小图的像素并不能一一映射到大图的每一个像素中,会导致失真,也就是说大图中的像素与像素之间并不是原图像素的连续。
开始动手,我们在Image.h中添加方法:

实现如下:
通过简单的设置缩放比例来实现对像素的操作
- Image* Image::zoomImage(const Image* _image, float _zoomX, float _zoomY)
- {
- int _width = _image->getWidth() * _zoomX;
- int _height = _image->getHeight() * _zoomY;
- byte* _data = new byte[_width * _height * sizeof(RGBA)];
- Image* _resultImage = nullptr;
- for (int i = 0; i < _width; ++i) {
- for (int j = 0; j < _height; ++j) {
- int _imageX = (float)i / _zoomX;
- int _imageY = (float)j / _zoomY;
- _imageX = _imageX < _image->getWidth() ? _imageX : (_image->getWidth() - 1);
- _imageY = _imageY < _image->getHeight() ? _imageY : (_image->getHeight() - 1);
- RGBA _color = _image->getColor(_imageX, _imageY);
- memcpy(_data + (j * _width + i) * sizeof(RGBA), &_color, sizeof(RGBA));
- }
- }
- _resultImage = new Image(_width, _height, _data);
- delete[]_data;
- return _resultImage;
- }
我们把它放大三倍

效果如下,非常粗糙。

5倍:
二次线性插值
刚才简单插值的效果我们也看到了,非常的糊。
原因在于我们直接进行了整数上的乘除操作,也就意味着要截断浮点数的值。
那如果我们要考虑这些浮点数具体是多少呢?
先上图

总体的原理就是:我们考虑一个点的颜色值时,需要考虑周围四个像素的颜色值,进行一个判断来决定最后的颜色值。
在图中,我们可以根据分割出来的区域来确定周围四个像素对其目标点的贡献权重值。
对于(x1,y1)对其目标点的贡献为:disX2 * disY2;
对于(x2,y1)对其目标点的贡献为:disX1 * disY2;
对于(x1,y2)对其目标点的贡献为:disX2 * disY1;
对于(x2,y2)对其目标点的贡献为:disX1 * disY1;
其实可以看出规律,就是想对应的面积区域所占整体面积(为1)的比值,因为是负相关的。
同样的,在Image中实现:
- Image* Image::zoomImageBilinear(const Image* _image, float _zoomX, float _zoomY)
- {
- int _width = _image->getWidth() * _zoomX;
- int _height = _image->getHeight() * _zoomY;
- byte* _data = new byte[_width * _height * sizeof(RGBA)];
- Image* _resultImage = nullptr;
- float coordX = 0.0, coordY = 0.0;
- int x1 = 0, x2 = 0, y1 = 0, y2 = 0;
- float disX1 = 0.0, disY1 = 0.0, disX2 = 0.0, disY2 = 0.0;
- for (int i = 0; i < _width; ++i) {
- //disX1 disX2的计算
- coordX = i / _zoomX;
- x1 = (int)coordX;
- if (x1 >= _image->getWidth() - 1) {
- x1 = _image->getWidth() - 1;
- x2 = x1;
- }
- else {
- x2 = x1 + 1;
- }
- disX1 = coordX - x1;
- disX2 = 1.0 - disX1;
- for (int j = 0; j < _height; ++j) {
- //disY1 disY2的计算
- coordY = j / _zoomY;
- y1 = (int)coordY;
- if (y1 >= _image->getHeight() - 1) {
- y1 = _image->getHeight() - 1;
- y2 = y1;
- }
- else {
- y2 = y1 + 1;
- }
- disY1 = coordY - y1;
- disY2 = 1.0 - disY1;
- //取周围四个像素的颜色值
- RGBA _color11 = _image->getColor(x1, y1);
- RGBA _color21 = _image->getColor(x1, y2);
- RGBA _color12 = _image->getColor(x2, y1);
- RGBA _color22 = _image->getColor(x2, y2);
- RGBA _targetColor;
- _targetColor.m_r =
- (float)_color11.m_r * disX2 * disY2 +
- (float)_color12.m_r * disX2 * disY1 +
- (float)_color21.m_r * disX1 * disY2 +
- (float)_color22.m_r * disX1 * disX2;
- _targetColor.m_g =
- (float)_color11.m_g * disX2 * disY2 +
- (float)_color12.m_g * disX2 * disY1 +
- (float)_color21.m_g * disX1 * disY2 +
- (float)_color22.m_g * disX1 * disX2;
- _targetColor.m_b =
- (float)_color11.m_b * disX2 * disY2 +
- (float)_color12.m_b * disX2 * disY1 +
- (float)_color21.m_b * disX1 * disY2 +
- (float)_color22.m_b * disX1 * disX2;
- _targetColor.m_a =
- (float)_color11.m_a * disX2 * disY2 +
- (float)_color12.m_a * disX2 * disY1 +
- (float)_color21.m_a * disX1 * disY2 +
- (float)_color22.m_a * disX1 * disX2;
- memcpy(_data + (j * _width + i) * sizeof(RGBA), &_targetColor, sizeof(RGBA));
- }
- }
- _resultImage = new Image(_width, _height, _data);
- delete[]_data;
- return _resultImage;
- }

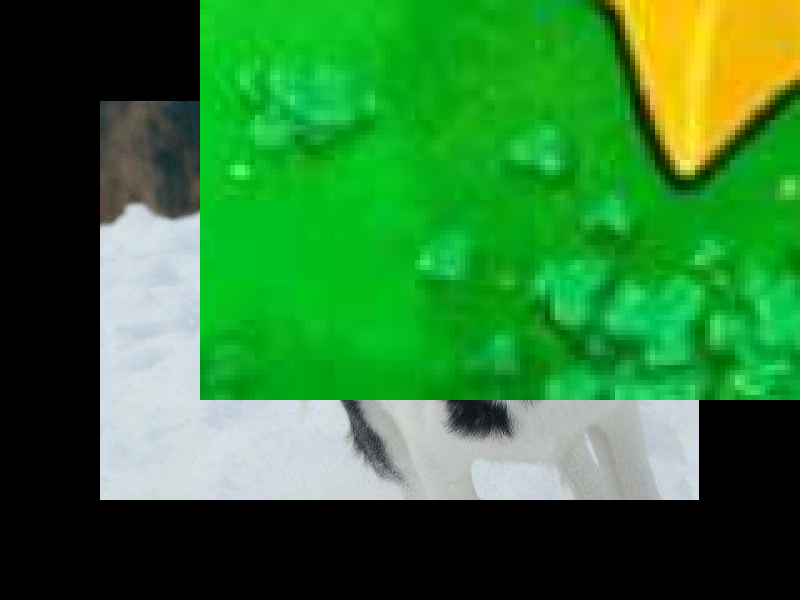
我们来对比一下两种方法:

下面是简单插值,上面是二次线性插值,明显二次线性插值会更清晰一些,这里由于图片颜色比较特殊,所以看起来有些瑕疵,但原理大致是正确的。
-
相关阅读:
ARM CoreSight相关模块简介
不经意传输协议OT
powershell和cmd对比
微电网优化调度|农村农业区可再生能源微电网优化调度(Python代码实现)
在线流程图和思维导图开发技术详解(五)
15 | JPA 对 Web MVC 开发者做了哪些支持
终于理解 Spring Boot为什么如此受青睐 HikariCP了,这图太透彻
济南ISO 能源管理体系认证
【文件同步和备份软件】上海道宁为您带来GoodSync软件,让您轻松备份和同步您的文件
OpenHarmony网络协议通信—libevent [GN编译] - 事件通知库
- 原文地址:https://blog.csdn.net/Jason6620/article/details/127947367
