-
使用kubeadm部署kubernetes集群
环境
安装三台Linux系统(一主二从),使用Centos8系统,在每台linux中分别安装docker,kubeadm,kubelet,kubelet
主机 IP master 192.168.159.100 node1 192.168.159.101 node2 192.168.159.102 环境初始化
配置hosts
[root@master ~]# vim /etc/hosts 192.168.159.100 master.example.com master 192.168.159.101 node1.example.com node1 192.168.159.102 node2.example.com node2 [root@master ~]# scp /etc/hosts root@192.168.159.101:/etc/hosts [root@master ~]# scp /etc/hosts root@192.168.159.102:/etc/hosts- 1
- 2
- 3
- 4
- 5
- 6
- 7
配置时钟同步
master
[root@master ~]# vim /etc/chrony.conf local stratum 10 //取消注释 [root@master ~]# systemctl restart chronyd [root@master ~]# systemctl enable chronyd [root@master ~]# hwclock -w- 1
- 2
- 3
- 4
- 5
- 6
node1和node2
[root@node1 ~]# vim /etc/chrony.conf server master.example.com iburst [root@node1 ~]# systemctl restart chronyd [root@node1 ~]# systemctl enable chronyd [root@node1 ~]# hwclock -w- 1
- 2
- 3
- 4
- 5
- 6
禁用firewalld、selinux、postfix
三台主机都做
[root@master ~]# systemctl stop firewalld.service [root@master ~]# systemctl disable firewalld.service [root@master ~]# vim /etc/selinux/config SELINUX=disabled [root@master ~]# setenforce 0 [root@master ~]# systemctl stop postfix [root@master ~]# systemctl disable postfix- 1
- 2
- 3
- 4
- 5
- 6
- 7
- 8
- 9
禁用swap分区
三台主机都做
[root@master ~]# vim /etc/fstab #/dev/mapper/cs-swap none swap defaults 0 0 [root@master ~]# swapoff -a- 1
- 2
- 3
- 4
开启IP转发、修改内核信息
三台主机都做
[root@master ~]# vim /etc/sysctl.d/kuber.conf net.ipv4.ip_forward = 1 net.bridge.bridge-nf-call-ip6tables = 1 net.bridge.bridge-nf-call-iptables = 1 [root@master ~]# modprobe br_netfilter [root@master ~]# sysctl -p /etc/sysctl.d/kuber.conf net.ipv4.ip_forward = 1 net.bridge.bridge-nf-call-ip6tables = 1 net.bridge.bridge-nf-call-iptables = 1- 1
- 2
- 3
- 4
- 5
- 6
- 7
- 8
- 9
- 10
配置IPVS
三台主机都做
[root@master ~]# vim /etc/sysconfig/modules/ipvs.modules #!/bin/bash modprobe -- ip_vs modprobe -- ip_vs_rr modprobe -- ip_vs_wrr modprobe -- ip_vs_sh [root@master ~]# chmod +x /etc/sysconfig/modules/ipvs.modules [root@master ~]# bash /etc/sysconfig/modules/ipvs.modules [root@master ~]# lsmod | grep -e ip_vs ip_vs_sh 16384 0 ip_vs_wrr 16384 0 ip_vs_rr 16384 0 ip_vs 172032 6 ip_vs_rr,ip_vs_sh,ip_vs_wrr [root@master ~]# reboot- 1
- 2
- 3
- 4
- 5
- 6
- 7
- 8
- 9
- 10
- 11
- 12
- 13
- 14
- 15
- 16
安装Docker
配置yum源
[root@master ~]# curl -o /etc/yum.repos.d/CentOS-Base.repo https://mirrors.aliyun.com/repo/Centos-vault-8.5.2111.repo [root@master ~]# yum install -y https://mirrors.aliyun.com/epel/epel-release-latest-8.noarch.rpm [root@master ~]# sed -i 's|^#baseurl=https://download.example/pub|baseurl=https://mirrors.aliyun.com|' /etc/yum.repos.d/epel* [root@master ~]# sed -i 's|^metalink|#metalink|' /etc/yum.repos.d/epel* [root@master ~]# cd /etc/yum.repos.d/ [root@master yum.repos.d]# wget https://mirrors.aliyun.com/docker-ce/linux/centos/docker-ce.repo [root@master yum.repos.d]# ls CentOS-Base.repo docker-ce.repo epel-modular.repo epel.repo epel-testing-modular.repo epel-testing.repo [root@master yum.repos.d]# scp * root@node1:/etc/yum.repos.d/ [root@master yum.repos.d]# scp * root@node2:/etc/yum.repos.d/- 1
- 2
- 3
- 4
- 5
- 6
- 7
- 8
- 9
- 10
- 11
- 12
安装docker-ce
三台主机都做
[root@master ~]# yum -y install docker-ce --allowerasing [root@master ~]# systemctl restart docker [root@master ~]# systemctl enable docker- 1
- 2
- 3
配置镜像加速器
三台主机都配置
[root@master ~]# cat > /etc/docker/daemon.json << EOF { "registry-mirrors": ["https://cj9sucfo.mirror.aliyuncs.com"], "exec-opts": ["native.cgroupdriver=systemd"], "log-driver": "json-file", "log-opts": { "max-size": "100m" }, "storage-driver": "overlay2" } EOF [root@master ~]# systemctl daemon-reload [root@master ~]# systemctl restart docker- 1
- 2
- 3
- 4
- 5
- 6
- 7
- 8
- 9
- 10
- 11
- 12
- 13
- 14
安装kubernetes组件
配置yum源
三台主机都配置
[root@master ~]# cat > /etc/yum.repos.d/kubernetes.repo << EOF [kubernetes] name=Kubernetes baseurl=https://mirrors.aliyun.com/kubernetes/yum/repos/kubernetes-el7-x86_64 enabled=1 gpgcheck=0 repo_gpgcheck=0 gpgkey=https://mirrors.aliyun.com/kubernetes/yum/doc/yum-key.gpg https://mirrors.aliyun.com/kubernetes/yum/doc/rpm-package-key.gpg EOF- 1
- 2
- 3
- 4
- 5
- 6
- 7
- 8
- 9
安装kubeadm、kubelet、kubectl工具
三台主机都配置
[root@master ~]# yum -y install kubeadm kubectl kubelet [root@master ~]# systemctl restart kubelet [root@master ~]# systemctl enable kubelet- 1
- 2
- 3
配置containerd
三台主机都配置
[root@master ~]# containerd config default > /etc/containerd/config.toml [root@master ~]# vim /etc/containerd/config.toml sandbox_image = "registry.aliyuncs.com/google_containers/pause:3.6" [root@master ~]# systemctl restart containerd.service [root@master ~]# systemctl enable containerd.service- 1
- 2
- 3
- 4
- 5
- 6
部署master
[root@master ~]# kubeadm init \ --apiserver-advertise-address=192.168.159.100 \ --image-repository registry.aliyuncs.com/google_containers \ --kubernetes-version v1.25.4 \ --service-cidr=10.96.0.0/12 \ --pod-network-cidr=10.244.0.0/16- 1
- 2
- 3
- 4
- 5
- 6
Your Kubernetes control-plane has initialized successfully! To start using your cluster, you need to run the following as a regular user: mkdir -p $HOME/.kube sudo cp -i /etc/kubernetes/admin.conf $HOME/.kube/config sudo chown $(id -u):$(id -g) $HOME/.kube/config Alternatively, if you are the root user, you can run: export KUBECONFIG=/etc/kubernetes/admin.conf You should now deploy a pod network to the cluster. Run "kubectl apply -f [podnetwork].yaml" with one of the options listed at: https://kubernetes.io/docs/concepts/cluster-administration/addons/ Then you can join any number of worker nodes by running the following on each as root: kubeadm join 192.168.159.100:6443 --token e0fbnt.uebgge8xhb3rfysi \ --discovery-token-ca-cert-hash sha256:a551e2318dae7d39c7d58bb444e5bfee6e5cddda8b8a3142b9ffe0722059836f- 1
- 2
- 3
- 4
- 5
- 6
- 7
- 8
- 9
- 10
- 11
- 12
- 13
- 14
- 15
- 16
- 17
- 18
- 19
- 20
[root@master ~]# vim /etc/profile.d/kuber.sh export KUBECONFIG=/etc/kubernetes/admin.conf [root@master ~]# source /etc/profile.d/kuber.sh- 1
- 2
- 3
安装pod网络插件
[root@master ~]# wget https://raw.githubusercontent.com/coreos/flannel/master/Documentation/kube-flannel.yml [root@master ~]# kubectl apply -f kube-flannel.yml- 1
- 2
将node节点加入k8s集群
[root@node1 ~]# kubeadm join 192.168.159.100:6443 --token e0fbnt.uebgge8xhb3rfysi \ > --discovery-token-ca-cert-hash sha256:a551e2318dae7d39c7d58bb444e5bfee6e5cddda8b8a3142b9ffe0722059836f [root@node2 ~]# kubeadm join 192.168.159.100:6443 --token e0fbnt.uebgge8xhb3rfysi \ > --discovery-token-ca-cert-hash sha256:a551e2318dae7d39c7d58bb444e5bfee6e5cddda8b8a3142b9ffe0722059836f- 1
- 2
- 3
- 4
- 5
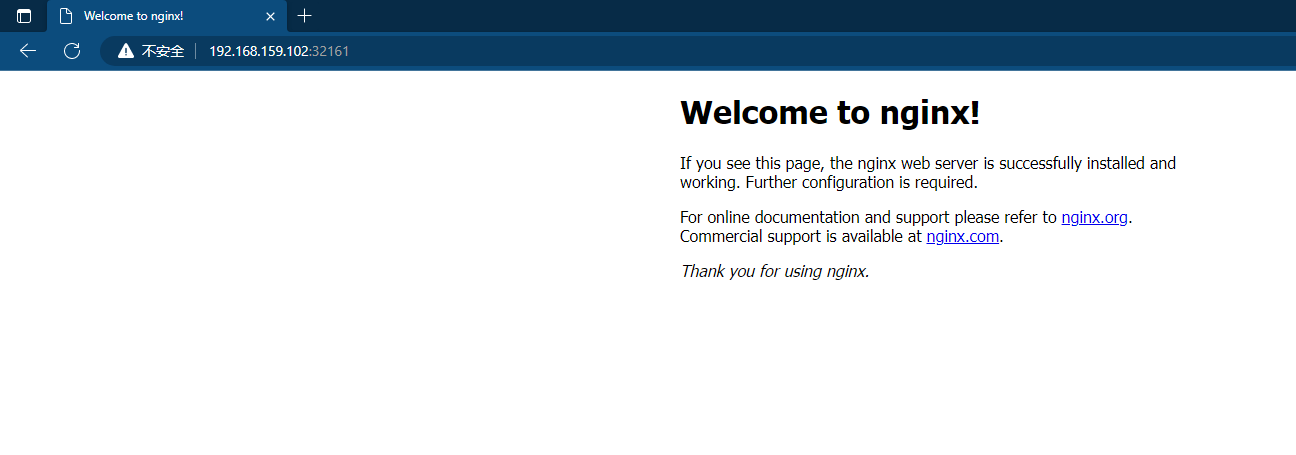
创建pod,运行nginx容器进行测试
[root@master ~]# kubectl create deployment nginx --image nginx deployment.apps/nginx created [root@master ~]# kubectl get pods NAME READY STATUS RESTARTS AGE nginx-76d6c9b8c-wshgm 1/1 Running 0 28s [root@master ~]# kubectl expose deployment nginx --port 80 --type NodePort service/nginx exposed [root@master ~]# kubectl get pods -o wide NAME READY STATUS RESTARTS AGE IP NODE NOMINATED NODE READINESS GATES nginx-76d6c9b8c-wshgm 1/1 Running 0 38s 10.244.2.3 node2.example.com[root@master ~]# kubectl get services NAME TYPE CLUSTER-IP EXTERNAL-IP PORT(S) AGE kubernetes ClusterIP 10.96.0.1 443/TCP 41m nginx NodePort 10.107.219.56 80:32161/TCP 23s - 1
- 2
- 3
- 4
- 5
- 6
- 7
- 8
- 9
- 10
- 11
- 12
- 13
- 14
- 15
- 16
- 17
访问测试
修改默认网页
[root@master ~]# kubectl exec -it pod/nginx-76d6c9b8c-wshgm -- /bin/bash root@nginx-76d6c9b8c-wshgm:/# cd /usr/share/nginx/html/ root@nginx-76d6c9b8c-wshgm:/usr/share/nginx/html# echo "test" > index.html- 1
- 2
- 3
再次访问

-
相关阅读:
项目需求分析5大常见问题及解决方案
深度学习笔记_1、定义神经网络
osg + pbr(三)Pbr直射光,使用回调函数替代漫游器
从0到1的二次反序列化
二叉树前序、中序、后序遍历(递归法、迭代法)
RPA在跨境电商领域在哪些应用场景?
【MATLAB 入门手册】基本操作与矩阵输入
ZDOCK linux 下载(无需安装)、配置、使用
CommonsCollection6反序列化链学习
算法系列六:十大经典排序算法之——插入排序
- 原文地址:https://blog.csdn.net/mw5258/article/details/127903724
