-
ClickHouse学习笔记之监控
概述
ClickHouse运行时会将一些自身的运行状态记录到众多系统表中(
system.*),所以我们对于ClickHouse的运行指标的监控,也主要来自于这些系统表,但是这种方式有两个弊端:
1)、过于底层,不够直观,我们需要可视化展示;
2)、系统表只记录了ClickHouse自身的运行指标,有时候我们需要通过外部系统的指标进行关联分析,比如ZooKeeper、服务器CPU等。
现在Prometheus+Grafana的组合较为流行,安装简单,可以继承很多框架,Prometheus负责收集各类系统的运行指标,Grafana负责可视化展示。ClickHouse从20.1.2.4开始,内置了对接Prometheus的功能,配置方式也很简单,可作为Prometheus的Endpoint服务,从而自动将metrics、events和asynchronous_metrics三张系统表的数据发给Prometheus。安装配置第三方库
Prometheus
下载地址,解压安装包,并修改目录名:
[root@scentos szc]# tar -zxvf prometheus-2.26.0.linux-amd64.tar.gz [root@scentos szc]# mv prometheus-2.26.0.linux-amd64/ prometheus-2.26.0/ [root@scentos szc]# cd prometheus-2.26.0/- 1
- 2
- 3
然后修改配置文件prometheus.yml:
[root@scentos prometheus-2.26.0]# vim prometheus.yml- 1
将scrape_configs一项修改成如下形式:
scrape_configs: # The job name is added as a label `job=` to any timeseries scraped from this config. - job_name: 'prometheus' # metrics_path defaults to '/metrics' # scheme defaults to 'http'. static_configs: - targets: ['scentos:9090'] # 主机ip:9090 - job_name: 'clickhouse' # clickHouse任务 static_configs: - targets: ['scentos:9363'] # 主机ip:9363- 1
- 2
- 3
- 4
- 5
- 6
- 7
- 8
- 9
- 10
- 11
- 12
- 13
然后启动prometeus:
[root@scentos prometheus-2.26.0]# nohup ./prometheus --config.file=prometheus.yml nohup: ignoring input and appending output to ‘nohup.out’- 1
- 2
在浏览器访问ip:9090,并查看
Status->Targets:

可见如下界面:
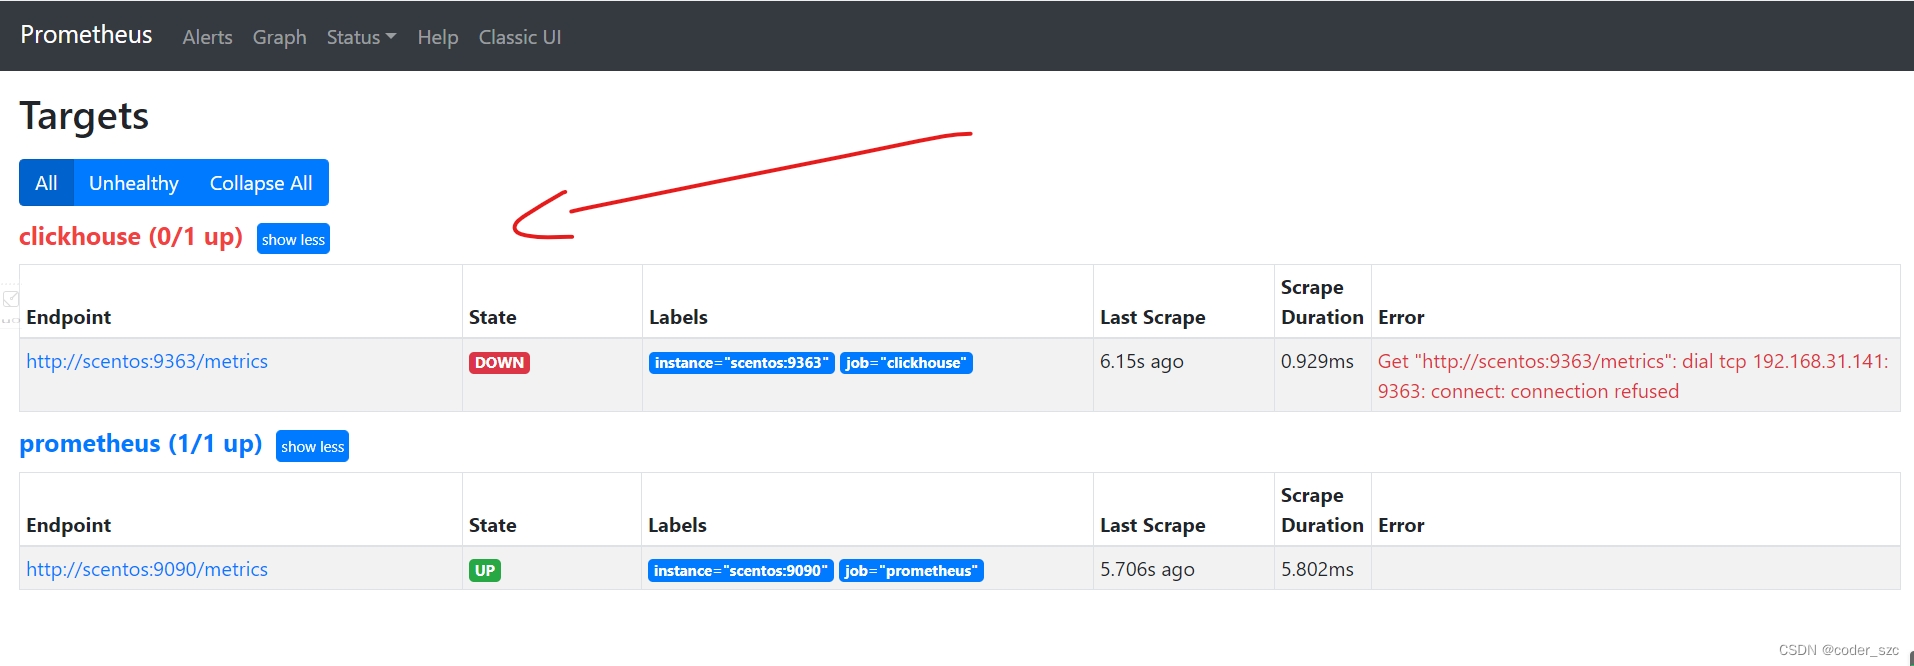
因为我们的ClickHouse还没有对Prometheus配置,因此这样是正常的,不过已经说明Prometheus正常安装、配置并启动了。Grafana
下载安装:
[root@scentos szc]# wget https://dl.grafana.com/enterprise/release/grafana-enterprise-7.5.2-1.x86_64.rpm [root@scentos szc]# yum install grafana-enterprise-7.5.2-1.x86_64.rpm- 1
- 2
直接启动:
[root@scentos szc]# service grafana-server start- 1
访问ip:3000,用户名密码都是admin:

第一次访问要修改密码,不过可以点击下面的skip跳过这一步,就进入grafana的主界面:

至此,grafana安装启动成功。配置ClickHouse
修改文件/etc/clickhouse-server/config.xml:
[root@scentos szc]# vim /etc/clickhouse-server/config.xml- 1
打开如下代码的配置:
<prometheus> <endpoint>/metricsendpoint> <port>9363port> <metrics>truemetrics> <events>trueevents> <asynchronous_metrics>trueasynchronous_metrics> <status_info>truestatus_info> prometheus>- 1
- 2
- 3
- 4
- 5
- 6
- 7
- 8
- 9
重启ClickHouse:
[root@scentos szc]# systemctl restart clickhouse-server- 1
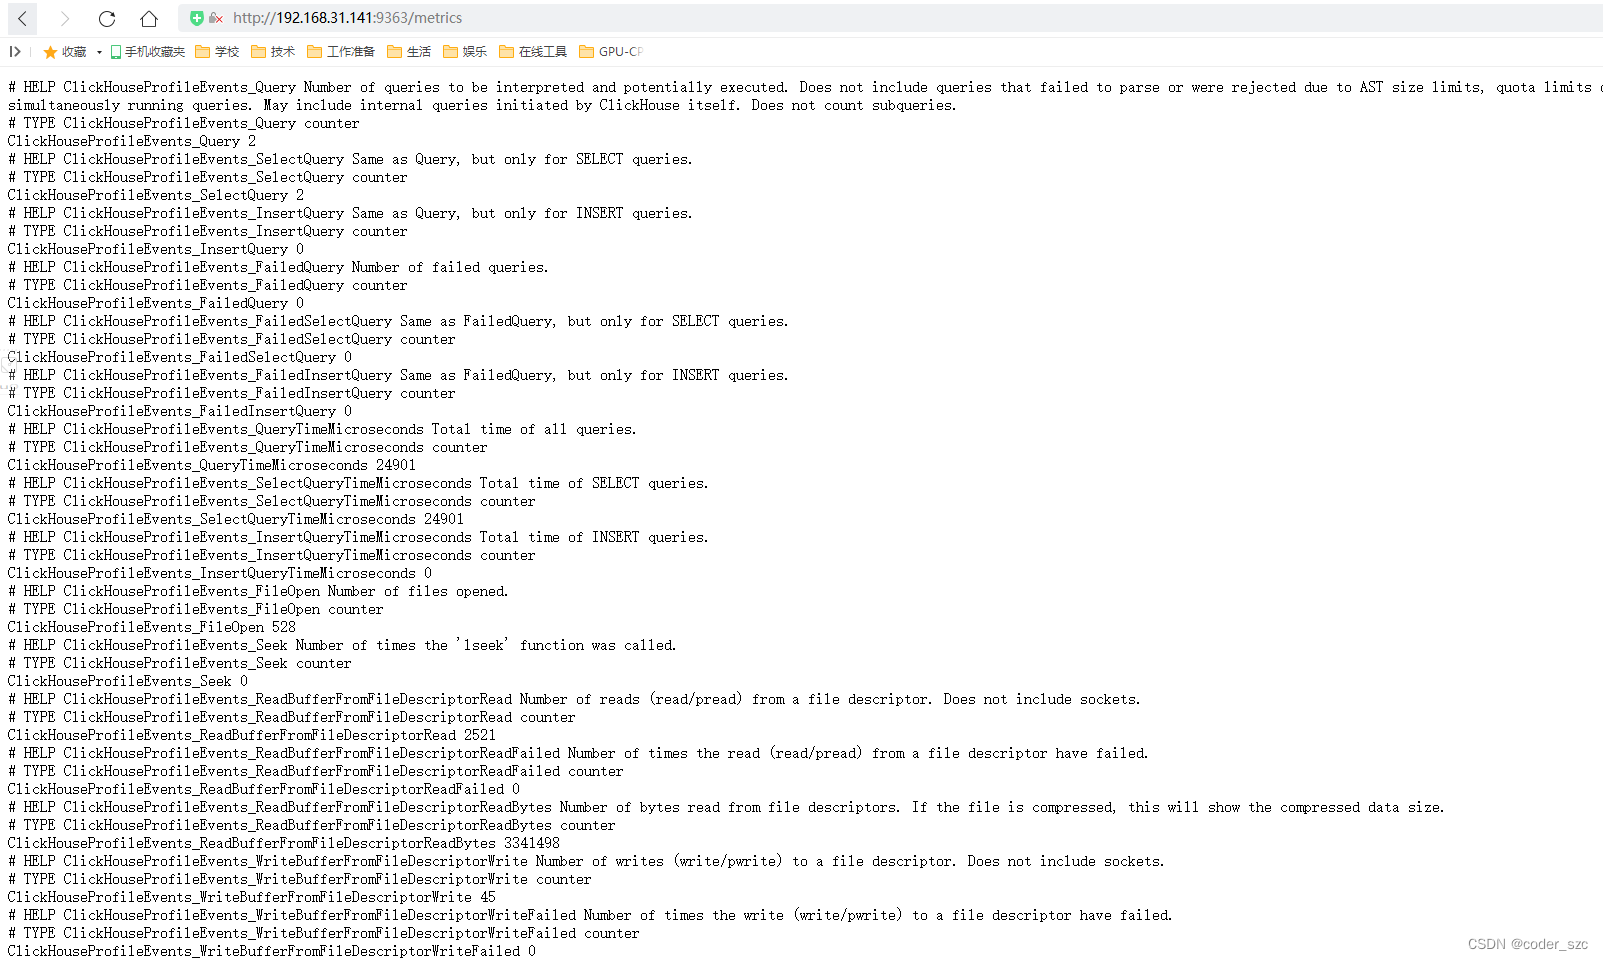
然后从浏览器访问ip:9363/metrics,会看到以下界面:
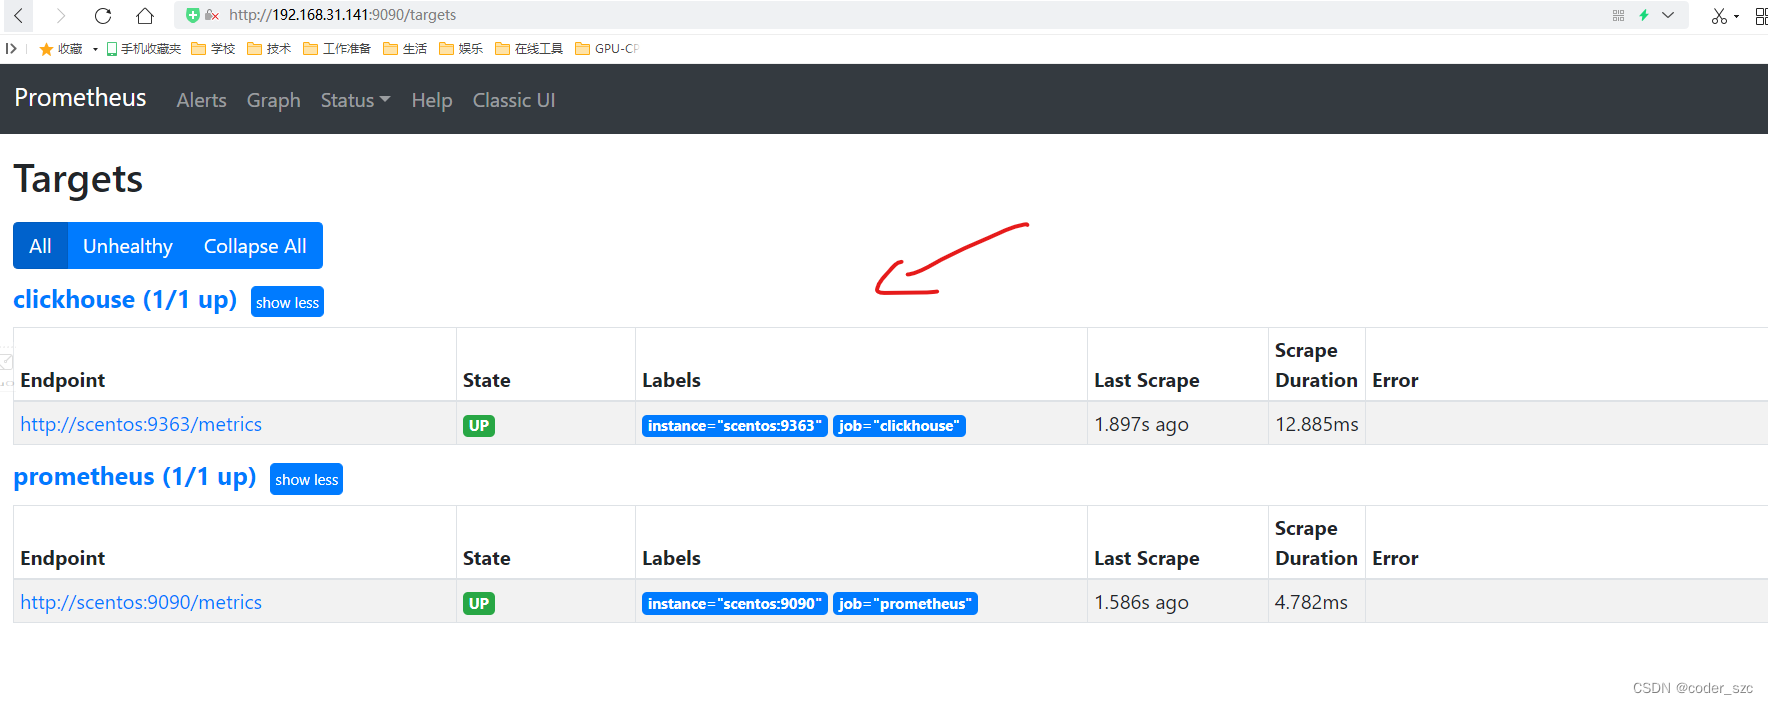
然后重启Prometheus,稍候片刻回到targets下,看到clickhouse的状态是up,说明ClickHouse和Prometheus连接成功:
Grafana继承Prometheus
添加数据源Prometheus
点击配置->数据源:

然后点击添加数据源:

选择Prometheus:

输入Prometheus的ip:port:
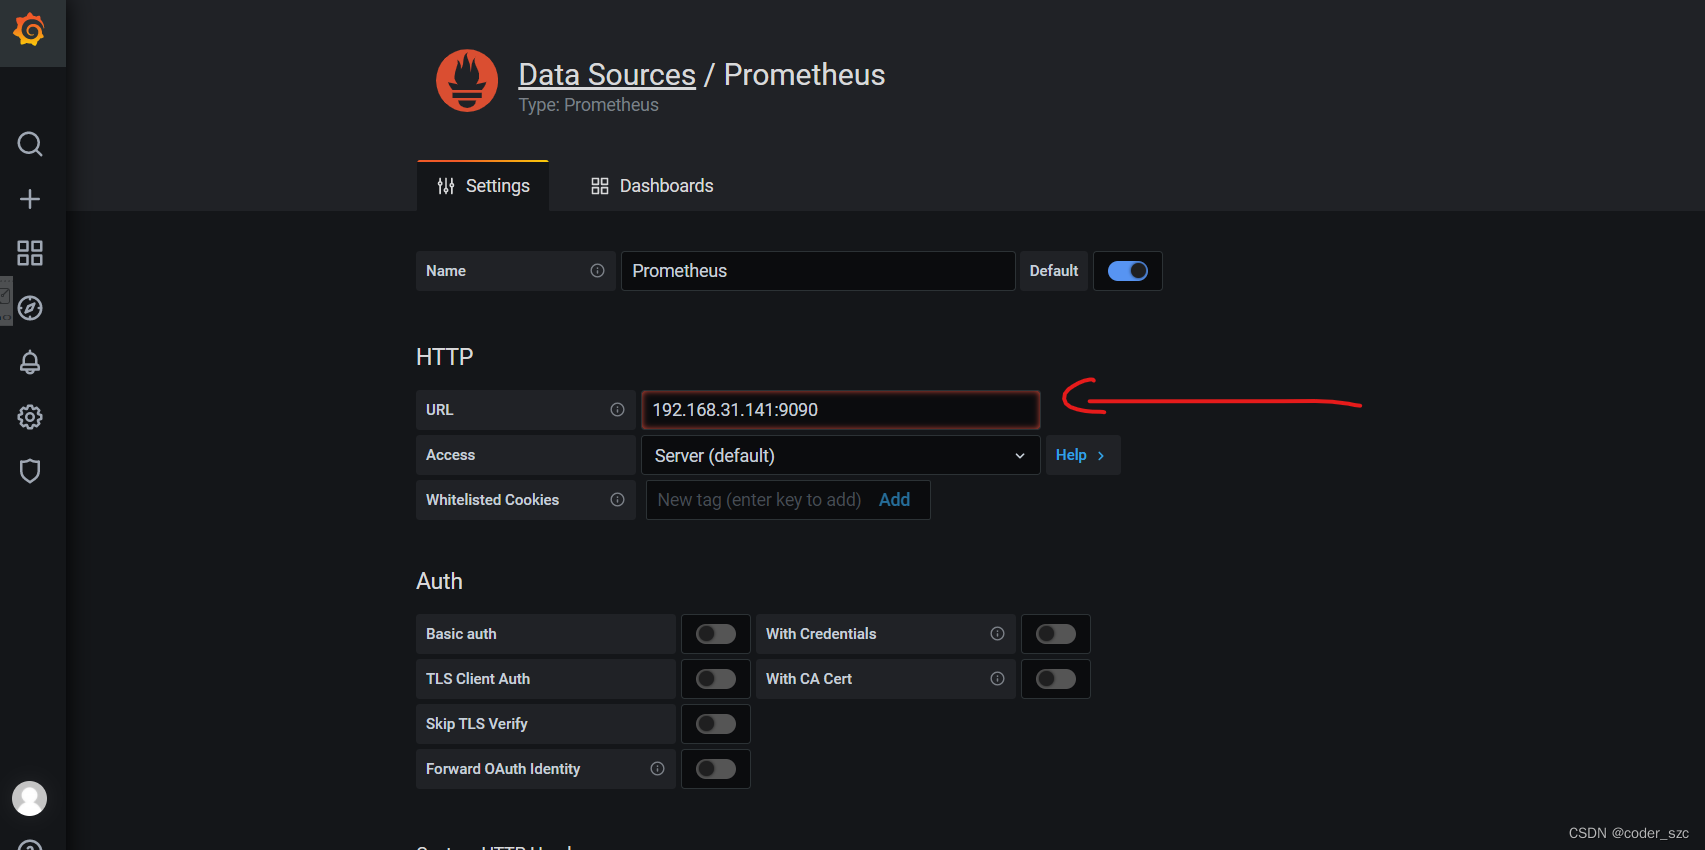
点击下面的保存&测试:
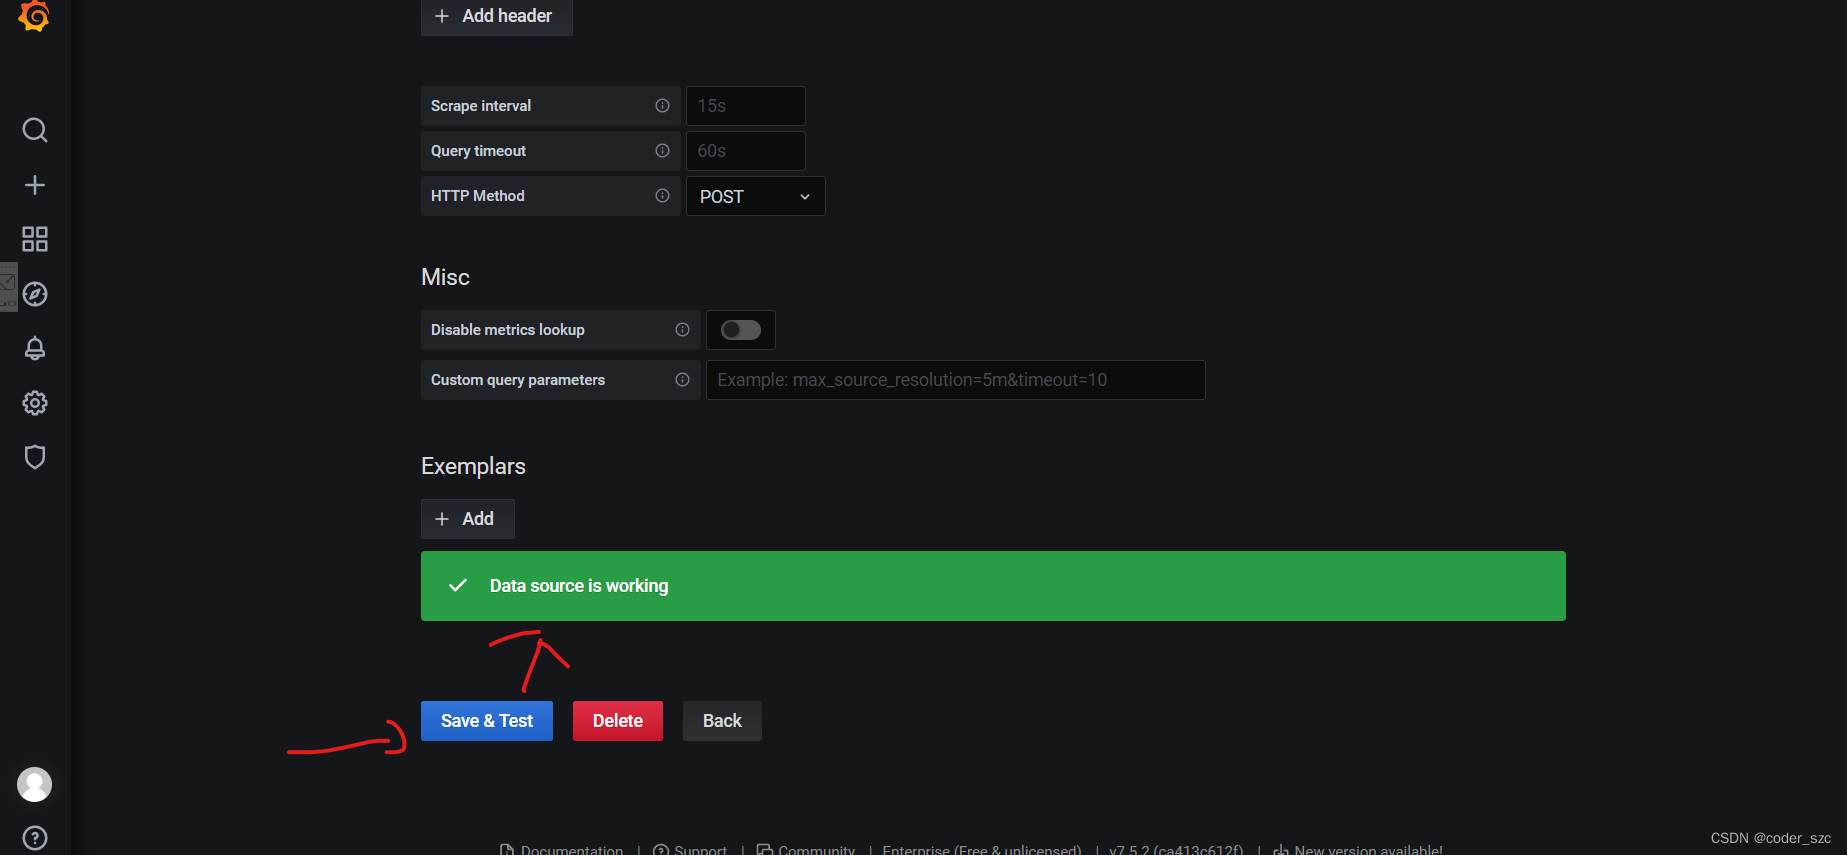
然后点击返回即可,可以看到我们新加的数据源:
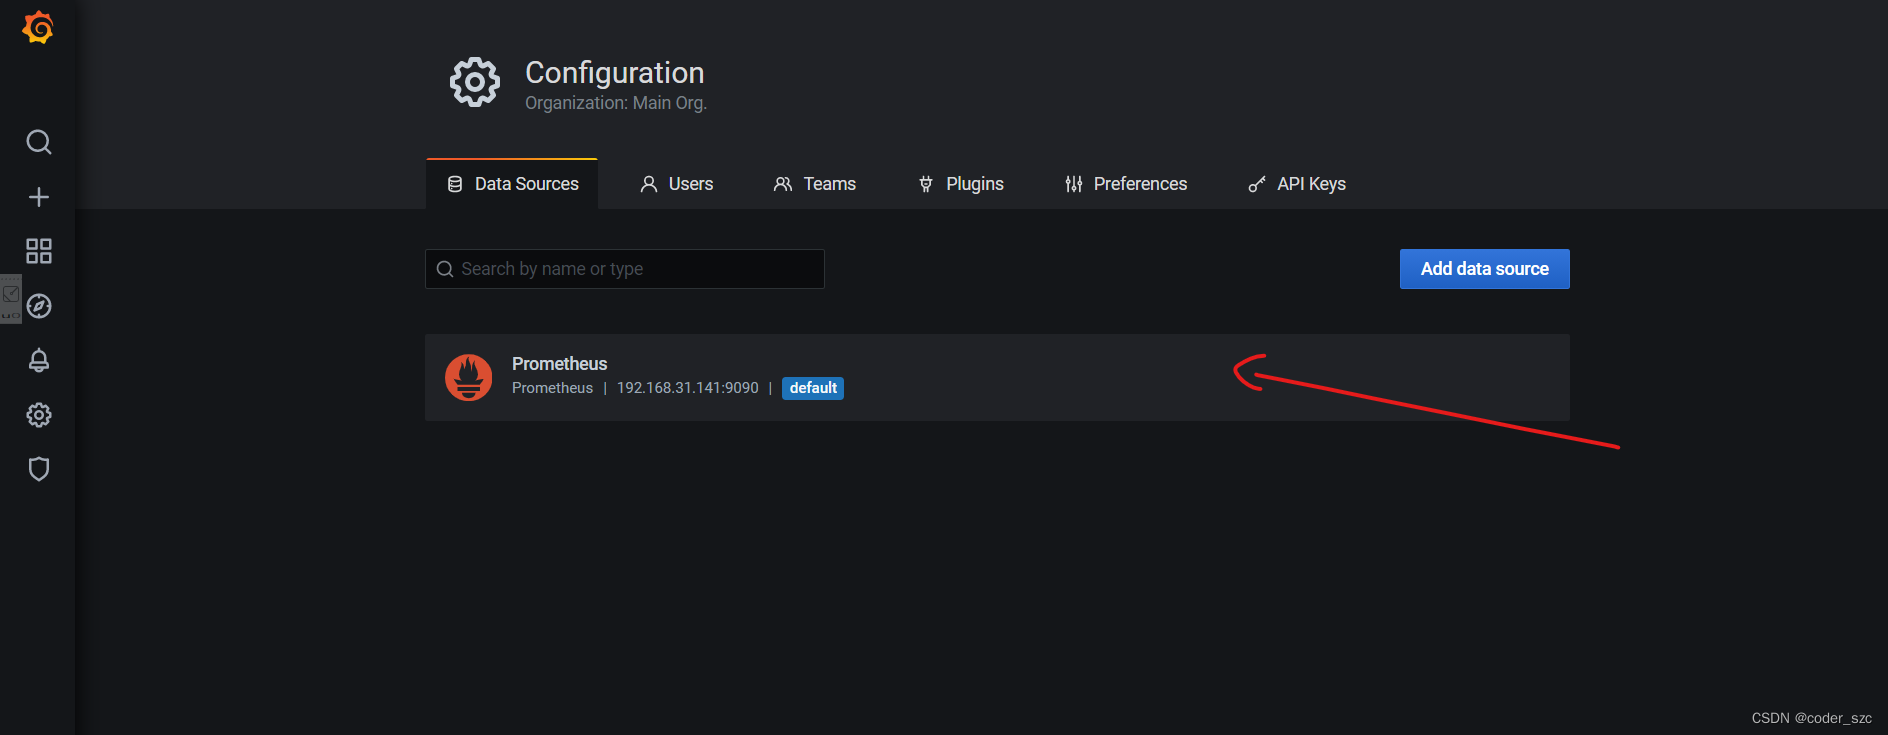
然后我们开始建立看板,不过我们不会从头建立,而是导入现有的看板模板,可从这里下载,然后在Grafana的界面中,点击加号->导入:

点击上传json文件:
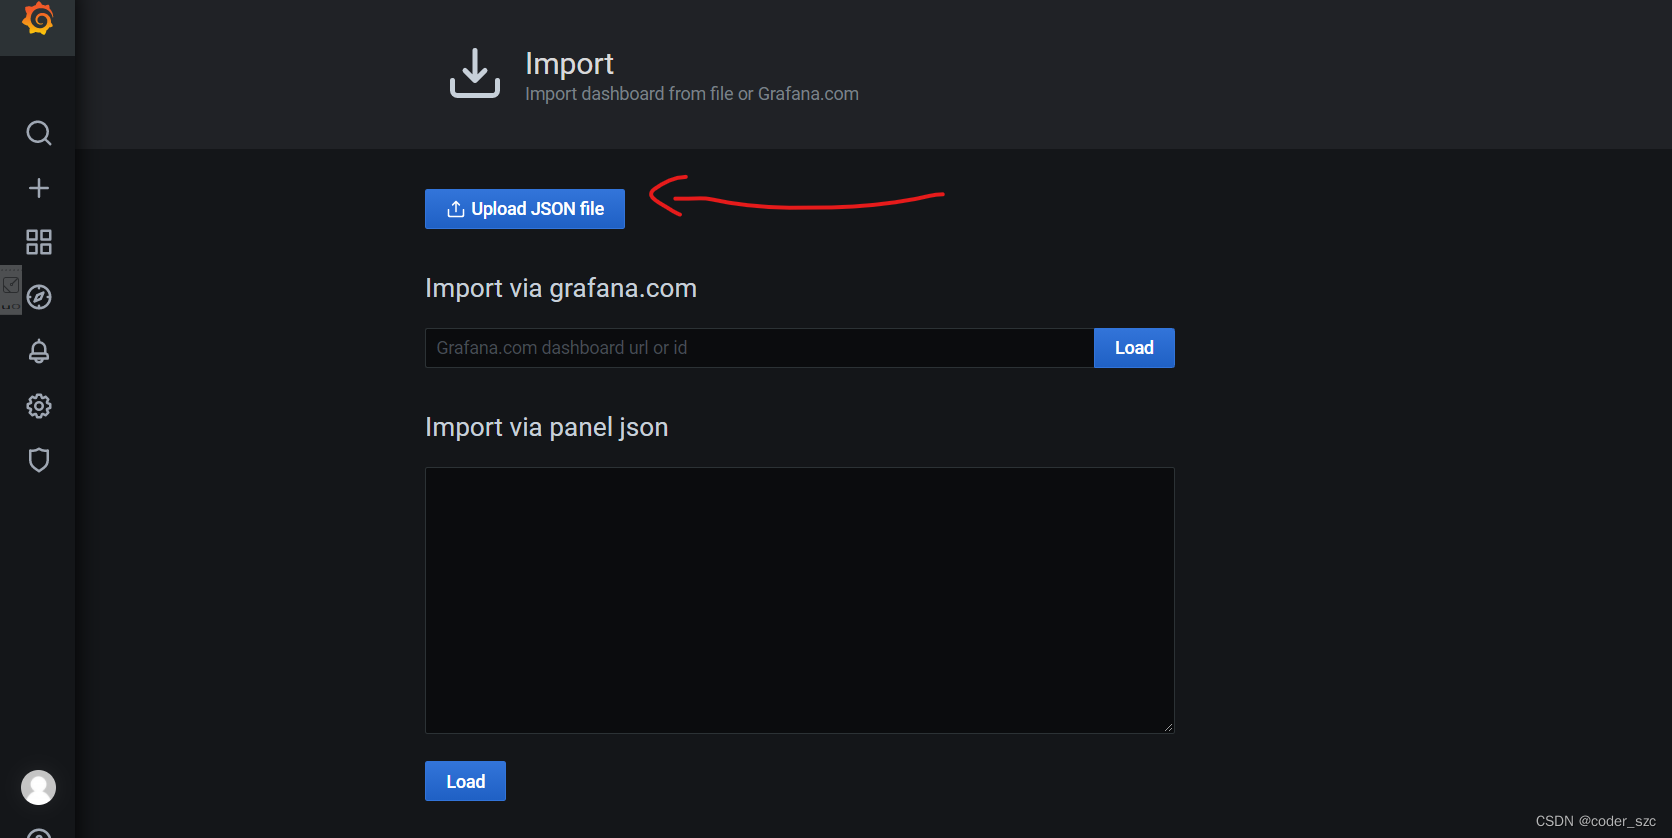
选择好json文件之后,选择我们的Prometheus数据源,点击导入:
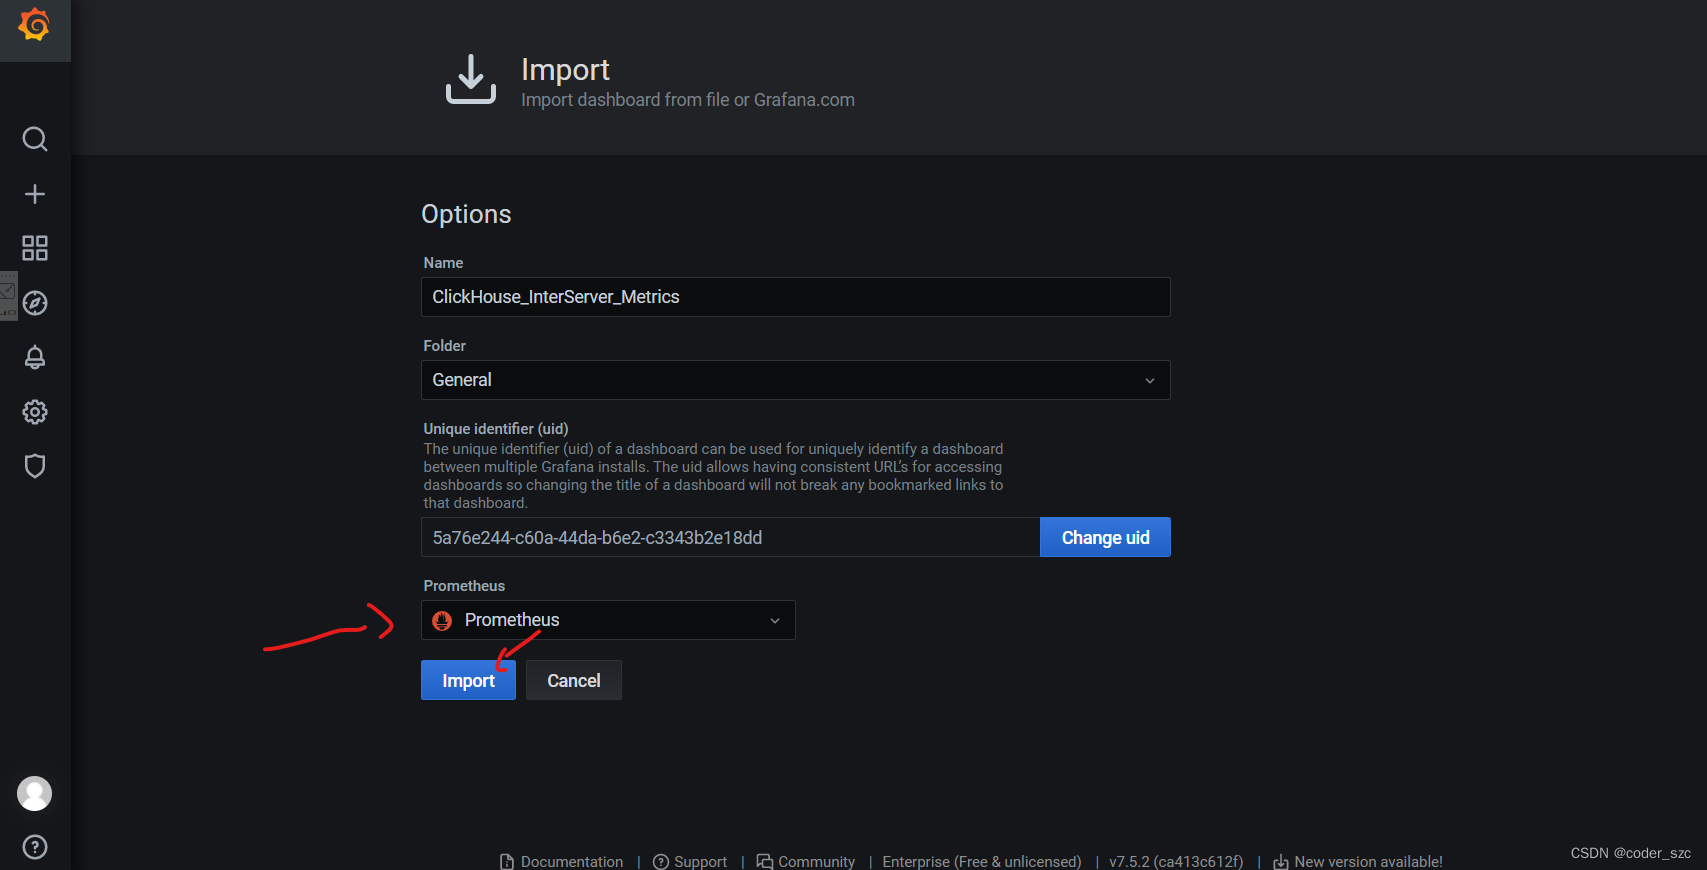
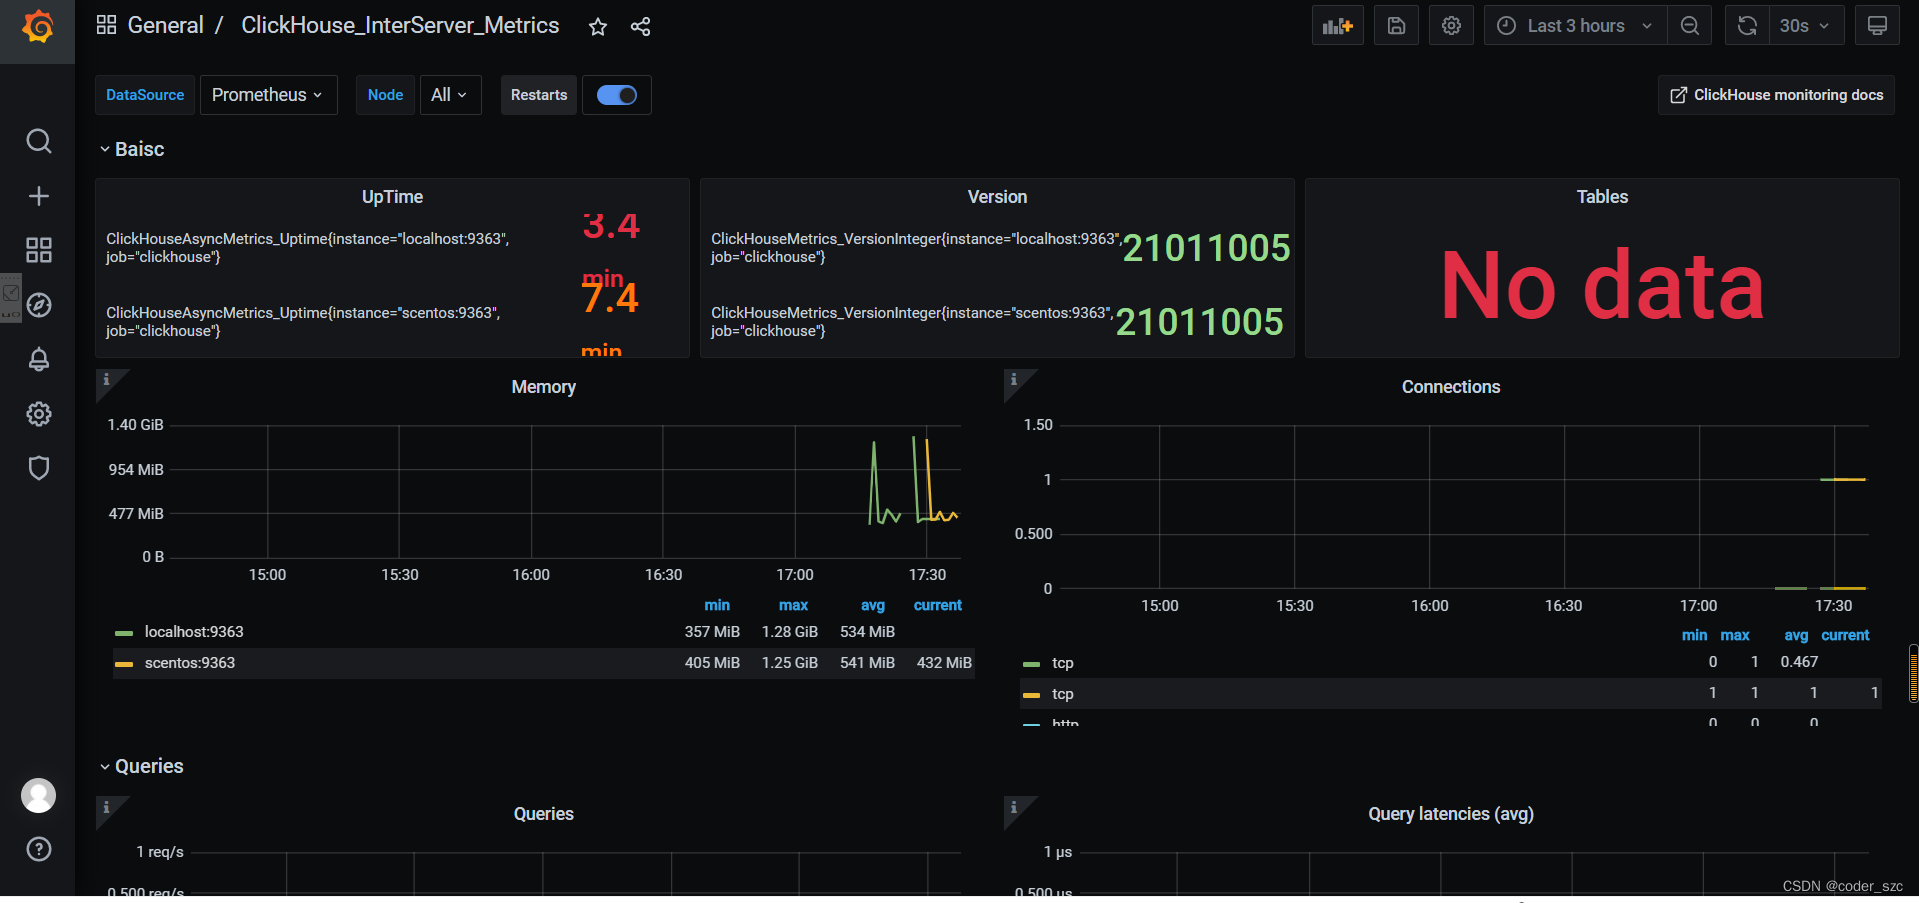
然后就可以看到丰富的指标数据了:
-
相关阅读:
mac flutter 配置
UVA10410 树重建 Tree Reconstruction
自动化测试 — selenium + Java
NOIP2011-2018提高组解题报告
葡萄串目标检测YoloV8——从Pytorch模型训练到C++部署
springboot解决multi-statement not allow(已部署生产)
XXE漏洞详解:从基础到防御
Spring系列九:Spring 事务
x-cmd ai | x openai - 用于发送 openai API 请求,以及与 ChatGPT 对话
EtherCAT转EtherNET/IP协议网关控制EtherCAT伺服驱动器的方法
- 原文地址:https://blog.csdn.net/qq_37475168/article/details/127817237