-
【EhCache: 一款Java的进程内缓存框架】EhCache 是什么、代码实战 Demo
1 EhCache 是什么
Ehcache 是一种开源的、基于标准的缓存,可提高性能、卸载数据库并简化可扩展性。它是最广泛使用的基于 Java 的缓存,因为它健壮、经过验证、功能齐全,并且与其他流行的库和框架集成。Ehcache 从进程内缓存扩展到具有 TB 级缓存的混合进程内/进程外部署。主要面向通用缓存,Java EE和轻量级容器。可以和大部分Java项目无缝整合,例如:Hibernate中的缓存就是基于EhCache实现的。
EhCache支持内存和磁盘存储,默认存储在内存中,如内存不够时把缓存数据同步到磁盘中。EhCache支持基于Filter的Cache实现,也支持Gzip压缩算法。
EhCache直接在JVM虚拟机中缓存,速度快,效率高;
EhCache缺点是缓存共享麻烦,集群分布式应用使用不方便
官网:https://www.ehcache.org/

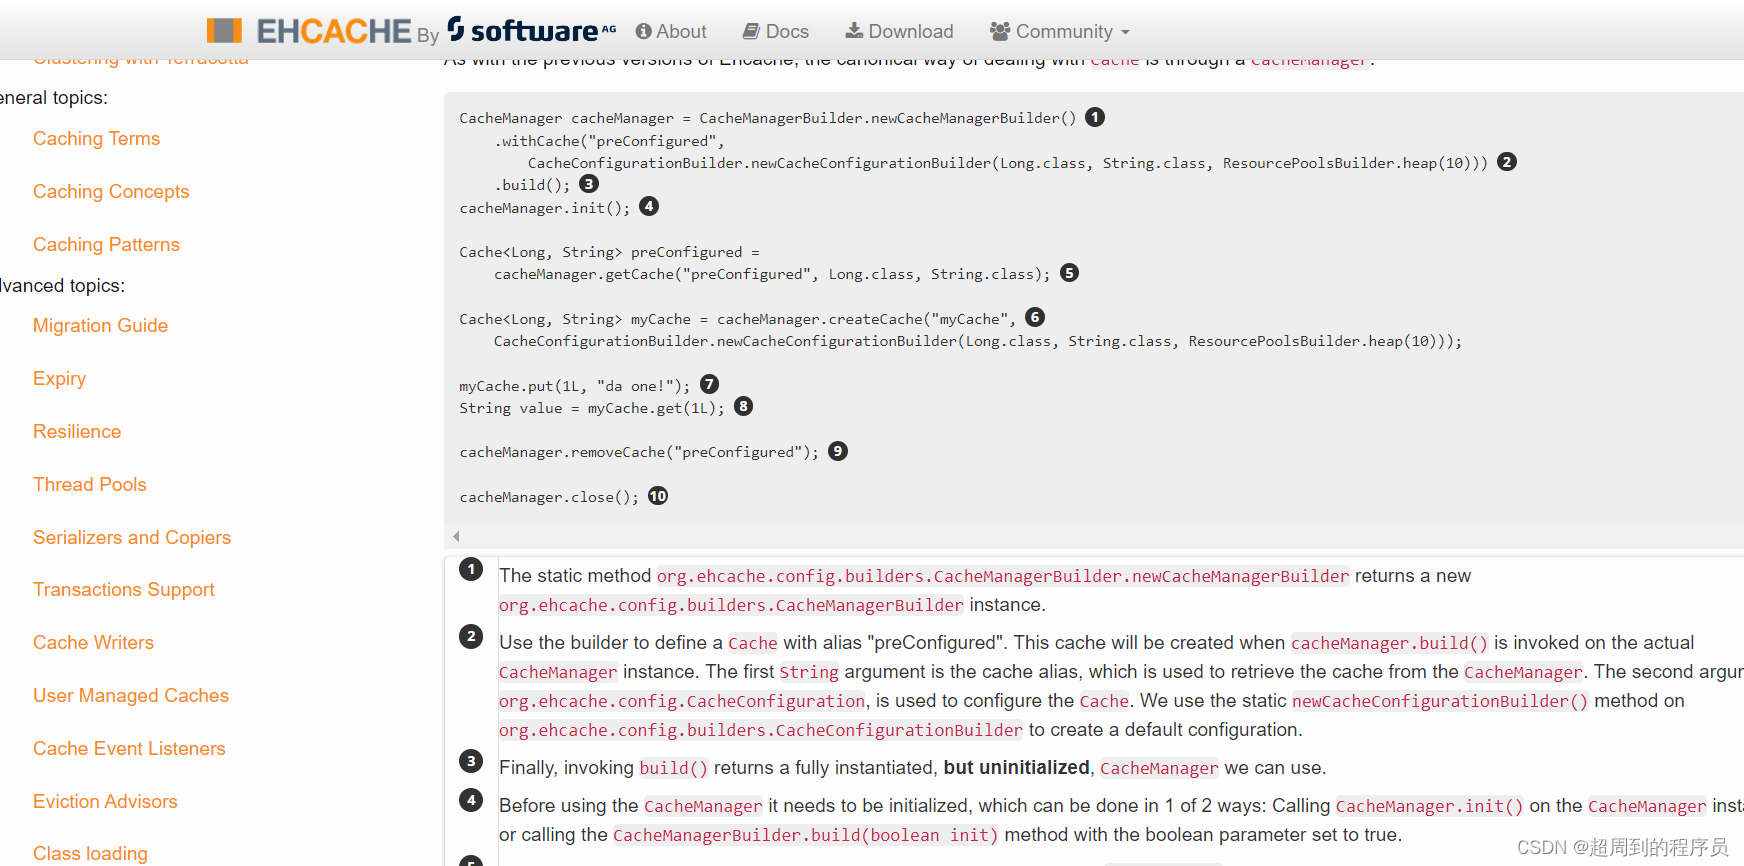
官方文档很特别,对于文档的代码还有对应标签的解释,十分贴心

2 EhCache 版本2 代码实战 Demo
pom.xml
由于项目原因,用的是 ehcache 2,如今 ehcache 3 已经在官网普及,并在首页有一个 Demo,大家如果要学习 3,可以直接看下面的 3 的 demo
<dependencies> <dependency> <groupId>net.sf.ehcachegroupId> <artifactId>ehcacheartifactId> <version>2.6.11version> <type>pomtype> dependency> dependencies>- 1
- 2
- 3
- 4
- 5
- 6
- 7
- 8
TestEH.java
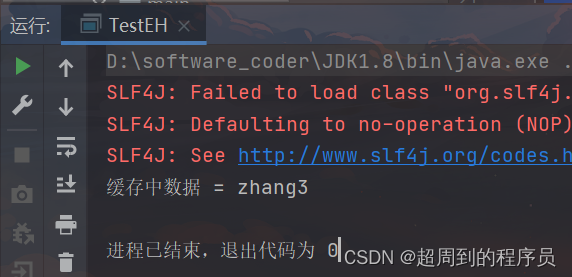
public class TestEH { public static void main(String[] args) { //获取编译目录下的资源的流对象 InputStream input = TestEH.class.getClassLoader().getResourceAsStream("ehcache.xml"); //获取EhCache的缓存管理对象 CacheManager cacheManager = new CacheManager(input); //获取缓存对象 Cache cache = cacheManager.getCache("HelloWorldCache"); //创建缓存数据 Element element = new Element("name", "zhang3"); //存入缓存 cache.put(element); //从缓存中取出数据输出 Element element1 = cache.get("name"); System.out.println("缓存中数据 = " + element1.getObjectValue()); } }- 1
- 2
- 3
- 4
- 5
- 6
- 7
- 8
- 9
- 10
- 11
- 12
- 13
- 14
- 15
- 16
- 17
- 18
ehcache.xml
<ehcache> <diskStore path="java.io.tmpdir/ehcache"/> <defaultCache maxEntriesLocalHeap="10000" eternal="false" timeToIdleSeconds="120" timeToLiveSeconds="120" maxEntriesLocalDisk="10000000" diskExpiryThreadIntervalSeconds="120" memoryStoreEvictionPolicy="LRU"> <persistence strategy="localTempSwap"/> defaultCache> <cache name="HelloWorldCache" maxElementsInMemory="1000" eternal="false" timeToIdleSeconds="5" timeToLiveSeconds="5" overflowToDisk="false" memoryStoreEvictionPolicy="LRU"/> ehcache>- 1
- 2
- 3
- 4
- 5
- 6
- 7
- 8
- 9
- 10
- 11
- 12
- 13
- 14
- 15
- 16
- 17
- 18
- 19
- 20
- 21
- 22
- 23
- 24
- 25
- 26
- 27
- 28
- 29
- 30
- 31
- 32
- 33
- 34
- 35
- 36
- 37
- 38
- 39
- 40
- 41
- 42
- 43
- 44
- 45
- 46
- 47
- 48

3 EhCache 版本3 代码实战 Demo
在版本 3 中,其中我们编码能直接感受到的表层的改进就是加入了泛型,在版本 2 中,我们 cache.put 时,需要提前包装一个 Element 对象,作为 key,而在 3 中更加方便。另外,CacheManager 的创建也变为了通过 builder 创建
pom.xml
<dependencies> <dependency> <groupId>org.ehcachegroupId> <artifactId>ehcacheartifactId> <version>3.10.0version> dependency> dependencies>- 1
- 2
- 3
- 4
- 5
- 6
- 7
TestEH.java
public class TestEH { public static void main(String[] args) { CacheManager cacheManager = CacheManagerBuilder.newCacheManagerBuilder() .withCache("preConfigured", CacheConfigurationBuilder.newCacheConfigurationBuilder(Long.class, String.class, ResourcePoolsBuilder.heap(100)) .build()) .build(true); Cache<Long, String> preConfigured = cacheManager.getCache("preConfigured", Long.class, String.class); Cache<Long, String> myCache = cacheManager.createCache("myCache", CacheConfigurationBuilder.newCacheConfigurationBuilder(Long.class, String.class, ResourcePoolsBuilder.heap(100)).build()); myCache.put(1L, "da one!"); Long key = 1L; String value = myCache.get(key); System.out.println("key: " + key + ", value: " + value); cacheManager.close(); } }- 1
- 2
- 3
- 4
- 5
- 6
- 7
- 8
- 9
- 10
- 11
- 12
- 13
- 14
- 15
- 16
- 17
- 18
- 19
- 20
- 21
- 22
- 23

-
相关阅读:
java计算机毕业设计基于springboot+vue+elementUI的结婚婚庆婚纱拍摄管理系统(前后端分离)
网络攻击防范
Vue--keep-alive--使用/实例
访问者模式(Visitor Pattern)
云服务器搭建Spark集群
预约按摩app软件开发定制足浴SPA上们服务小程序
Timing!!!
Qt+ICU识别文本文件编码并合并导出文本
java 代理模式(静态代理、动态代理、JDK动态代理、CGLIB动态代理)详解
小程序canvas 2d支持同层渲染,绘制环形进度条
- 原文地址:https://blog.csdn.net/m0_46360532/article/details/127711278