-
服务器之Apollo单机部署(快速安装)
apollo单机部署(快速安装)
Apollo官网:https://www.apolloconfig.com/#/zh/deployment/quick-start-docker
官网单机部署的方式分为两种:普通部署和docker部署。普通部署
需要安装
MySQL和Java环境。
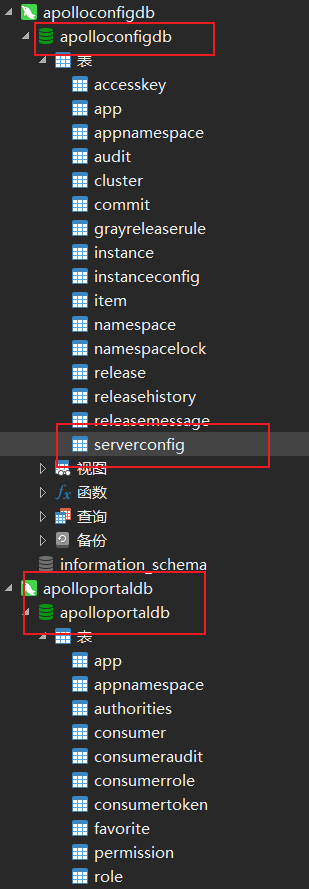
Apollo服务端共需要两个数据库:ApolloPortalDB(apollo页面)和ApolloConfigDB(apollo使用的),把数据库、表的创建和样例数据都分别准备了sql文件,只需要导入数据库即可。
然后建立数据库连接,进入到快速包下面(apollo-quick-start),下面有demo.sh,进行编辑:
将对应的数据库名和地址修改成自己的。

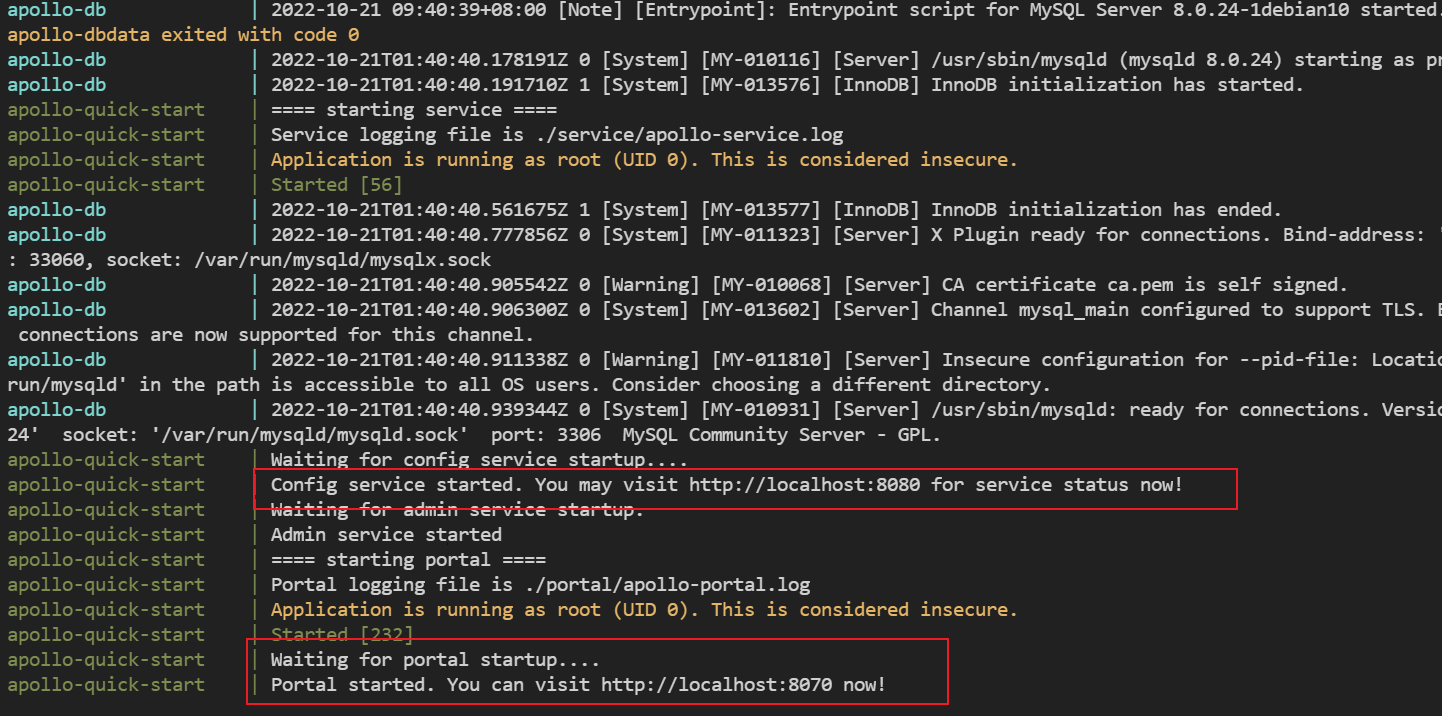
在启动服务之前需要确认8070、8080、8090端口未被占用,然后直接启动./demo.sh==== starting service ==== Service logging file is ./service/apollo-service.log Started [10768] Waiting for config service startup....... Config service started. You may visit http://localhost:8080 for service status now! Waiting for admin service startup.... Admin service started ==== starting portal ==== Portal logging file is ./portal/apollo-portal.log Started [10846] Waiting for portal startup...... Portal started. You can visit http://localhost:8070 now!- 1
- 2
- 3
- 4
- 5
- 6
- 7
- 8
- 9
- 10
- 11
- 12
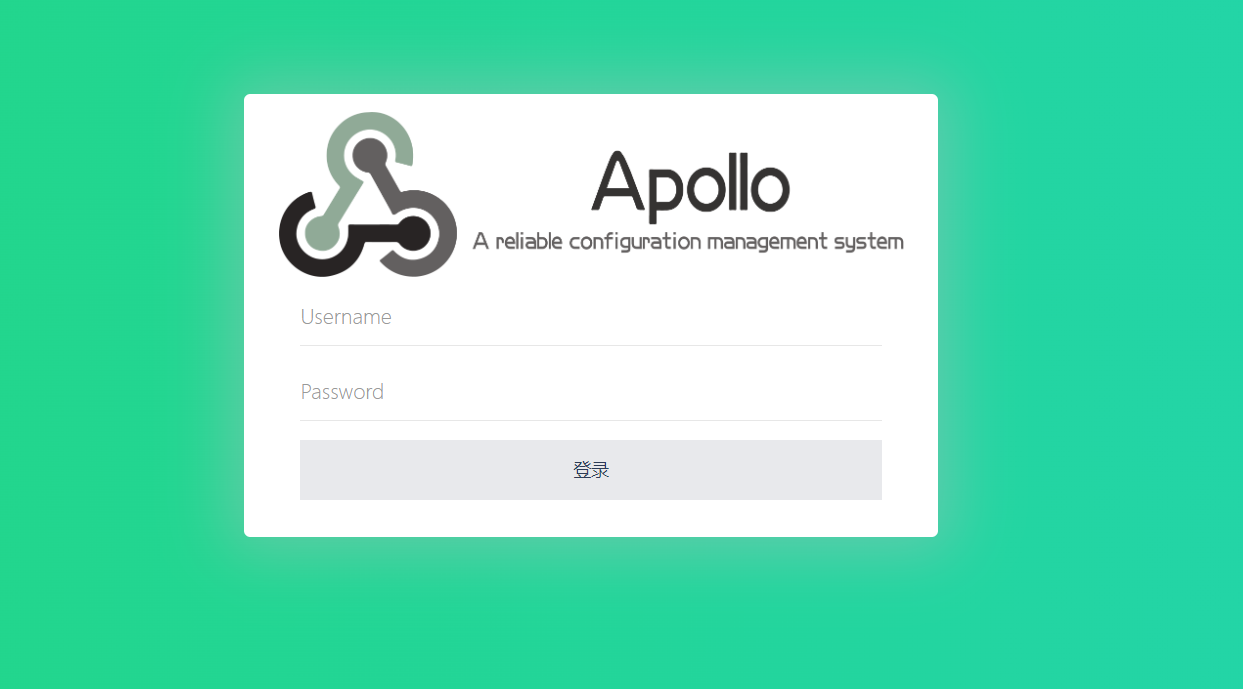
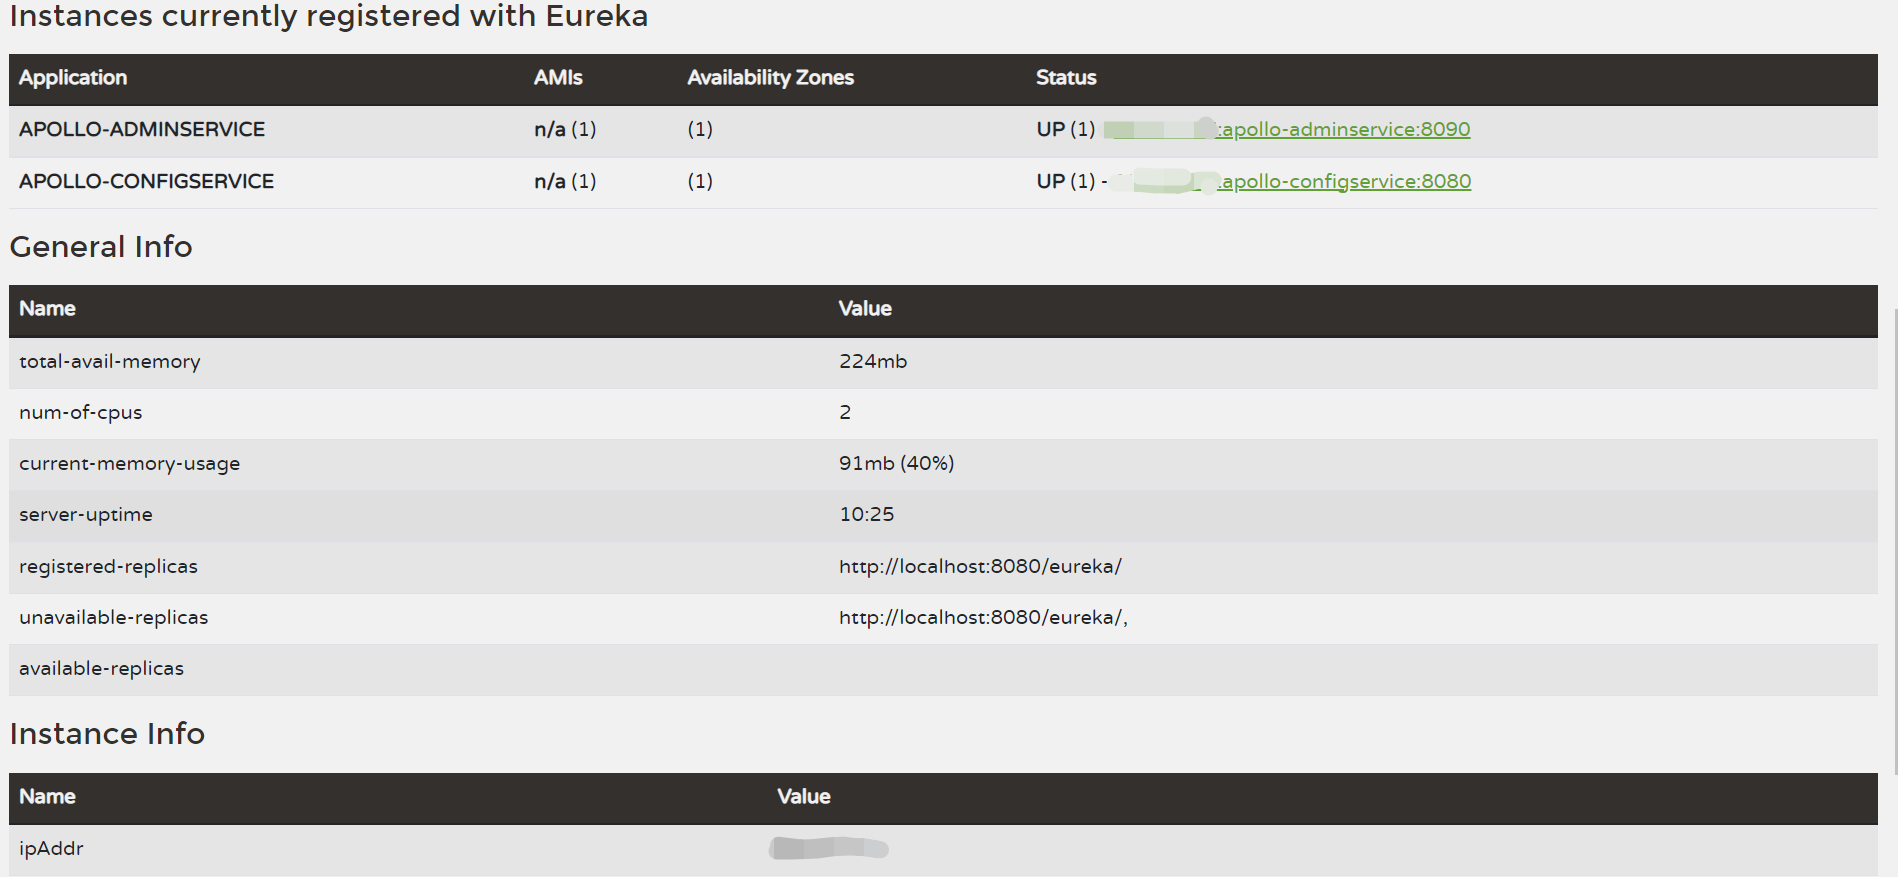
首先会启动
erueka服务,然后启动portal配置中心,最后访问[http://服务器外网地址:8070](http://服务器外网地址:8070)即可;账号:apollo,密码:admin;具体如下图所示:
docker部署
基于上述环境,我们暂停
demo.sh的执行:./demo.sh stop,在快速包中(apollo-quick-start)使用docker-compose up运行;
SpringBoot集成Apollo
这一步就是个坑😂,创建
SpringBoot不多说,在maven仓库找到客户端;
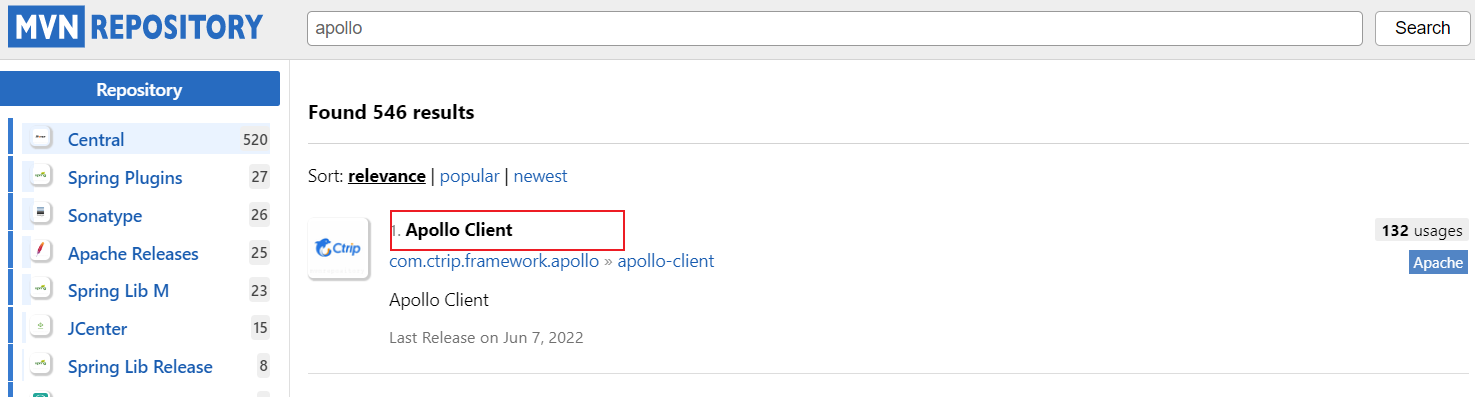
取最新版即可(截至2022年10月21日):<dependency> <groupId>com.ctrip.framework.apollogroupId> <artifactId>apollo-clientartifactId> <version>2.0.1version> dependency>- 1
- 2
- 3
- 4
- 5
- 6
- 7
错误配置:
server: port: 8000 app: id: apolloTest apollo: bootstrap: enabled: true meta: http://服务器外网地址:8080- 1
- 2
- 3
- 4
- 5
- 6
- 7
- 8
在启动类上开启
apollo:@EnableApolloConfig@SpringBootApplication @EnableApolloConfig public class ApolloTestApplication { public static void main(String[] args) { SpringApplication.run(ApolloTestApplication.class, args); } }- 1
- 2
- 3
- 4
- 5
- 6
- 7
- 8
- 9
在服务器部署的
Apollo会有问题,客户端请求的时候地址会出现服务器的内网地址,那肯定是访问不到的。

所以我们进行以下设置:
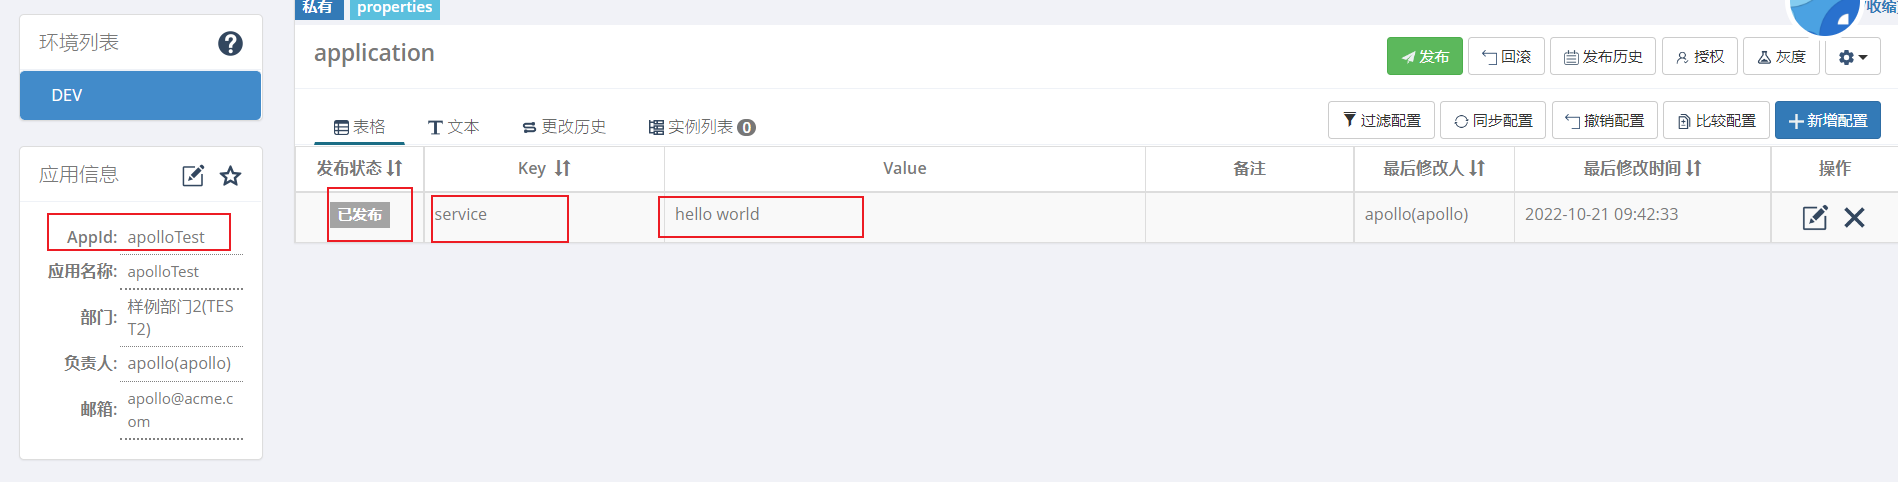
指定应用的AppIdapp.id=apolloTest- 1
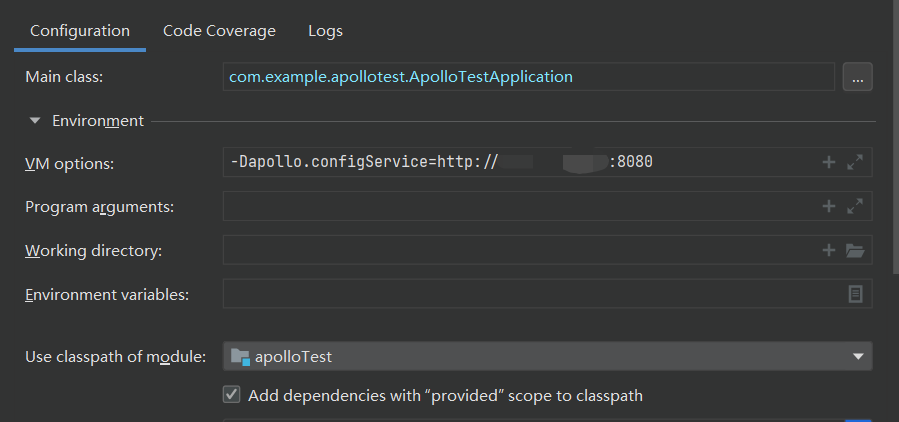
在服务启动设置上配置
apollo参数;-Dapollo.configService=http://服务器外网地址:8080- 1
需要对应起来,新增配置key:service,value:hello world,并且是已发布
public class TestController { @Value(value = "${service}") private String name; @RequestMapping("test") public String test(){ return "hello world -->"+name; } }- 1
- 2
- 3
- 4
- 5
- 6
- 7
- 8
- 9
- 10
-
相关阅读:
后缀系列
Windows服务器怎么才能长时间保持远程桌面不自动断开
RK主机 CPU、NPU使用频率查看和设置
1、第一个驱动程序hello_drv
【English】十大词性之数词
Java后端开发——实现登录验证程序
六、鼎捷T100采购应付之应付暂估管理篇
LAMMPS模拟:液滴润湿表面的铺展长度统计及Matlab平均计算
Undo Log、Redo Log、binlog与两阶段提交
【Rust指南】详解注释|函数|条件语句|循环语句
- 原文地址:https://blog.csdn.net/weixin_43908900/article/details/127441353