-
目标跟踪(1)SORT Windows实战+代码解析
1.Windows实战
- 下载代码,解压文件
- 安装SORT所需的环境
进入到sort环境下
pip install -r requirements.txt
- 有两种使用方式
(1)不基于视频
python sort.py(2)基于视频
-
先下载视频

-
在windows中移动到sort-master里面就行
python sort.py --display检测效果:

2.代码解析
2.1 det.txt文件

每行都是10个数,含义如图

即第一个值表示目标出现在第几帧;
第二个值表示目标的ID号,在目标信息文件中都为-1;
第三到第六个值为标注bounding box的坐标尺寸值,即bounding box的左上坐标及宽高;
第七个值为目标检测表示的置信度得分(confidence score);
第八到第十个值表示行人实际坐标中的3D位置,在2D追踪的情况下,这些值将被忽略并设置为-1。
【参考文档】多目标跟踪数据集格式介绍(MOTChallenge)2.2 main
然后sort.py从main开始整体理解一下
if __name__ == '__main__':
  # all train
  args = parse_args()
  display = args.display
  phase = args.phase
  total_time = 0.0
  total_frames = 0

#-----------视频实际处理展示-----------------------
  colours = np.random.rand(32, 3) #选择随机颜色用于展示 used only for display
  if(display):
    if not os.path.exists('mot_benchmark'):#检查当前路径上是否存在mot_benchmark文件
      print('\n\tERROR: mot_benchmark link not found!\n\n    Create a symbolic link to the MOT benchmark\n    (https://motchallenge.net/data/2D_MOT_2015/#download). E.g.:\n\n    $ ln -s /path/to/MOT2015_challenge/2DMOT2015 mot_benchmark\n\n')
      exit()
    plt.ion()
    fig = plt.figure()
    ax1 = fig.add_subplot(111, aspect='equal')
# ----------------------------------

#创建output文件夹
  if not os.path.exists('output'):
    os.makedirs('output')

  pattern = os.path.join(args.seq_path, phase, '*', 'det', 'det.txt')
        #默认情况下是  sort-master下的data, data下的train,全部文件
        #默认的最终的路径是 data/train/ * /det/det.txt

  for seq_dets_fn in glob.glob(pattern):#遍历路径下的所有的det.txt文件
    mot_tracker = Sort(max_age=args.max_age,
                       min_hits=args.min_hits,
                       iou_threshold=args.iou_threshold) #创建SORT实例create instance of the SORT tracker

    seq_dets = np.loadtxt(seq_dets_fn, delimiter=',')#读取文件,第一个维度整个文件 第二个维度是每一个逗号分隔的每一列
    # print(seq_dets)

    seq = seq_dets_fn[pattern.find('*'):].split(os.path.sep)[0]#获得train下面的文件名(e.g. ADL-Rundle-6...)
    #相对路径是 data/train/ * /det/det.txt
    #seq_dets_fn[pattern.find('*'):]------->  */det/det.txt  ---split后取*的部分-------> *(e.g. ADL-Rundle-6...)

    with open(os.path.join('output', '%s.txt'%(seq)),'w') as out_file:#顺便把output/ * 文件创建了
      print("Processing %s."%(seq))

      for frame in range(int(seq_dets[:,0].max())):

        # print(seq_dets[:, 2])
        frame += 1 #检测和帧数都从1开始 detection and frame numbers begin at 1

        dets = seq_dets[seq_dets[:, 0]==frame, 2:7]
        #1,-1,1689,385,146.62,332.71,67.567,-1,-1,-1
        #       2   3     4     5     6(conference)
        # 1689, 385, 146.62, 332.71, 67.567
        dets[:, 2:4] += dets[:, 0:2] #转化坐标格式(右下=左上+长宽)convert to [x1,y1,w,h] to [x1,y1,x2,y2]
        total_frames += 1

        if(display):
          fn = os.path.join('mot_benchmark', phase, seq, 'img1', '%06d.jpg'%(frame))
          im =io.imread(fn)
          ax1.imshow(im)
          plt.title(seq + ' Tracked Targets')

        start_time = time.time()
        trackers = mot_tracker.update(dets)
        cycle_time = time.time() - start_time
        total_time += cycle_time

        for d in trackers:
          print('%d,%d,%.2f,%.2f,%.2f,%.2f,1,-1,-1,-1'%(frame,d[4],d[0],d[1],d[2]-d[0],d[3]-d[1]),file=out_file)
          if(display):
            d = d.astype(np.int32)
            ax1.add_patch(patches.Rectangle((d[0],d[1]),d[2]-d[0],d[3]-d[1],fill=False,lw=3,ec=colours[d[4]%32,:]))

        #---图片每一帧进行处理--------------
        if(display):
          fig.canvas.flush_events()
          plt.draw()
          ax1.cla()
        # -----------------

  print("Total Tracking took: %.3f seconds for %d frames or %.1f FPS" % (total_time, total_frames, total_frames / total_time))

  if(display):
    print("Note: to get real runtime results run without the option: --display")
2.2.1 维度信息
seq_dets
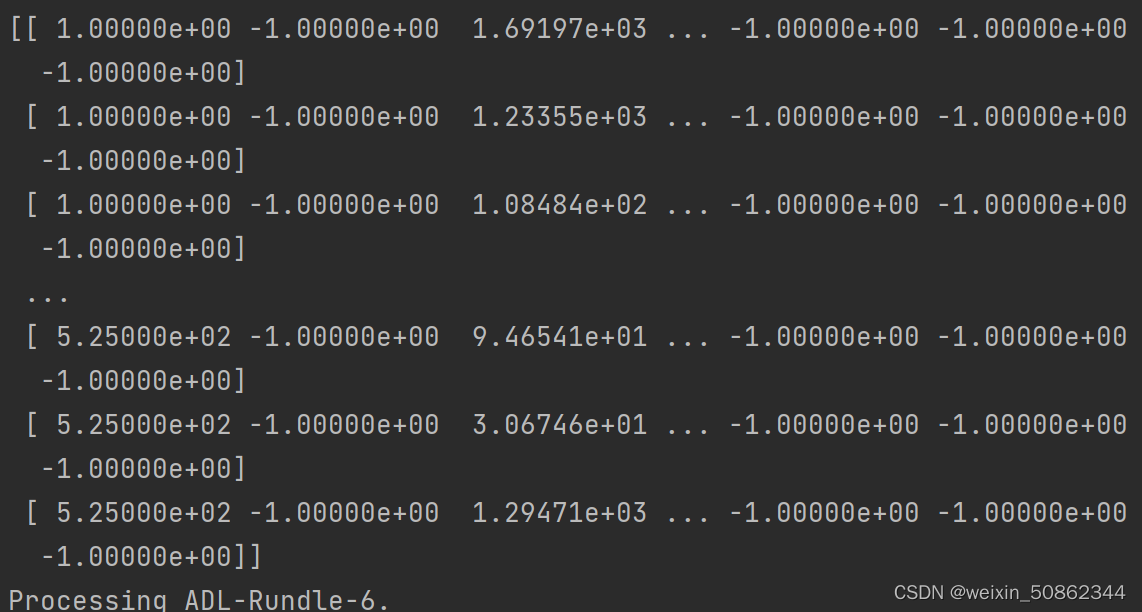
这是第一个文件中的维度信息,第一个维度就是整个文件所有行,第二个维度就是每一行的所有项2.2.2 核心
创建SORT实例
    mot_tracker = Sort(max_age=args.max_age,
                       min_hits=args.min_hits,
                       iou_threshold=args.iou_threshold)
更新
trackers = mot_tracker.update(dets)2.2 sort
主要是包括这两个方法
class Sort(object):
  def __init__(self, max_age=1, min_hits=3, iou_threshold=0.3):
  def update(self, dets=np.empty((0, 5))):
2.2.1 _init _
初始化一些变量
  def __init__(self, max_age=1, min_hits=3, iou_threshold=0.3):
    """
    Sets key parameters for SORT
    """
    self.max_age = max_age  # 最大年龄值(未被检测更新的跟踪器随帧数增加),超过之后会被删除
    self.min_hits = min_hits # 目标命中的最小次数,小于该次数不返回
    self.iou_threshold = iou_threshold
    self.trackers = [] # KalmanBoxTracker类型
    self.frame_count = 0
2.2.1.1 KalmanBoxTracker类型
#-------KalmanBoxTracker------------
class KalmanBoxTracker(object):
  """
  此类表示作为bbox观察到的单个跟踪对象的内部状态。This class represents the internal state of individual tracked objects observed as bbox.
  """
  count = 0
  def __init__(self,bbox):
    """
    使用初始边界框初始化跟踪器。
    Initialises a tracker using initial bounding box.
    """
    #定义等速模型define constant velocity model

    基本参数

    self.kf.x[:4] = convert_bbox_to_z(bbox)
    self.time_since_update = 0
    self.id = KalmanBoxTracker.count
    KalmanBoxTracker.count += 1
    self.history = []
    self.hits = 0
    self.hit_streak = 0
    self.age = 0

  def update(self,bbox):
    """
    Updates the state vector with observed bbox.
    """
    self.time_since_update = 0
    self.history = []
    self.hits += 1
    self.hit_streak += 1
    self.kf.update(convert_bbox_to_z(bbox))

    """
      update(bbox):使用观测到的目标框bbox更新状态更新向量x(状态变量x)
      1.time_since_update = 0
              1.连续预测的次数,每执行predict一次即进行time_since_update+=1。
              2.在连续预测(连续执行predict)的过程中,一旦执行update的话,time_since_update就会被重置为0。
              2.在连续预测(连续执行predict)的过程中,只要连续预测的次数time_since_update大于0的话,
                就会把hit_streak(连续更新的次数)重置为0,表示连续预测的过程中没有出现过一次更新状态更新向量x(状态变量x)的操作,
                即连续预测的过程中没有执行过一次update。
      2.history = []
             清空history列表。
             history列表保存的是单个目标框连续预测的多个结果([x,y,s,r]转换后的[x1,y1,x2,y2]),一旦执行update就会清空history列表。
      3.hits += 1:
              该目标框进行更新的总次数。每执行update一次,便hits+=1。
      4.hit_streak += 1
              1.连续更新的次数,每执行update一次即进行hit_streak+=1。
              2.在连续更新(连续执行update)的过程中,一旦开始连续执行predict两次或以上的情况下,
                当连续第一次执行predict时,因为time_since_update仍然为0,并不会把hit_streak重置为0,
                然后才会进行time_since_update+=1;
                当连续第二次执行predict时,因为time_since_update已经为1,那么便会把hit_streak重置为0,
                然后继续进行time_since_update+=1。
      5.kf.update(convert_bbox_to_z(bbox))
              convert_bbox_to_z负责将[x1,y1,x2,y2]形式的检测框转为滤波器的状态表示形式[x,y,s,r],那么传入的为kf.update([x,y,s,r])。
              然后根据观测结果修改内部状态x(状态更新向量x)。
              使用的是通过yoloV3得到的“并且和预测框相匹配的”检测框来更新卡尔曼滤波器得到的预测框。
      """

  def predict(self):
    """
    推进状态向量并返回预测的边界框估计值。
    Advances the state vector and returns the predicted bounding box estimate.
    """


  def get_state(self):
    """
    返回当前边界框估计值。 Returns the current bounding box estimate.
    """
    return convert_x_to_bbox(self.kf.x)
#------------------------------------------
2.2.2 update
【参考文档】多目标追踪
原文是使用yolov3进行识别的,我们主要截取sort部分进行理解

  def update(self, dets=np.empty((0, 5))):
    """
    Params:
      dets - a numpy array of detections in the format [[x1,y1,x2,y2,score],[x1,y1,x2,y2,score],...]
    Requires: this method must be called once for each frame even with empty detections (use np.empty((0, 5)) for frames without detections).
    Returns the a similar array, where the last column is the object ID.
    一个numpy检测数组,格式为[[x1,y1,x2,y2,score],[x1、y1、x2、y2,score],…]
    要求:即使检测为空,也必须为每个帧调用一次此方法(对于没有检测的帧,使用np.empty((0,5)))。
    返回一个类似的数组,其中最后一列是对象ID。

    NOTE: The number of objects returned may differ from the number of detections provided.
    注意:返回的对象数可能与提供的检测数不同。
    """
    self.frame_count += 1
#----------step1 从现有跟踪器获取预测位置(卡尔曼滤波预测)------------------ get predicted locations from existing trackers.
    trks = np.zeros((len(self.trackers), 5))# 生成一个len(self.trackers)* 5的矩阵
    to_del = []#想要删除的文件                # 5 代表 x1,x2,y1,y2,confidence ,从main的dets = seq_dets[seq_dets[:, 0]==frame, 2:7]传入
    ret = [] #最终会输出的
    for t, trk in enumerate(trks):#遍历现存的每一个追踪器使用卡尔曼滤波预测位置
      pos = self.trackers[t].predict()[0]
      trk[:] = [pos[0], pos[1], pos[2], pos[3], 0]
      if np.any(np.isnan(pos)):# any:测试沿给定轴的任何数组元素的计算结果是否为True。除非`axis`不是``None,否则返回单个布尔值``
        to_del.append(t)

    # numpy.ma.masked_invalid 屏蔽出现无效值的数组(NaN 或 inf)
    # numpy.ma.compress_rows 压缩包含掩码值的2-D 数组的整行,将包含掩码值的整行去除
    # trks中存储了上一帧中跟踪的目标并且在当前帧中的预测跟踪框
    trks = np.ma.compress_rows(np.ma.masked_invalid(trks))

    for t in reversed(to_del): # 逆向删除异常的跟踪器,防止破坏索引
      self.trackers.pop(t)
      # 将目标检测框与卡尔曼滤波器预测的跟踪框关联获取跟踪成功的目标,新增的目标,离开画面的目标
    matched, unmatched_dets, unmatched_trks = associate_detections_to_trackers(dets,trks, self.iou_threshold)

#----------step2 用指定的检测器更新匹配的跟踪器------update matched trackers with assigned detections
    for m in matched:
      self.trackers[m[1]].update(dets[m[0], :])#卡尔曼滤波更新

#----------step3创建并初始化新的跟踪器以进行不匹配的检测------------create and initialise new trackers for unmatched detections
    for i in unmatched_dets:
        trk = KalmanBoxTracker(dets[i,:])
        self.trackers.append(trk)#对于每一个新的检测目标维护一个卡尔曼滤波
    i = len(self.trackers)
    for trk in reversed(self.trackers):
        d = trk.get_state()[0]
        if (trk.time_since_update < 1) and (trk.hit_streak >= self.min_hits or self.frame_count <= self.min_hits):
          ret.append(np.concatenate((d,[trk.id+1])).reshape(1,-1)) # +1,因为MOT(多目标跟踪)基准要求积为正 +1 as MOT benchmark requires positive
        i -= 1
        # remove dead tracklet
        if(trk.time_since_update > self.max_age):
          self.trackers.pop(i)
    if(len(ret)>0):
      return np.concatenate(ret)
    return np.empty((0,5))
2.2.2.1 associate_detections_to_trackers
将检测指定给跟踪对象(均表示为边界框)
def associate_detections_to_trackers(detections,trackers,iou_threshold = 0.3): """ Assigns detections to tracked object (both represented as bounding boxes) 将检测指定给跟踪对象(均表示为边界框) Returns 3 lists of matches, unmatched_detections and unmatched_trackers 返回匹配项、unmatched_detections和unmatched_tracker的3个列表 """ #如果没有追踪到 if(len(trackers)==0): return np.empty((0,2),dtype=int), np.arange(len(detections)), np.empty((0,5),dtype=int) #-----step1 获得 追踪器 和 检测目标 的 iou----------------------------------- iou_matrix = iou_batch(detections, trackers)#计算目标和追踪器预测的位置的iou #trackers:len(self.trackers)* 5类型的数组(detections同理) #和普通iou的区别:(1)传入的是不只一个对象,可以理解为一个二维数组 (2)传入对象是(x1,y1,x2,y2) #----------------------------------------- #---------step2 获得匹配索引------------------------------------ if min(iou_matrix.shape) > 0:#存在检测对象 a = (iou_matrix > iou_threshold).astype(np.int32)#将bool类型转化int # a 是一个(检测对象数量 * 追踪器数量)的矩阵---->有1可以理解为(检测对象和追踪器)匹配到了 if a.sum(1).max() == 1 and a.sum(0).max() == 1:#有且仅有一个对象而且被匹配到了 matched_indices = np.stack(np.where(a), axis=1)#stack:沿新轴连接一系列数组。 # where :根据“condition”返回从“x”或“y”中选择的元素。 #matched_indices第0维代表检测对象对象,第1维代表追踪对象 else: #存在多个对象而且被追踪到了 matched_indices = linear_assignment(-iou_matrix) else: matched_indices = np.empty(shape=(0,2))#不存在检测对象 # --------------------------------------------- # -----step3 未匹配的 新检测目标&追踪器 ----------------------------------- unmatched_detections = [] #未匹配的新检测目标 for d, det in enumerate(detections): if(d not in matched_indices[:,0]): unmatched_detections.append(d) unmatched_trackers = [] #未匹配的追踪器 for t, trk in enumerate(trackers): if(t not in matched_indices[:,1]): unmatched_trackers.append(t) # --------------------------------------------- #滤波器输出与低IOU匹配 filter out matched with low IOU matches = [] for m in matched_indices: if(iou_matrix[m[0], m[1]]<iou_threshold): unmatched_detections.append(m[0])#第0维代表 检测对象对象 unmatched_trackers.append(m[1])#第1维代表追踪对象 else: matches.append(m.reshape(1,2))#匹配上的 if(len(matches)==0): matches = np.empty((0,2),dtype=int) else: print(matches) #array([[0, 0]], dtype=int64) matches = np.concatenate(matches,axis=0)# 去掉其他信息 #print(matches)#[0 0] return matches, np.array(unmatched_detections), np.array(unmatched_trackers) -
相关阅读:
22 年国内最牛的 Java 面试八股文合集(全彩版),不接受反驳
区块链会议投稿资讯CCF A--ICSE 2025 截止8.2 附录用率
程序员刚毕业,先去大厂镀金还是先去小厂攒经验?
无子女无遗嘱,去世后名下房产该归谁
Linux docker(01) 基础操作
5.21 marquee组件
2023年最新一面二面通关王炸java八股文面试题--持续更新
页面跳转为什么要重新登陆
设计模式之备忘录模式
阿里云宣布核心产品全面 Serverless 化
- 原文地址:https://blog.csdn.net/weixin_50862344/article/details/127017270