-
容器管理工具Docker生态架构及部署
目录
一.Docker生态架构
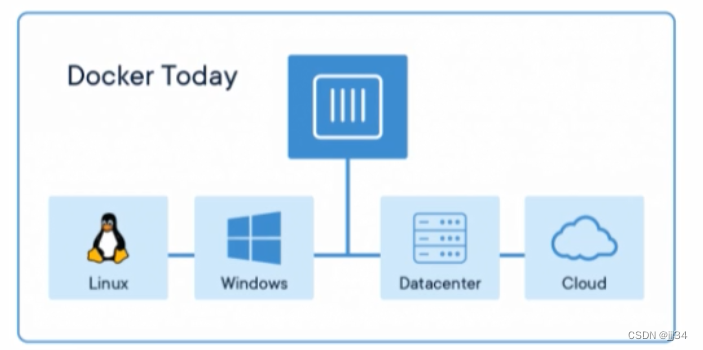
1.docker容器运行场景
在刚发布的时候,只能在linux系统,但现在可以在Windows,数据中心,云等
运用场景广泛
2.生态架构

Docker Host
用于安装Docker daemon的主机,即为Docker Host,并且该主机可基于容器镜像运行容器
Docker daemon
用于管理Docker Host中的容器,容器镜像,容器网络等,管理由Containerd.io提供的容器
Registry
容器镜像仓库,用于存储已生成容器运行模板的仓库,用户使用时,可直接从容器镜像仓库中下载容器镜像,即容器运行模板,就可以运行容器中包含的内容了。例如Docker hub(官方镜像) , 也可以使用Harbor实现企业私有的容器镜像仓库。
Docker client
Docker Daemon客户端管理工具,用于同Docker Daemon进行通信,执行用户指令,可部署在Docker Host上,也可以部署在其他主机,能够连接到Docker Daemon即可操作
Image
把应用运行环境及计算资源打包方式生成可再用于启动容器的不可变的基础设施的模板文件,主要用于基于其启动环境
Container
由容器镜像生成,用于应用程序运行的环境,包含容器镜像中所有文件及用户后添加的文件,属于基于容器镜像生成的可读写层,这也是应用程序活跃的空间
Docker Dashboard
Docker Dashboard 提供了一个简单的界面,使您的机器管理您的容器,应用程序和镜像,而无需命令行。简单点说,就是个可视化软件。

3.docker版本
Docker-ce 社区版,个人免费
Docker-ee 企业版,可以免费一个月。
二.docker部署
docker-ce镜像_docker-ce下载地址_docker-ce安装教程-阿里巴巴开源镜像站 (aliyun.com)
按照连接中的步骤即可
1.通过yum源安装docker
wget -O /etc/yum.repos.d/docker-ce.repo https://mirrors.aliyun.com/docker-ce/linux/centos/docker-ce.repo2.安装docker-ce
yum -y install docker-ce3.配置docker daemon启动文件
为了防止docker和本地防火墙起冲突,需要修改下配置文件
vim /usr/lib/systemd/system/docker.service修改的内容如下

需要修改的句子大概在13行
- ExecStart=/usr/bin/dockerd -H fd:// --containerd=/run/containerd/containerd.sock
- 修改为
- ExecStart=/usr/bin/dockerd
- 并额外添加一条
- ExecStartPost=/sbin/iptables -P FORWARD ACCEPT(这一条是为了解决防火墙冲突)
修改后的配置文件内容(直接复制黏贴即可)
- [Unit]
- Description=Docker Application Container Engine
- Documentation=https://docs.docker.com
- After=network-online.target docker.socket firewalld.service containerd.service
- Wants=network-online.target
- Requires=docker.socket containerd.service
- [Service]
- Type=notify
- # the default is not to use systemd for cgroups because the delegate issues still
- # exists and systemd currently does not support the cgroup feature set required
- # for containers run by docke
- ExecStart=/usr/bin/dockerd
- ExecStartPost=/sbin/iptables -P FORWARD ACCEPT
- ExecReload=/bin/kil ts HUP $MAINPID
- TimeoutSec=0
- RestartSec=2
- Restart=always
- # Note that StartLimit* options were moved from "Service" to "Unit" in systemd 229.
- # Both the old, and new location are accepted by systemd 229 and up, so using the old location
- # to make them work for either version of systemd.
- StartLimitBurst=3
- # Note that StartLimitInterval was renamed to StartLimitIntervalSec in systemd 230.
- # Both the old, and new name are accepted by systemd 230 and up, so using the old name to make
- # this option work for either version of systemd.
- StartLimitInterval=60s
- # Having non-zero Limit*s causes performance problems due to accounting overhead
- # in the kernel. We recommend using cgroups to do container-local accounting.
- LimitNOFILE=infinity
- LimitNPROC=infinity
- LimitCORE=infinity
- # Comment TasksMax if your systemd version does not support it.
- # Only systemd 226 and above support this option.
- TasksMax=infinity
- # set delegate yes so that systemd does not reset the cgroups of docker containers
- Delegate=yes
- # kill only the docker process, not all processes in the cgroup
- KillMode=process
- OOMScoreAdjust=-500
- [Install]
- WantedBy=multi-user.target
4.启动docker服务并查看已安装版本
- systemctl daemon-reload
- systemctl start docker
- systemctl enable docker
- systemctl status docker
- docker version
5.如何卸载docker
原文连接:CentOS完整卸载Docker_运维@小兵的博客-CSDN博客_centos 卸载docker
先查看有哪些包
yum list installed | grep docker
yum -y remove 后面跟图片中的具体的安装包名称
- systemctl stop docker
- yum -y remove docker.x86_64
- yum -y remove docker-client.x86_64
- yum -y remove docker-common.x86_64
- rm -rf /etc/docker
- rm -rf /run/docker
- rm -rf /var/run/docker
- rm -rf /var/lib/dockershim
- rm -rf /var/lib/docker
或者用下面这种方法卸载
- systemctl stop docker
- yum remove docker-ce containerd.io docker-ce-cli
检查是否卸载:
docker version如果提示没有docker命令则卸载成功
二进制部署docker
参考官方连接:
Install Docker Engine from binaries | Docker Documentation
Docker Documentation | Docker Documentation
-
相关阅读:
Jenkins插件Parameterized Scheduler用法
【Python机器学习】零基础掌握GaussianProcessRegressor高斯过程
工业自动化工厂PLC远程控制网关物联网应用
SpringCloud学习笔记-gateway网关自定义全局过滤器
main.js 中的 render函数
2023-09-06力扣每日一题-摆烂暴力
使用VuePress快速搭建博客
【常见开发问题】阿里云无法登录的问题
WebSocket实战之四WSS配置
d为何用模板参数
- 原文地址:https://blog.csdn.net/qq_44418229/article/details/126920768
