-
Linux 部署Vue项目
引入:
公司需要部署一个前后端分离的项目,木有经验。
理论上 Vue 项目打包后就是一个文件目录,是一堆静态文件,直接用 Tomcat 或者 Nginx 反向代理这个目录就好。1 打包 Vue 项目
终端执行 npm 的打包命令
npm run build- 1
执行完会在项目的根目录创建一个 dist 目录,这个就是打包好的目录

把 dsit 文件上传到服务器,我选择放在/usr/bigscreen_front目录中2 部署 Nginx
Nginx是高度自由化的Web服务器,它的功能是由许多模块来支持。如果使用了某个模块,这个模块使用了一些类似
zlib或OpenSSL等的第三方库,那么就必须先安装这些软件。2.1 安装 Nginx 依赖
2.1.1安装 gcc 编译器
部署 Nginx 需要编译源码,这个需要用到 gcc 去编译(c++)。
yum install gcc-c++- 1
2.1.2安装 pcre pcre-devel 库
PCRE(Perl Compatible Regular Expressions)是一个Perl库,包括perl兼容的正则表达式库。如果在配置文件nginx.conf中使用了正则表达式,那么在编译Nginx时就必须把PCRE库编译进Nginx,因为Nginx的HTTP模块需要靠它来解析正则表达式。pcre-devel是使用PCRE做二次开发时所需要的开发库,包括头文件等,这也是编译Nginx所必须使用的。yum -y install pcre pcre-devel- 1
2.1.3安装 zlib、zlib-devel 库
zlib库用于Nginx对HTTP包的内容做gzip格式的压缩。如果在nginx.conf中配置了gzip on,并指定对于某些类型(content-type)的HTTP响应使用gzip来进行压缩以减少网络传输量,则在编译时就必须把zlib编译进Nginx。zlib-devel是二次开发所需要的库。yum -y install zlib zlib-devel- 1
2.1.4安装 openssl 库
OpenSSL是一个强大的安全套接字层密码库,囊括主要的密码算法、常用的密钥和证书封装管理功能及SSL协议,并提供丰富的应用程序供测试或其它目的使用。Nginx不只是要支持HTTP,还需要在更安全的SSL协议上传输HTTP,所以需要接入OpenSSL库。另外,如果我们想使用MD5、SHA1等散列函数,那么也需要安装它。yum install -y openssl openssl-devel- 1
2.1.5安装 Nginx
下载 Nginx 源码压缩包,
https://nginx.org/en/download.html
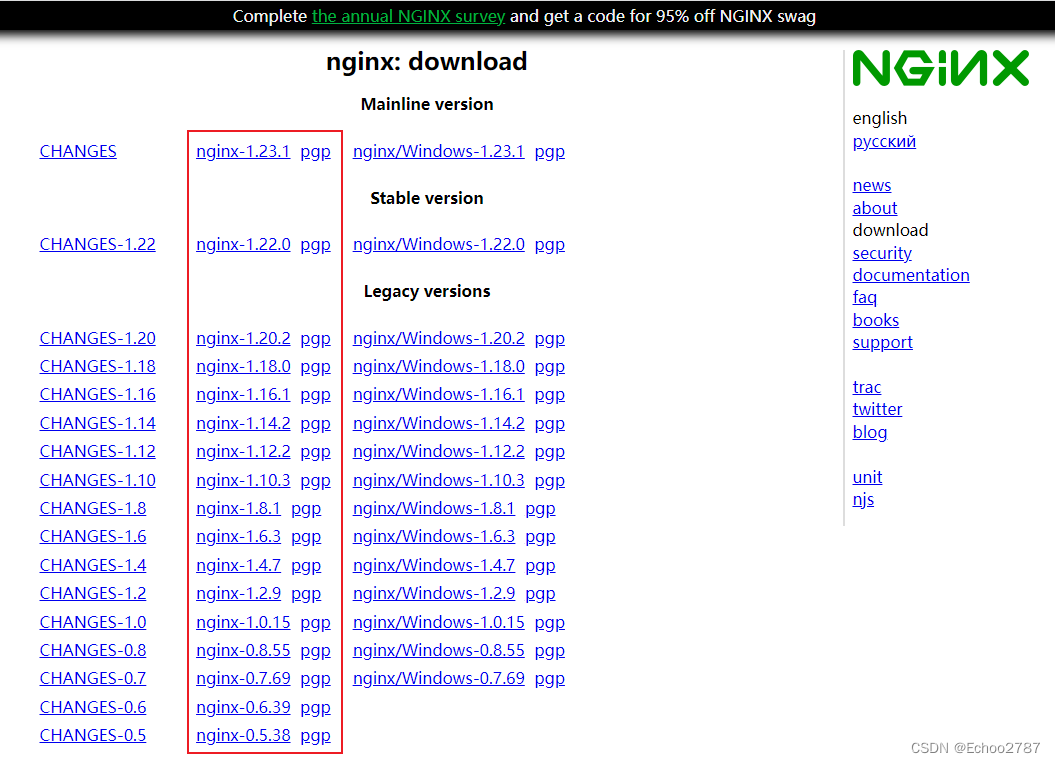
上传解压,目录自己选择
进入解压目录,执行配置,然后编译cd nginx-1.20.2 ./configure make make install- 1
- 2
- 3
- 4
这里配置没有用以下选项指定那几个库的目录,正常手动安装是这样的
./configure --prefix=/usr/local/nginx --with-http_stub_status_module --with-http_ssl_module --with-pcre=/usr/local/src/pcre-8.35- 1
因为我们不是手动安装,用的 yum 自动安装,它会自己去找。也没有指定 Nginx 编译安装目录,所以编译完要用
whereis nginx来确定 nginx 的安装目录。
–prefix= nginx编译安装目录
–with-pcre= pcre目录
–with-http_stub_status_module
–with-http_ssl_module找到 nginx 安装目录
[root@localhost nginx]# whereis nginx nginx: /usr/local/nginx- 1
- 2
编辑配置文件
vi /usr/local/nginx/conf/nginx.conf- 1
编辑 http{} 块 中的 server{} 块 中的 location{} 块
http{ server{ listen 80; location / { root /usr/bigscreen_front/dist; index index.html index.htm; } } }- 1
- 2
- 3
- 4
- 5
- 6
- 7
- 8
- 9
- 10
root : 资源根目录
index :默认索引页面
listen : 代理端口启动 nginx 服务
/usr/local/nginx/sbin/nginx- 1
开了防火墙的记得开放防火墙端口
2.2 Nginx自启动
- 创建服务脚本
nginx.service
cd /etc/systemd/system vi nginx.service- 1
- 2
- 编辑脚本
# 把路径修改为自己的nginx路径 [Unit] Description=nginx service After=network.target [Service] Type=forking ExecStart=/usr/local/nginx/sbin/nginx ExecReload=/usr/local/nginx/sbin/nginx -s reload ExecStop=/usr/local/nginx/sbin/nginx -s quit PrivateTmp=true [Install] WantedBy=multi-user.target- 1
- 2
- 3
- 4
- 5
- 6
- 7
- 8
- 9
- 10
- 11
- 12
- 13
- 14
- 给脚本添加权限
chmod 755 nginx.service- 1
- 重新加载服务列表
systemctl daemon-reload- 1
- 设置开机自启
systemctl enable nginx.service- 1
- 测试脚本是否生效
systemctl start nginx.service systemctl stop nginx.service- 1
- 2
- 重启服务器试试服务是否自动启动
完成

-
相关阅读:
【C++】继承
改进深度神经网络的产品制造周期预测
lombok @EqualsAndHashCode 注解如何让对象.equals()方法只比较部分属性
MySQL 45 讲 | 09 普通索引和唯一索引,应该怎么选择?
蓝桥杯青少组(Python组)考核知识范围
【Logback】Logback 的配置文件
spring boot jwt完整过程
如何使用前端模块化开发?
Docker Compose快速入门及实战
Qt不规则可移动窗体的实现
- 原文地址:https://blog.csdn.net/qq_31856061/article/details/126701516