-
Nacos整合Gateway实现动态路由
往期回顾
前面我们已经介绍了
Nacos的安装与配置,Spring Cloud集成Nacos作为服务的注册中心和配置中心,集成Nacos实现服务的负载均衡和一些常见的负载均衡策略、使用Dubbo、OpenFegin进行RPC调用以及整合Spring Cloud Gateway作为服务的网关和Gateway的过滤器配置接下来就让我们一起来看看Spring Cloud Gateway的动态路由以及负载均衡
关联服务名的动态路由
之前我们都是这样来配置的路由
service-url: user-service: http://localhost:8081 spring: cloud: gateway: routes: - id: path_route uri: ${service-url.user-service}/user/get/{id} predicates: - Path=/user/get/{id}- 1
- 2
- 3
- 4
- 5
- 6
- 7
- 8
- 9
- 10
相信同学们都发现了一个问题,在微服务集群部署中一个服务可能会有多台主机,我们这样配置路由不够灵活,每更改一次服务的主机信息都要重新编写一次配制文件,然后还需要重启Gateway服务器。我们要知道,在真正的项目中重启服务是很耗时的,我们应该尽量避免这种情况
Spring Cloud Gateway提供了
lb//服务名的方式来动态的配置路由,网关会根据注册中心的服务名动态的获取服务的URL,这样即便该服务的某一台主机地址改变或者挂掉,网关都不必再跟着改变因此,我们可以将路由更改成这种方式
spring: cloud: gateway: routes: - id: path_route # uri: ${service-url.user-service}/user/get/{id} uri: lb://user-service predicates: - Path=/user/get/{id}- 1
- 2
- 3
- 4
- 5
- 6
- 7
- 8
- 9
注意,引入依赖时需要排除Nacos中ribbon的依赖,然后再导入loadbalancer的依赖
由于 Netflix Ribbon 进入停更维护阶段,因此 SpringCloud 2020.0.1 版本之后 删除了eureka中的ribbon,替代ribbon的是spring cloud自带的LoadBalancer,默认使用的是轮询的方式 。新版本的 Nacos discovery 都已经移除了 Ribbon ,此时我们需要引入 loadbalancer 代替,才能调用服务提供者提供的服务
<dependency> <groupId>com.alibaba.cloudgroupId> <artifactId>spring-cloud-starter-alibaba-nacos-discoveryartifactId> <exclusions> <exclusion> <groupId>org.springframework.cloudgroupId> <artifactId>spring-cloud-starter-netflix-ribbonartifactId> exclusion> exclusions> dependency> <dependency> <groupId>org.springframework.cloudgroupId> <artifactId>spring-cloud-starter-loadbalancerartifactId> dependency>- 1
- 2
- 3
- 4
- 5
- 6
- 7
- 8
- 9
- 10
- 11
- 12
- 13
- 14
- 15
- 16
我们启动网关,和8080,8081这两个服务来进行测试,如图所示

我们再来看看Naocs的控制台

然后访问进行测试(访问多次),观察控制台输出

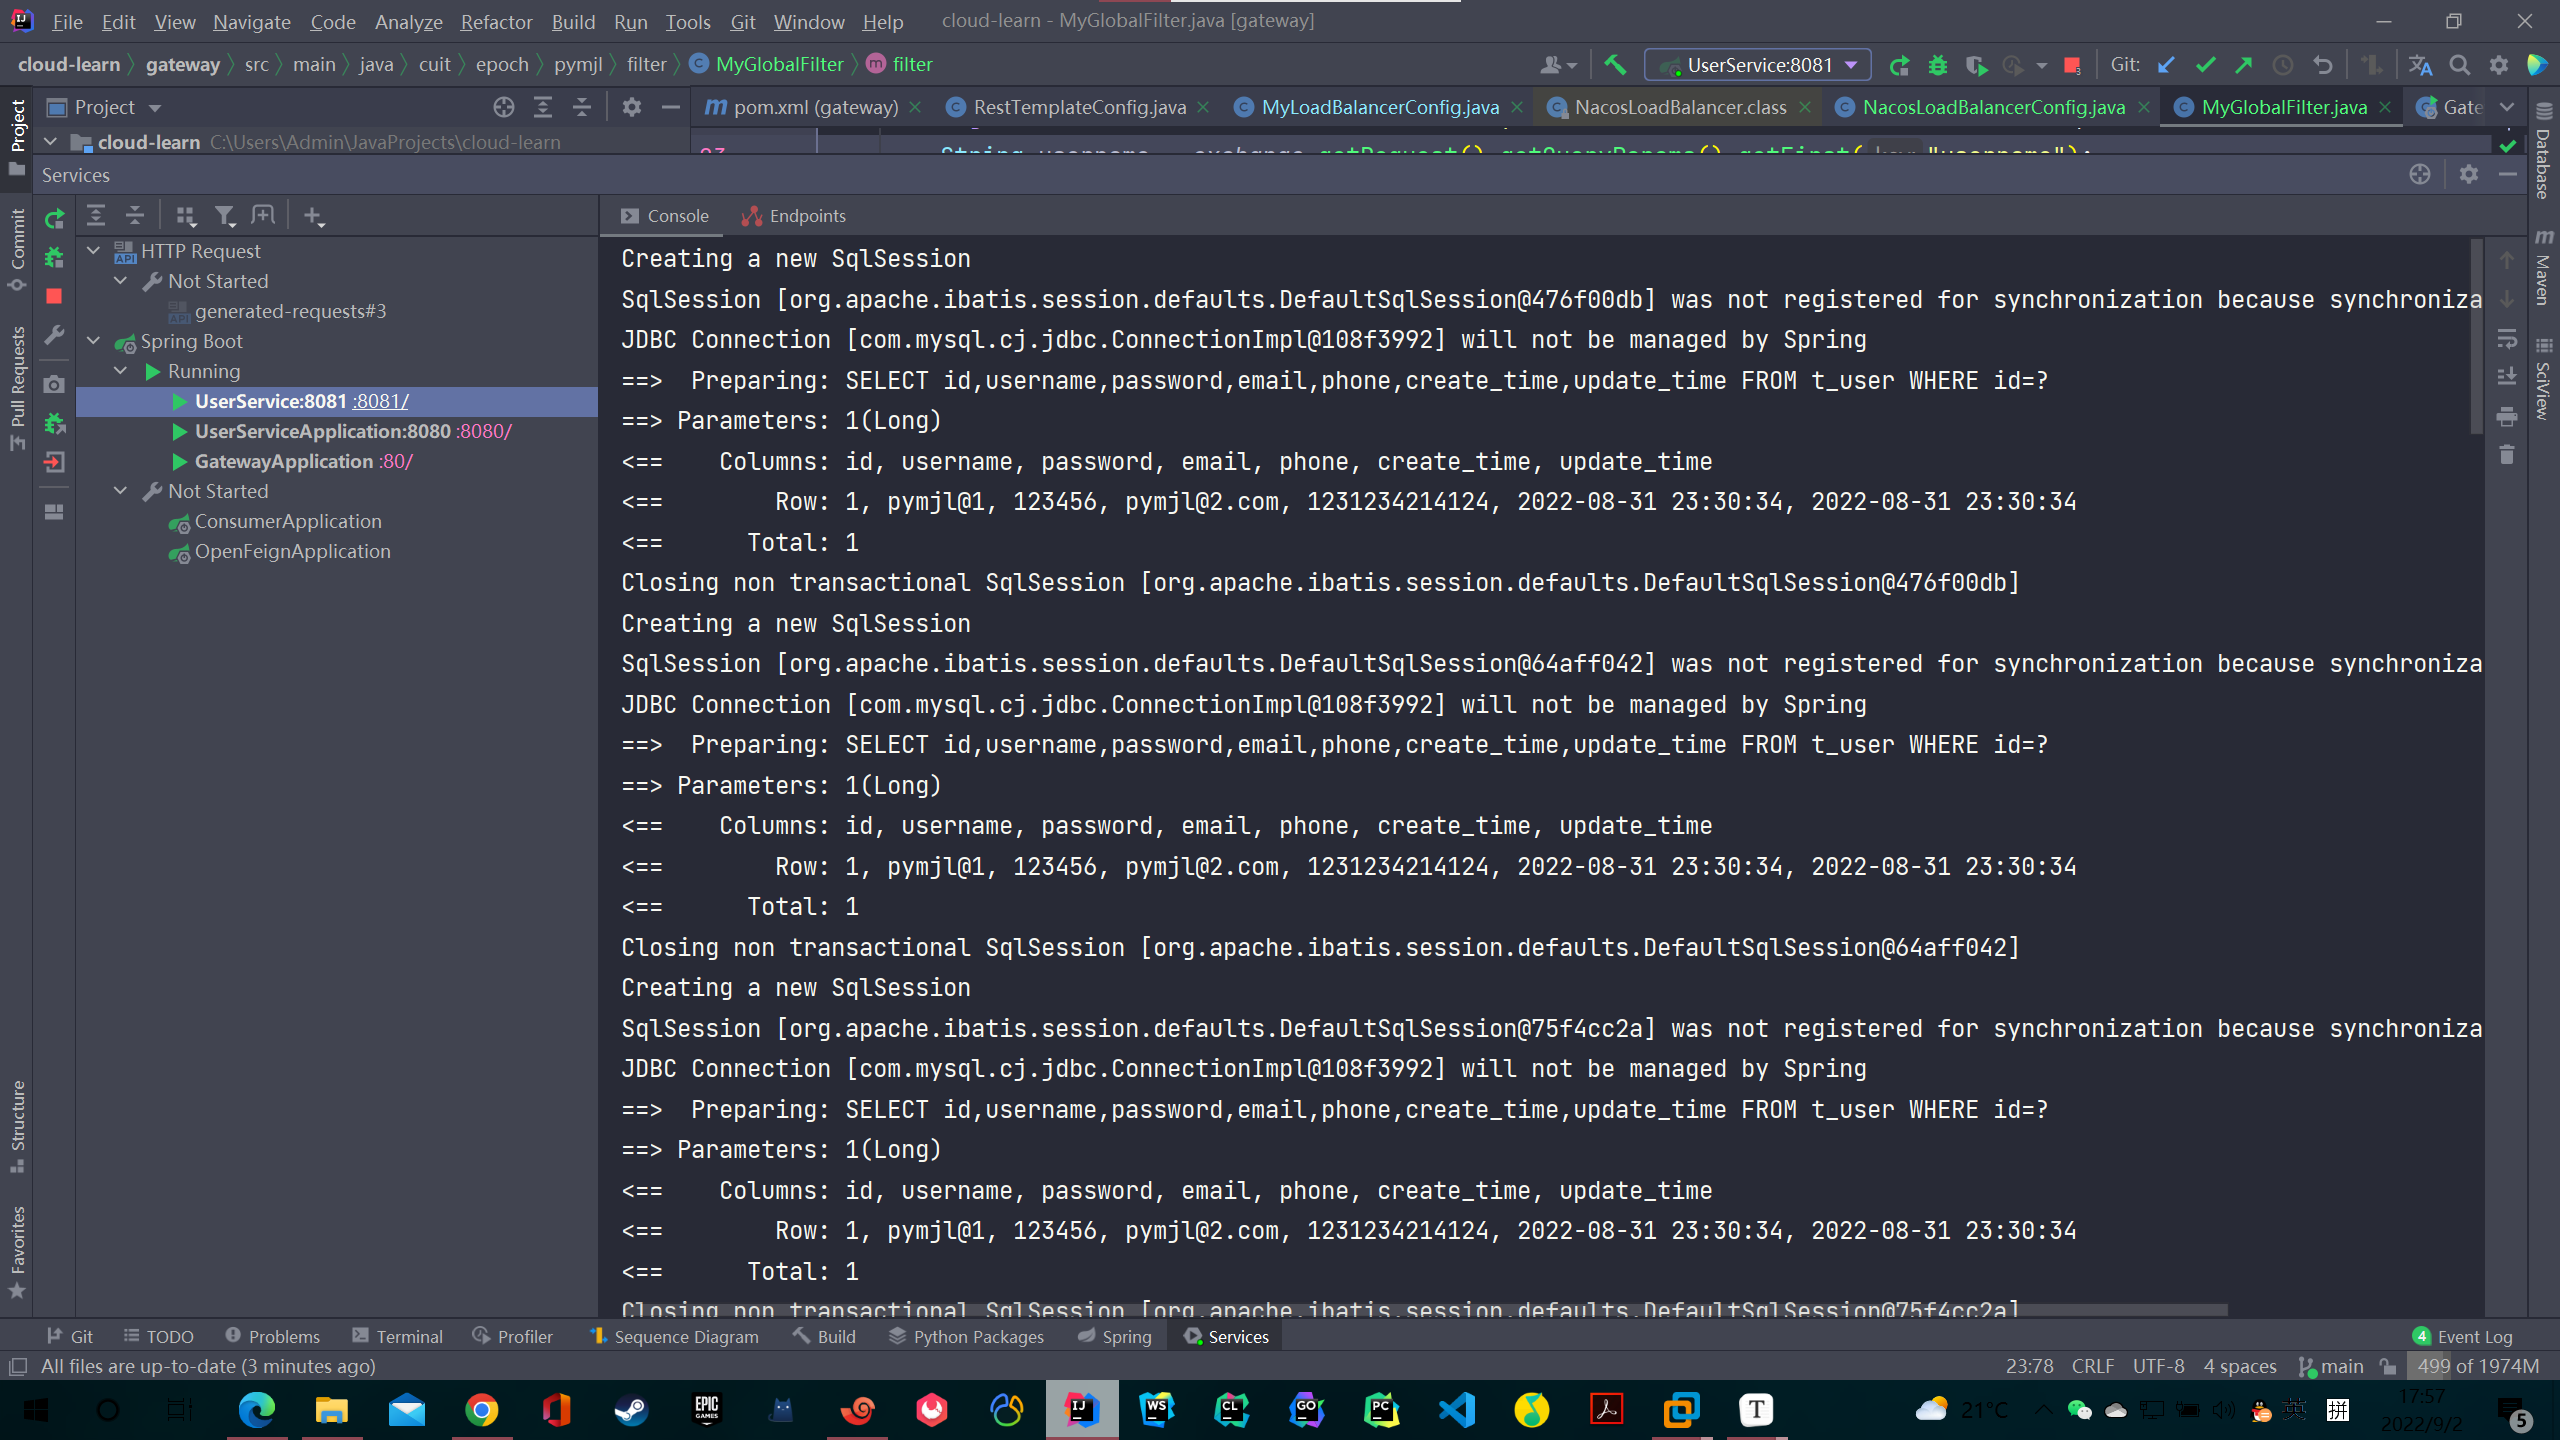

从图中可以看到,通过
lb://服务名的方式配置该服务的各个主机都有被访问过,这是因为集成了LoadBalancer是实现了负载均衡,默认轮询基于Nacos配置中的动态路由
前面我们做到了网关屏蔽服务的上下线的细节,但是,当我们想要对路由进行增加,或者服务全部下线删除该服务的路由的情况我们还是需要更改配制文件,然后重启网关。
所以,我们可以基于配置中心来实现路由的动态扩容,配置中心我使用的Nacos
导入对应依赖
<dependency> <groupId>com.alibaba.cloudgroupId> <artifactId>spring-cloud-starter-alibaba-nacos-configartifactId> dependency> <dependency> <groupId>org.springframework.cloudgroupId> <artifactId>spring-cloud-starter-bootstrapartifactId> dependency>- 1
- 2
- 3
- 4
- 5
- 6
- 7
- 8
编写对应的配制文件
编写
bootstrap.yml,主要是对Nacos配置中心的一些设置spring: application: name: gateway-service cloud: nacos: discovery: server-addr: 192.168.199.128:8848 #Nacos地址 config: server-addr: 192.168.199.128:8848 #Nacos地址 file-extension: yaml #这里我们获取的yaml格式的配置- 1
- 2
- 3
- 4
- 5
- 6
- 7
- 8
- 9
- 10
编写
application.yml,启用对应环境server: port: 80 spring: profiles: active: dev- 1
- 2
- 3
- 4
- 5
在Nacos后台编写对应的配制文件,dataId为
gateway-service-dev.yamlspring: cloud: gateway: default-filters: - DedupeResponseHeader=Access-Control-Allow-Origin, RETAIN_UNIQUE globalcors: cors-configurations: '[/**]': allowedHeaders: '*' allowedMethods: '*' allowedOrigins: '*' routes: - id: path_route uri: lb://user-service predicates: - Path=/user/get/{id} ##################省略数据库,redis等其他配置#########################- 1
- 2
- 3
- 4
- 5
- 6
- 7
- 8
- 9
- 10
- 11
- 12
- 13
- 14
- 15
- 16
- 17
- 18
启动网关和user-service
添加路由
接下来我们在Nacos配置中心添加新的路由
spring: cloud: gateway: discovery: locator: enabled: true default-filters: - DedupeResponseHeader=Access-Control-Allow-Origin, RETAIN_UNIQUE globalcors: cors-configurations: '[/**]': allowedHeaders: '*' allowedMethods: '*' allowedOrigins: '*' routes: - id: path_route # uri: ${service-url.user-service}/user/get/{id} uri: lb://user-service predicates: - Path=/user/get/{id} - id: userservice_route uri: http://localhost:8080 predicates: - Path=/user/test- 1
- 2
- 3
- 4
- 5
- 6
- 7
- 8
- 9
- 10
- 11
- 12
- 13
- 14
- 15
- 16
- 17
- 18
- 19
- 20
- 21
- 22
- 23
- 24
- 25
配置中心发布前访问
http://localhost/user/test/试一试:
然后将新的配制文件发布,再访问测试

观察控制台可以看到网关服务在配置中心发布新的配置后进行了更新

关于集成Nacos实现动态路由还有另外的方式,在配置中心创建son文件,然后通过json格式来管理各个路由,这种方式我就不再演示了,感兴趣的同学可以上网自行搜索。个人认为yml的格式可读性要高一些
基于Nacos权重的负载均衡策略
使用LoadBalancer进行负载均衡前面文章已经介绍过,如果还不是很熟悉的同学请先阅读:
接下来我就简单的演示下基于Nacos权重的负载均衡吧
package cuit.epoch.pymjl.config; import com.alibaba.cloud.nacos.NacosDiscoveryProperties; import com.alibaba.cloud.nacos.loadbalancer.NacosLoadBalancer; import org.springframework.cloud.client.ServiceInstance; import org.springframework.cloud.loadbalancer.annotation.LoadBalancerClients; import org.springframework.cloud.loadbalancer.core.ReactorLoadBalancer; import org.springframework.cloud.loadbalancer.core.ServiceInstanceListSupplier; import org.springframework.cloud.loadbalancer.support.LoadBalancerClientFactory; import org.springframework.context.annotation.Bean; import org.springframework.core.env.Environment; import javax.annotation.Resource; /** * @author Pymjl * @version 1.0 * @date 2022/9/2 15:36 **/ @LoadBalancerClients(defaultConfiguration = NacosLoadBalancerConfig.class) public class NacosLoadBalancerConfig { @Resource NacosDiscoveryProperties nacosDiscoveryProperties; @Bean public ReactorLoadBalancer<ServiceInstance> reactorServiceInstanceLoadBalancer( Environment environment, LoadBalancerClientFactory loadBalancerClientFactory) { String name = environment.getProperty(LoadBalancerClientFactory.PROPERTY_NAME); return new NacosLoadBalancer(loadBalancerClientFactory .getLazyProvider(name, ServiceInstanceListSupplier.class), name, nacosDiscoveryProperties); } }- 1
- 2
- 3
- 4
- 5
- 6
- 7
- 8
- 9
- 10
- 11
- 12
- 13
- 14
- 15
- 16
- 17
- 18
- 19
- 20
- 21
- 22
- 23
- 24
- 25
- 26
- 27
- 28
- 29
- 30
- 31
- 32
- 33
- 34
启动服务

Nacos配置中心的路由规则
spring: cloud: gateway: discovery: locator: enabled: true default-filters: - DedupeResponseHeader=Access-Control-Allow-Origin, RETAIN_UNIQUE globalcors: cors-configurations: '[/**]': allowedHeaders: '*' allowedMethods: '*' allowedOrigins: '*' routes: - id: path_route # uri: ${service-url.user-service}/user/get/{id} uri: lb://user-service predicates: - Path=/user/get/{id} - id: userservice_route uri: lb://user-service predicates: - Path=/user/test- 1
- 2
- 3
- 4
- 5
- 6
- 7
- 8
- 9
- 10
- 11
- 12
- 13
- 14
- 15
- 16
- 17
- 18
- 19
- 20
- 21
- 22
- 23
- 24
- 25
修改服务的权重

多次访问
http://localhost/user/test

可以看见,访问频率大致与权重相匹配
注意,权重只保证在一段时间(或者大量请求次数下)路由的概率符合权重比例分配,当请求次数过少或者时间较短时并不保证路由的概率严格按照权重来分配
至此,关于Spring Cloud Gateway的介绍就到这里了,谢谢大家的观看
-VzPQOPdP-1662298804863)]
[外链图片转存中…(img-yiprZPeC-1662298804864)]
可以看见,访问频率大致与权重相匹配
注意,权重只保证在一段时间(或者大量请求次数下)路由的概率符合权重比例分配,当请求次数过少或者时间较短时并不保证路由的概率严格按照权重来分配
至此,关于Spring Cloud Gateway的介绍就到这里了,谢谢大家的观看
-
相关阅读:
十一、数据结构——多路查找树
C++ STL - string 成员函数 + 模拟实现
天地图key申请-加载地图空白问题
CSS经典布局--圣杯布局和双飞翼布局
Kotlin - 协程 Coroutine
typescript高级类型-类型兼容性
计算机毕业设计Java短视频网站(源码+系统+mysql数据库+lw文档)
王道机试C++第 4 章 字符串:字符串内容详解及三个小程序 Day29
无法调试MFC源码
【CircuitPython】RaspberryPi Pico RP2040 自定义机械键盘实例
- 原文地址:https://blog.csdn.net/apple_52109766/article/details/126695106
