-
Mediapipe 在Android studio 运行官方的 FaceDetection
参考大佬的文章:https://blog.csdn.net/luozhichengaichenlei/article/details/117289326
1. Create a mediapipe_aar() target.
在路径mediapipe/examples/android/src/java/com/google/mediapipe/apps/build_aar_face/下新建BUILD文件,并复制下面内容
创建文件方法:https://blog.csdn.net/EchoChou428/article/details/105312998load("//mediapipe/java/com/google/mediapipe:mediapipe_aar.bzl", "mediapipe_aar") mediapipe_aar( name = "mediapipe_face_detection", calculators = ["//mediapipe/graphs/face_detection:mobile_calculators"], )- 1
- 2
- 3
- 4
- 5
- 6
name可以随便起,但是要与下面生成的安卓aar文件要一致
2.生成安卓aar文件
bazel build -c opt --strip=ALWAYS \ --host_crosstool_top=@bazel_tools//tools/cpp:toolchain \ --fat_apk_cpu=arm64-v8a,armeabi-v7a \ --legacy_whole_archive=0 \ --features=-legacy_whole_archive \ --copt=-fvisibility=hidden \ --copt=-ffunction-sections \ --copt=-fdata-sections \ --copt=-fstack-protector \ --copt=-Oz \ --copt=-fomit-frame-pointer \ --copt=-DABSL_MIN_LOG_LEVEL=2 \ --linkopt=-Wl,--gc-sections,--strip-all \ //mediapipe/examples/android/src/java/com/google/mediapipe/apps/aar_example:mediapipe_face_detection.aar- 1
- 2
- 3
- 4
- 5
- 6
- 7
- 8
- 9
- 10
- 11
- 12
- 13
- 14
在最后一行我们修改成自己创建BUILD文件的目录,并生成BUILD文件里面同名的aar文件
我这里是//mediapipe/examples/android/src/java/com/google/mediapipe/apps/build_aar_face:mediapipe_face_detection.aar- 1
即
bazel build -c opt --strip=ALWAYS \ --host_crosstool_top=@bazel_tools//tools/cpp:toolchain \ --fat_apk_cpu=arm64-v8a,armeabi-v7a \ --legacy_whole_archive=0 \ --features=-legacy_whole_archive \ --copt=-fvisibility=hidden \ --copt=-ffunction-sections \ --copt=-fdata-sections \ --copt=-fstack-protector \ --copt=-Oz \ --copt=-fomit-frame-pointer \ --copt=-DABSL_MIN_LOG_LEVEL=2 \ --linkopt=-Wl,--gc-sections,--strip-all \ //mediapipe/examples/android/src/java/com/google/mediapipe/apps/build_aar_face:mediapipe_face_detection.aar- 1
- 2
- 3
- 4
- 5
- 6
- 7
- 8
- 9
- 10
- 11
- 12
- 13
- 14
运行效果:

3.在Android studio使用编译好的mediapipe AAR文件
复制AAR文件到app/libs目录下
关于没有libs目录解决方法:https://blog.csdn.net/qq_51533157/article/details/126634833?spm=1001.2014.3001.5501
根据bazel编译的文件找到aar文件:

如果没有的话,可能是被隐藏起来了

4. Build the MediaPipe binary graph并且复制到app/src/main/assets目录下
bazel build -c opt mediapipe/graphs/face_detection:face_detection_mobile_gpu_binary_graph- 1
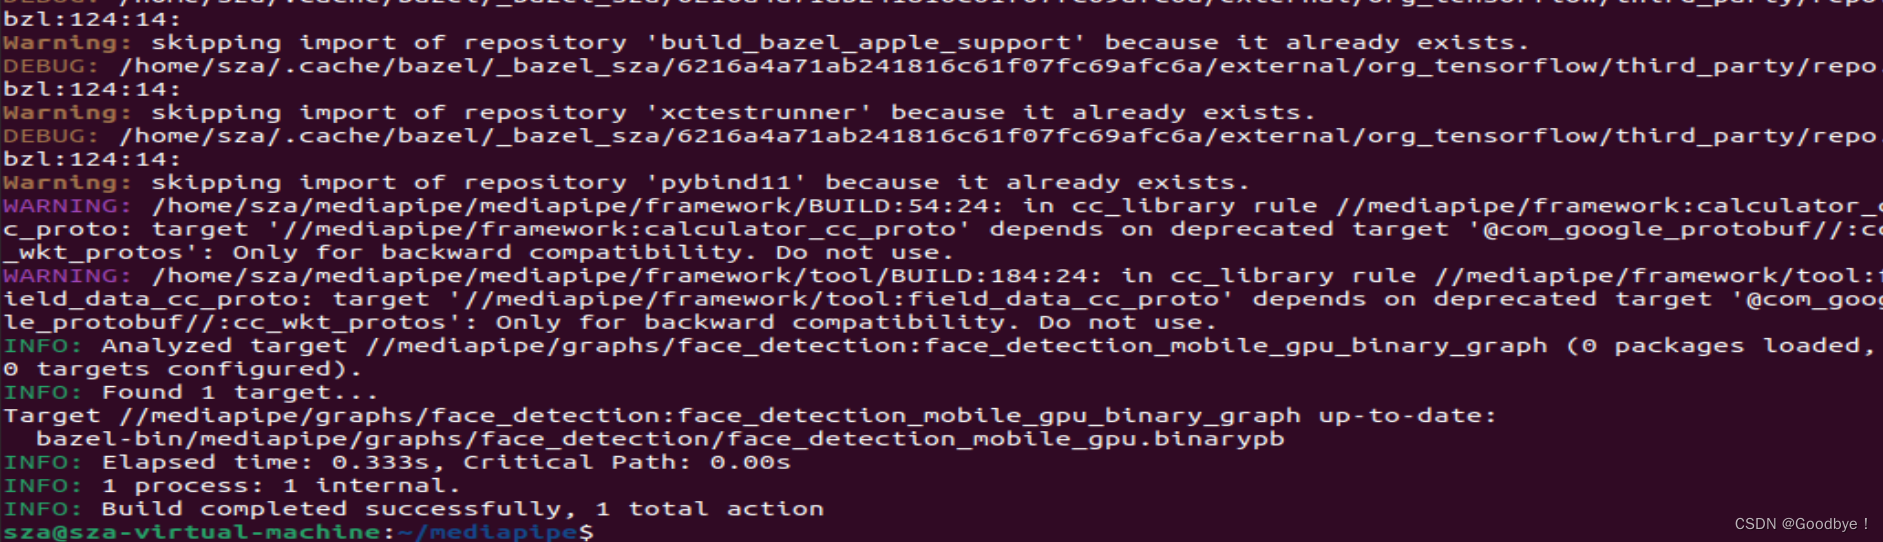
编译完成,具体需要复制什么,见mediapipe/examples/android/src/java/com/google/mediapipe/apps/facedetectiongpu/BUILD中的assets

这里需要注意的是,这个文件是编译过后的文件,因此是在bazel-bin里

全部的目录为:/home/sza/mediapipe/bazel-bin/mediapipe/graphs/face_detection- 1
而不是
/home/sza/mediapipe/mediapipe/graphs/face_detection- 1
而第二个文件不是在bazel-bin下

我的地址为:/home/sza/mediapipe/mediapipe/modules/face_detection- 1
其实官网上写了,但是我第一次没有注意

将这两个文件复制到app/src/main/assets下,我是直接拖拽的。5.修改app/build.gradle添加MediaPipe dependencies and MediaPipe AAR
注意这里的build.gradle 的位置


复制进去implementation fileTree(dir: 'libs', include: ['*.jar', '*.aar']) implementation 'androidx.appcompat:appcompat:1.0.2' implementation 'androidx.constraintlayout:constraintlayout:1.1.3' testImplementation 'junit:junit:4.12' androidTestImplementation 'androidx.test.ext:junit:1.1.0' androidTestImplementation 'androidx.test.espresso:espresso-core:3.1.1' // MediaPipe deps implementation 'com.google.flogger:flogger:latest.release' implementation 'com.google.flogger:flogger-system-backend:latest.release' implementation 'com.google.code.findbugs:jsr305:latest.release' implementation 'com.google.guava:guava:27.0.1-android' implementation 'com.google.protobuf:protobuf-javalite:3.19.1' // CameraX core library def camerax_version = "1.0.0-beta10" implementation "androidx.camera:camera-core:$camerax_version" implementation "androidx.camera:camera-camera2:$camerax_version" implementation "androidx.camera:camera-lifecycle:$camerax_version" // AutoValue def auto_value_version = "1.8.1" implementation "com.google.auto.value:auto-value-annotations:$auto_value_version" annotationProcessor "com.google.auto.value:auto-value:$auto_value_version"- 1
- 2
- 3
- 4
- 5
- 6
- 7
- 8
- 9
- 10
- 11
- 12
- 13
- 14
- 15
- 16
- 17
- 18
- 19
- 20
- 21
6.使用官方案例

-
相关阅读:
概率的本质是什么
IDL学习——哨兵2 L1C数据辐射定标
如何使用Docker部署Apache+Superset数据平台并远程访问?
使用vmware搭建openwrt开发环境
【Try to Hack】vulnhub DC2
【iVX】十五分钟制作一款小游戏,iVX真有怎么神?
【Vue3】Axios简易二次封装+token+跨域问题+接口同步调用使用。
微信小程序生成Excel
期货十三篇 第九篇 心态篇
【好书推荐】如何快速入门短视频?带你3天成为短视频与Vlog剪辑高手
- 原文地址:https://blog.csdn.net/qq_51533157/article/details/126639620
