-
【centos7 + MySQL5.7 安装】centos7 安装MySQL5.7
说明:我们安装MySQL位置在 /usr/local 下
第一步、下载MySQL 安装包:
[root@localhost local]# wget https://dev.mysql.com/get/mysql57-community-release-el7-11.noarch.rpm- 1
安装mysql 安装源:
[root@localhost local]# yum -y localinstall mysql57-community-release-el7-11.noarch.rpm- 1
第二步,在线安装MySQL
[root@localhost local]# yum -y install mysql-community-server- 1
等待时间比较久:

第三步、启动mysql 服务
[root@localhost local]# systemctl start mysqld- 1
第四步,设置开机启动
[root@localhost local]# systemctl enable mysqld [root@localhost local]# systemctl daemon-reload- 1
- 2
- 3
第五步,修改root登录密码
mysql安装完成之后,会在/var/log/mysqld.log文件中给root生成了一个临时的默认密码。
[root@localhost local]# vim /var/log/mysqld.log- 1

记住初始密码:
修改root 密码[root@localhost local]# mysql -u root -p- 1

mysql> ALTER USER 'root'@'localhost' IDENTIFIED BY 'daasan7ujm^YHN'; Query OK, 0 rows affected (0.00 sec) # 设置远程登录 mysql> GRANT ALL PRIVILEGES ON *.* TO 'root'@'%' IDENTIFIED BY 'daasan7ujm^YHN' WITH GRANT OPTION; Query OK, 0 rows affected, 1 warning (0.00 sec)- 1
- 2
- 3
- 4
- 5
第六步,退出
mysql> exit- 1
第七步,防火墙开放3306端口
[root@localhost sysconfig]# cd /etc/sysconfig/ [root@localhost sysconfig]# vim iptables #添加代码如下 -A INPUT -p tcp --dport 3306 -j ACCEPT- 1
- 2
- 3
- 4

第八步,重启防火墙。[root@localhost sysconfig]# service iptables restart- 1
第九步,配置mysql默认编码为utf-8
[root@localhost sysconfig]# vim /etc/my.cnf- 1
添加如下代码
character_set_server=utf8 init_connect='SET NAMES utf8'- 1
- 2

:wq 保存退出第十步,重启MySQL
[root@localhost data]# systemctl restart mysqld- 1
第十一步, root 用户登录查看编码
[root@localhost sysconfig]# mysql -u root -p Enter password: Welcome to the MySQL monitor. Commands end with ; or g. Your MySQL connection id is 2 Server version: 5.7.29 MySQL Community Server (GPL) Copyright (c) 2000, 2020, Oracle and/or its affiliates. All rights reserved. Oracle is a registered trademark of Oracle Corporation and/or its affiliates. Other names may be trademarks of their respective owners. Type 'help;' or 'h' for help. Type 'c' to clear the current input statement. mysql> show variables like '%character%'; +--------------------------+----------------------------+ | Variable_name | Value | +--------------------------+----------------------------+ | character_set_client | utf8 | | character_set_connection | utf8 | | character_set_database | utf8 | | character_set_filesystem | binary | | character_set_results | utf8 | | character_set_server | utf8 | | character_set_system | utf8 | | character_sets_dir | /usr/share/mysql/charsets/ | +--------------------------+----------------------------+ 8 rows in set (0.00 sec) mysql>- 1
- 2
- 3
- 4
- 5
- 6
- 7
- 8
- 9
- 10
- 11
- 12
- 13
- 14
- 15
- 16
- 17
- 18
- 19
- 20
- 21
- 22
- 23
- 24
- 25
- 26
- 27
- 28
- 29
- 30
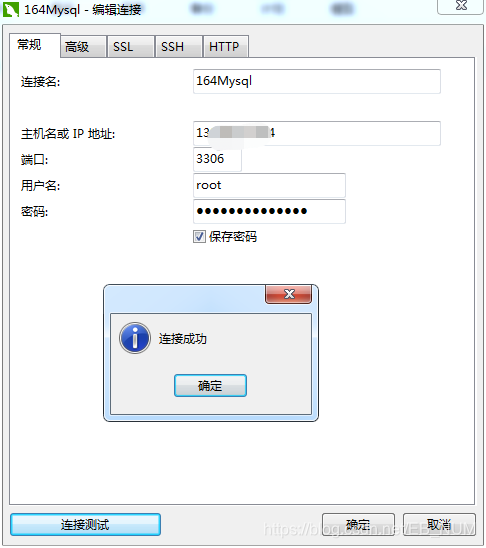
最后本地连接测试:
-
相关阅读:
【超好懂的比赛题解】“学佳澳杯”湖北文理学院第一届程序设计竞赛 个人题解
Oracle/PLSQL: To_Number Function
06 | 链表(上):如何实现LRU缓存淘汰算法?
RabbitMQ基本概念和工作原理
"正则表达式“是字符检索公认的王者,Excel用户如何理解和使用【转载备查】
vite+vue3+ts中的vue-router基本配置
依托数据、平台、知识增强等优势 夸克大模型大幅降低问答幻觉率
C语言学习之路(基础篇)—— 指针(上)
java计算机毕业设计贵州农产品交易系统MyBatis+系统+LW文档+源码+调试部署
谨慎低调,一路通畅
- 原文地址:https://blog.csdn.net/m0_67402125/article/details/126553107