-
JUCE框架教程(5)——Plugin项目构造基础
JUCE框架教程(5)——Plugin项目构造基础
如何创建一个plguin工程
打开Projucer,新建一个工程,选择plug-in。这一次我们取名为pluginDemo
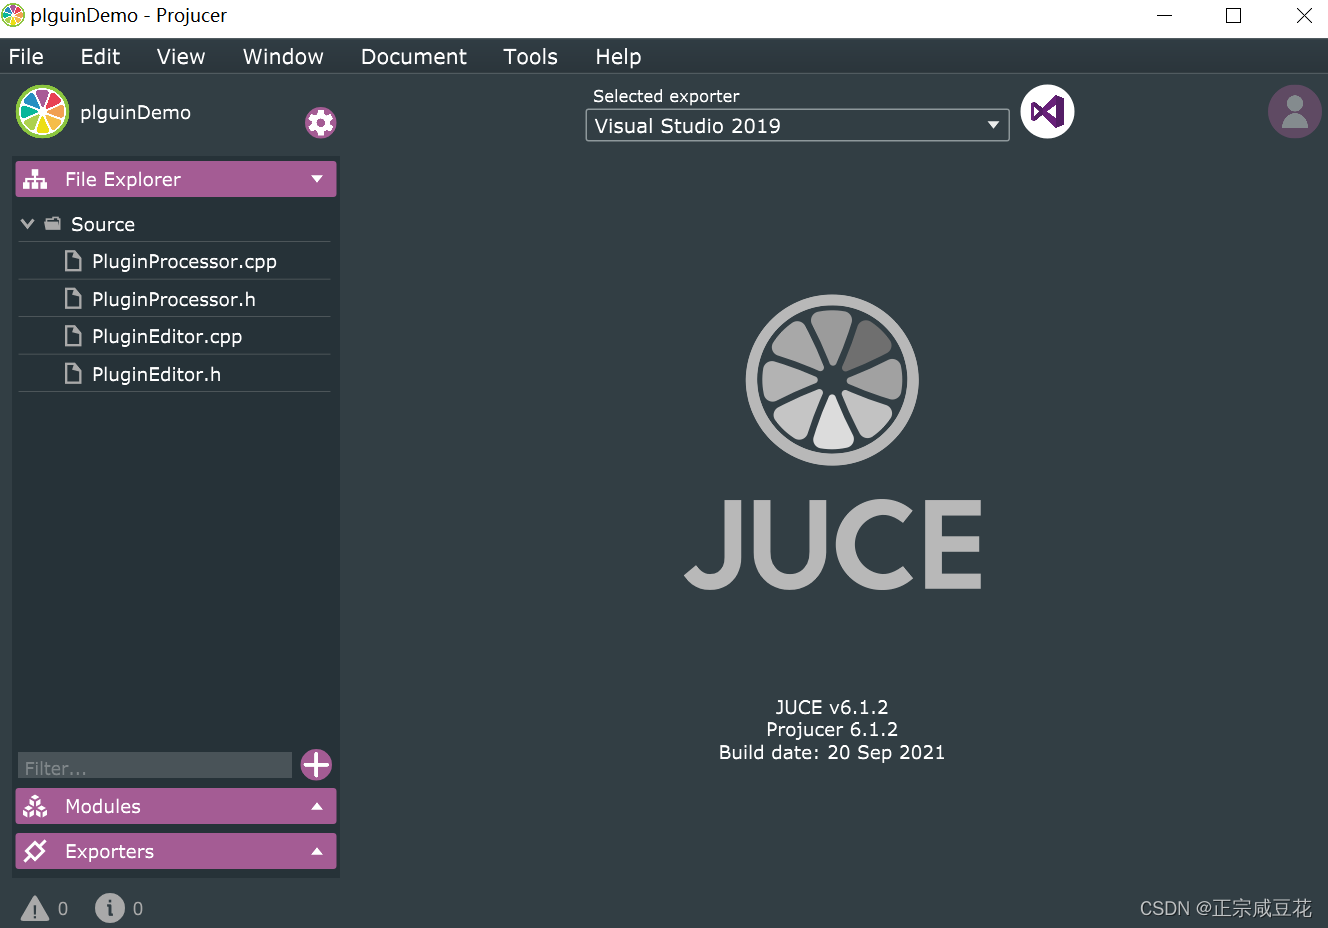
可以看到,JUCE为我们建立了四个文件:
PluginProcessor.cpp
PluginProcessor.h
PluginEditor.cpp
PluginEditor.h总的来说,PluginProcessor就是我们实际操作数据,实现运算的地方,而PluginEditor相当于UI界面。
PluginProcessor.cppPlguinDemoAudioProcessor::PlguinDemoAudioProcessor() #ifndef JucePlugin_PreferredChannelConfigurations : AudioProcessor (BusesProperties() #if ! JucePlugin_IsMidiEffect #if ! JucePlugin_IsSynth .withInput ("Input", juce::AudioChannelSet::stereo(), true) #endif .withOutput ("Output", juce::AudioChannelSet::stereo(), true) #endif ) #endif { }- 1
- 2
- 3
- 4
- 5
- 6
- 7
- 8
- 9
- 10
- 11
- 12
- 13
构造函数,我们创建的input,output或者是data都要在这里构建。
void PlguinDemoAudioProcessor::processBlock (juce::AudioBuffer<float>& buffer, juce::MidiBuffer& midiMessages) { juce::ScopedNoDenormals noDenormals; auto totalNumInputChannels = getTotalNumInputChannels(); auto totalNumOutputChannels = getTotalNumOutputChannels(); // In case we have more outputs than inputs, this code clears any output // channels that didn't contain input data, (because these aren't // guaranteed to be empty - they may contain garbage). // This is here to avoid people getting screaming feedback // when they first compile a plugin, but obviously you don't need to keep // this code if your algorithm always overwrites all the output channels. for (auto i = totalNumInputChannels; i < totalNumOutputChannels; ++i) buffer.clear (i, 0, buffer.getNumSamples()); // This is the place where you'd normally do the guts of your plugin's // audio processing... // Make sure to reset the state if your inner loop is processing // the samples and the outer loop is handling the channels. // Alternatively, you can process the samples with the channels // interleaved by keeping the same state. for (int channel = 0; channel < totalNumInputChannels; ++channel) { auto* channelData = buffer.getWritePointer (channel); // ..do something to the data... } }- 1
- 2
- 3
- 4
- 5
- 6
- 7
- 8
- 9
- 10
- 11
- 12
- 13
- 14
- 15
- 16
- 17
- 18
- 19
- 20
- 21
- 22
- 23
- 24
- 25
- 26
- 27
- 28
项目进行处理的模块,我们大多数的操作都要在这里完成。
PluginEditor.cppPlguinDemoAudioProcessorEditor::PlguinDemoAudioProcessorEditor (PlguinDemoAudioProcessor& p) : AudioProcessorEditor (&p), audioProcessor (p) { setSize (400, 300); } PlguinDemoAudioProcessorEditor::~PlguinDemoAudioProcessorEditor() { } //============================================================================== void PlguinDemoAudioProcessorEditor::paint (juce::Graphics& g) { // (Our component is opaque, so we must completely fill the background with a solid colour) g.fillAll (getLookAndFeel().findColour (juce::ResizableWindow::backgroundColourId)); g.setColour (juce::Colours::white); g.setFont (15.0f); g.drawFittedText ("Hello World!", getLocalBounds(), juce::Justification::centred, 1); } void PlguinDemoAudioProcessorEditor::resized() { // This is generally where you'll want to lay out the positions of any // subcomponents in your editor.. }- 1
- 2
- 3
- 4
- 5
- 6
- 7
- 8
- 9
- 10
- 11
- 12
- 13
- 14
- 15
- 16
- 17
- 18
- 19
- 20
- 21
- 22
- 23
- 24
- 25
- 26
- 27
如果熟悉GUI的同学应该很快就能明白,PlguinEditor其实和GUI的文件是完全一致的。我们通过构造函数设置大小,paint函数进行颜色等处理,resize函数编辑子组件。
以上就是Plug-in工程的大致结构解析。
-
相关阅读:
全球公链进展| Metis 将成为完全去中心化的 L 2 网络;Circle在NEAR和Noble上推出原生 USDC
Java&Excel:自动生成数据表并插入数据
大促来咯,有些事情不得不提
Rust之常用集合(二):字符串(String)
5.1SpringBoot整合Kafka(工具安装Kafka+Tools)
41 物体检测和数据集【动手学深度学习v2】(笔记)
Flowable(三):Java知识学习
Qt无边框设计
JAVA面试题之高级常问必问
初识Linux系统以及部分Linux系统指令介绍
- 原文地址:https://blog.csdn.net/m0_56699208/article/details/126533353
