-
springboot学习四:Spring Boot2.x 过滤器基础入门&实战项目场景实现
导言
一、过滤器
-
过滤器是什么?
它是基于Servlet 技术实现的, 简单的来说,过滤器就是起到过滤的作用,在web项目开发中帮我们过滤一些指定的 url做一些特殊的处理。 过滤器主要做什么?- 过滤掉一些不需要的东西,例如一些错误的请求。
- 也可以修改请求和相应的内容。
- 也可以拿来过滤未登录用户
-
过滤器的代码实现
过滤器(filter)有三个方法,其中初始化(init)和摧毁(destroy)方法一般不会用到,主要用到的是doFilter这个方法。 -
怎么过滤呢?
如果过滤通过,则在doFilter执行filterChain.doFilter(request,response);。
二、 创建项目springboot-filter
- 根据 springboot 学习二:springboot 第一次创建 web 项目,打包项目并测试成功 博文,快速创建本项目:springboot-filter
- 项目依赖仅勾选web即可。

- 项目结构如下:(记得修改application配置文件的后缀为 yml,我这里忘改了)

三、Filter 快速入门
那么在springBoot中如何使用过滤器呢?
自定义Filter有两种实现方式,第一种是使用
@WebFilter,第二种是使用FilterRegistrationBean,下面我们分别来实现1. @WebFilter 实现
@WebFilter 用于将一个类声明为过滤器,该注解将会在部署时被容器处理,容器将根据具体的属性配置将相应的类部署为过滤器。
属性名 类型 描述 filterName String 指定该Filter的名称 urlPatterns String 指定该Filter所拦截的URL。 value String 与 urlPatterns 一致 a. 创建一个MyFilter.java实现Filter接口
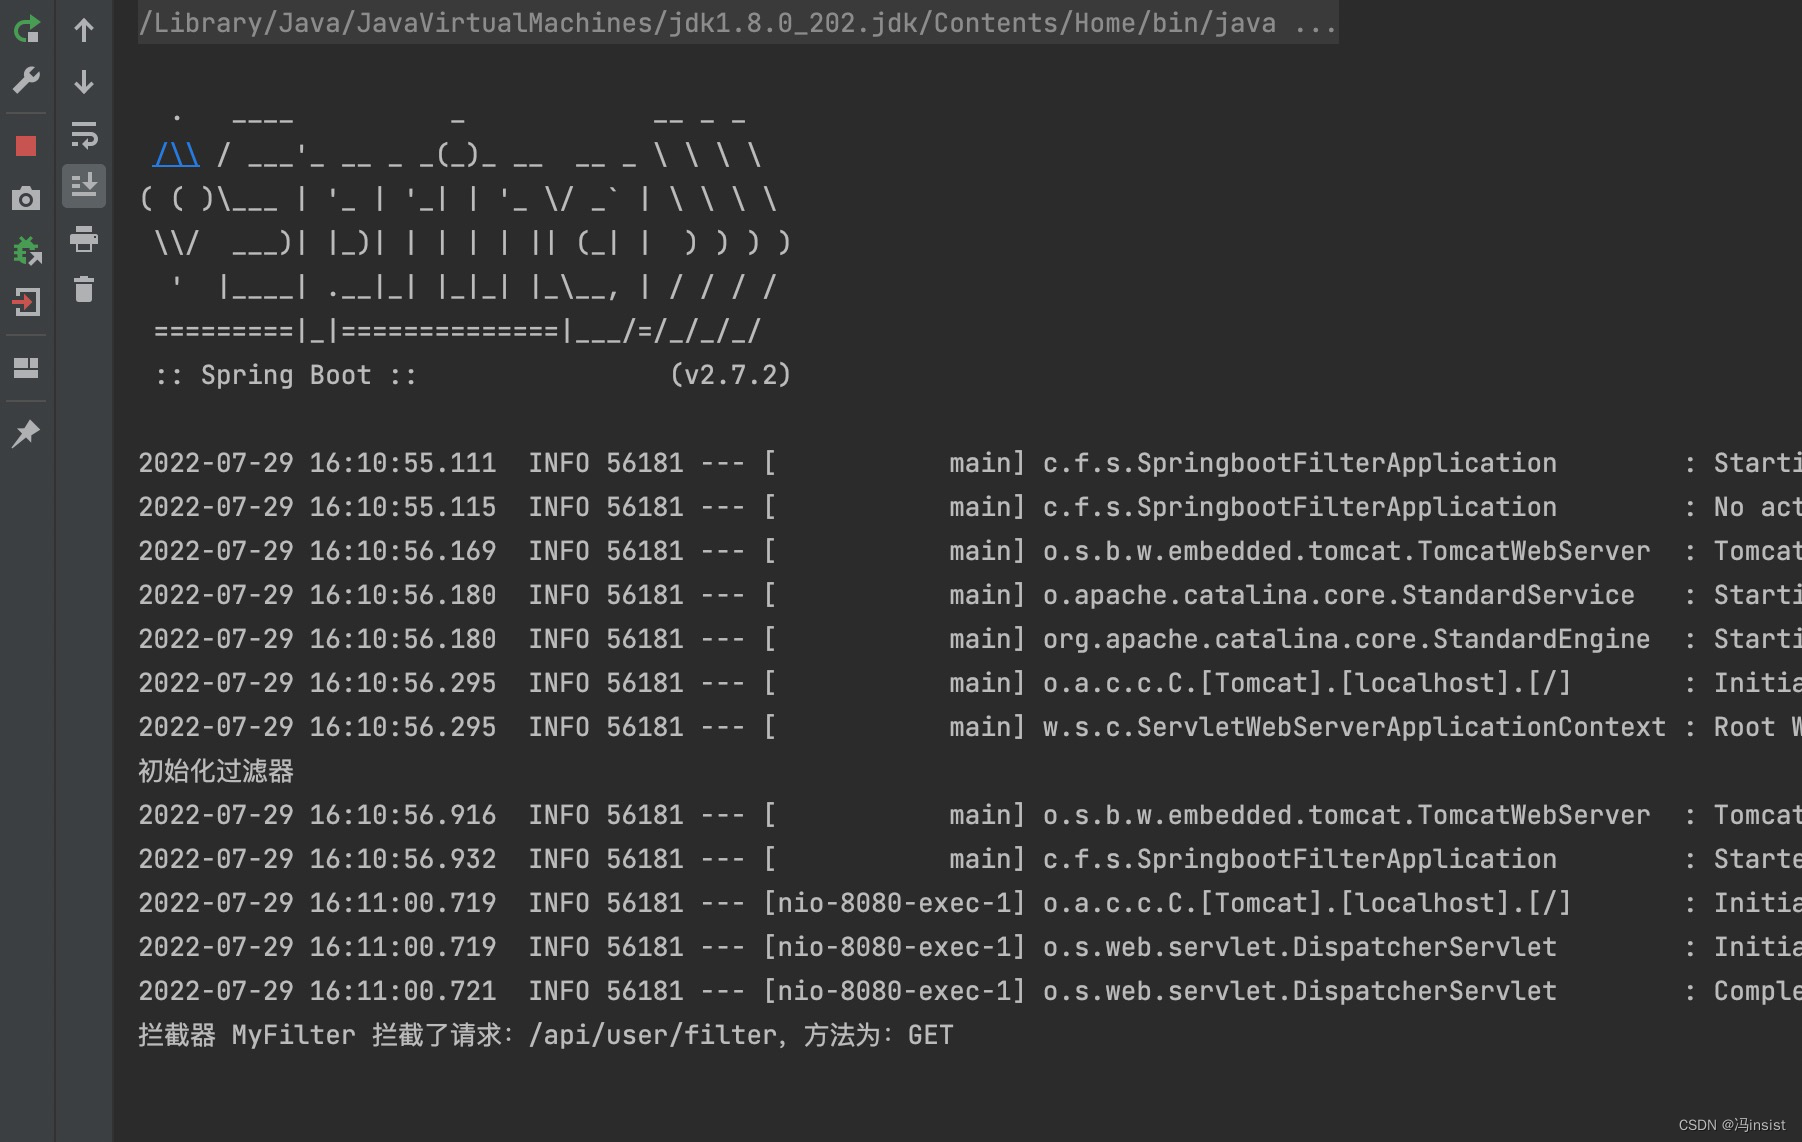
package com.feng.springboot_filter.filter; import org.springframework.core.annotation.Order; import javax.servlet.*; import javax.servlet.annotation.WebFilter; import javax.servlet.http.HttpServletRequest; import java.io.IOException; @WebFilter(urlPatterns = "/api/*", filterName = "myFilter") @Order(1) //指定过滤器的执行顺序,值越大越靠后执行 public class MyFilter implements Filter { @Override public void init(FilterConfig filterConfig) throws ServletException { System.out.println("初始化过滤器"); Filter.super.init(filterConfig); } @Override public void doFilter(ServletRequest servletRequest, ServletResponse servletResponse, FilterChain filterChain) throws IOException, ServletException { HttpServletRequest request = (HttpServletRequest) servletRequest; String requestURI = request.getRequestURI(); String method = request.getMethod(); System.out.println("拦截器 MyFilter 拦截了请求:" + requestURI + ",方法为:" + method); filterChain.doFilter(servletRequest, servletResponse); } @Override public void destroy() { Filter.super.destroy(); } }- 1
- 2
- 3
- 4
- 5
- 6
- 7
- 8
- 9
- 10
- 11
- 12
- 13
- 14
- 15
- 16
- 17
- 18
- 19
- 20
- 21
- 22
- 23
- 24
- 25
- 26
- 27
- 28
- 29
- 30
- 31
- 32
- 33
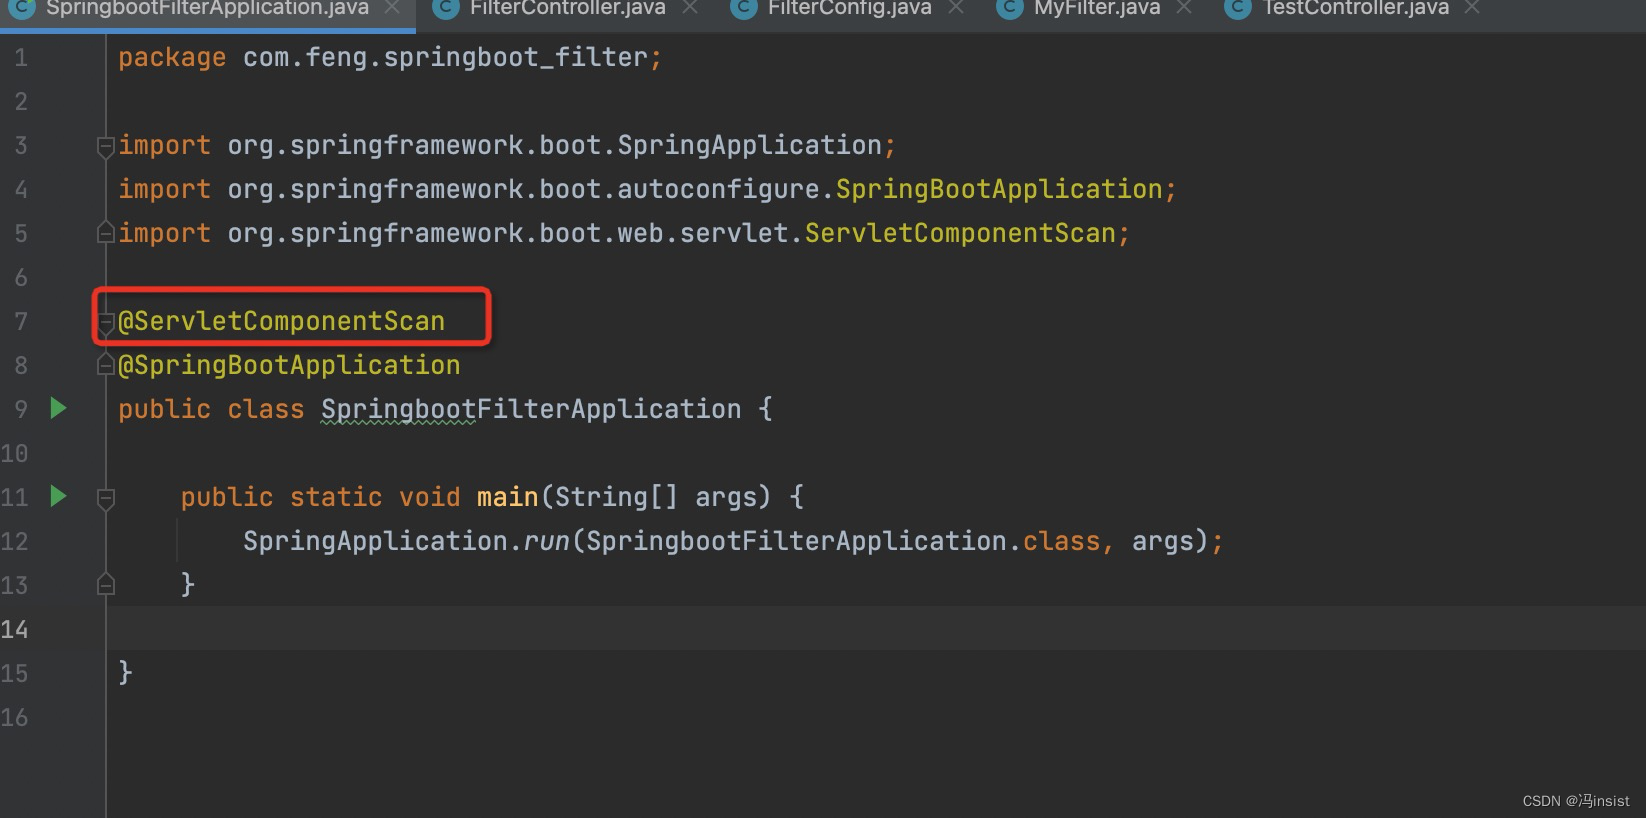
b. 启动类加上 @ServletComponentScan 注解
c. 创建一个 FilterController 接口
package com.feng.springboot_filter.controller; import org.springframework.web.bind.annotation.GetMapping; import org.springframework.web.bind.annotation.RequestMapping; import org.springframework.web.bind.annotation.RestController; @RestController @RequestMapping("/api") public class FilterController { @GetMapping("/user/filter") public String hello(){ return "已经通过了过滤器"; } }- 1
- 2
- 3
- 4
- 5
- 6
- 7
- 8
- 9
- 10
- 11
- 12
- 13
- 14
- 15
- 16
d. 创建一个 TestController 接口
package com.feng.springboot_filter.controller; import org.springframework.web.bind.annotation.GetMapping; import org.springframework.web.bind.annotation.RestController; @RestController public class TestController { @GetMapping("/test") public String hello(){ return "hello world"; } }- 1
- 2
- 3
- 4
- 5
- 6
- 7
- 8
- 9
- 10
- 11
- 12
- 13
e. 项目结构

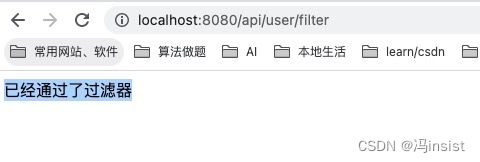
f. 测试
i、拦截的请求
http://localhost:8080/api/user/filter

ii、未拦截的请求:没有走过滤器
http://localhost:8080/test

没有走过滤器
2、FilterRegistrationBean 实现
a、创建 FilterConfig 配置类
package com.feng.springboot_filter.config; import com.feng.springboot_filter.filter.MyFilter; import org.springframework.boot.web.servlet.FilterRegistrationBean; import org.springframework.context.annotation.Bean; import org.springframework.context.annotation.Configuration; @Configuration public class FilterConfig { @Bean public MyFilter myFilter() { return new MyFilter(); } @Bean public FilterRegistrationBean getFilterRegistrationBean(MyFilter myFilter) { FilterRegistrationBean filterRegistrationBean = new FilterRegistrationBean(); /** * 设置过滤器 */ filterRegistrationBean.setFilter(myFilter()); /** * 拦截路径 */ filterRegistrationBean.addUrlPatterns("/api/*"); /** * 设置名称 */ filterRegistrationBean.setName("myFilter"); /** * 设置访问优先级 值越小越高 */ filterRegistrationBean.setOrder(1); return filterRegistrationBean; } }- 1
- 2
- 3
- 4
- 5
- 6
- 7
- 8
- 9
- 10
- 11
- 12
- 13
- 14
- 15
- 16
- 17
- 18
- 19
- 20
- 21
- 22
- 23
- 24
- 25
- 26
- 27
- 28
- 29
- 30
- 31
- 32
- 33
- 34
- 35
- 36
- 37
b、修改 MyFilter.java
//@WebFilter(urlPatterns = "/api/*", filterName = "myFilter")- 1
c、修改启动类
//@ServletComponentScan- 1
d、测试
结果和三.1.e一样,说明这两种方式都可以。
i、拦截的请求
http://localhost:8080/api/user/filter


ii、未拦截的请求:没有走过滤器
http://localhost:8080/test


四、过滤校验用户是否登录实战
采用第二种方式进行
过滤用户是否登录成功1. 修改 application.yml
修改 application.properties 加入开发接口通配地址
#凡是请求地址层级带有 open 都放行 open: url: /**/open/**- 1
- 2
- 3
2. 修改 MyFilter
package com.feng.springboot_filter.filter; import org.springframework.beans.factory.annotation.Value; import org.springframework.core.annotation.Order; import org.springframework.util.AntPathMatcher; import org.springframework.util.PathMatcher; import org.springframework.util.StringUtils; import javax.servlet.*; import javax.servlet.annotation.WebFilter; import javax.servlet.http.HttpServletRequest; import java.io.IOException; //@WebFilter(urlPatterns = "/api/*", filterName = "myFilter") @Order(1) //指定过滤器的执行顺序,值越大越靠后执行 public class MyFilter implements Filter { @Value("${open.url}") private String openUrl; @Override public void init(FilterConfig filterConfig) throws ServletException { System.out.println("初始化过滤器"); Filter.super.init(filterConfig); } @Override public void doFilter(ServletRequest servletRequest, ServletResponse servletResponse, FilterChain filterChain) throws IOException, ServletException { HttpServletRequest request = (HttpServletRequest) servletRequest; String requestURI = request.getRequestURI(); String method = request.getMethod(); System.out.println("拦截器 MyFilter 拦截了请求:" + requestURI + ",方法为:" + method); // 首先校验是否是开放 api // 是则:直接放行,否则:再校验token PathMatcher matcher = new AntPathMatcher(); if (matcher.match(openUrl, requestURI)) { filterChain.doFilter(servletRequest, servletResponse); } else { String token = request.getHeader("token"); if (StringUtils.isEmpty(token)) { // 若无 token,则转发到:未登录请求 servletRequest.getRequestDispatcher("/api/open/unLogin").forward(servletRequest, servletResponse); } else { // 若有 则放行 filterChain.doFilter(servletRequest, servletResponse); } } //filterChain.doFilter(servletRequest, servletResponse); } @Override public void destroy() { Filter.super.destroy(); } }- 1
- 2
- 3
- 4
- 5
- 6
- 7
- 8
- 9
- 10
- 11
- 12
- 13
- 14
- 15
- 16
- 17
- 18
- 19
- 20
- 21
- 22
- 23
- 24
- 25
- 26
- 27
- 28
- 29
- 30
- 31
- 32
- 33
- 34
- 35
- 36
- 37
- 38
- 39
- 40
- 41
- 42
- 43
- 44
- 45
- 46
- 47
- 48
- 49
- 50
- 51
- 52
- 53
- 54
- 55
- 56
- 57
3. 新增 未登录接口、首页接口
a、新增接口
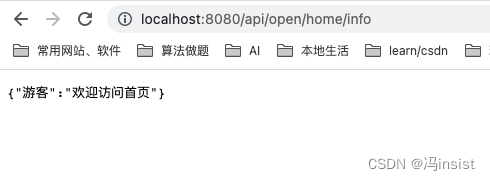
@GetMapping("/open/home/info") public Map<String, String> getHome() { Map<String, String> map = new HashMap<>(); map.put("游客", "欢迎访问首页"); return map; } @GetMapping("/open/unLogin") public String getUnauthorized() { return "登录失效,请重新登录"; }- 1
- 2
- 3
- 4
- 5
- 6
- 7
- 8
- 9
- 10
- 11
b、全部接口
package com.feng.springboot_filter.controller; import org.springframework.web.bind.annotation.GetMapping; import org.springframework.web.bind.annotation.RequestMapping; import org.springframework.web.bind.annotation.RestController; import java.util.HashMap; import java.util.Map; @RestController @RequestMapping("/api") public class FilterController { @GetMapping("/user/filter") public String hello() { return "已经通过了过滤器"; } @GetMapping("/open/home/info") public Map<String, String> getHome() { Map<String, String> map = new HashMap<>(); map.put("游客", "欢迎访问首页"); return map; } @GetMapping("/open/unLogin") public String getUnauthorized() { return "登录失效,请重新登录"; } }- 1
- 2
- 3
- 4
- 5
- 6
- 7
- 8
- 9
- 10
- 11
- 12
- 13
- 14
- 15
- 16
- 17
- 18
- 19
- 20
- 21
- 22
- 23
- 24
- 25
- 26
- 27
- 28
- 29
- 30
4. 测试
-
首先访问 开放接口
http://localhost:8080/api/user/filter(直接放行)
-
访问需权鉴接口:
http://localhost:8080/api/user/filter-
不带 token
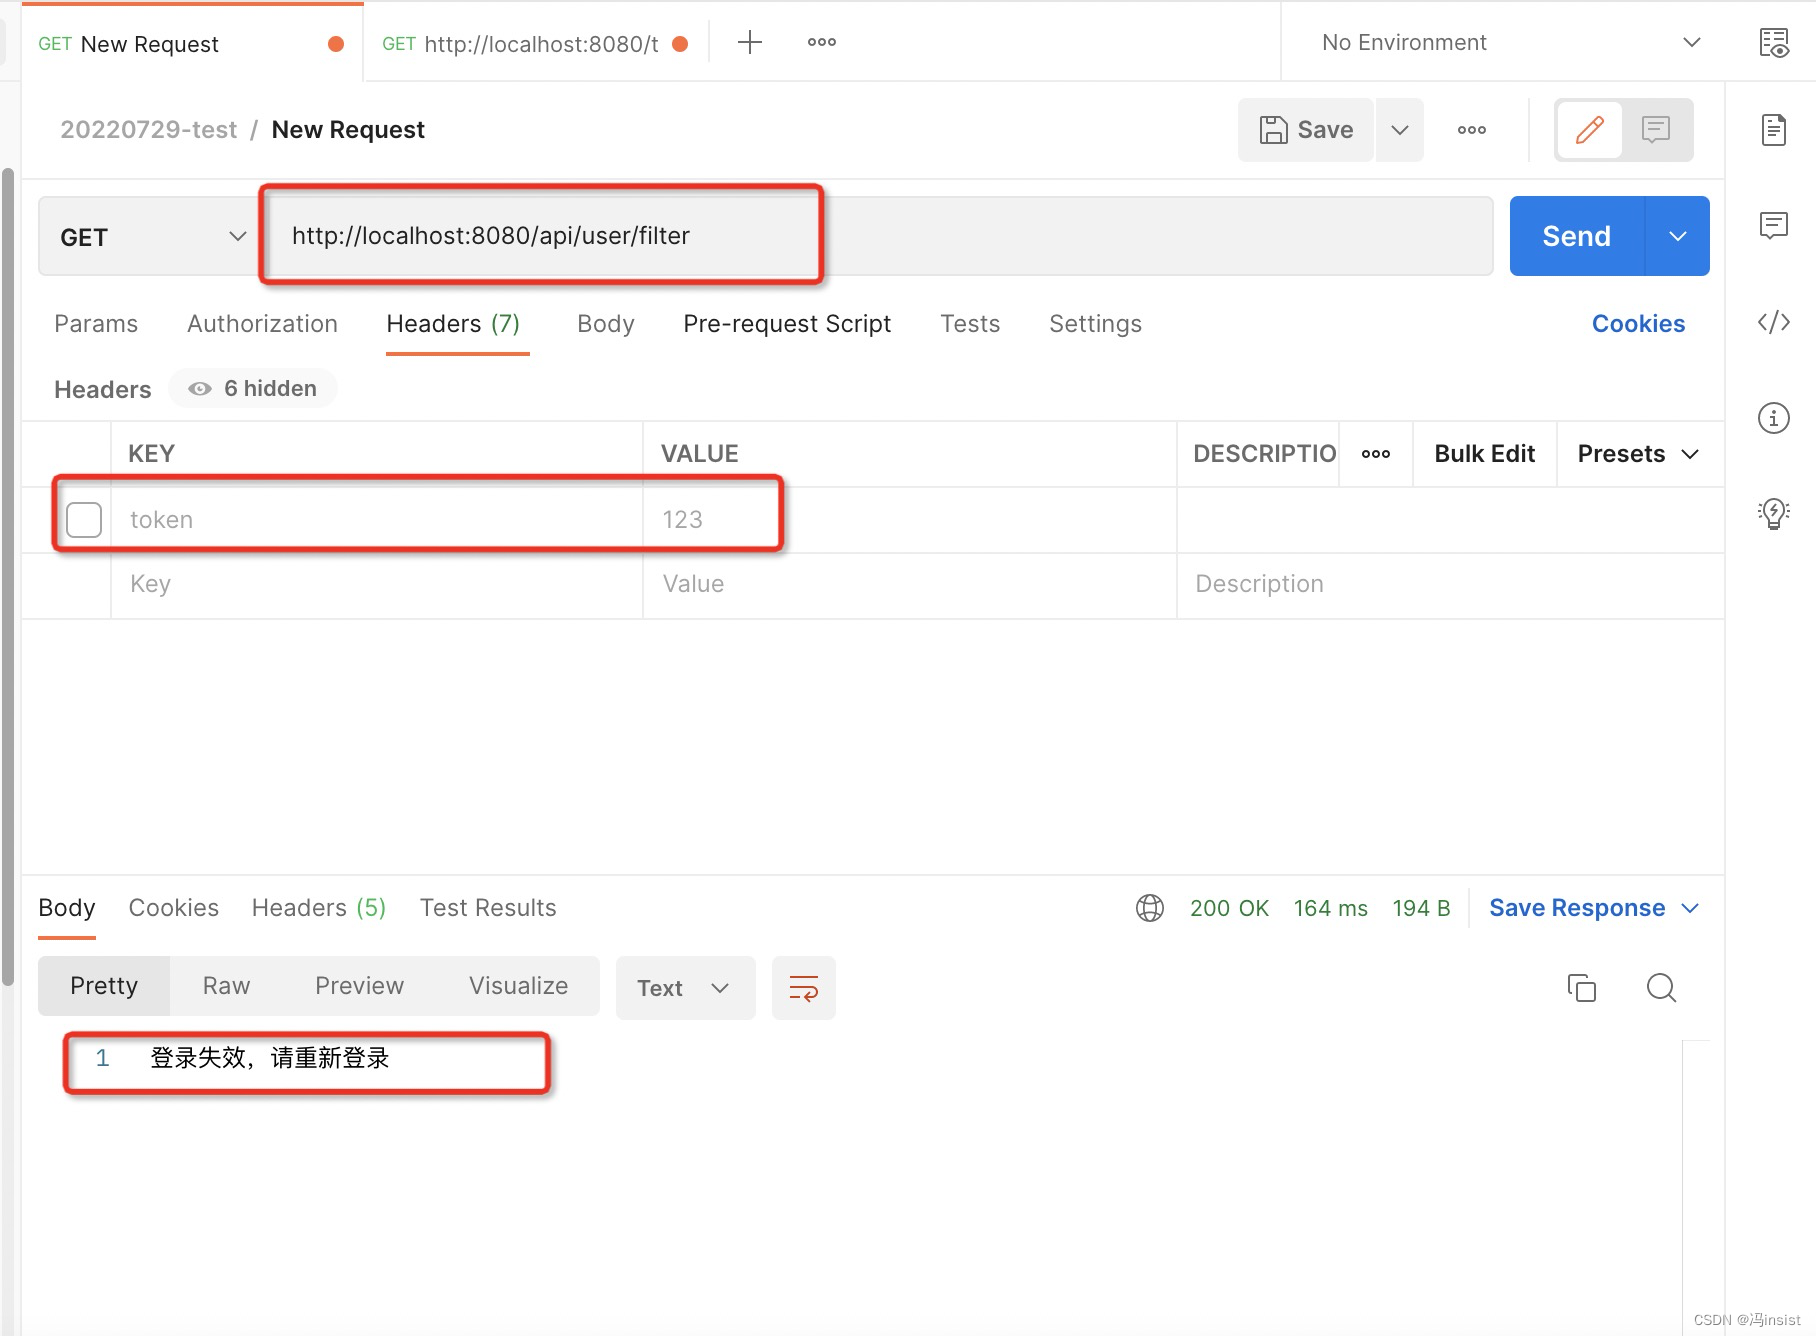
-
带上 token

-
-
-
相关阅读:
线程的创建和两种线程实现方式的区别
国民级应用,怎么让14亿终端都用上AI?
情感分析与LLMs角色扮演
开源计算机视觉库OpenCV详解
RabbitMQ学习笔记
LeetCode 面试题 10.03. 搜索旋转数组
Flutter 中的 Table 小部件:全面指南
linux 强大的搜索命令 grep
给大四毕业生的建议——春招、留学、考公
Latex中公式输入
- 原文地址:https://blog.csdn.net/qq_40036754/article/details/126055631
