-
Android学习笔记 24. Fragment的产生、使用方法、静态(动态)添加fragment
Android学习笔记
Android基础开发——Fragment
24. Fragment的产生、使用方法、静态(动态)添加fragment
24.1 Fragment的产生
Android3.0之后
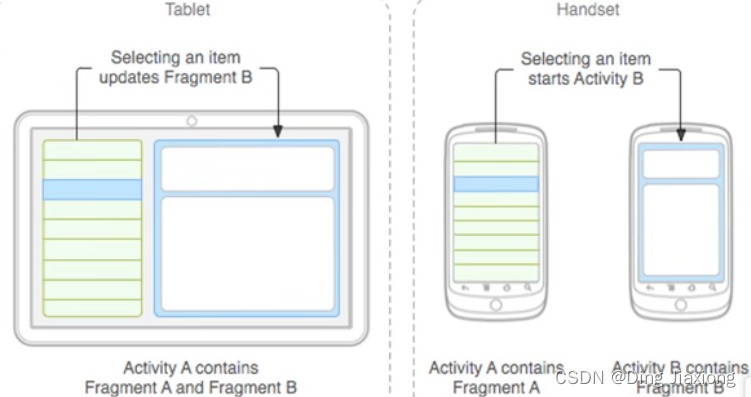
不同的Fragment运行在同一个Activity之上。
24.2 什么是Fragment
- 具备生命周期【“子Activity”】【可以重复使用】
- 必须委托在Activity中才能运行【宿主】
24.3 Fragment使用方法
创建EmptyActivity

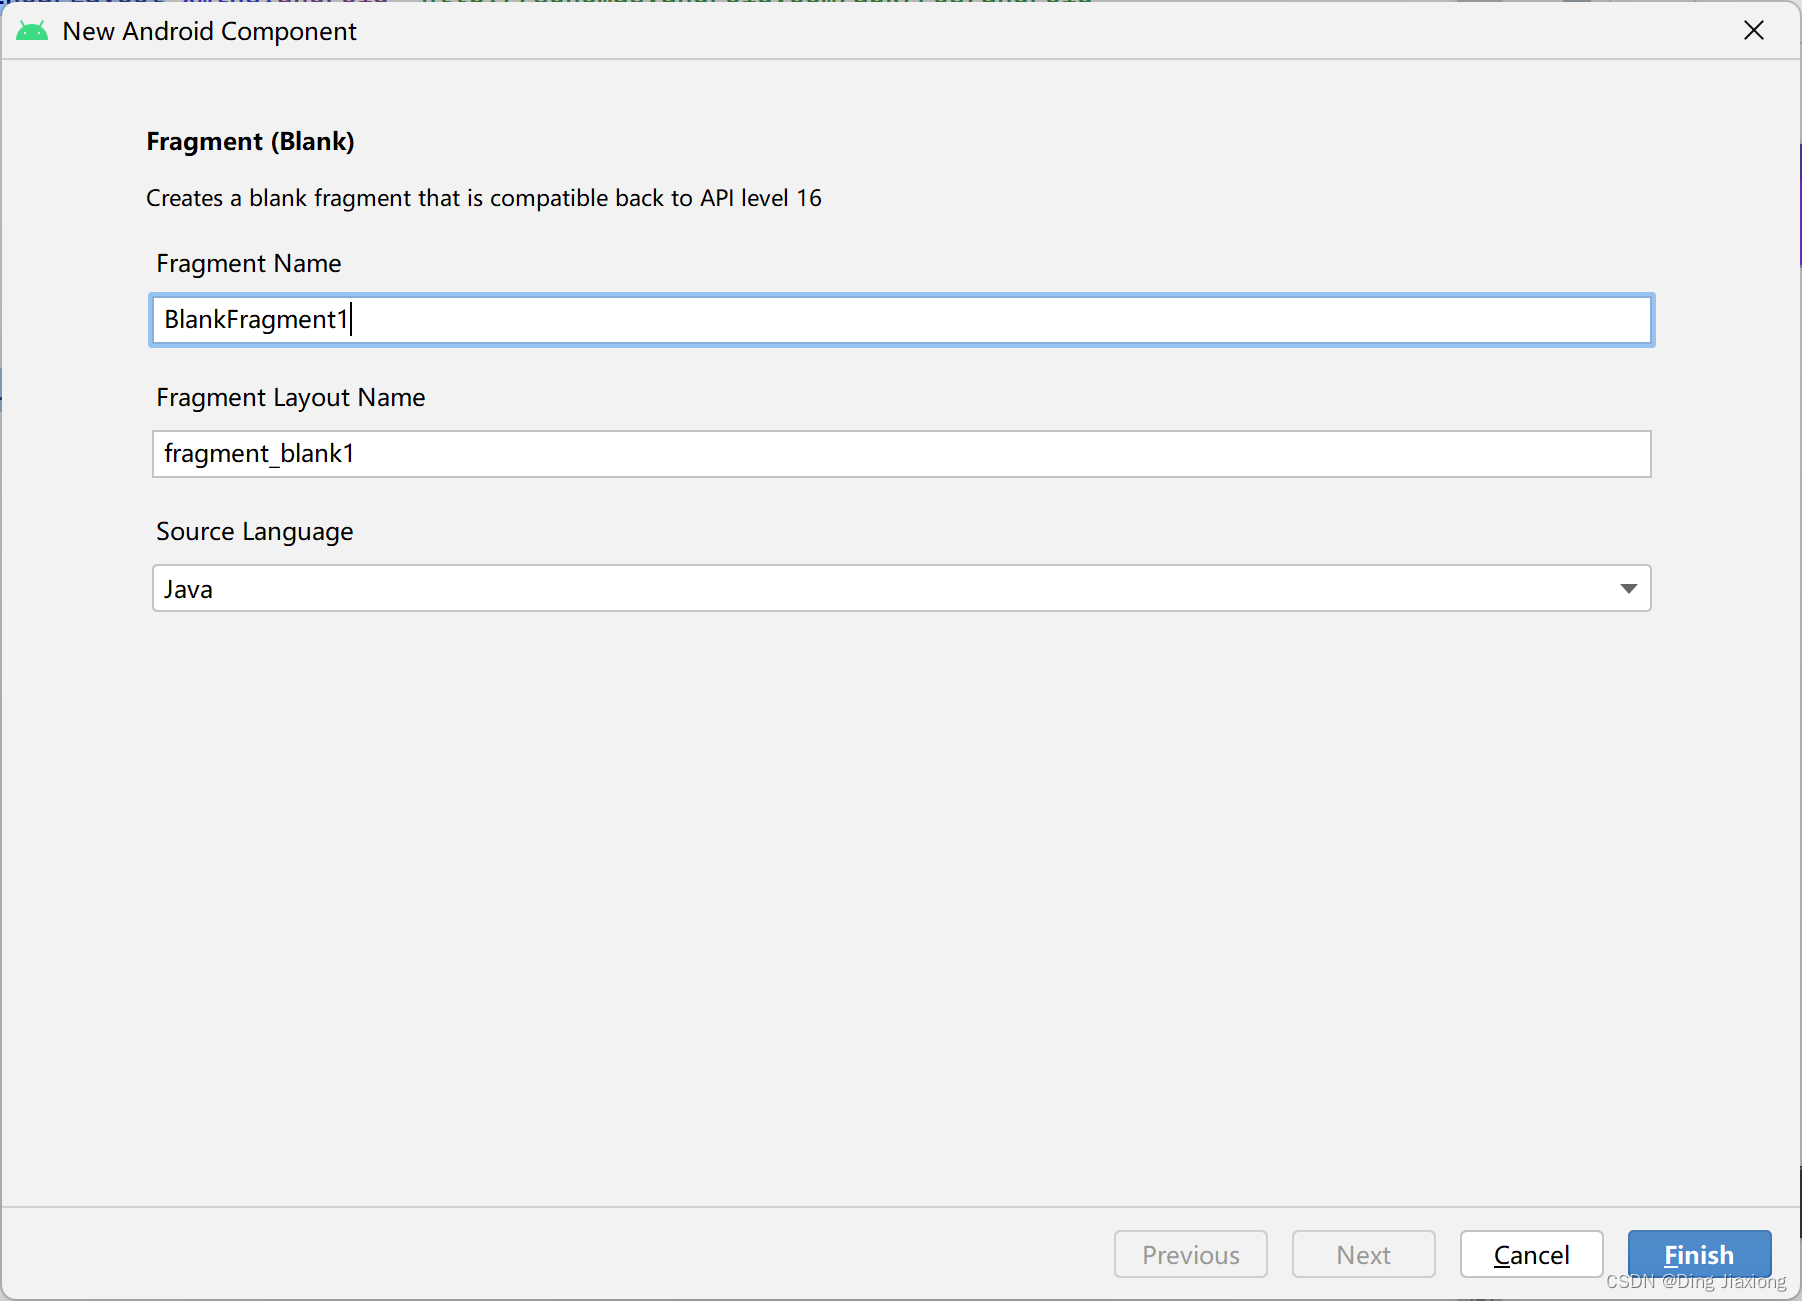
新建一个空白的Fragment

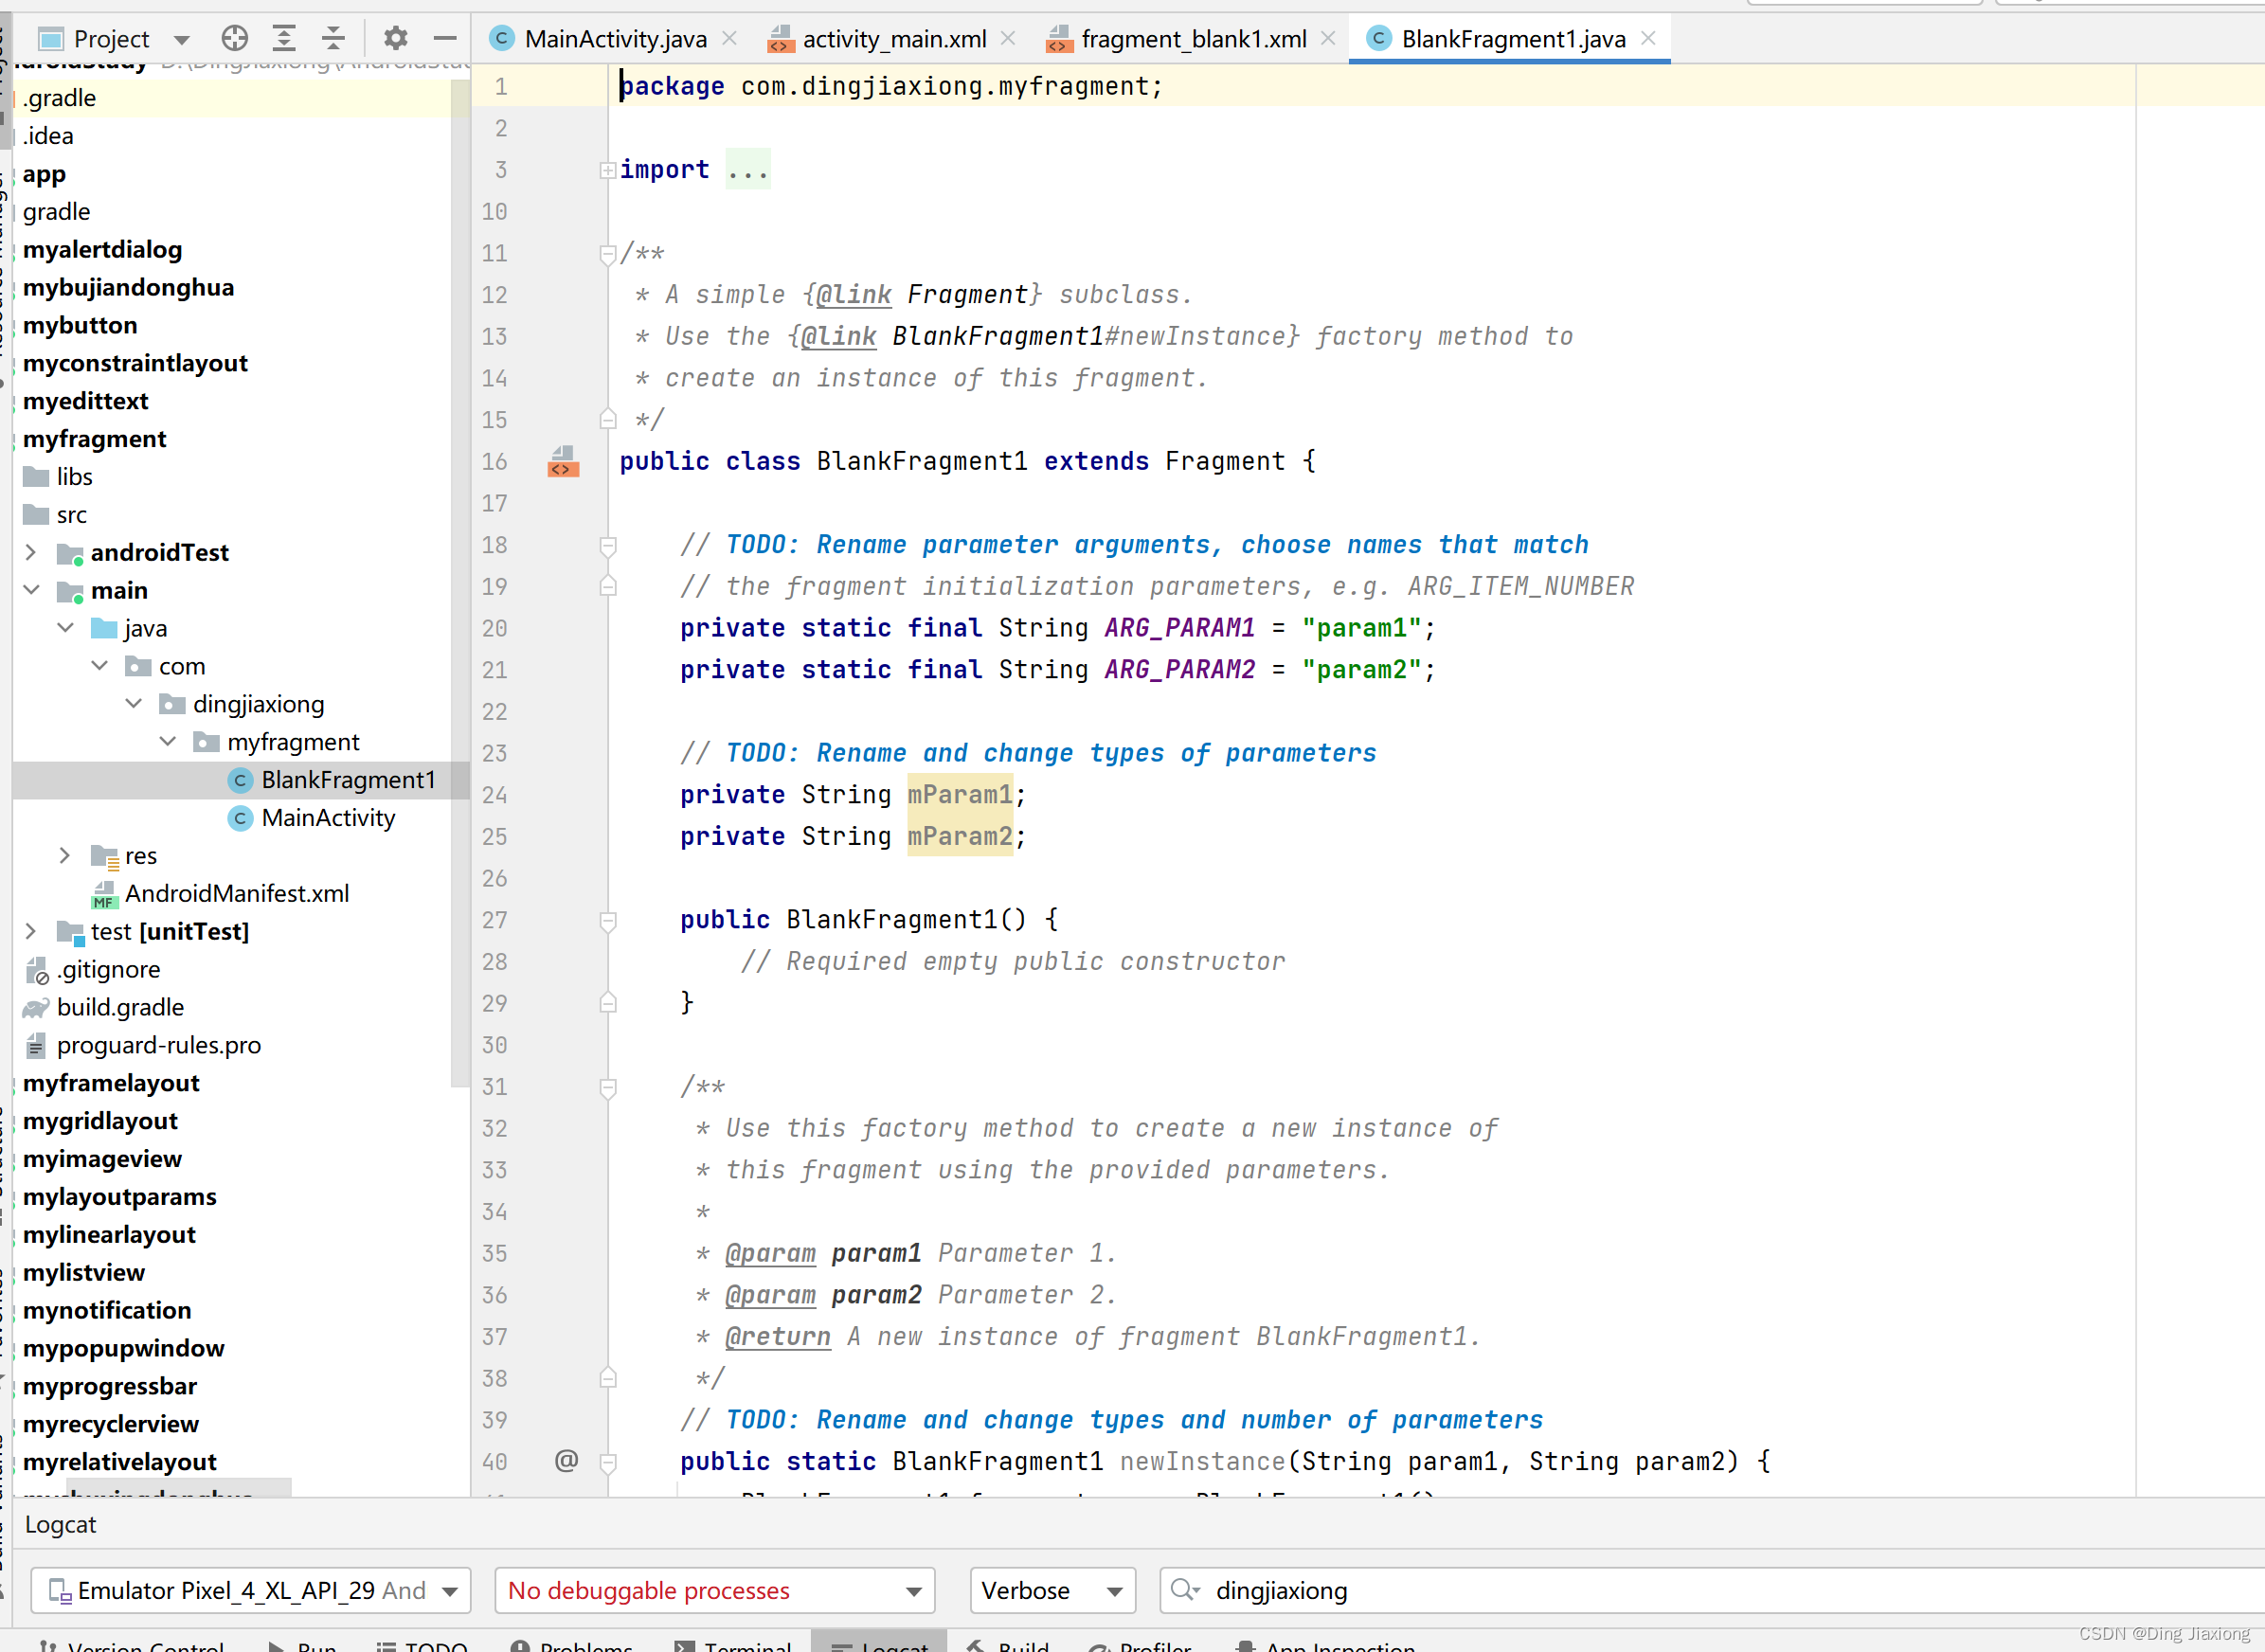
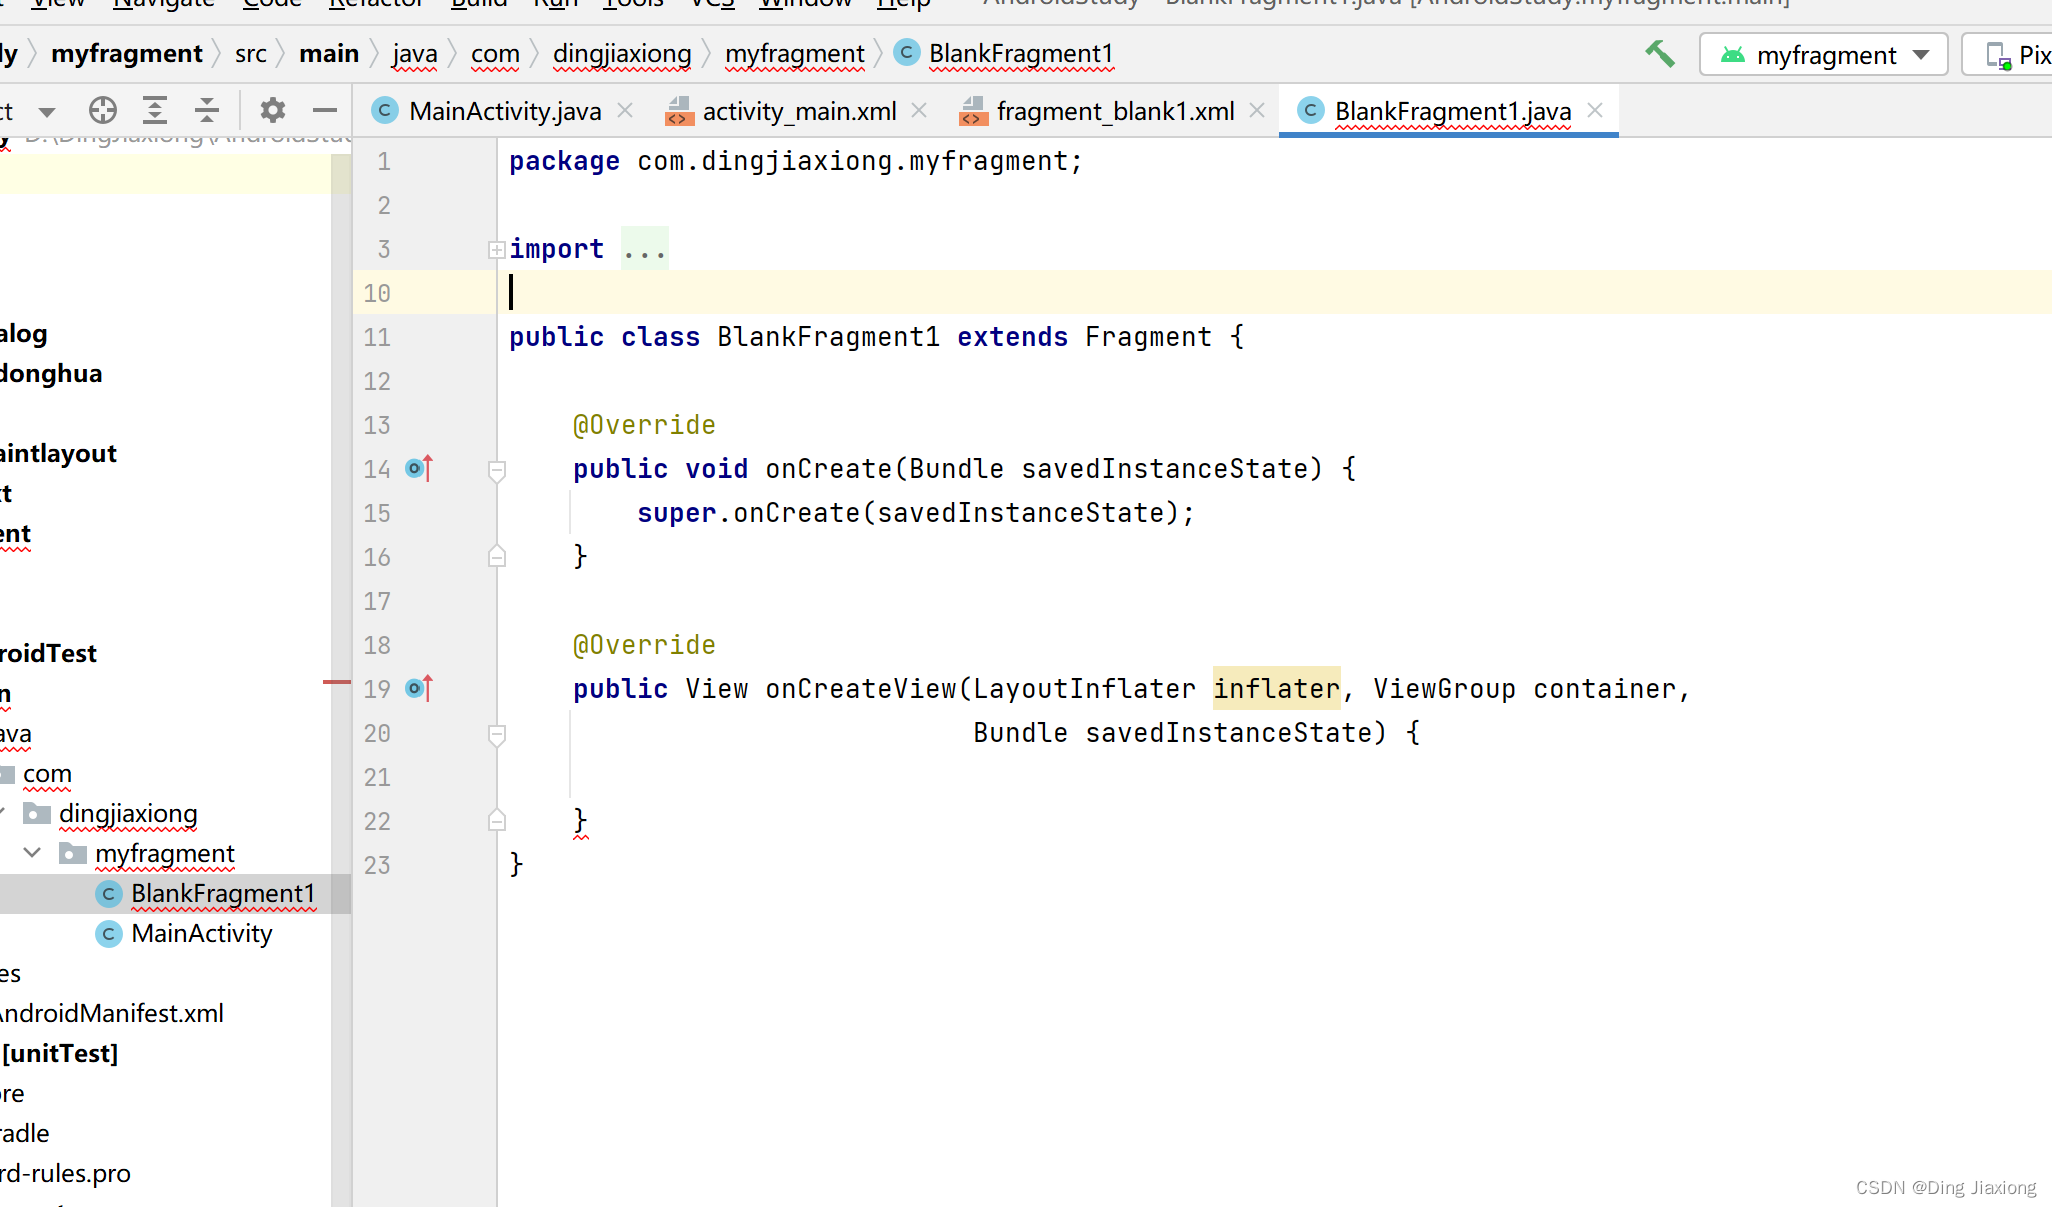
删除无用代码
fragment布局
<LinearLayout xmlns:android="http://schemas.android.com/apk/res/android" xmlns:tools="http://schemas.android.com/tools" android:layout_width="match_parent" android:layout_height="match_parent" android:orientation="vertical" tools:context=".BlankFragment1"> <TextView android:id="@+id/textview" android:layout_width="match_parent" android:layout_height="40dp" android:text="@string/hello_blank_fragment" /> <Button android:text="How are you?" android:layout_width="match_parent" android:layout_height="40dp" android:id="@+id/btn" /> LinearLayout>- 1
- 2
- 3
- 4
- 5
- 6
- 7
- 8
- 9
- 10
- 11
- 12
- 13
- 14
- 15
- 16
- 17
- 18
- 19
- 20
- 21
- 22
- 23
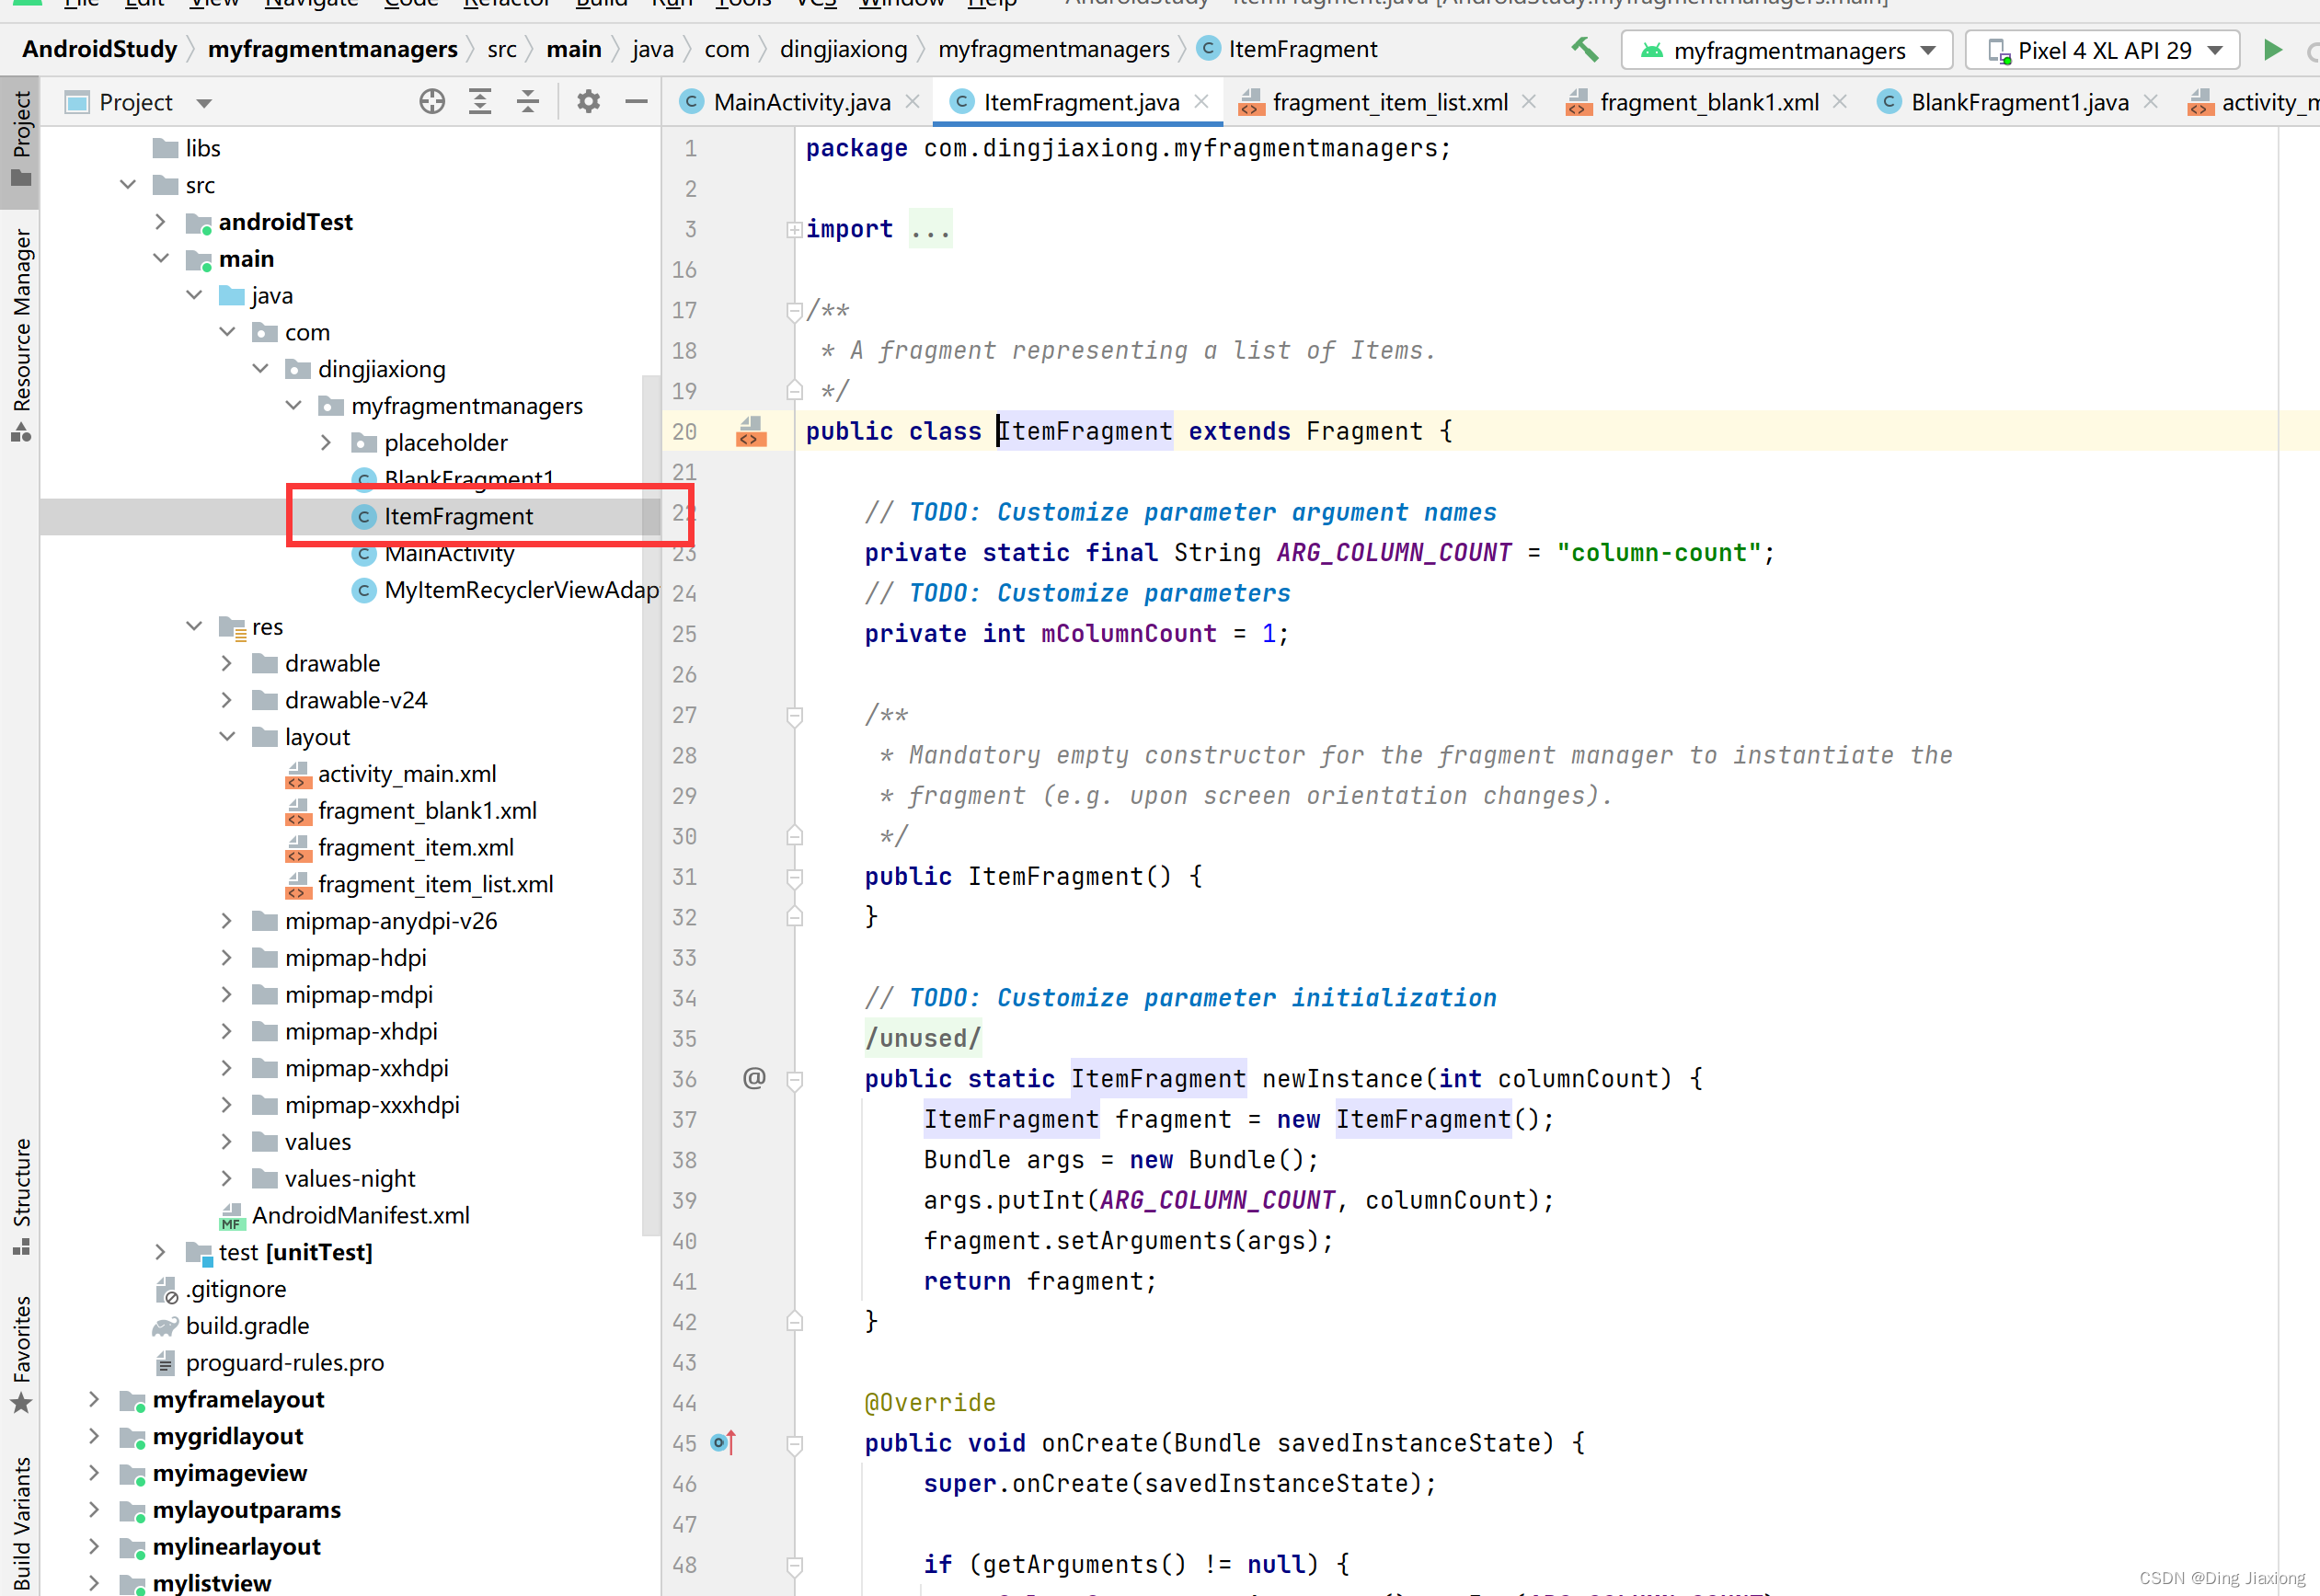
fragment.java
package com.dingjiaxiong.myfragment; import android.os.Bundle; import androidx.fragment.app.Fragment; import android.view.LayoutInflater; import android.view.View; import android.view.ViewGroup; import android.widget.Button; import android.widget.TextView; public class BlankFragment1 extends Fragment { private View root; private TextView textView; private Button button; @Override public void onCreate(Bundle savedInstanceState) { super.onCreate(savedInstanceState); } @Override public View onCreateView(LayoutInflater inflater, ViewGroup container, Bundle savedInstanceState) { if (root == null){ root = inflater.inflate(R.layout.fragment_blank1,container,false); } textView = root.findViewById(R.id.textview); button = root.findViewById(R.id.btn); button.setOnClickListener(new View.OnClickListener() { @Override public void onClick(View view) { textView.setText("I'm fine."); } }); return root; } }- 1
- 2
- 3
- 4
- 5
- 6
- 7
- 8
- 9
- 10
- 11
- 12
- 13
- 14
- 15
- 16
- 17
- 18
- 19
- 20
- 21
- 22
- 23
- 24
- 25
- 26
- 27
- 28
- 29
- 30
- 31
- 32
- 33
- 34
- 35
- 36
- 37
- 38
- 39
- 40
- 41
- 42
- 43
- 44
- 45
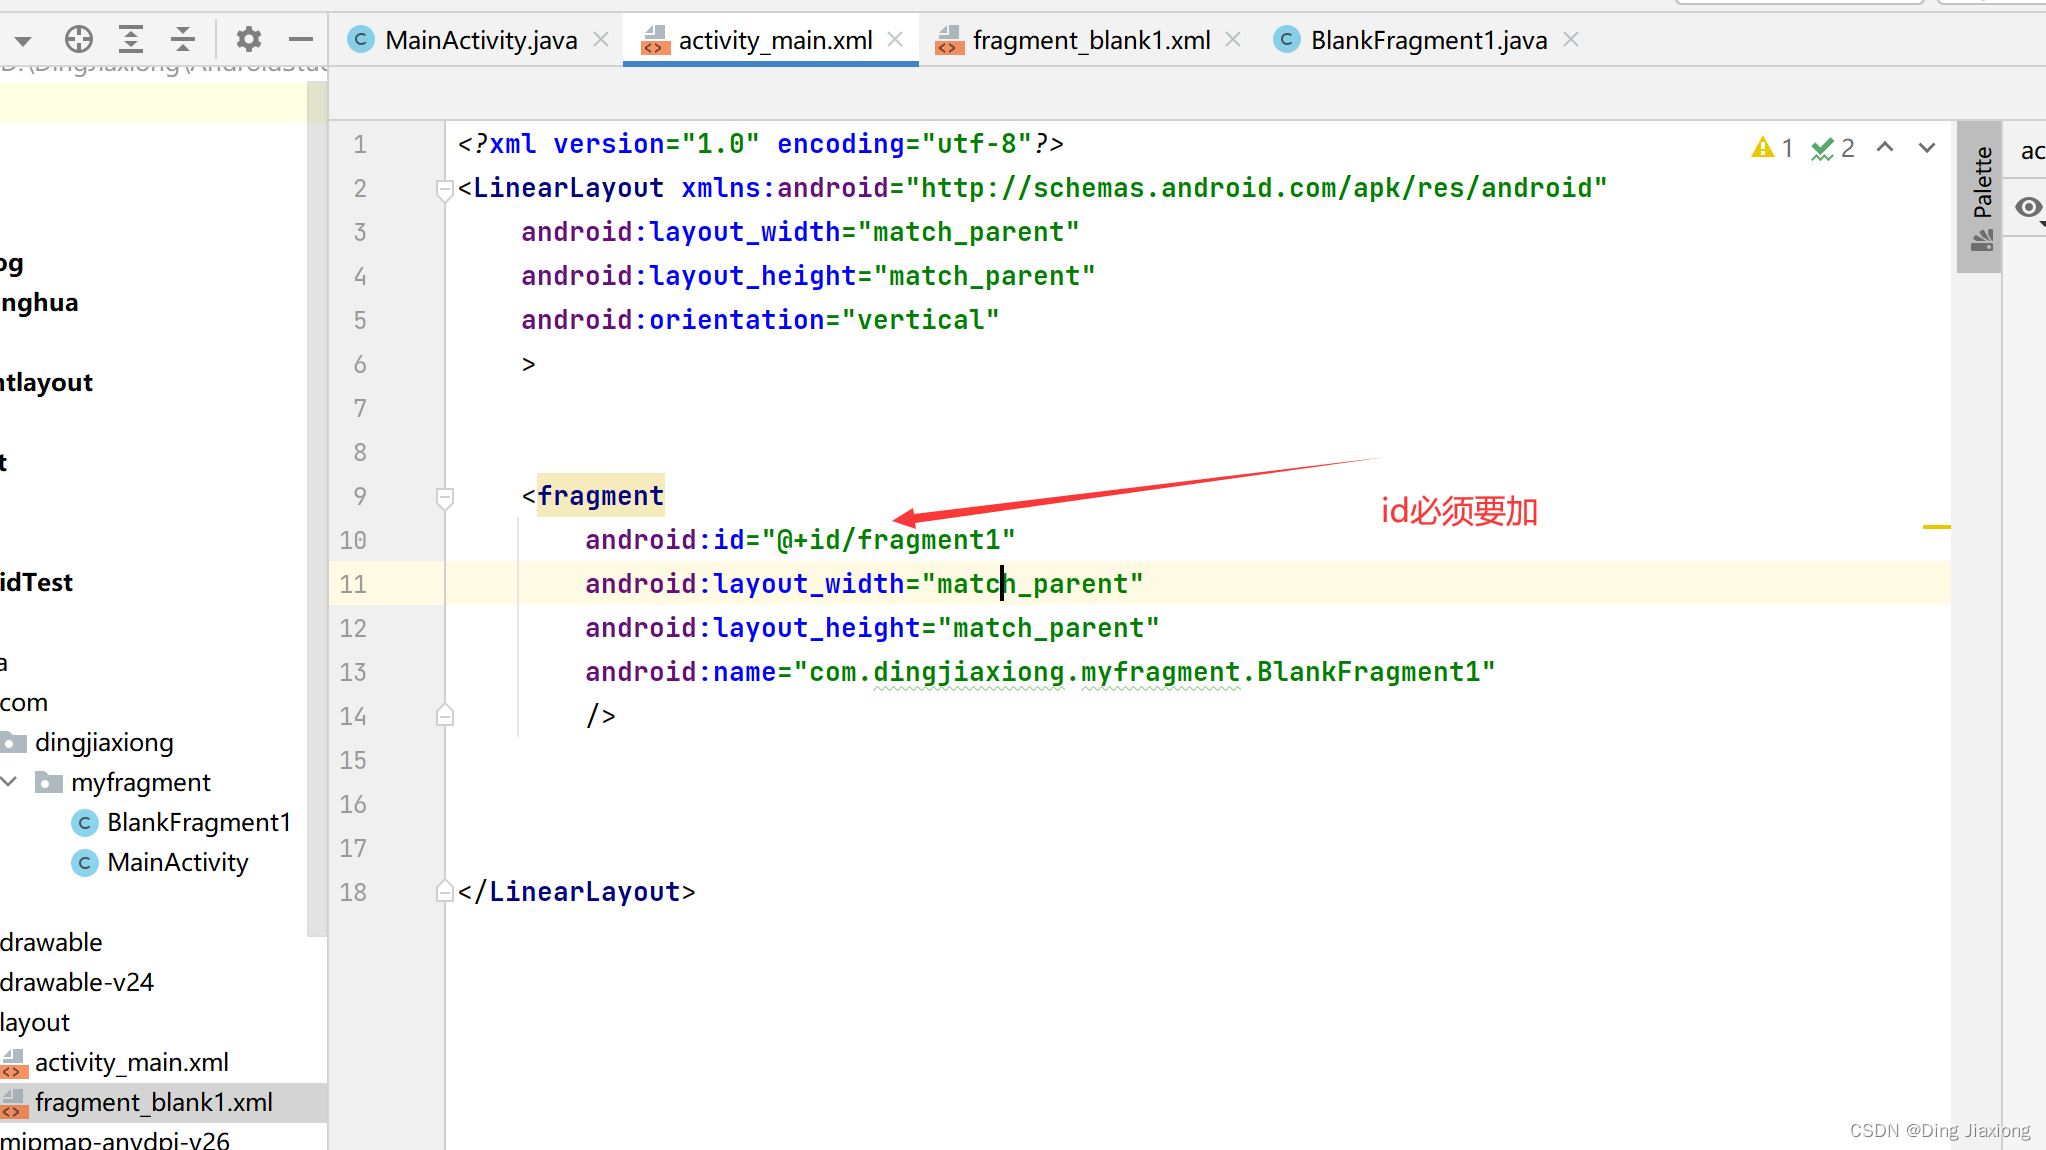
绑定到宿主Activity
在宿主的布局文件中加入
<fragment android:id="@+id/fragment1" android:layout_width="match_parent" android:layout_height="match_parent" android:name="com.dingjiaxiong.myfragment.BlankFragment1" />- 1
- 2
- 3
- 4
- 5
- 6
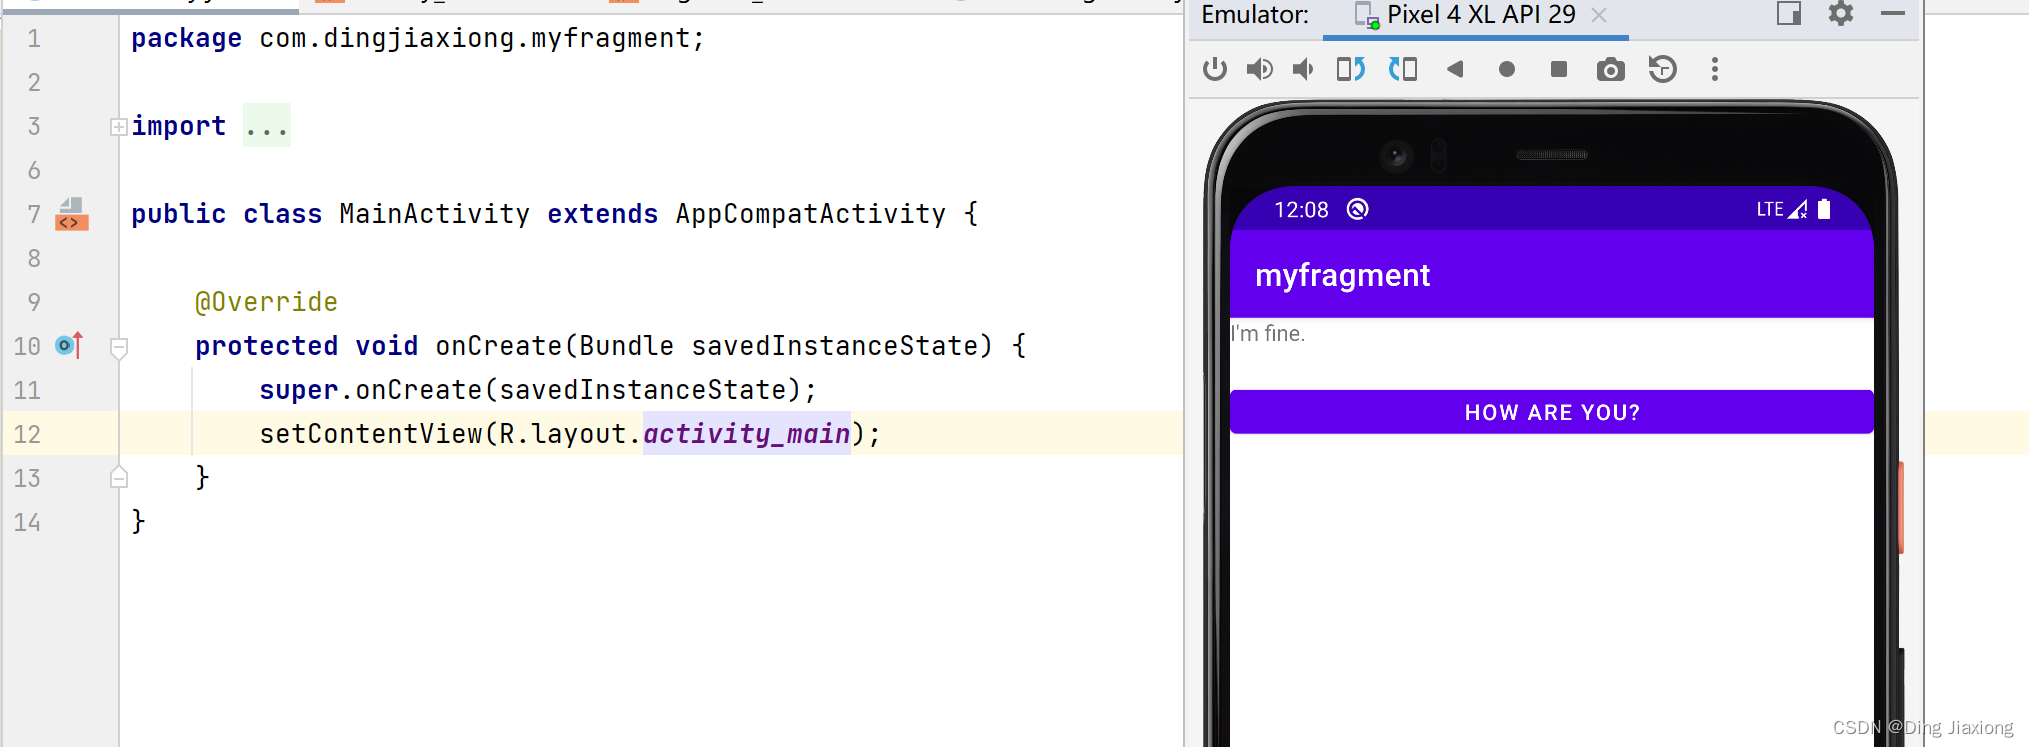
运行
点击按钮后,文本变化。
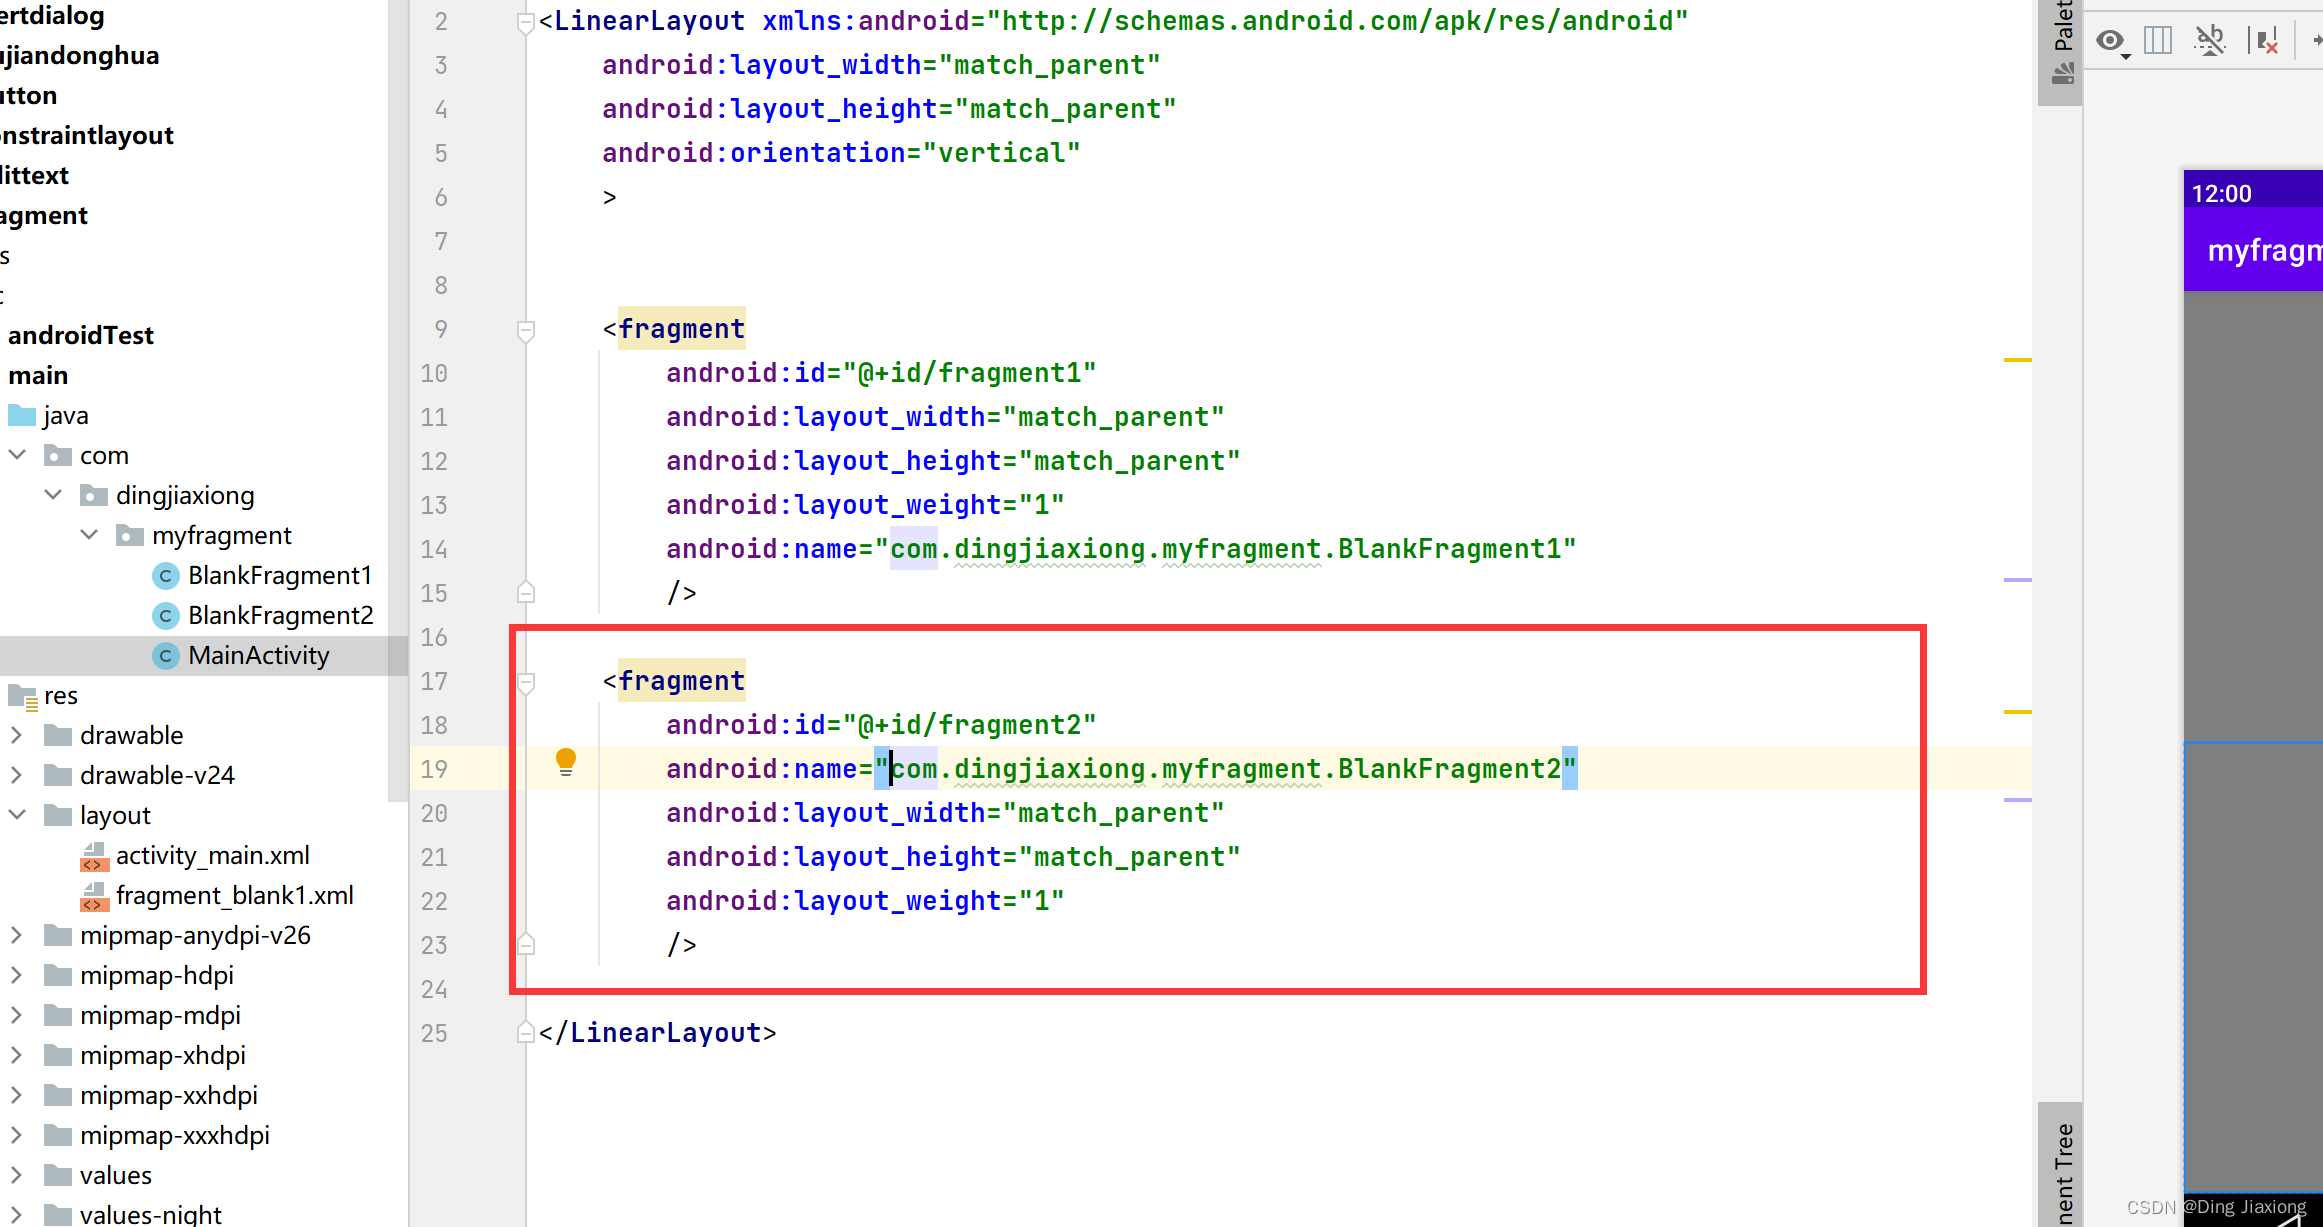
24.4 在一个Activity中添加两个Fragment
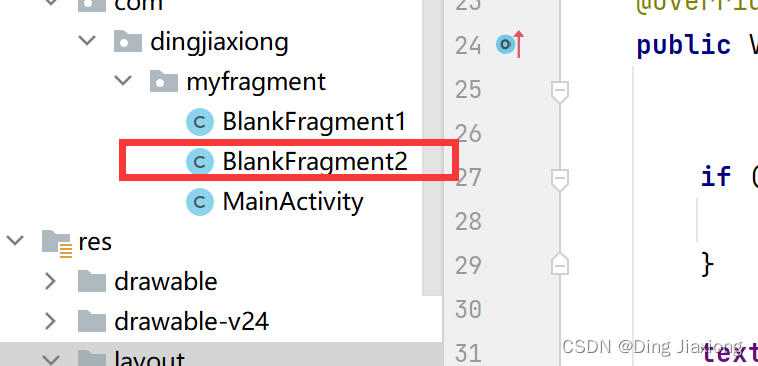
复制一个fragment
设置权重

运行
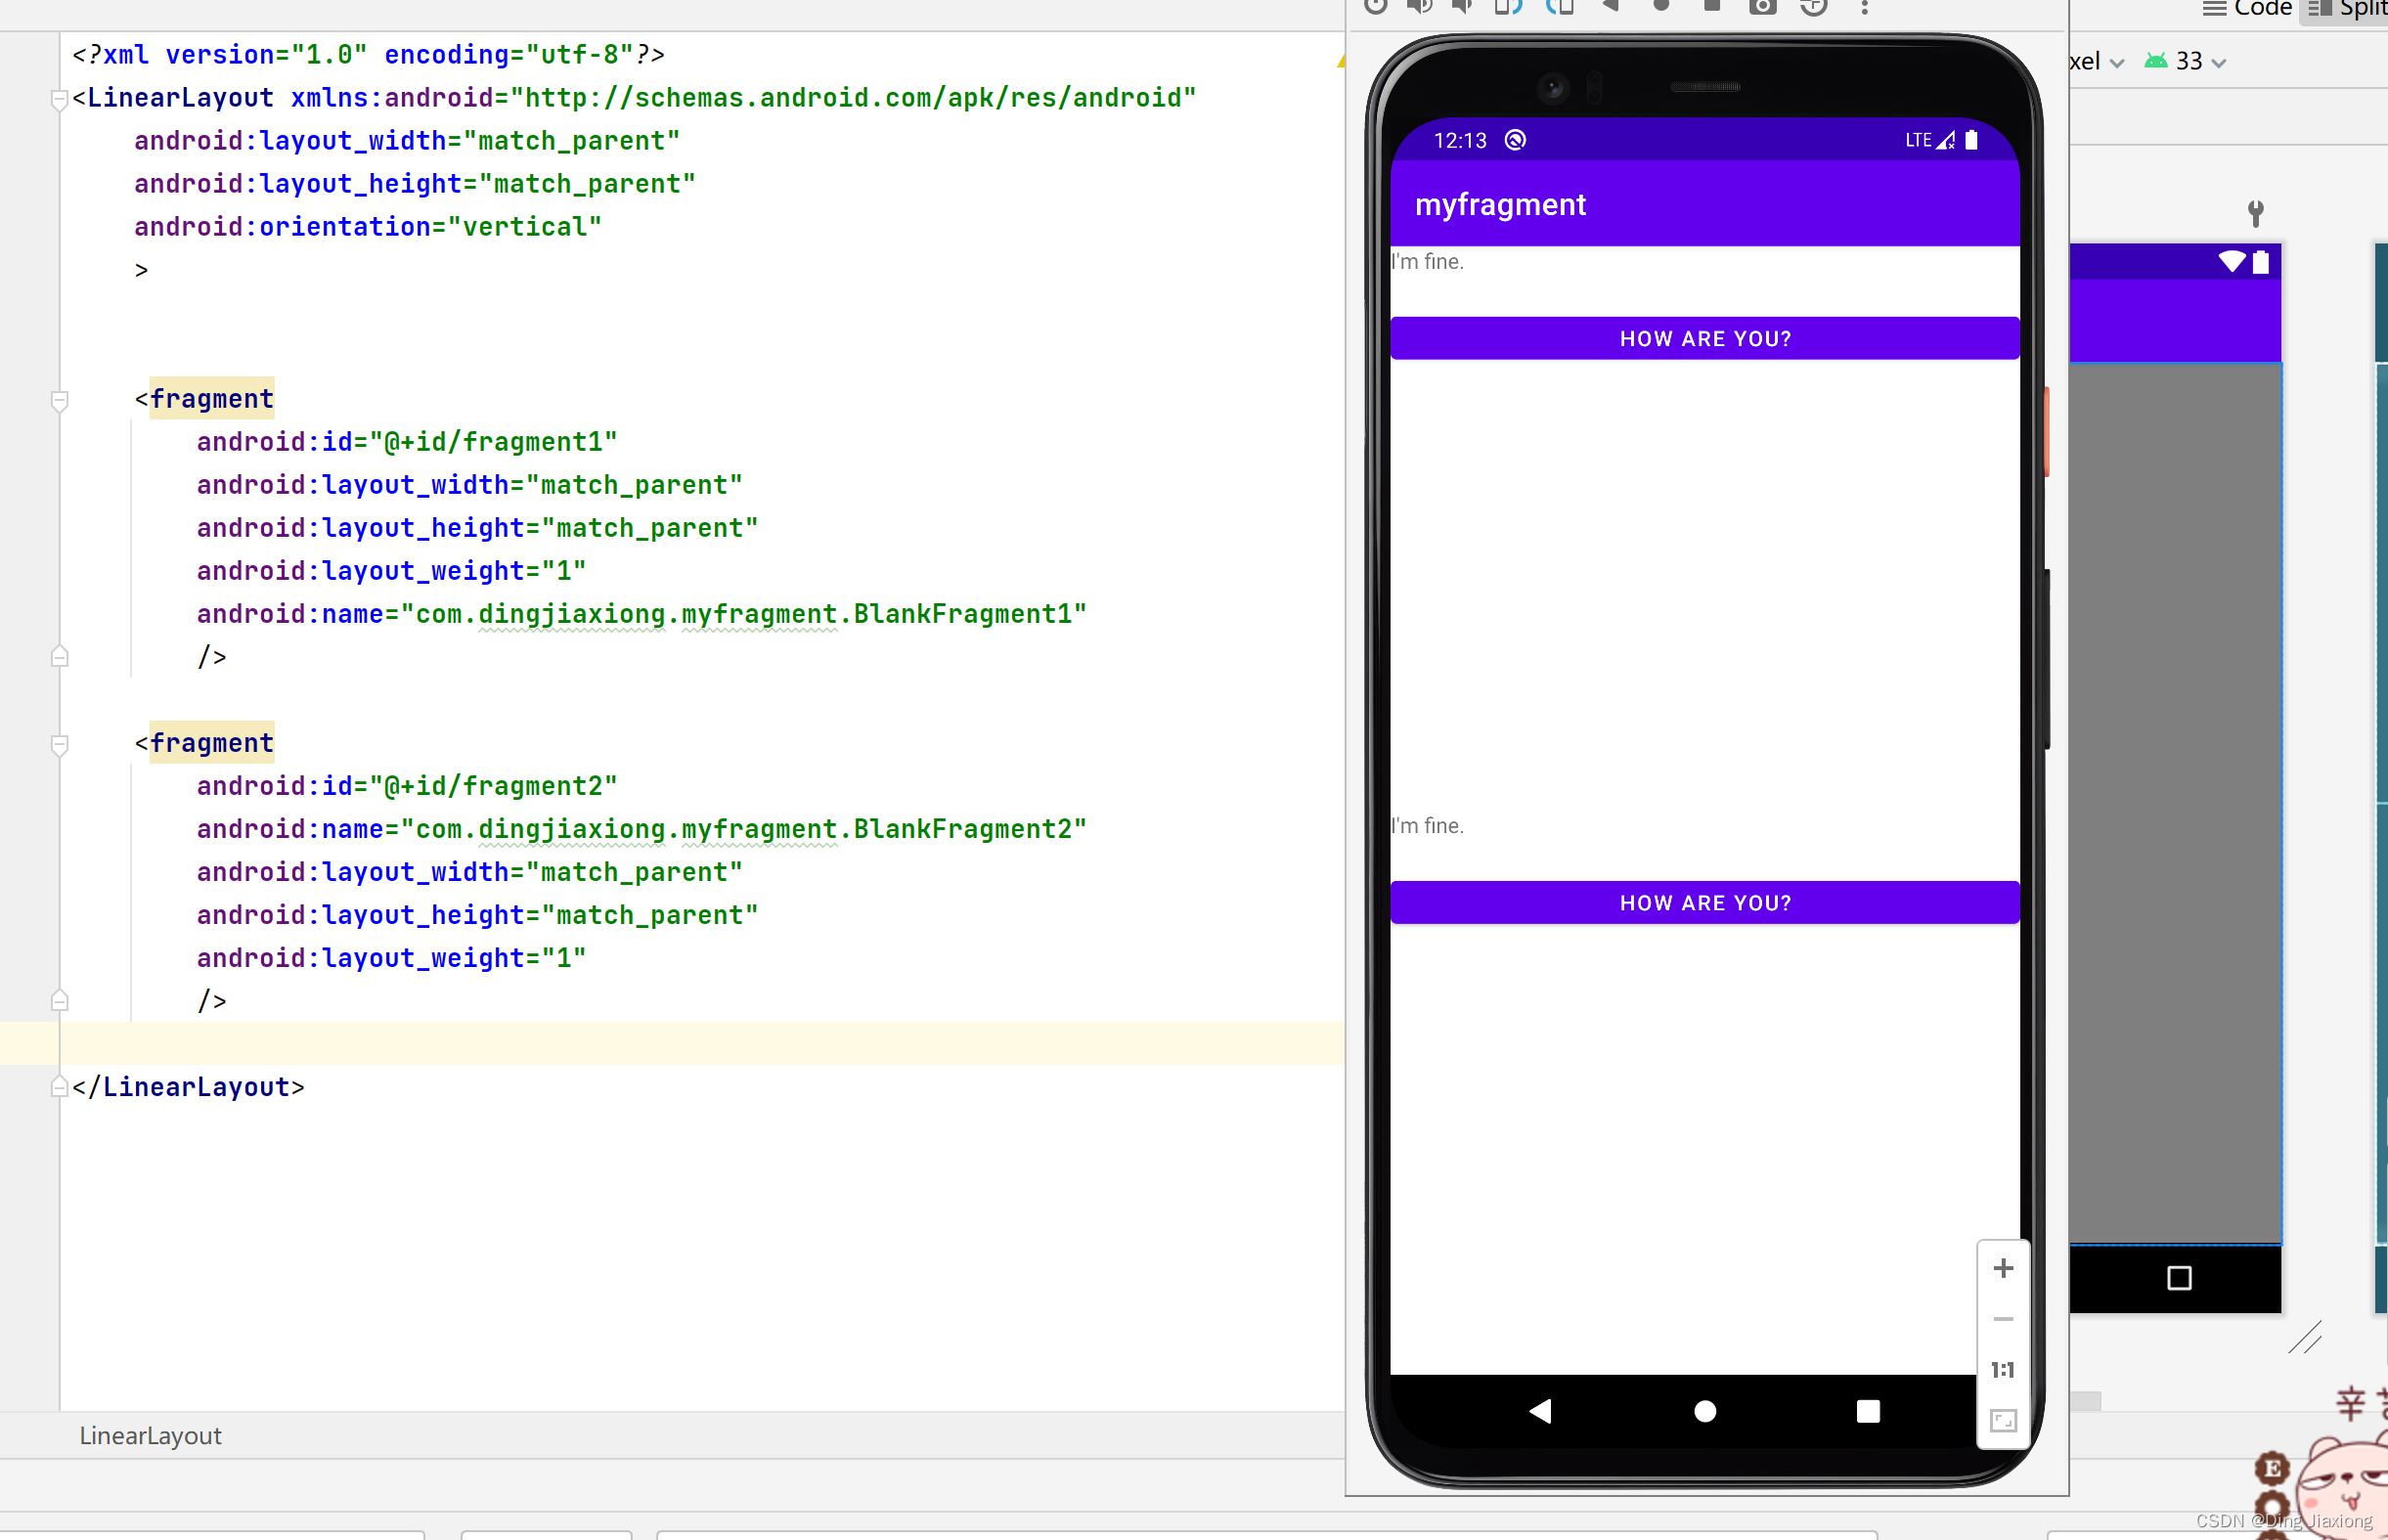
Fragment就是一个小型的Activity
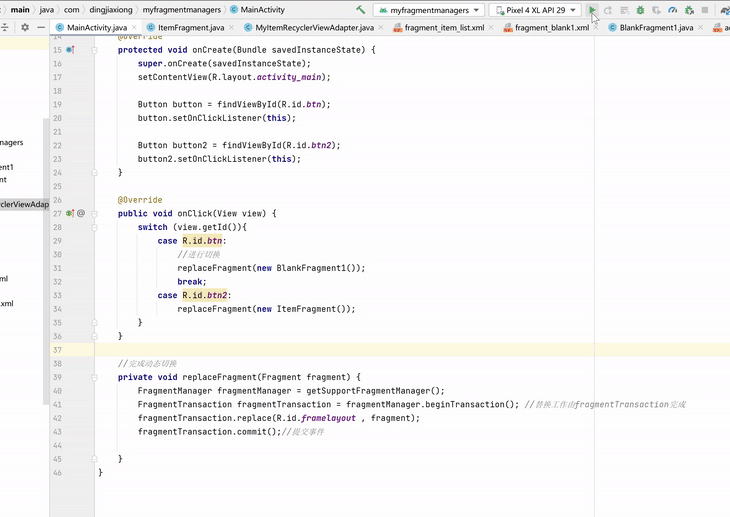
24.5 动态添加fragment
新的空白工程
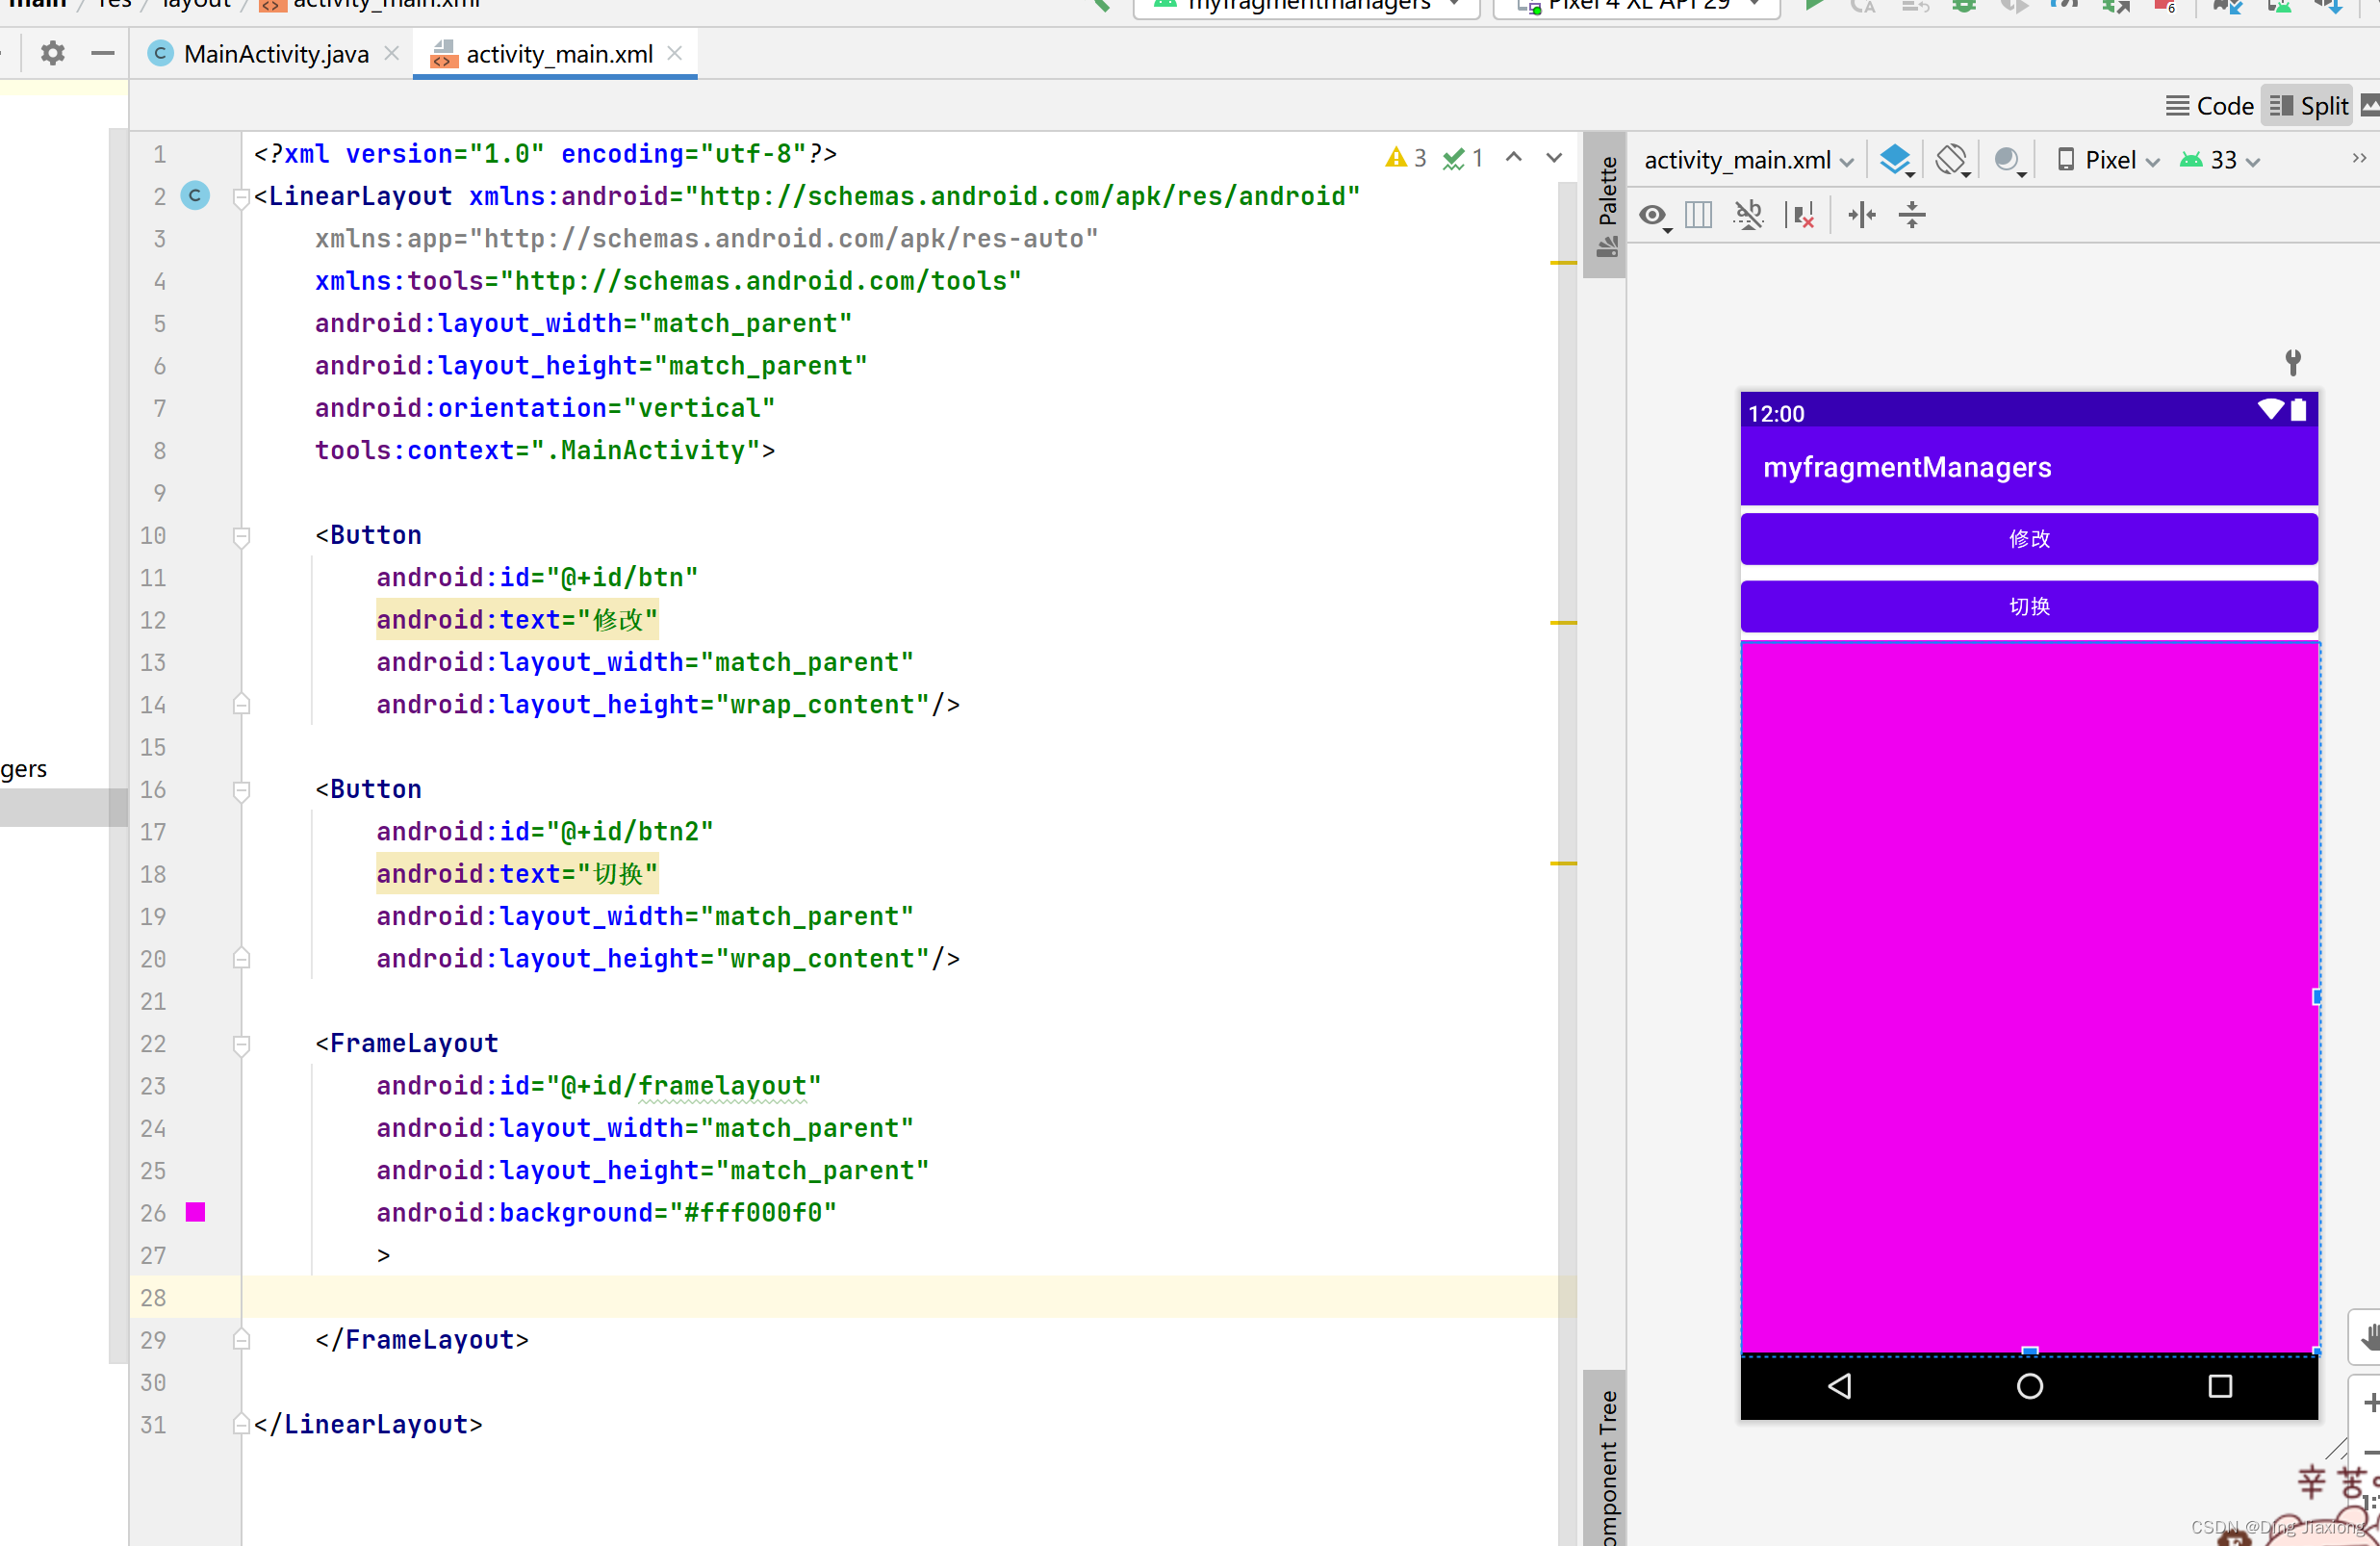
布局文件
<LinearLayout xmlns:android="http://schemas.android.com/apk/res/android" xmlns:app="http://schemas.android.com/apk/res-auto" xmlns:tools="http://schemas.android.com/tools" android:layout_width="match_parent" android:layout_height="match_parent" android:orientation="vertical" tools:context=".MainActivity"> <Button android:id="@+id/btn" android:text="修改" android:layout_width="match_parent" android:layout_height="wrap_content"/> <Button android:id="@+id/btn2" android:text="切换" android:layout_width="match_parent" android:layout_height="wrap_content"/> <FrameLayout android:id="@+id/framelayout" android:layout_width="match_parent" android:layout_height="match_parent" android:background="#fff000f0" > FrameLayout> LinearLayout>- 1
- 2
- 3
- 4
- 5
- 6
- 7
- 8
- 9
- 10
- 11
- 12
- 13
- 14
- 15
- 16
- 17
- 18
- 19
- 20
- 21
- 22
- 23
- 24
- 25
- 26
- 27
- 28
- 29
- 30
- 31
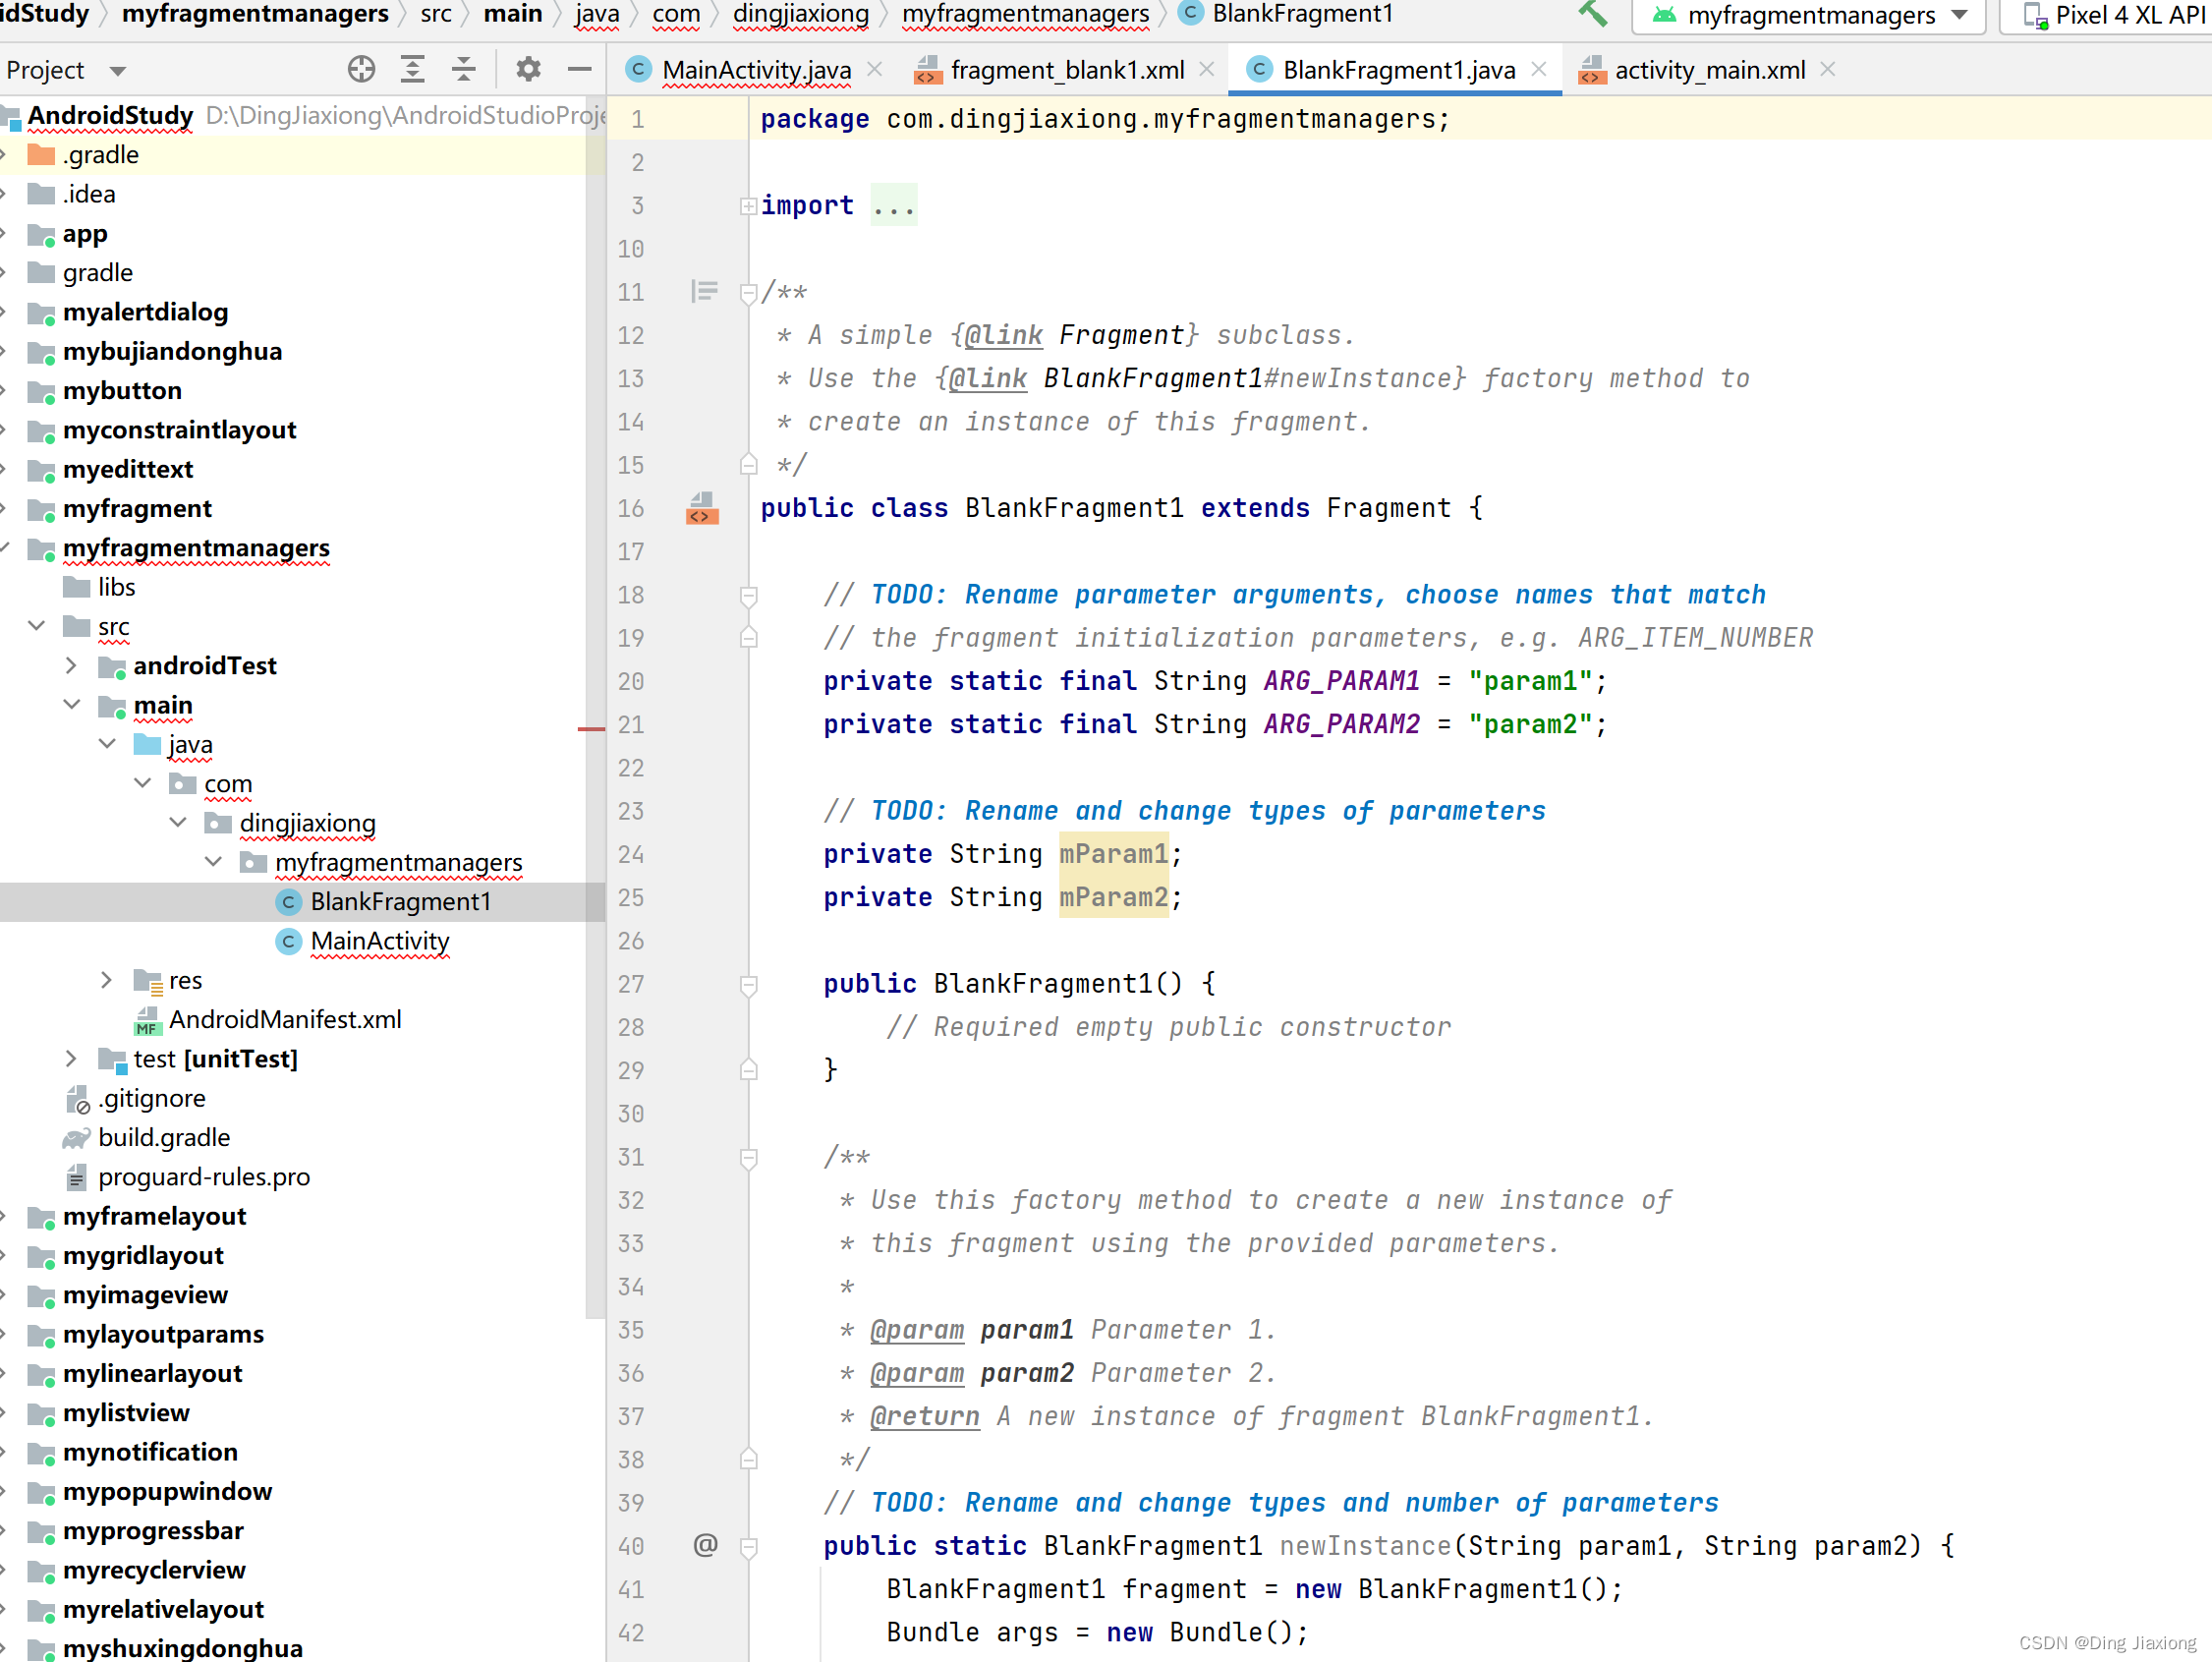
新建fragment
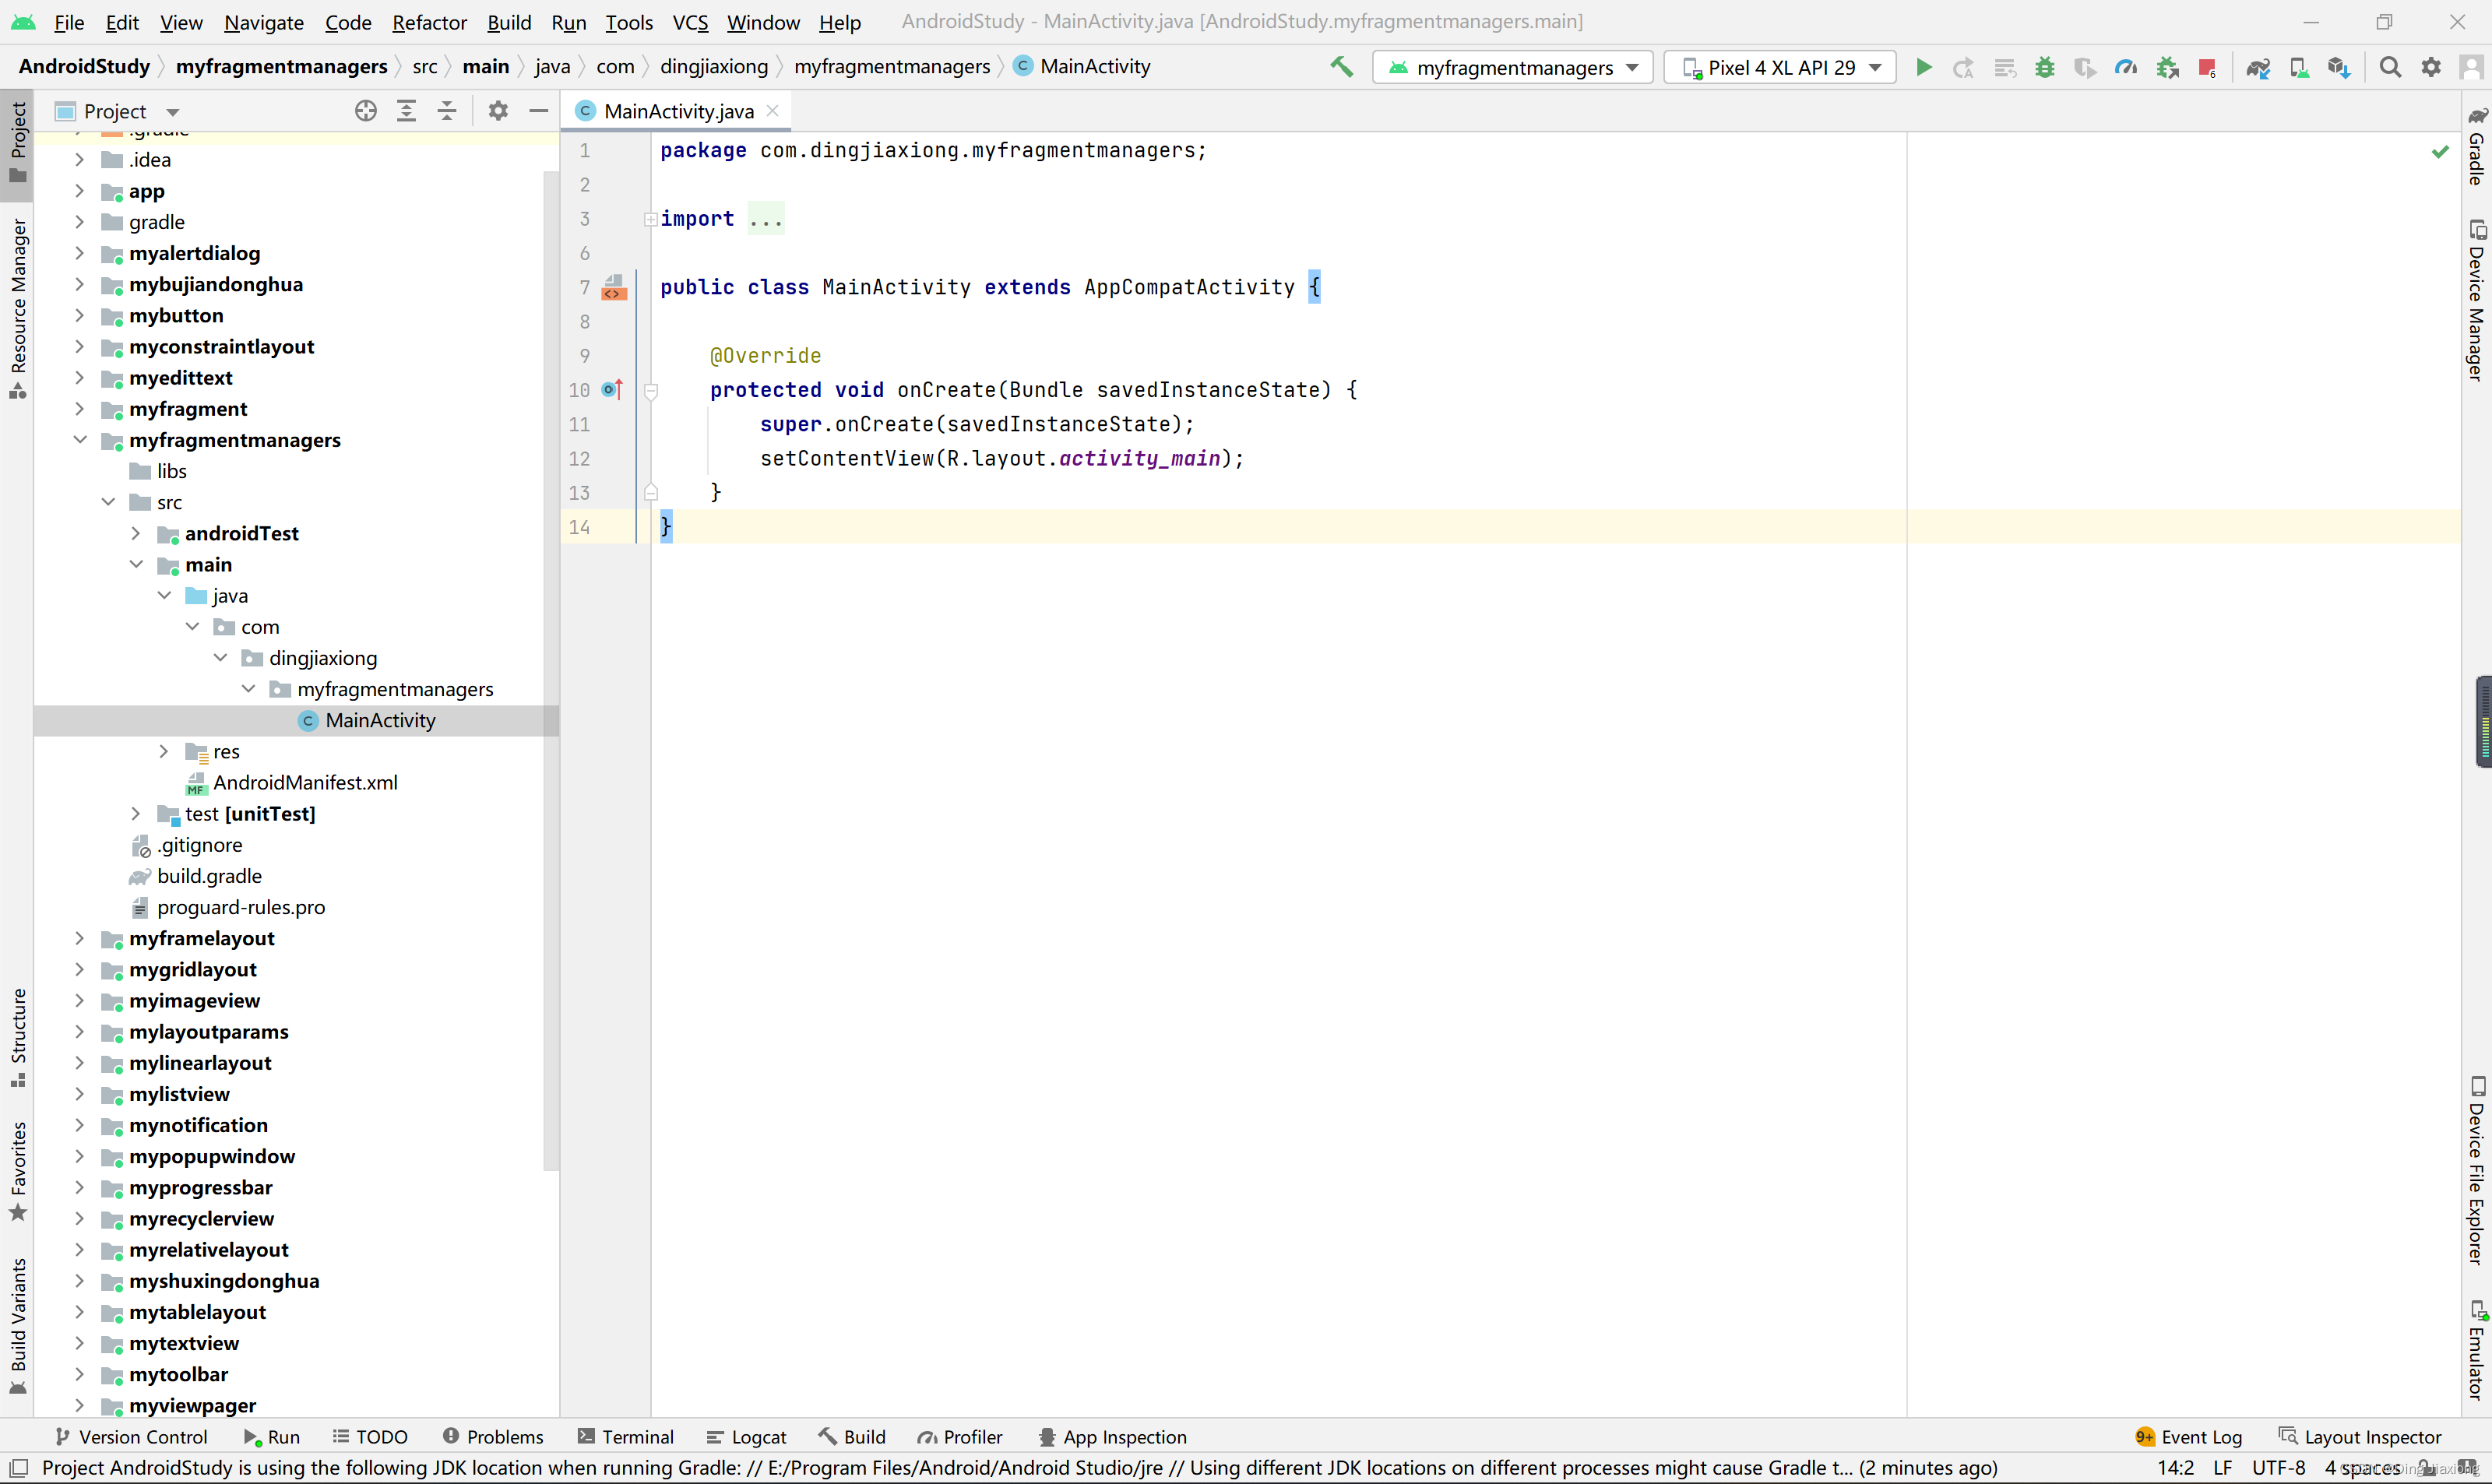
MainActivity.java
package com.dingjiaxiong.myfragmentmanagers; import androidx.appcompat.app.AppCompatActivity; import androidx.fragment.app.Fragment; import androidx.fragment.app.FragmentManager; import androidx.fragment.app.FragmentTransaction; import android.os.Bundle; import android.view.View; import android.widget.Button; public class MainActivity extends AppCompatActivity implements View.OnClickListener{ @Override protected void onCreate(Bundle savedInstanceState) { super.onCreate(savedInstanceState); setContentView(R.layout.activity_main); Button button = findViewById(R.id.btn); button.setOnClickListener(this); Button button2 = findViewById(R.id.btn2); button2.setOnClickListener(this); } @Override public void onClick(View view) { switch (view.getId()){ case R.id.btn: //进行切换 replaceFragment(new BlankFragment1()); break; case R.id.btn2: replaceFragment(new ItemFragment()); } } //完成动态切换 private void replaceFragment(Fragment fragment) { FragmentManager fragmentManager = getSupportFragmentManager(); FragmentTransaction fragmentTransaction = fragmentManager.beginTransaction(); //替换工作由fragmentTransaction完成 fragmentTransaction.replace(R.id.framelayout , fragment); fragmentTransaction.commit();//提交事件 } }- 1
- 2
- 3
- 4
- 5
- 6
- 7
- 8
- 9
- 10
- 11
- 12
- 13
- 14
- 15
- 16
- 17
- 18
- 19
- 20
- 21
- 22
- 23
- 24
- 25
- 26
- 27
- 28
- 29
- 30
- 31
- 32
- 33
- 34
- 35
- 36
- 37
- 38
- 39
- 40
- 41
- 42
- 43
- 44
- 45
- 46
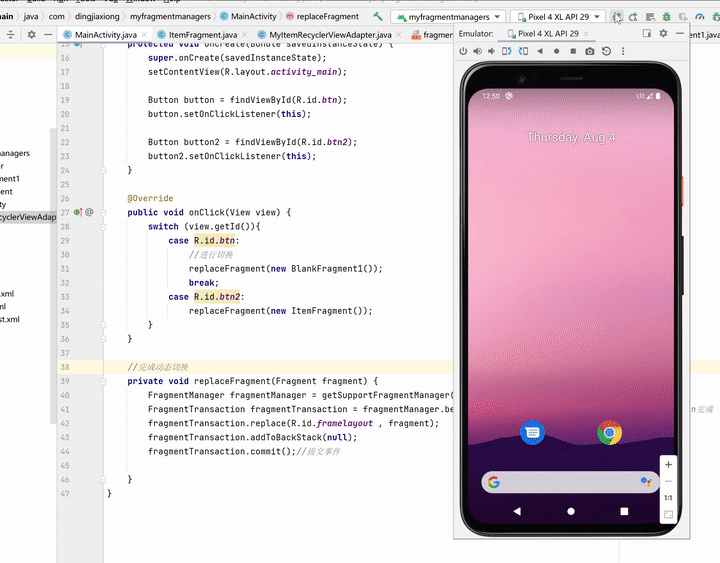
运行
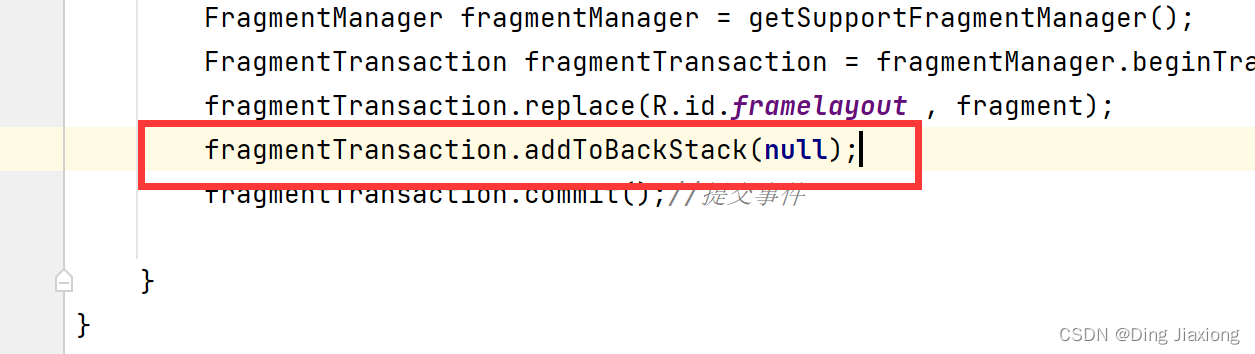
fragment栈操作
-
相关阅读:
微信可以使用室内地图了!视频播放也允许缩放
python (语音)信号拆分为数据块,计算短期能量和过零率
Sentinel服务保护
算法-卡尔曼滤波之卡尔曼滤波的其他三个方程
最新冠军方案开源 | MOTRv2:YOLOX与MOTR合力打造最强多目标跟踪!(旷视&上交)...
作业练习2:类与数据结构
无人机通信协议MAVLink简介
营销妙招:链动2+1渠道搭建团队裂变
C语言实现冒泡排序、选择排序、快速排序
Java关于数组
- 原文地址:https://blog.csdn.net/weixin_44226181/article/details/126259034
