-
Django5 -----表单与通用视图系统
(一). HTML表单
现在admin.py文件下加一行代码,把choice注册进去
admin.site.register(Choice)- 1
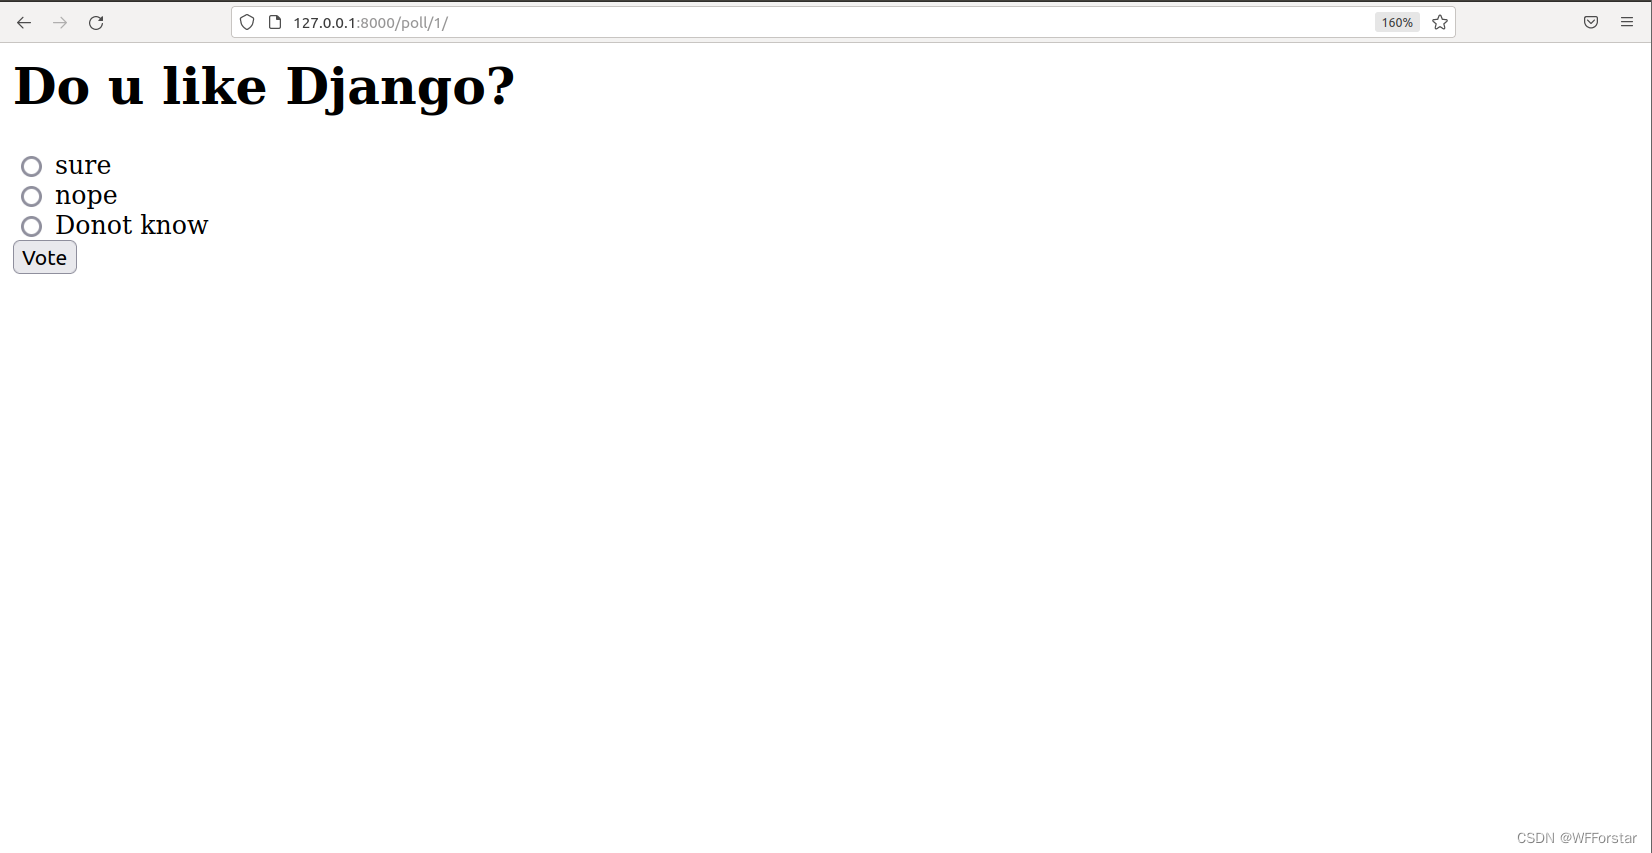
然后打开网页,增加三个Choice选项

然后修改poll/detail.html<h1>{{ question.question_text }}</h1> {% if error_message %}<p><strong>{{ error_message }}</strong></p>{% endif %} <form action="{% url 'polls:vote' question.id %}" method="post"> {% csrf_token %} {% for choice in question.choice_set.all %} <input type="radio" name="choice" id="choice{{ forloop.counter }}" value="{{ choice.id }}"> <label for="choice{{ forloop.counter }}">{{ choice.choice_text }}</label><br> {% endfor %} <input type="submit" value="Vote"> </form>- 1
- 2
- 3
- 4
- 5
- 6
- 7
- 8
- 9
- 10
- 11
- 12
- 13
具体的内容可以去学习H5前端知识,接下来创建一个视图来处理一波表单的信息。
def vote(request, question_id): question = get_object_or_404(Question, id=question_id) try: selected_choice = question.choice_set.get(id=request.POST['choice']) except (KeyError, Choice.DoesNotExist): # Redisplay the question voting form. return render(request, 'poll/detail.html', { 'question': question, 'error_message': "You didn't select a choice.", }) else: selected_choice.votes += 1 selected_choice.save() # Always return an HttpResponseRedirect after successfully dealing # with POST data. This prevents data from being posted twice if a # user hits the Back button. return HttpResponseRedirect(reverse('polls:results', args=(question.id,)))- 1
- 2
- 3
- 4
- 5
- 6
- 7
- 8
- 9
- 10
- 11
- 12
- 13
- 14
- 15
- 16
- 17
修改results的视图和results.html
def results(request, question_id): question = get_object_or_404(Question, id=question_id) return render(request, 'poll/results.html', {'question': question})- 1
- 2
- 3
- 4
<h1>{{ question.question_text }}</h1> <ul> {% for choice in question.choice_set.all %} <li>{{ choice.choice_text }} -- {{ choice.votes }} vote{{ choice.votes|pluralize }}</li> {% endfor %} </ul> <a href="{% url 'poll:detail' question.id %}">Vote again?</a>- 1
- 2
- 3
- 4
- 5
- 6
- 7
- 8
- 9
- 10
到现在为止,一个简单的投票系统就做好了,打开页面。


因为我试过几次,所以次数是10,第一次进入这个页面应该就一次。
(二).通用视图系统
我们观察detial()和results()这两个视图可以发现,十分的相似,因此Django提供了一个通用视图系统(generic views system)来提高编代码效率。
(1). 修改polls/url.py
from django.urls import path from . import views app_name = 'poll' urlpatterns = [ path('', views.index, name='index'), path('- 1
- 2
- 3
- 4
- 5
- 6
- 7
- 8
- 9
- 10
- 11
(2). 修改polls/views.py
class IndexView(generic.ListView): template_name = 'poll/index.html' context_object_name = 'latest_question_list' def get_queryset(self): """Return the latest five published questions.""" return Question.objects.order_by('-pub_date')[:5] class DetailView(generic.DetailView): model = Question template_name = 'poll/detail.html' class ResultsView(generic.DetailView): model = Question template_name = 'poll/results.html'- 1
- 2
- 3
- 4
- 5
- 6
- 7
- 8
- 9
- 10
- 11
- 12
- 13
- 14
- 15
- 16
- 17
- 18
(三).自动化测试
在软件正式上线前都应该进行测试,确保软件的质量。随着现代软件规模的越来越庞大,业务逻辑越来越复杂,因此自动化测试成了必不可少的工具。
(1). 第一个测试案例
在poll/tests.py添加如下代码:
import datetime from django.test import TestCase from django.utils import timezone from .models import Question class QuestionModelTests(TestCase): def test_was_published_recently_with_future_question(self): """ was_published_recently() returns False for questions whose pub_date is in the future. """ time = timezone.now() + datetime.timedelta(days=30) future_question = Question(pub_date=time) self.assertIs(future_question.was_published_recently(), False)- 1
- 2
- 3
- 4
- 5
- 6
- 7
- 8
- 9
- 10
- 11
- 12
- 13
- 14
- 15
- 16
- 17
- 18
在命令行输入以下命令:
python3 manage.py test poll- 1
就会发现出现了一个fail

这时候发现前面代码中存在bug,即当 pub_date 为未来某天时, Question.was_published_recently() 应该返回 False,实际却返回True。
因此,我们需要修改was_published_recently()这个方法,如下:def was_published_recently(self): now = timezone.now() return now + datetime.timedelta(days=-1) <= self.pub_date <= now- 1
- 2
- 3
- 4
重新执行测试案例,就会发现

诶,变成了OK,说明通过了测试(2). 边界性测试
因为这个问卷给的限制条件是"一天内发布的问卷",因此边界性条件就是”比前一天早一秒“和"比前一天晚一秒“。
添加两个测试方法:def test_was_published_recently_with_old_question(self): """ was_published_recently() returns False for questions whose pub_date is older than 1 day. """ time = timezone.now() - datetime.timedelta(days=1, seconds=1) old_question = Question(pub_date=time) self.assertIs(old_question.was_published_recently(), False) def test_was_published_recently_with_recent_question(self): """ was_published_recently() returns True for questions whose pub_date is within the last day. """ time = timezone.now() - datetime.timedelta(hours=23, minutes=59, seconds=59) recent_question = Question(pub_date=time) self.assertIs(recent_question.was_published_recently(), True)- 1
- 2
- 3
- 4
- 5
- 6
- 7
- 8
- 9
- 10
- 11
- 12
- 13
- 14
- 15
- 16
- 17
- 18
再次运行命令行,发现返回OK。
-
相关阅读:
M2 MacbookPro配置Spark源码运行环境
D. Replace by MEX(MEX的性质)
MiniTest--小程序自动化测试框架
Elasticsearch的倒排索引是什么?
【Opencv工程开发所用类】VideoTracker 视频摄像头
【介绍下WebStorm开发插件】
函数栈帧(详解)
【解决方案】校园明厨亮灶监控系统实施方案
华为IdeaHub与华为云会议:软硬结合,天生一对
ES6中的WeakMap和WeakSet:特性和用途
- 原文地址:https://blog.csdn.net/skyllerone/article/details/126025403
