-
05-读写锁、阻塞队列及四组API、同步队列
读写锁
ReadWriteLocks维护一对关联的ocks,一个用于只读操作,一个用于写入,Read lock可由多个阅读器同时进行操作(多线程同时进行),而write lock是独家的。
示例:
/** * @author * @Date 2022/7/25 * @apiNote */ public class ReadWriteDemo { public static void main(String[] args) { MyCache myCache=new MyCache(); for (int i = 0; i < 5; i++) { int finalI = i; new Thread(()->{ myCache.read(finalI); },String.valueOf(i)).start();//多线程读取 } for (int i = 0; i < 5; i++) { int finalI = i; new Thread(()->{ myCache.write(finalI,finalI); },String.valueOf(i)).start();//多线程写入 } } static class MyCache{ private volatile Map<Integer,Object> map=new HashMap<>(); private void write(Integer key,Object value){ System.out.println(Thread.currentThread().getName()+"准备插入"+key); map.put(key, value); System.out.println(Thread.currentThread().getName()+"插入完毕"+key); } private void read(Integer key){ System.out.println(Thread.currentThread().getName()+"读"+key); map.get(key); System.out.println(Thread.currentThread().getName()+"读完毕"+key); } } }- 1
- 2
- 3
- 4
- 5
- 6
- 7
- 8
- 9
- 10
- 11
- 12
- 13
- 14
- 15
- 16
- 17
- 18
- 19
- 20
- 21
- 22
- 23
- 24
- 25
- 26
- 27
- 28
- 29
- 30
- 31
- 32
- 33
- 34
- 35
- 36
- 37
- 38
- 39
结果:
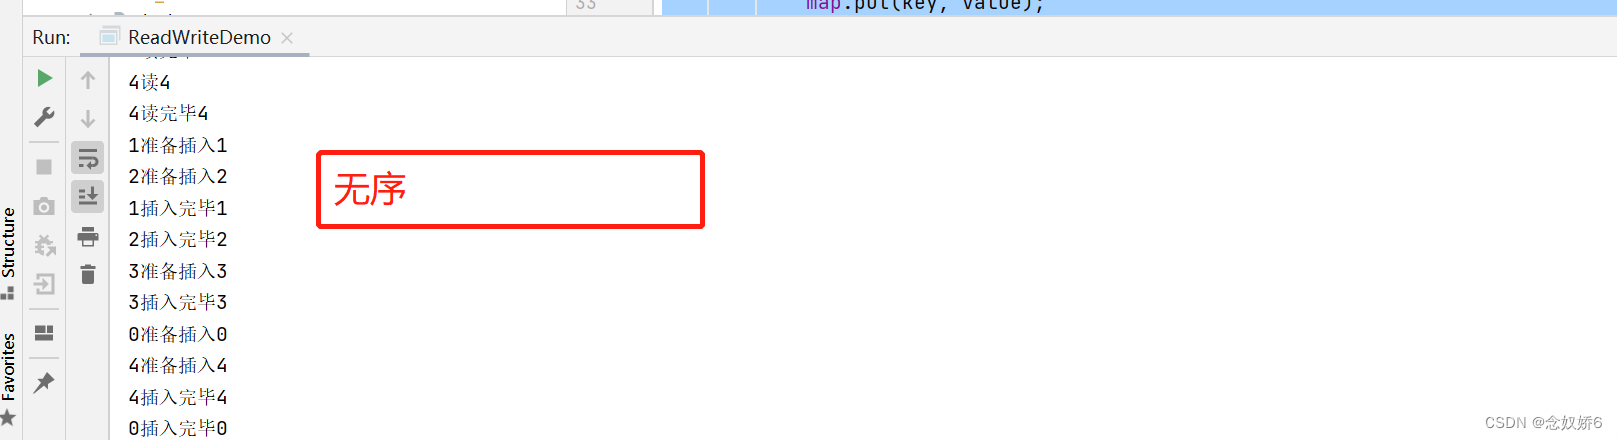
分析:在写入操作的时候,前一个未写入完毕,中间就会有其他数据插入进来,很容易造成脏数据。解决办法
- 加入sychronized
- 加入Lock锁
- 加入readWriteLock锁(更细粒度的划分)
readWriteLock
/** * @author * @Date 2022/7/25 * @apiNote */ public class ReadWriteDemo { public static void main(String[] args) { MyCache myCache=new MyCache(); for (int i = 0; i < 5; i++) { final int finalI=i; new Thread(()->{ myCache.read(finalI); },String.valueOf(i)).start(); } for (int i = 0; i < 5; i++) { final int finalI=i; new Thread(()->{ myCache.write(finalI,finalI); },String.valueOf(i)).start(); } } static class MyCache{ private volatile Map<Integer,Object> map=new HashMap<>(); //读写锁 private ReadWriteLock readWriteLock= new ReadWriteLock() { @Override public Lock readLock() { return null; } @Override public Lock writeLock() { return null; } }; private void write(Integer key,Object value){ readWriteLock.writeLock().lock();//写锁 try { System.out.println(Thread.currentThread().getName()+"准备插入"+key); map.put(key, value); System.out.println(Thread.currentThread().getName()+"插入完毕"+key); }catch (Exception e){ e.printStackTrace(); }finally { readWriteLock.writeLock().unlock();//解锁 } } private void read(Integer key){ readWriteLock.readLock().lock();//读锁 try { System.out.println(Thread.currentThread().getName()+"读"+key); Object o = map.get(key); System.out.println(Thread.currentThread().getName()+"读完毕"+key); } catch (Exception e) { e.printStackTrace(); } finally { readWriteLock.readLock().unlock();//解锁 } } } }- 1
- 2
- 3
- 4
- 5
- 6
- 7
- 8
- 9
- 10
- 11
- 12
- 13
- 14
- 15
- 16
- 17
- 18
- 19
- 20
- 21
- 22
- 23
- 24
- 25
- 26
- 27
- 28
- 29
- 30
- 31
- 32
- 33
- 34
- 35
- 36
- 37
- 38
- 39
- 40
- 41
- 42
- 43
- 44
- 45
- 46
- 47
- 48
- 49
- 50
- 51
- 52
- 53
- 54
- 55
- 56
- 57
- 58
- 59
- 60
- 61
- 62
- 63
- 64
- 65
- 66
- 67
阻塞队列

四组API
抛出异常版本:
添加
add();/** * @author * @Date 2022/7/25 * @apiNote */ public class BlockingQueueDemo { public static void main(String[] args) { test(); } public static void test(){ ArrayBlockingQueue blockingQueue=new ArrayBlockingQueue<>(3);//容量 System.out.println(blockingQueue.add("A")); System.out.println(blockingQueue.add("B")); System.out.println(blockingQueue.add("C")); } }- 1
- 2
- 3
- 4
- 5
- 6
- 7
- 8
- 9
- 10
- 11
- 12
- 13
- 14
- 15
- 16
- 17
- 18
结果:

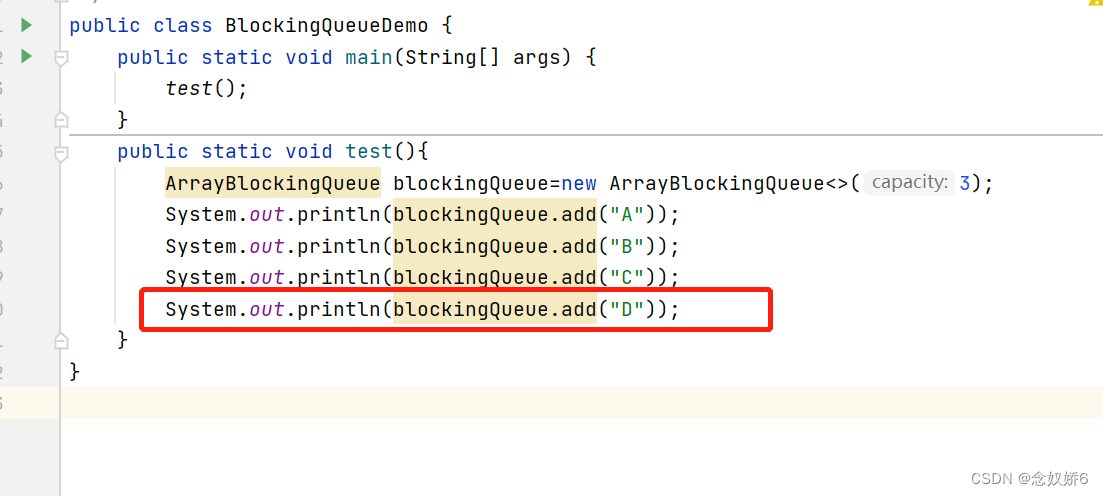
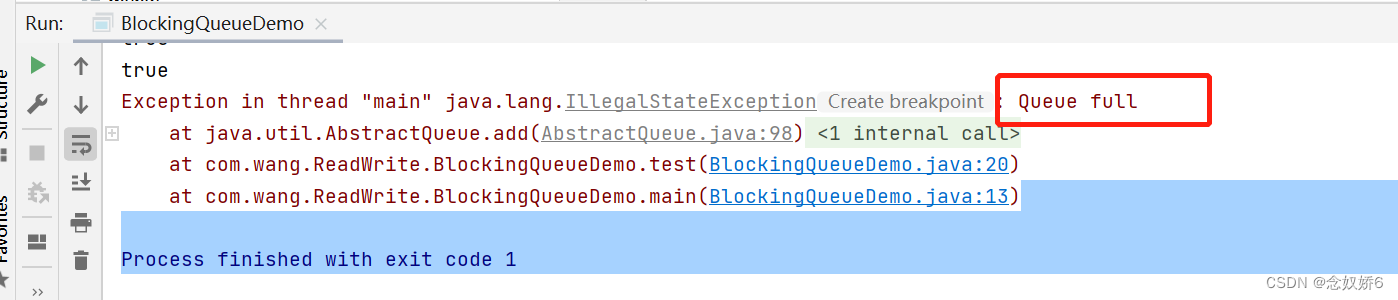
添加成功后返回true。若再次添加后超过阻塞队列最大容量:
结果:
则会抛出queue满的异常。
移除
remove(),遵循先进先出的原则,先添加的元素先被移除,后添加的元素后移除。System.out.println(blockingQueue.remove()); System.out.println(blockingQueue.remove()); System.out.println(blockingQueue.remove());- 1
- 2
- 3
结果:

执行成功会打印被移除的元素。
若再次移除一次:
则会抛出找不到元素的异常

不抛出异常版本:
添加
offer()public static void test1(){ ArrayBlockingQueue blockingQueue=new ArrayBlockingQueue<>(3); System.out.println(blockingQueue.offer("A")); System.out.println(blockingQueue.offer("B")); System.out.println(blockingQueue.offer("C")); System.out.println(blockingQueue.offer("D")); }- 1
- 2
- 3
- 4
- 5
- 6
- 7
结果:

超过队列容量后再插入元素,不会抛出异常,插入元素打印后false代替。删除:
poll();
System.out.println(blockingQueue.poll()); System.out.println(blockingQueue.poll()); System.out.println(blockingQueue.poll()); System.out.println(blockingQueue.poll());- 1
- 2
- 3
- 4
结果:
超过最大容量后,再次移除则会出现空。

查看对首元素:
element()
peck();

等待阻塞(一直等待)
put();
take();public static void test2() throws InterruptedException { ArrayBlockingQueue blockingQueue=new ArrayBlockingQueue<>(3); blockingQueue.put("a"); blockingQueue.put("b"); blockingQueue.put("c"); }- 1
- 2
- 3
- 4
- 5
- 6
- 7
- 8
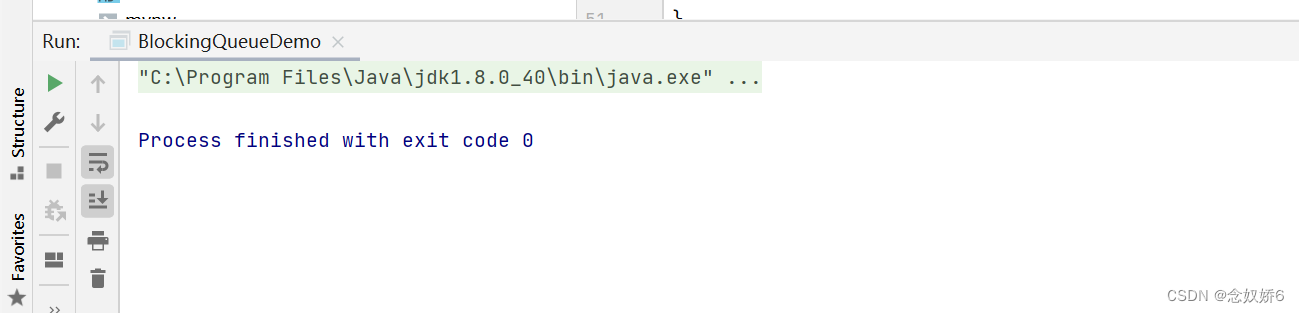
结果:
执行成功
当超过最大容量再次添加元素后,程序会一直等待,形成阻塞:

获取元素
若超过最大容量的获取元素,也会形成一直阻塞的状态,程序会一直等待。

等待超时
public static void test3() throws InterruptedException { ArrayBlockingQueue blockingQueue=new ArrayBlockingQueue<>(3); System.out.println(blockingQueue.offer("A")); System.out.println(blockingQueue.offer("B")); System.out.println(blockingQueue.offer("C")); System.out.println("+++++++++++++++++++"); System.out.println(blockingQueue.offer("D",2,TimeUnit.SECONDS)); }- 1
- 2
- 3
- 4
- 5
- 6
- 7
- 8
结果:
再超过容量大小的元素时,会等待两秒后程序结束。

poll()等待超时方法相同。同步队列
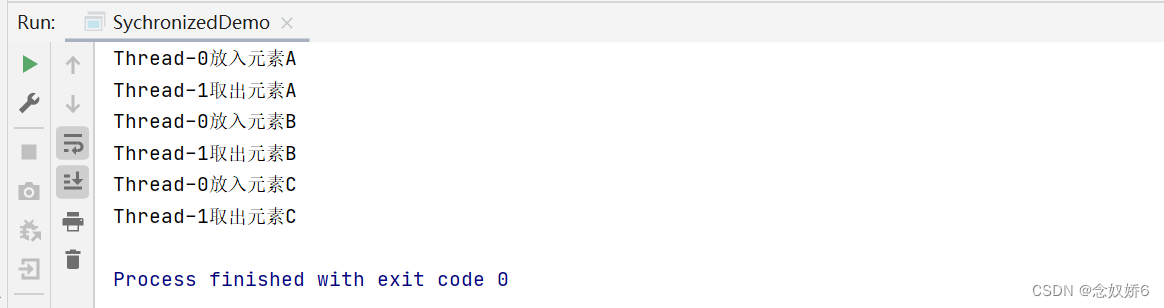
sychronized队列不存储元素,put一个元素后。必须取出元素才能再次put,否则无法put元素。
示例:/** * @author * @Date 2022/7/26 * @apiNote */ public class SychronizedDemo { public static void main(String[] args) { BlockingQueue<String> queue=new SynchronousQueue(); new Thread(()->{ try { System.out.println(Thread.currentThread().getName()+"放入元素A"); queue.put("A"); System.out.println(Thread.currentThread().getName()+"放入元素B"); queue.put("B"); System.out.println(Thread.currentThread().getName()+"放入元素C"); queue.put("C"); } catch (InterruptedException e) { e.printStackTrace(); } }).start(); new Thread(()->{ try { TimeUnit.SECONDS.sleep(3);//每次取出元素之前休眠三秒,以便更好地观察。 System.out.println(Thread.currentThread().getName()+"取出元素A"); queue.take(); TimeUnit.SECONDS.sleep(3); System.out.println(Thread.currentThread().getName()+"取出元素B"); queue.take(); TimeUnit.SECONDS.sleep(3); System.out.println(Thread.currentThread().getName()+"取出元素C"); queue.take(); } catch (InterruptedException e) { e.printStackTrace(); } }).start(); } }- 1
- 2
- 3
- 4
- 5
- 6
- 7
- 8
- 9
- 10
- 11
- 12
- 13
- 14
- 15
- 16
- 17
- 18
- 19
- 20
- 21
- 22
- 23
- 24
- 25
- 26
- 27
- 28
- 29
- 30
- 31
- 32
- 33
- 34
- 35
- 36
- 37
- 38
- 39
- 40
- 41
- 42
- 43
- 44
- 45
结果:
放入元素A后,三秒后,取出元素A,放入元素B,三秒后,取出元素B…
-
相关阅读:
Leetcode刷题详解——四数之和
DC-2靶场渗透测试实验整理
沙箱对抗之反沙箱技巧
如果你是独立开发者,你是先写前端还是先写后端?
人工智能研究的未来:20 年机器学习和深度学习的论文创意!
Mysql性能优化这5点你知道吗?简单却容易被初学者忽略!
三、日志编写 —— TinyWebServer
如何在局域网外SSH远程访问连接到家里的树莓派?
STM32入门100步
ElementUI RUOYI 深色适配
- 原文地址:https://blog.csdn.net/niannujiao6/article/details/125969471
