-
25-SpringBoot 自定义starter
1.starter启动原理
- starter的pom.xml引入autoconfigure依赖
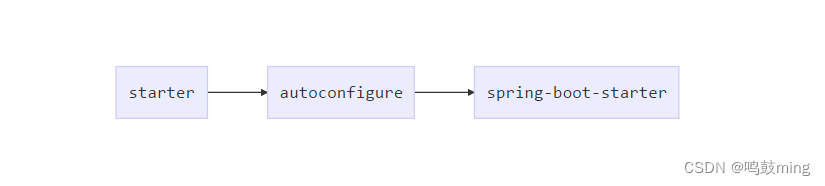
- autoconfigure包中配置使用META-INF/spring.factories中EnableAutoConfiguration的值,使得项目启动加载指定的自动配置类
- 编写自动配置类 xxxAutoConfiguration -> xxxxProperties
@Configuration
@Conditional
@EnableConfigurationProperties
@Bean
… - 引入starter — xxxAutoConfiguration — 容器中放入组件 ---- 绑定xxxProperties ---- 配置项
2.自定义starter
- 目标:创建HelloService的自定义starter。
- 创建两个工程,分别命名为hello-spring-boot-starter(普通Maven工程),hello-spring-boot-starter-autoconfigure(需用用到Spring Initializr创建的Maven工程)。
- hello-spring-boot-starter无需编写什么代码,只需让该工程引入hello-spring-boot-starter-autoconfigure依赖
步骤如下
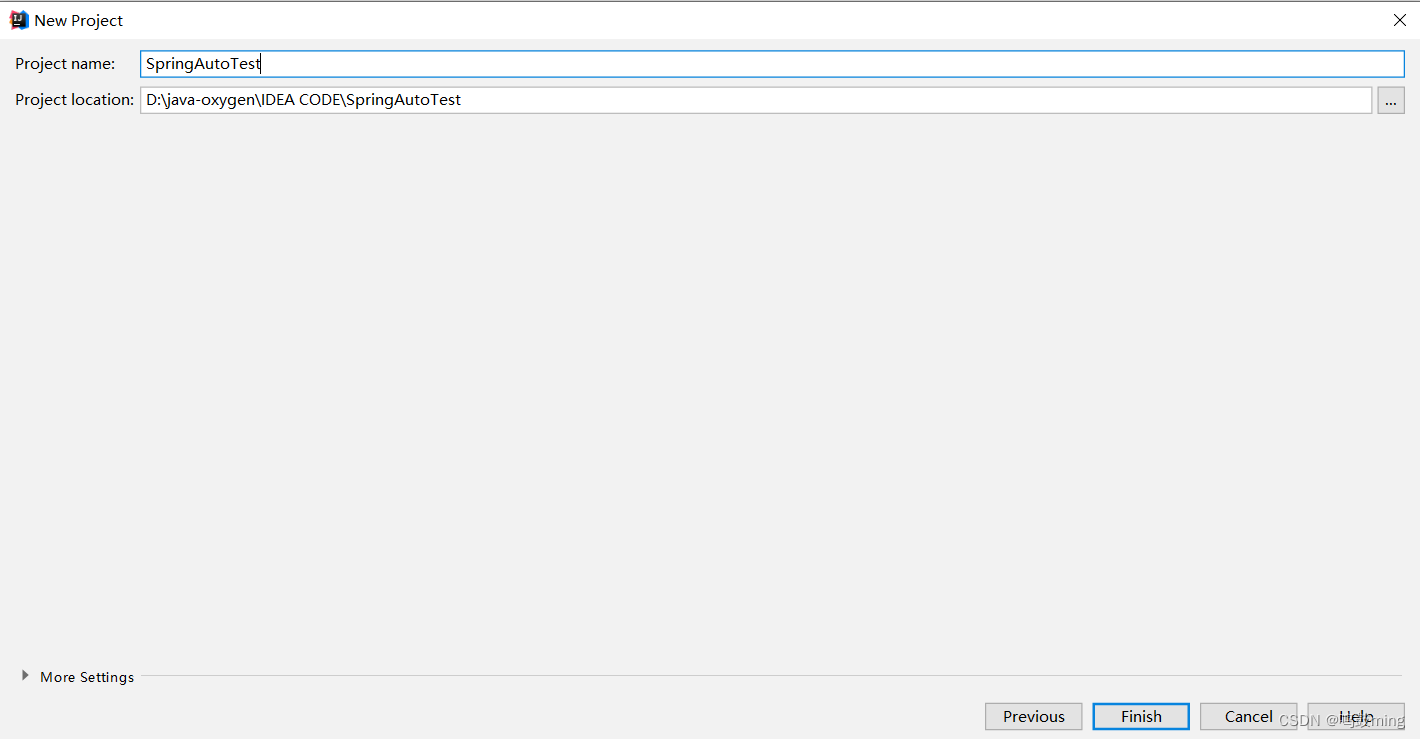
1.创建空工程
1.创建空工程, 用来作为hello-spring-boot-starter和hello-spring-boot-starter-autoconfigure的父工程
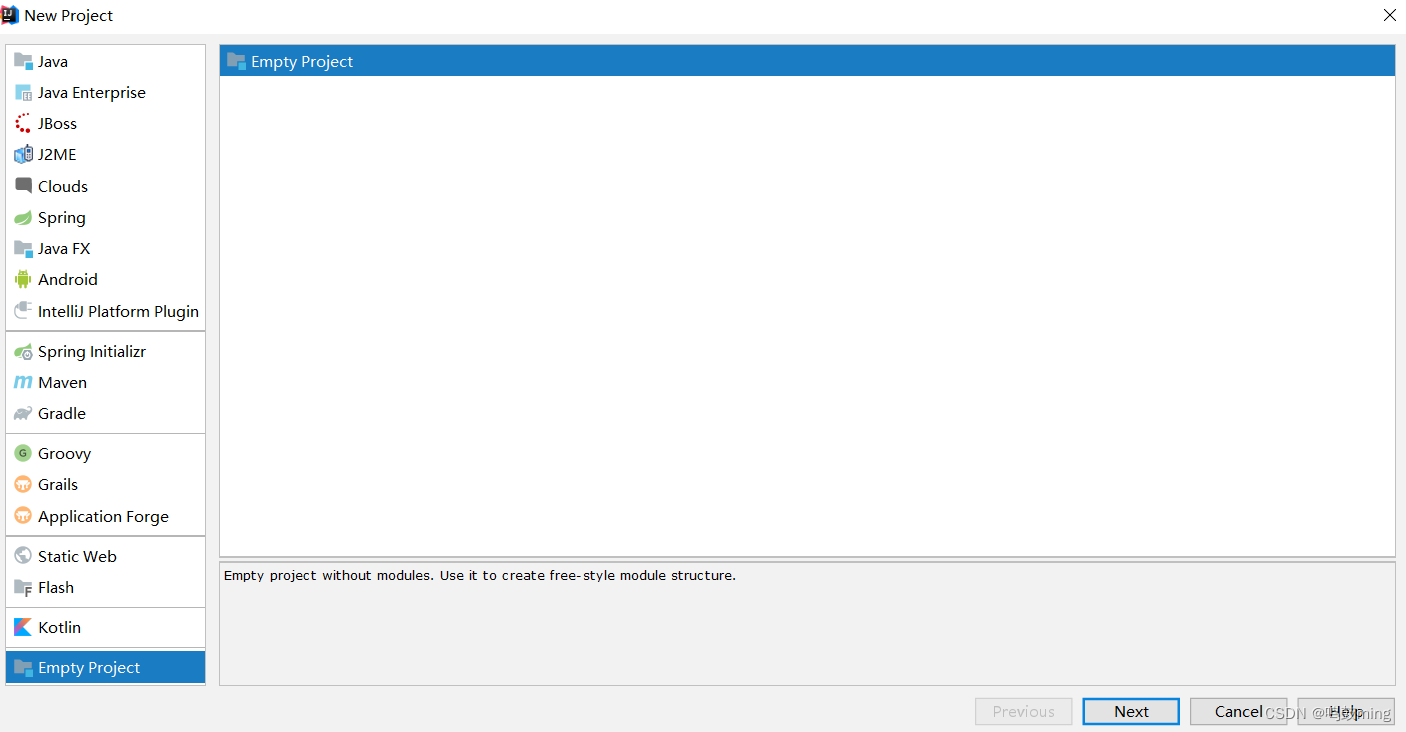
然后在该工程下创建hello-spring-boot-starter和hello-spring-boot-starter-autoconfigure这两个项目模块2.创建hello-spring-boot-starter模块
hello-spring-boot-starter为普通Maven工程, 它是场景启动器
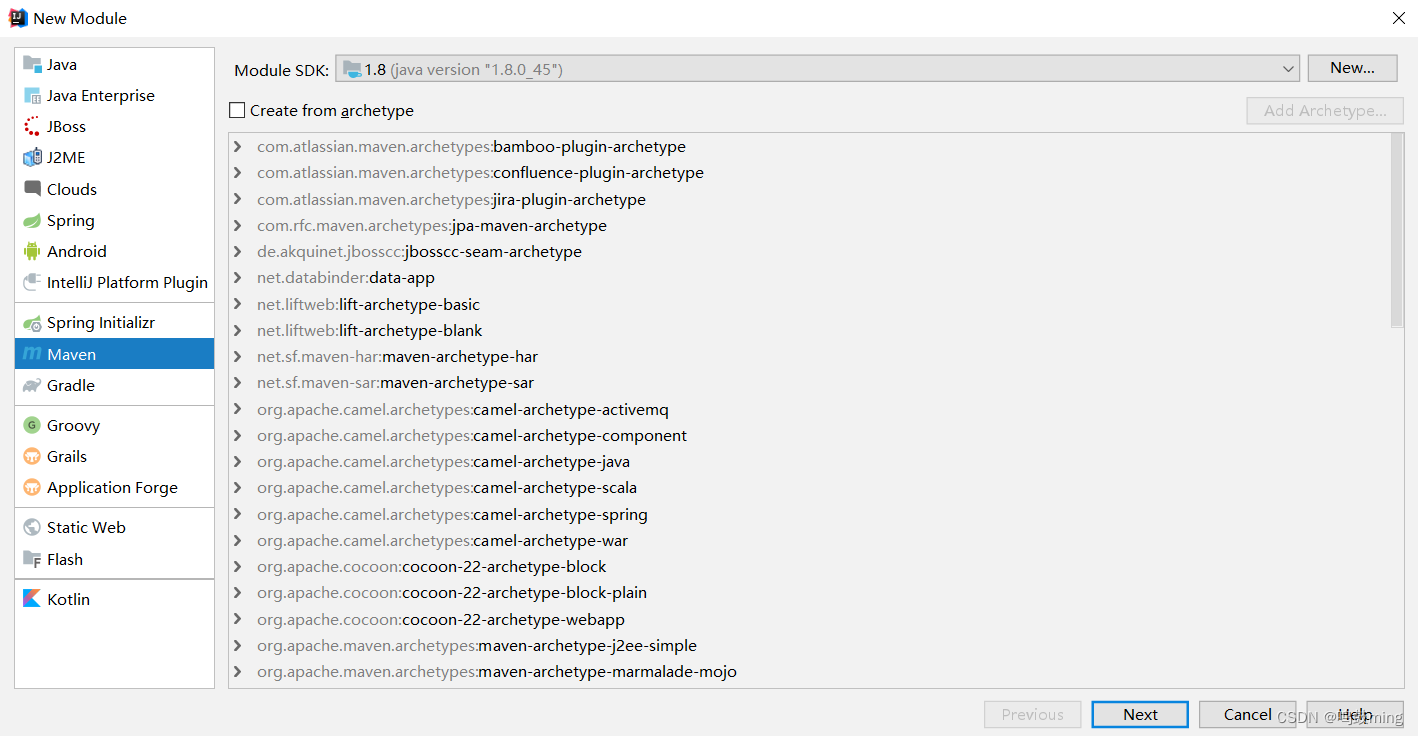
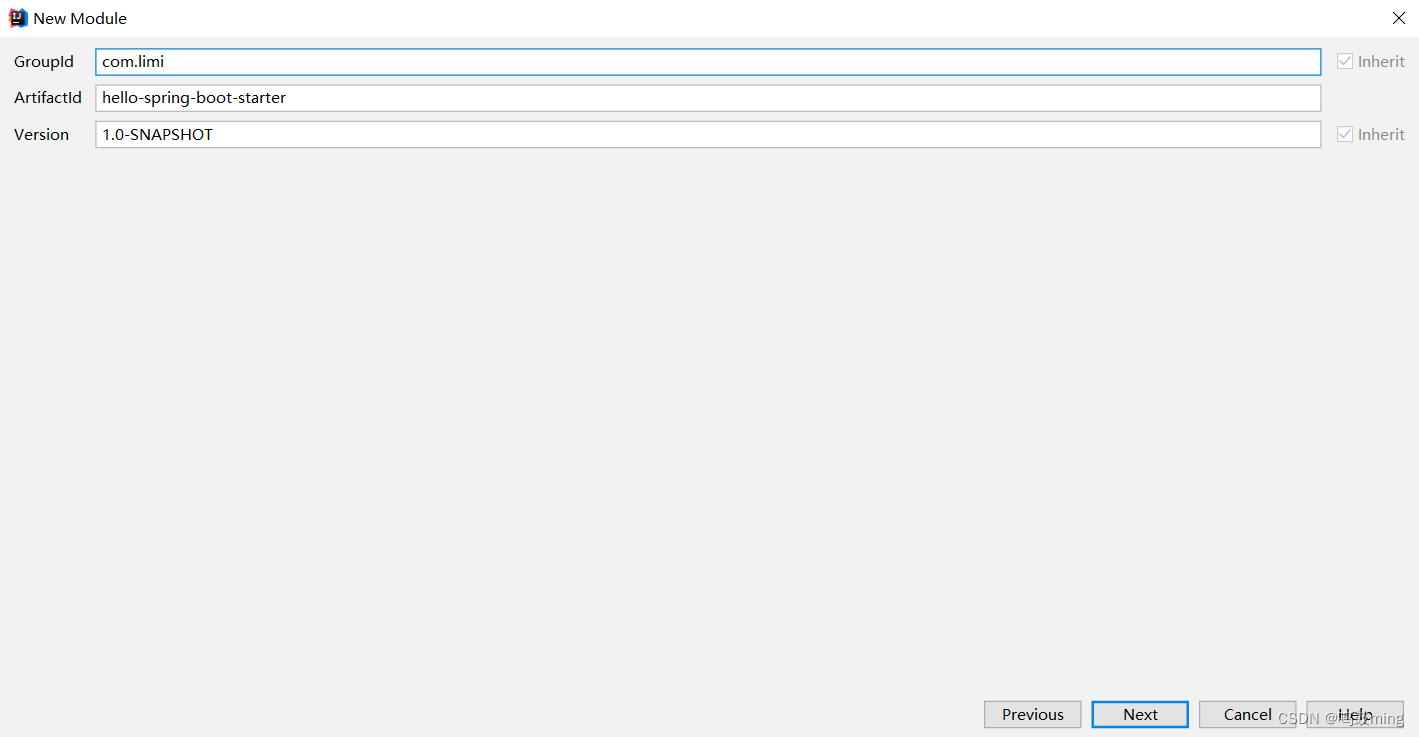

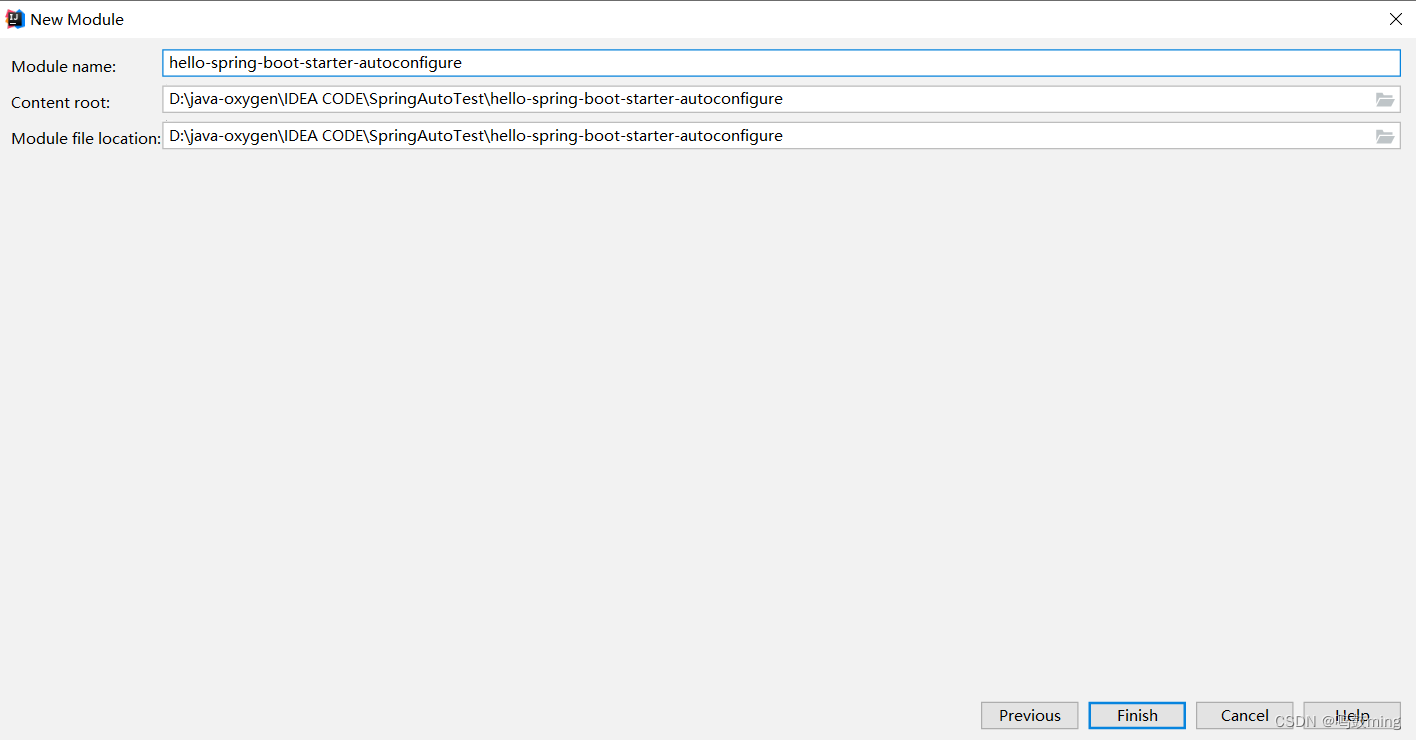
3.创建hello-spring-boot-starter-autoconfigure模块
用Spring Initializr创建的Maven工程hello-spring-boot-starter-autoconfigure, 它是自动配置包
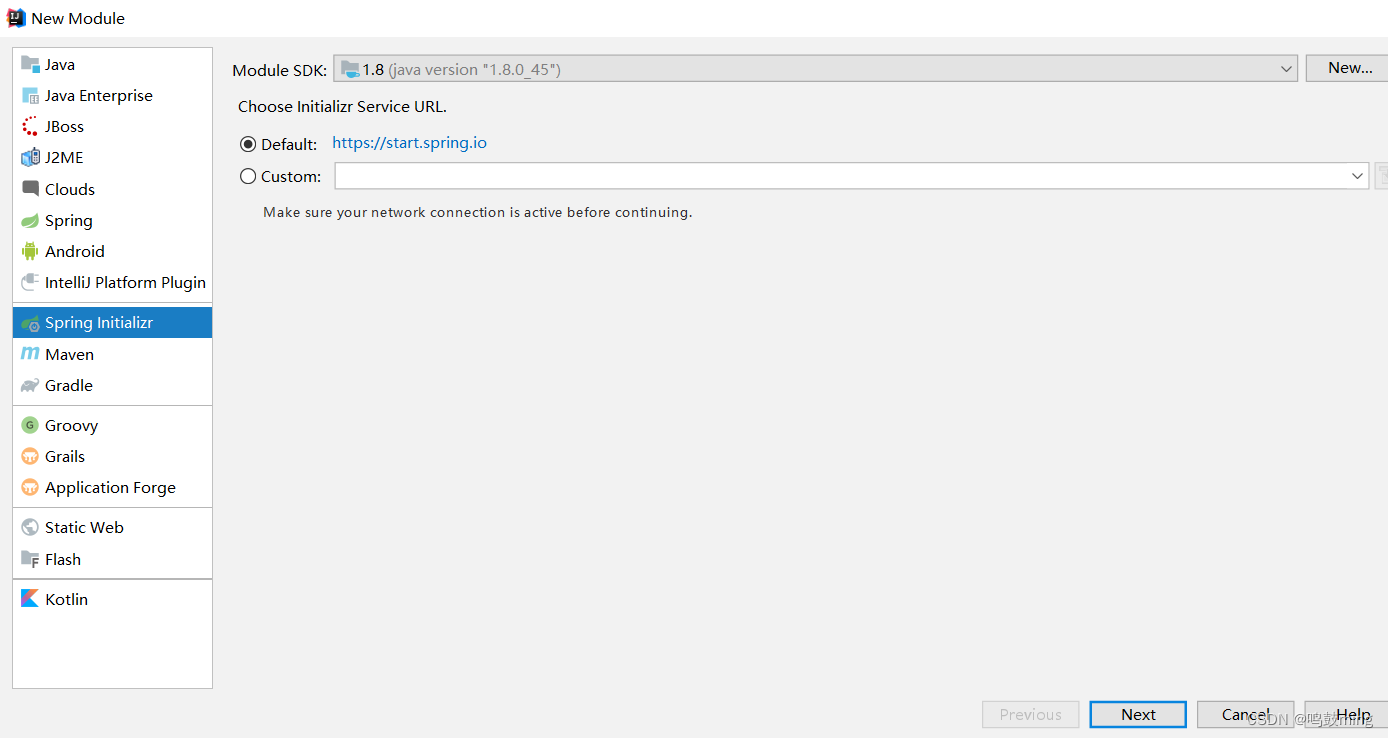
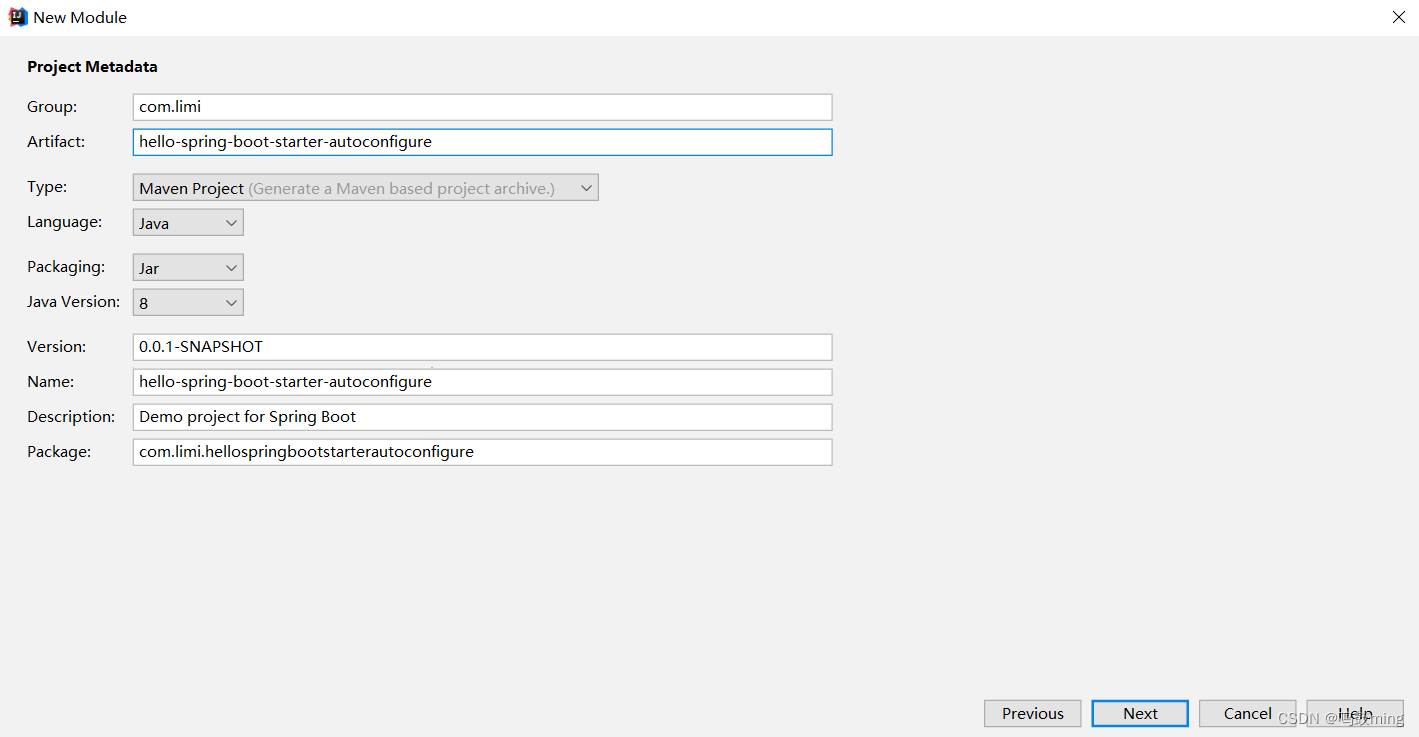
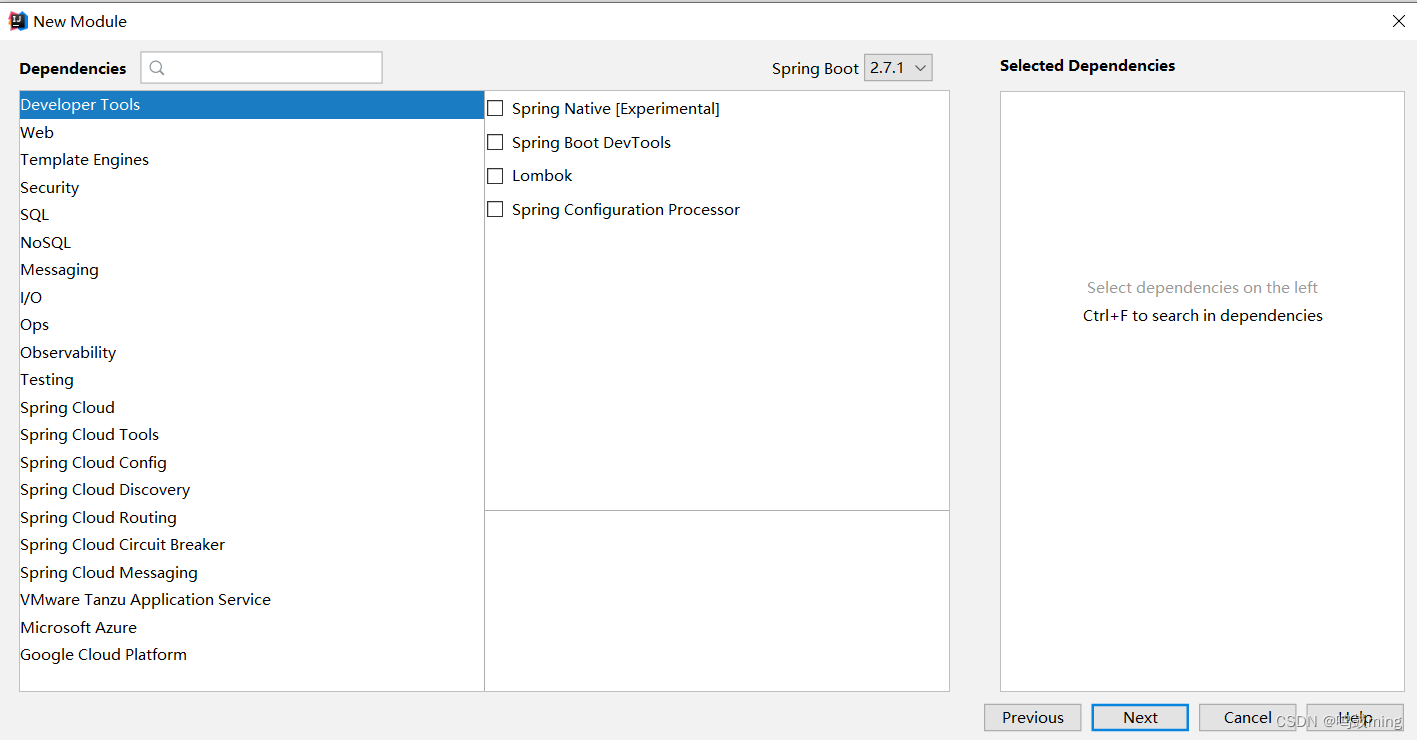
什么依赖都不用选
4.修改hello-spring-boot-starter
hello-spring-boot-starter无需编写什么代码,只需让该工程引入hello-spring-boot-starter-autoconfigure依赖:
pom.xml
<?xml version="1.0" encoding="UTF-8"?> <project xmlns="http://maven.apache.org/POM/4.0.0" xmlns:xsi="http://www.w3.org/2001/XMLSchema-instance" xsi:schemaLocation="http://maven.apache.org/POM/4.0.0 http://maven.apache.org/xsd/maven-4.0.0.xsd"> <modelVersion>4.0.0</modelVersion> <groupId>com.limi</groupId> <artifactId>hello-spring-boot-starter</artifactId> <version>1.0-SNAPSHOT</version> <dependencies> <dependency> <groupId>com.limi</groupId> <artifactId>hello-spring-boot-starter-autoconfigure</artifactId> <version>0.0.1-SNAPSHOT</version> </dependency> </dependencies> </project>- 1
- 2
- 3
- 4
- 5
- 6
- 7
- 8
- 9
- 10
- 11
- 12
- 13
- 14
- 15
- 16
- 17
- 18
5.修改hello-spring-boot-starter-autoconfigure
pom.xml
<?xml version="1.0" encoding="UTF-8"?> <project xmlns="http://maven.apache.org/POM/4.0.0" xmlns:xsi="http://www.w3.org/2001/XMLSchema-instance" xsi:schemaLocation="http://maven.apache.org/POM/4.0.0 https://maven.apache.org/xsd/maven-4.0.0.xsd"> <modelVersion>4.0.0</modelVersion> <parent> <groupId>org.springframework.boot</groupId> <artifactId>spring-boot-starter-parent</artifactId> <version>2.7.1</version> <relativePath/> <!-- lookup parent from repository --> </parent> <groupId>com.limi</groupId> <artifactId>hello-spring-boot-starter-autoconfigure</artifactId> <version>0.0.1-SNAPSHOT</version> <name>hello-spring-boot-starter-autoconfigure</name> <description>Demo project for Spring Boot</description> <properties> <java.version>1.8</java.version> </properties> <dependencies> <dependency> <groupId>org.springframework.boot</groupId> <artifactId>spring-boot-starter</artifactId> </dependency> </dependencies> </project>- 1
- 2
- 3
- 4
- 5
- 6
- 7
- 8
- 9
- 10
- 11
- 12
- 13
- 14
- 15
- 16
- 17
- 18
- 19
- 20
- 21
- 22
- 23
- 24
- 25
- 26
- 27
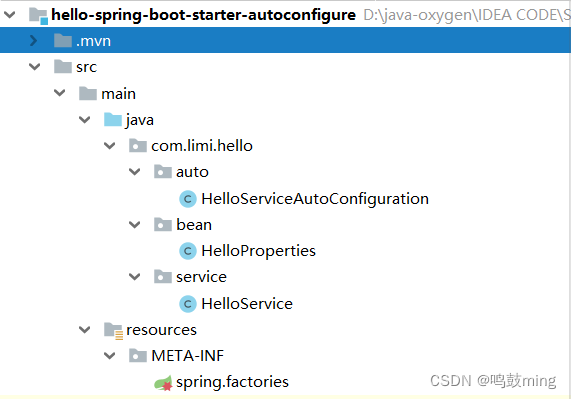
创建4个文件:
- com/limi/hello/auto/HelloServiceAutoConfiguration
- com/limi/hello/bean/HelloProperties
- com/limi/hello/service/HelloService
- src/main/resources/META-INF/spring.factories
spring.factories# Auto Configure org.springframework.boot.autoconfigure.EnableAutoConfiguration=\ com.limi.hello.auto.HelloServiceAutoConfiguration- 1
- 2
- 3
HelloProperties
package com.limi.hello.bean; import org.springframework.boot.context.properties.ConfigurationProperties; @ConfigurationProperties("hello") public class HelloProperties { private String prefix; private boolean auto; public String getPrefix() { return prefix; } public void setPrefix(String prefix) { this.prefix = prefix; } public boolean isAuto() { return auto; } public void setAuto(boolean auto) { this.auto = auto; } }- 1
- 2
- 3
- 4
- 5
- 6
- 7
- 8
- 9
- 10
- 11
- 12
- 13
- 14
- 15
- 16
- 17
- 18
- 19
- 20
- 21
- 22
- 23
- 24
- 25
- 26
- 27
- 28
HelloService
package com.limi.hello.service; import com.limi.hello.bean.HelloProperties; import org.springframework.beans.factory.annotation.Autowired; public class HelloService { @Autowired private HelloProperties helloProperties; public String sayHello(String userName){ return helloProperties.getPrefix() + ": " + userName; } }- 1
- 2
- 3
- 4
- 5
- 6
- 7
- 8
- 9
- 10
- 11
- 12
- 13
- 14
- 15
HelloServiceAutoConfiguration
package com.limi.hello.auto; import com.limi.hello.bean.HelloProperties; import com.limi.hello.service.HelloService; import org.springframework.boot.autoconfigure.condition.ConditionalOnMissingBean; import org.springframework.boot.autoconfigure.condition.ConditionalOnProperty; import org.springframework.boot.context.properties.EnableConfigurationProperties; import org.springframework.context.annotation.Bean; import org.springframework.context.annotation.Configuration; @Configuration @EnableConfigurationProperties(HelloProperties.class)//把HelloProperties放在容器中 @ConditionalOnProperty( prefix = "hello", name = {"auto"}, havingValue = "true", //matchIfMissing = true决定了此配置不存在也可以加载 ,matchIfMissing = false则配置不存在该类不加载 matchIfMissing = false //若hello.auto=false则修饰的类不加载 //当该类不加载时其它注解也不会生效, HelloProperties也就不会被放入容器中 ) public class HelloServiceAutoConfiguration { @Bean @ConditionalOnMissingBean(HelloService.class) public HelloService helloService(){ return new HelloService(); } }- 1
- 2
- 3
- 4
- 5
- 6
- 7
- 8
- 9
- 10
- 11
- 12
- 13
- 14
- 15
- 16
- 17
- 18
- 19
- 20
- 21
- 22
- 23
- 24
- 25
- 26
- 27
- 28
- 29
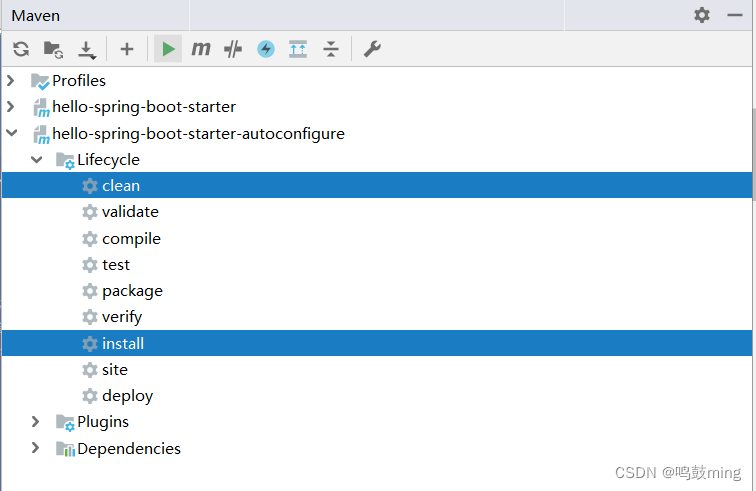
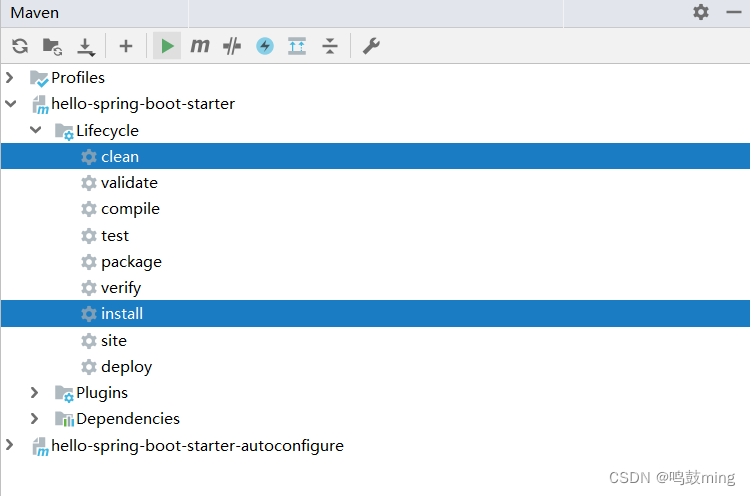
6.用maven插件,将两工程install到本地
3.使用starer
接下来,测试使用自定义starter, 创建web项目,并在pom.xml中引入自定义starter的依赖
<dependency> <groupId>com.limi</groupId> <artifactId>hello-spring-boot-starter</artifactId> <version>1.0-SNAPSHOT</version> </dependency>- 1
- 2
- 3
- 4
- 5
编写测试
package com.limi.springboottest2.controller; import org.springframework.beans.factory.annotation.Autowired; import org.springframework.stereotype.Controller; import org.springframework.web.bind.annotation.GetMapping; import org.springframework.web.bind.annotation.ResponseBody; import com.limi.hello.service.HelloService; @Controller public class HelloController { //测试使用starter里的类 @Autowired private HelloService helloService; @ResponseBody @GetMapping("/test") public String test(){ return helloService.sayHello("andy"); } }- 1
- 2
- 3
- 4
- 5
- 6
- 7
- 8
- 9
- 10
- 11
- 12
- 13
- 14
- 15
- 16
- 17
- 18
- 19
- 20
- 21
- 22
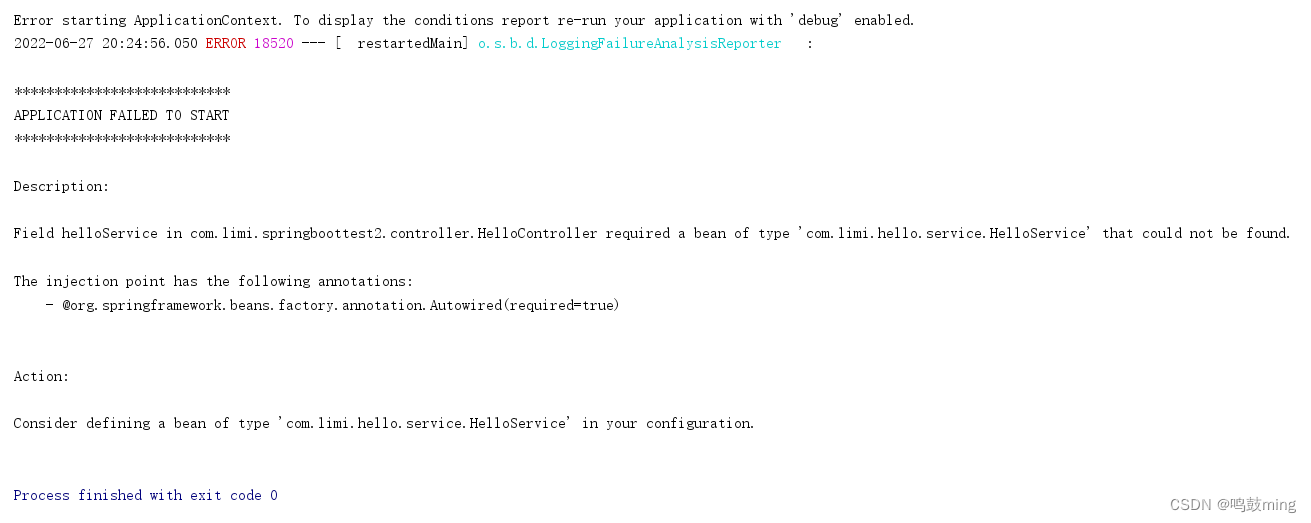
1.当hello.auto=false
application.properties
server.port=8080 hello.prefix=How are you? hello.auto=false- 1
- 2
- 3
报错找不到bean, 即组件没有注册
2.当hello.auto=true
application.properties
server.port=8080 hello.prefix=How are you? hello.auto=false- 1
- 2
- 3
组件注册成功,项目正常运行

-
相关阅读:
使tkinter开发GUI程序2 -- 窗口组件配置管理Layout Management
uniapp 高度不自适应
深度学习入门(一)之感知机
【UML用户指南】-31-对体系结构建模-制品图
程序员换新电脑资料准备
C/C++饮品自动贩卖机系统
Data Augmentation
微服务分布式开源架构是什么?
蓝桥杯每日一题2023.10.27
设计模式——中介者模式(Mediator Pattern)+ JDK相关源码
- 原文地址:https://blog.csdn.net/qq_41865229/article/details/125488868
