-
vue3-element-plus使用
一、安装
npm install element-plus --save二、引用
- import { createApp } from 'vue'
- import * as VueRouter from 'vue-router';
- import { createStore } from 'vuex'
- import 'element-plus/dist/index.css'
- import ElementPlus from 'element-plus'
- import App from './App.vue'
- import Product from './products/index.vue'
- import Merchands from './merchands/index.vue'
- const routes = [
- { path: '/', component: Product },
- { path: '/m', component: Merchands },
- ]
- const router = VueRouter.createRouter({
- // 4. 内部提供了 history 模式的实现。为了简单起见,我们在这里使用 hash 模式。
- history: VueRouter.createWebHashHistory(),
- routes, // `routes: routes` 的缩写
- })
- const store = createStore({
- state () {
- return {
- count: 0
- }
- },
- mutations: {
- increment (state) {
- state.count++
- }
- }
- })
- var app=createApp(App);
- app.use(router);
- app.use(store);
- app.use(ElementPlus);
- app.mount('#app');
三、使用
- <template>
- <h1>产品管理</h1>
- <el-button v-on:click="increment()" type="primary">点击</el-button>
- <label>{{ this.$store.state.count}}</label>
- <el-button @click="showCreate = true" type="primary">新建</el-button>
- <el-dialog v-model="showCreate" title="Outer Dialog">
- <template #default>
- <el-form :model="form" label-width="120px">
- <el-form-item label="Activity name">
- <el-input v-model="form.name" />
- </el-form-item>
- </el-form>
- </template>
- <template #footer>
- <div class="dialog-footer">
- <el-button @click="showCreate = false">Cancel</el-button>
- <el-button type="primary" @click="save()">Save</el-button>
- </div>
- </template>
- </el-dialog>
- <div style="margin: 60px;">
- <el-table :data="tableData" height="250" style="width: 100%">
- <el-table-column prop="date" label="Date" width="180" />
- <el-table-column prop="name" label="Name" width="180" />
- <el-table-column prop="address" label="Address" />
- </el-table>
- </div>
- </template>
- <script>
- export default {
- data() {
- return {
- count: 0,
- showCreate: false,
- form: {
- name: ''
- },
- tableData: [{
- date: '2016-05-03',
- name: 'Tom',
- address: 'No. 189, Grove St, Los Angeles',
- }]
- }
- },
- methods: {
- save() {
- this.showCreate = false;
- this.tableData.push({
- date: '2016-05-03',
- name: this.form.name,
- address: 'No. 189, Grove St, Los Angeles',
- });
- this.form.name='';
- },
- increment() {
- this.$store.commit('increment');
- }
- }
- }
- </script>
- <style>
- </style>
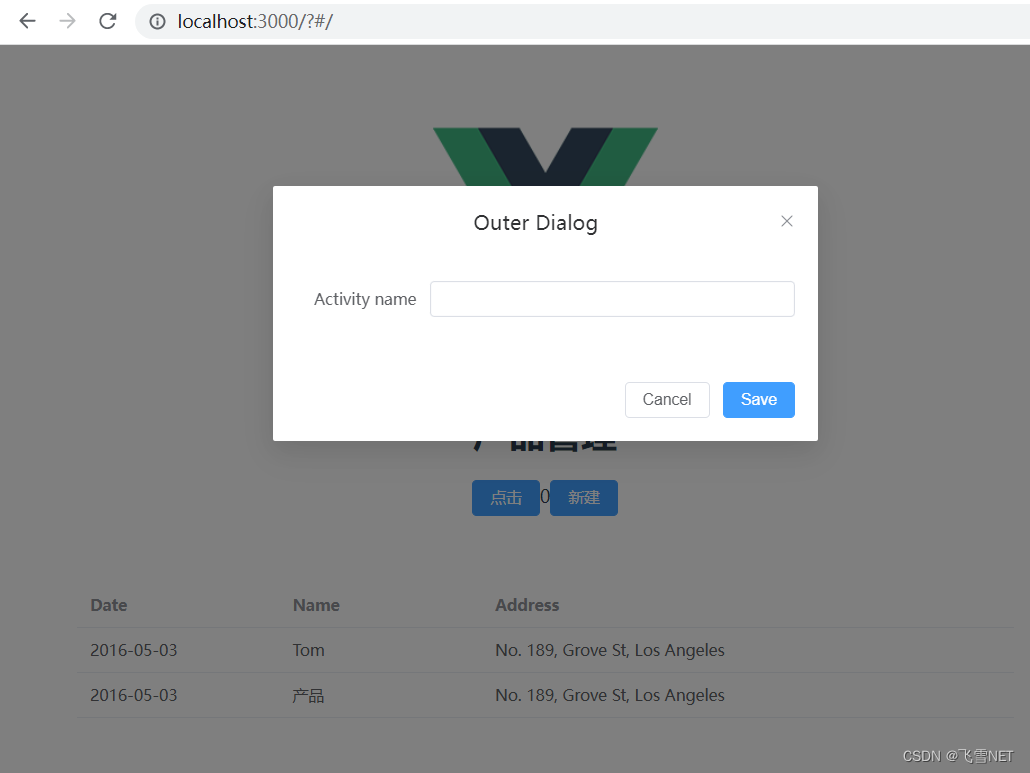
运行效果:
-
相关阅读:
springboot身体健康问诊信息系统毕业设计源码181049
一级造价工程师(安装)- 计量笔记 - 第六章第一节电气工程
前端JS模块化对外暴露的三种方法
三.镜头知识之FOV
深聊测试开发之:从订单支付流程来聊一聊,如何预防重复支付,建议收藏。
[Kettle] 单变量统计
由一个按键程序引发的思考(中)
Calico IP In IP模拟组网
基于 Angular和Material autocomplete组件再封装的可双向绑定key-value的可输入下拉框
Kingbase备份与还原及表的约束(Kylin)
- 原文地址:https://blog.csdn.net/xiaoxionglove/article/details/125456721