• Apache的配置详解


    httpd配置

    1. 工作模式

    httpd的工作模式模式有3种

    1.1 Prefork 模式

    • 特点

      • 每个请求由一个单独的子进程处理。

      • 每个子进程只处理一个请求。

      • 不使用多线程,因此每个子进程相对独立。

    • 优点:

      • 由于进程是独立的,一个子进程崩溃不会影响其他子进程,因此更加稳定和可靠。
      • 对于那些不支持线程的第三方模块或库,这种模式更兼容。
    • 缺点:

      • 内存使用量较大,因为每个子进程都要分配独立的内存空间。
      • 并发处理能力较低,不适合高并发场景。

    1.2 Worker 模式

    • 特点:

      • 使用多线程,每个子进程可以处理多个线程。

      • 每个线程处理一个请求。

    • 优点:

      • 内存使用效率高,因为线程共享进程的内存空间。
      • 并发处理能力较强,适合高并发场景。
    • 缺点:

      • 如果线程崩溃,可能会影响整个进程,从而影响多个请求的处理。

      • 需要注意线程安全问题,某些不支持线程的第三方模块或库可能不兼容。

    1.3. Event 模式

    • 特点:

      • 类似于Worker模式,但更进一步优化了连接处理。

      • 采用事件驱动机制,主线程负责接受请求,工作线程负责处理请求。

    • 优点:

      • 更高效的资源利用率,适合处理大量的长连接请求,如WebSocket。

      • 可以更好地应对高并发场景,特别是在Keep-Alive连接多的情况下性能更佳。

    • 缺点:

      • 和Worker模式类似,线程安全问题依然需要注意。

      • 对一些特殊模块的兼容性可能不如Prefork模式。

    总结

    • Prefork模式适用于对稳定性要求高且不需要处理大量并发连接的场景。
    • Worker模式适用于需要处理高并发连接,但对内存使用效率有要求的场景。
    • Event模式适用于高并发和长连接的场景,提供了更好的性能和资源利用率。

    1.4 调整工作模式

    httpd服务默认工作在event模式下,可以使用httpd -V来查看

    [root@euler conf.modules.d]# httpd -V
    Server version: Apache/2.4.37 (centos)
    Server built: Nov 12 2021 04:57:27
    Server's Module Magic Number: 20120211:83
    Server loaded: APR 1.6.3, APR-UTIL 1.6.1
    Compiled using: APR 1.6.3, APR-UTIL 1.6.1
    Architecture: 64-bit
    Server MPM: event
    threaded: yes (fixed thread count)
    forked: yes (variable process count)
    • Server MPM: event 这里就显示了他当前的工作模式

    修改工作模式为perfork

    # 修改这个文件
    [root@euler ~]# vim /etc/httpd/conf.modules.d/00-mpm.conf
    LoadModule mpm_prefork_module modules/mod_mpm_prefork.so
    #LoadModule mpm_worker_module modules/mod_mpm_worker.so
    #LoadModule mpm_event_module modules/mod_mpm_event.so

    这个文件里面会有LoadModule开头的行,默认第三个是开启的,对应的是event模式,你想开启哪个就将哪个模式的注释取消,现在我们将prefork的注释取消,将event注释掉

    只能够放开一个注释,如果开启多个会报错

    [root@euler ~]# systemctl restart httpd && httpd -V
    Server version: Apache/2.4.37 (centos)
    Server built: Nov 12 2021 04:57:27
    Server's Module Magic Number: 20120211:83
    Server loaded: APR 1.6.3, APR-UTIL 1.6.1
    Compiled using: APR 1.6.3, APR-UTIL 1.6.1
    Architecture: 64-bit
    Server MPM: prefork
    threaded: no
    forked: yes (variable process count)
    Server compiled with....

    现在httpd的工作模式就变成了prefork

    2. httpd配置文件解析

    httpd的主配置文件在/etc/httpd/conf/httpd.conf,这个文件里的内容非常多,但同时也有非常多的行是被注释掉的,现在我们将没有被注释的行给取出来

    [root@ceph conf]# grep -Ev "#|^$" httpd.conf
    ServerRoot "/etc/httpd"
    Listen 80
    Include conf.modules.d/*.conf
    User apache
    Group apache
    ServerAdmin root@localhost
    AllowOverride none
    Require all denied
    DocumentRoot "/var/www/html"
    "/var/www">
    AllowOverride None
    Require all granted
    "/var/www/html">
    Options Indexes FollowSymLinks
    AllowOverride None
    Require all granted
    DirectoryIndex index.html
    ".ht*">
    Require all denied
    ErrorLog "logs/error_log"
    LogLevel warn
    LogFormat "%h %l %u %t \"%r\" %>s %b \"%{Referer}i\" \"%{User-Agent}i\"" combined
    LogFormat "%h %l %u %t \"%r\" %>s %b" common
    LogFormat "%h %l %u %t \"%r\" %>s %b \"%{Referer}i\" \"%{User-Agent}i\" %I %O" combinedio
    CustomLog "logs/access_log" combined
    ScriptAlias /cgi-bin/ "/var/www/cgi-bin/"
    "/var/www/cgi-bin">
    AllowOverride None
    Options None
    Require all granted
    TypesConfig /etc/mime.types
    AddType application/x-compress .Z
    AddType application/x-gzip .gz .tgz
    AddType text/html .shtml
    AddOutputFilter INCLUDES .shtml
    AddDefaultCharset UTF-8
    MIMEMagicFile conf/magic
    EnableSendfile on
    IncludeOptional conf.d/*.conf

    这里面有用的配置一共就这么些,我们来逐行分析

    2.1 ServerRoot

    这个配置项指的是httpd服务的根目录,并不是用户访问时的根目录,这个较好理解,不过多阐述

    2.2 Listen

    这个指的是httpd监听哪个端口,默认监听在80上,我们将其修改

    [root@ceph conf]# grep ^Listen httpd.conf
    Listen 9876
    [root@ceph conf]# systemctl restart httpd
    [root@ceph conf]# ss -ntpl |grep 9876
    LISTEN 0 511 *:9876 *:* users:(("httpd",pid=6584,fd=4),("httpd",pid=6583,fd=4),("httpd",pid=6582,fd=4),("httpd",pid=6580,fd=4))

    现在他就监听在9876上了,可以尝试访问一下这个端口

    [root@ceph conf]# echo hello > /var/www/html/index.html
    [root@ceph conf]# curl localhost:9876
    hello

    可以访问到,如果你的回显不是hello的话,排查一下selinux的状态,如果selinux处于enforcing的模式,使用命令semanage port -a -t http_port_t 9876 -p tcp

    执行完这个命令之后就应该可以正常访问了

    2.3 Include

    这个配置项就是说要去加载conf.modules.d/*.conf,那这个conf.modules.d这个目录在哪?他写的并不是绝对路径,httpd服务怎么知道去哪找这个目录呢?这个时候就需要第一个配置项了ServerRoot,他会从ServerRoot指定的目录去找这个conf.modules.d目录,然后加载这个目录下的所有以.conf结尾的配置

    2.4 User & Group

    这个是指定httpd使用哪个用户去启动worker进程,主进程只能是root启动,因为默认情况下httpd监听80端口,而普通用户只能监听1024以上的端口,所以就只能使用root来启动主进程

    修改user和group

    # 修改前查一下
    [root@ceph conf]# ps -aux |grep httpd
    root 6580 0.0 0.3 17464 11012 ? Ss 14:34 0:00 /usr/sbin/httpd -DFOREGROUND
    apache 6581 0.0 0.1 17428 6672 ? S 14:34 0:00 /usr/sbin/httpd -DFOREGROUND
    apache 6582 0.0 0.4 2418692 16080 ? Sl 14:34 0:00 /usr/sbin/httpd -DFOREGROUND
    apache 6583 0.0 0.3 2156484 11984 ? Sl 14:34 0:00 /usr/sbin/httpd -DFOREGROUND
    apache 6584 0.0 0.4 2222020 14096 ? Sl 14:34 0:00 /usr/sbin/httpd -DFOREGROUND

    可以看到,除了第一个是root之外,其他进程都是以apache的用户身份去启动的

    # 修改user & group为test用户
    [root@ceph conf]# useradd test
    [root@ceph conf]# grep -A 1 ^User httpd.conf
    User test
    Group test
    [root@ceph conf]# systemctl reload httpd
    [root@ceph conf]# ps -aux |grep httpd
    root 6580 0.0 0.3 17464 11028 ? Ss 14:34 0:00 /usr/sbin/httpd -DFOREGROUND
    test 7652 0.0 0.1 17768 6692 ? S 14:50 0:00 /usr/sbin/httpd -DFOREGROUND
    test 7653 0.0 0.4 2156496 14288 ? Sl 14:50 0:00 /usr/sbin/httpd -DFOREGROUND
    test 7654 0.0 0.4 2353168 16324 ? Sl 14:50 0:00 /usr/sbin/httpd -DFOREGROUND
    test 7655 0.0 0.4 2156496 14280 ? Sl 14:50 0:00 /usr/sbin/httpd -DFOREGROUND

    这里我们可以看见,用户从apache变成了test

    2.5 ServerAdmin

    这个配置项用来指定管理员的邮箱,正常情况下是看不见的,如果服务区遇到了500的状态码,这个邮箱就会被显示在浏览器上

    我们先将邮箱修改掉

    [root@ceph conf]# grep ^ServerAdmin httpd.conf
    ServerAdmin openEuler@example.com

    还需要在配置文件里面修改一行内容

    153 AllowOverride All

    应该在153行附近,将默认的AllowOverride None 改为 AllowOverride All

    然后来到/var/www/html

    我们瞎写一段配置

    # 我们在/var/www/html创建一个隐藏文件
    [root@ceph html]# vim .htaccess
    "/var/www/html">
    adfasdfaadfa

    现在我们重启服务

    [root@ceph conf]# systemctl restart httpd

    来到浏览器访问

    这里就会显示管理员的邮箱

    2.6

    这种配置都是给一个目录指定一个访问策略,需要看里面具体写了什么内容


    AllowOverride none
    Require all denied

    他是这样写的,给定的目录是/,Require 就是你可以写的策略,他这里是拒绝所有,也就是不让你访问网站的根目录

    AllowOverride none 这个用来控制 .htaccess 这样的文件,配置为none则忽略这些文件里面写的策略,配置为All则是不忽略

    这一整段的意思是:忽略网站根目录下的.htaccess这样的文件,并且不允许访问根目录

    2.7 File

    可以对目录授权,相对应的,当然也可以对文件进行授权,这样做的意思就是,我有个文件需要放在网站的目录下,但是我并不想让这个文件被网页所访问到,这样的场景我们就可以使用file进行对文件授权


    Require all denied

    它默认的这一段配置写的是拒绝访问以.ht开头的所有文件

    2.8 DocumentRoot

    这个用来指定网页的根目录,也就是网页文件放在哪里,默认是/var/www/html

    如果你要将这个目录给改到其他地方去,改了这一个地方之后你依然是访问不到的,你去访问会显示403(权限拒绝),产生这个错误的原因是你没有对新更改的目录进行授权

    # 我们将DocumentRoot改到/www,则最少需要写这些内容
    [root@ceph conf]# vim httpd.conf
    DocumentRoot "/www"
    "/www">
    Require all granted
    [root@ceph conf]# mkdir /www
    [root@ceph conf]# cd /www
    [root@ceph www]# echo "DocumentRoot is /www" > index.html
    [root@ceph www]# systemctl restart httpd
    [root@ceph www]# curl localhost
    DocumentRoot is /www

    现在网站的根目录就被改到了/www下了,如果还是访问不到的话去关闭selinux

    这些就是httpd常用的基础配置了

    3. 高级配置

    3.1 httpd的长连接

    httpd的长连接默认是开启的,需要配置开启/关闭的话

    [root@ceph httpd]# vim /usr/share/doc/httpd/httpd-default.conf
    # KeepAlive: Whether or not to allow persistent connections (more than
    # one request per connection). Set to "Off" to deactivate.
    #
    KeepAlive On

    这里面这个参数改为off就是关闭,默认就是on

    3.2 配置资源访问策略

    在上面我们看到了目录和文件的访问策略,但是没有具体的去写配置,在这里我们会写一些配置

    3.2.1 策略的配置

    配置的选项:

    • Options: 配置目录的选项
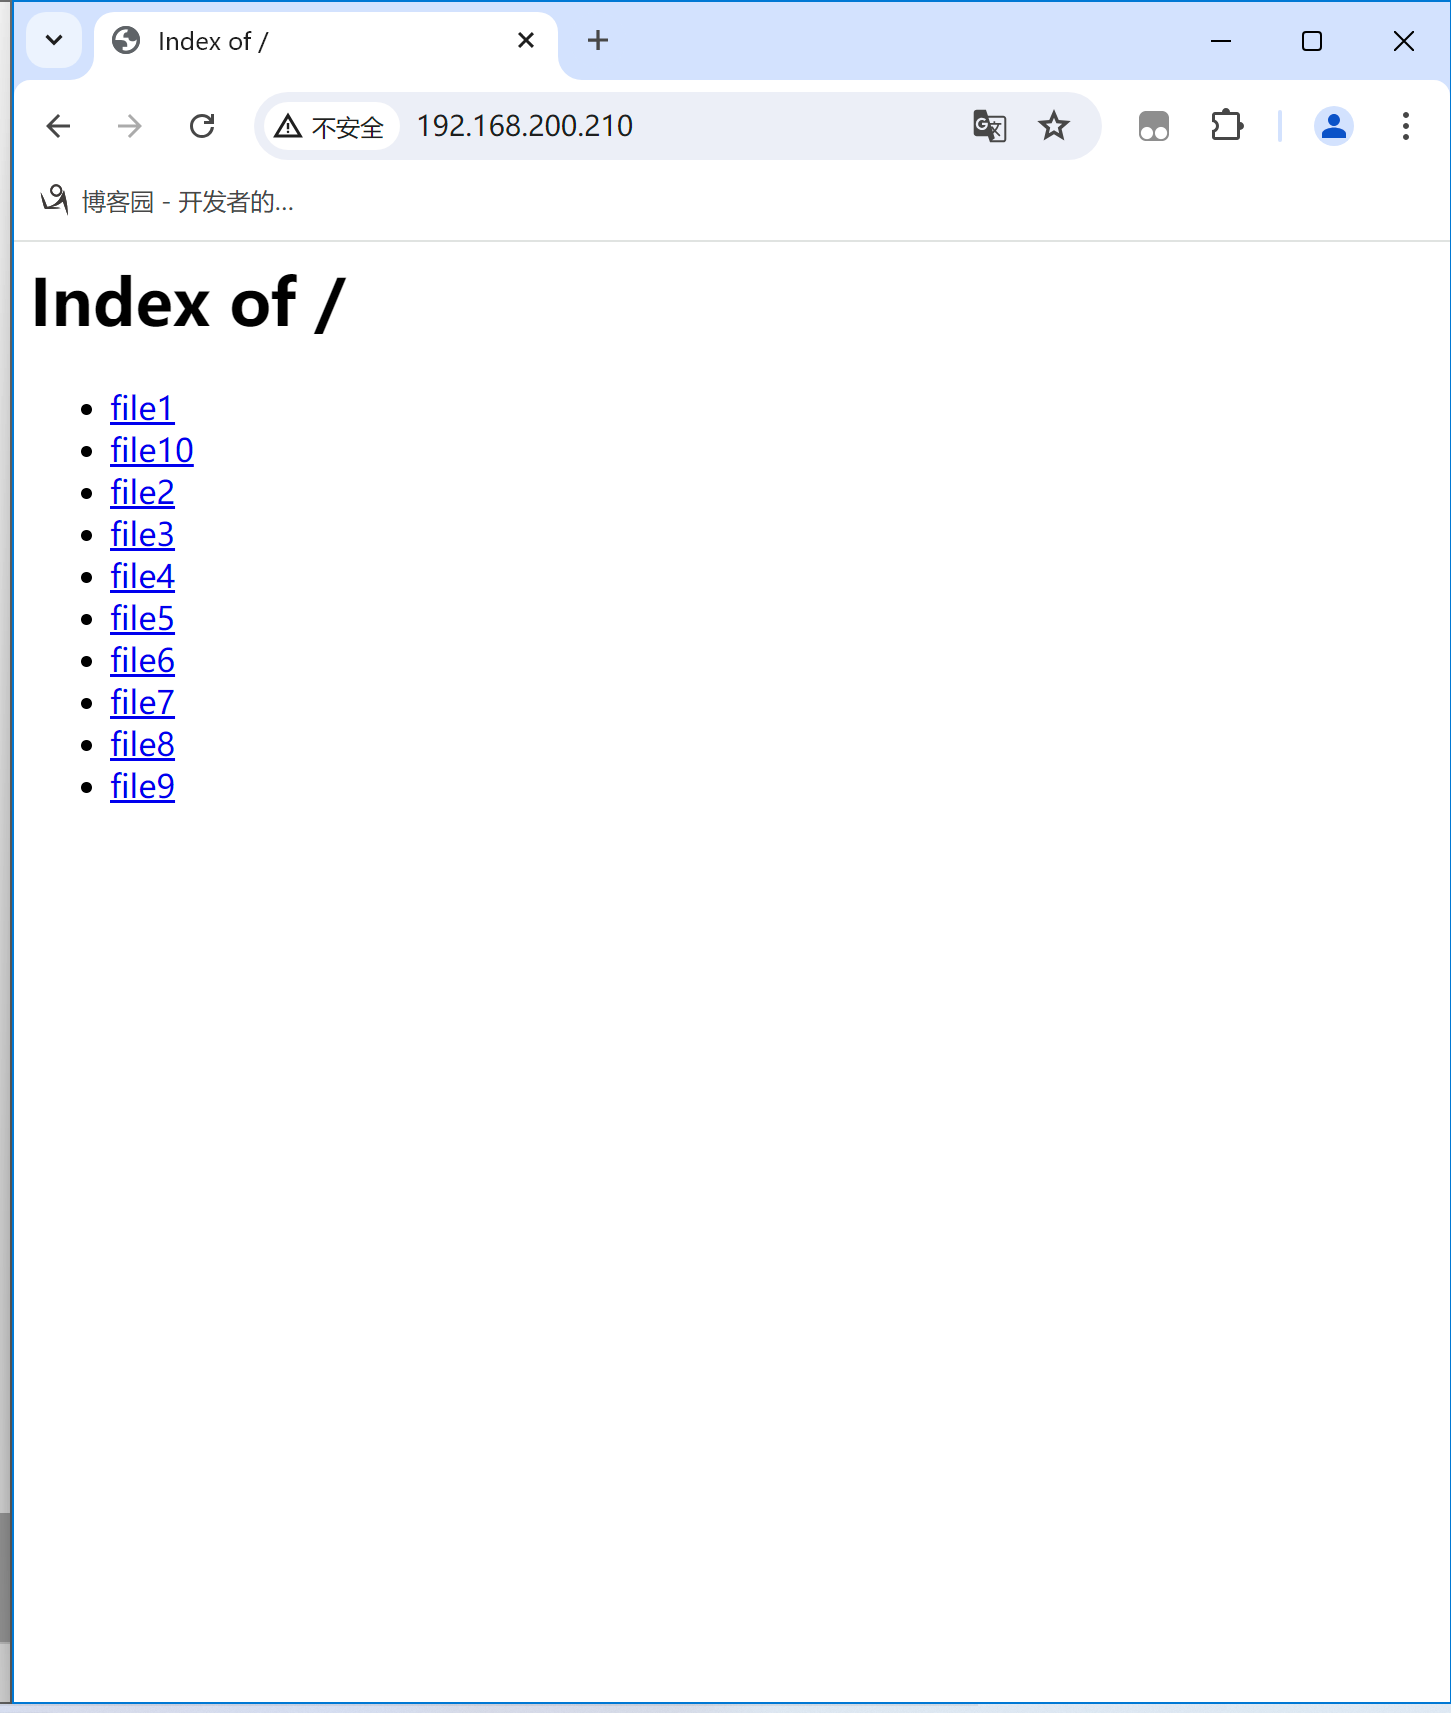
      • Indexes:如果在目录中找不到默认的首页文件(index.html),则索引当前的目录

    • FollowSymLinks:允许httpd访问目录中软链接的源文件

    • ALL:启用所有选项

    • None:禁用所有的配置选项

    • AllowOverride:是否允许.htaccess这个文件中的策略生效,默认值为None

      • All:全部都生效
      • None:全部都不生效
      • AutoConfig:默认配置生效,其他指令都不生效

    3.2.2 访问控制

    1. 基于客户端的IP进行访问控制

    需求,允许所有人访问,唯独不允许192.168.200.1这个IP访问

    [root@ceph conf]# vim httpd.conf
    DocumentRoot "/www"
    "/www">
    Require all granted
    Require not ip 192.168.200.1

    这里的策略就是对于网站根目录/www,允许所有人访问,但是192.168.200.1这个IP不能访问

    如果是指定白名单的话配置就是这样的

    DocumentRoot "/www"
    "/www">
    Require ip 192.168.200.1

    直接指定ip就可以了,因为httpd默认策略就是拒绝,然后我们只需要告诉他一个允许访问的ip也就是白名单了

    测试

    # 在本地测试
    [root@ceph conf]# curl localhost
    DocumentRoot is /www
    # 在192.168.200.1访问
    C:\Users\86156>curl 192.168.200.210
    "-//IETF//DTD HTML 2.0//EN">
    <head>
    403 Forbidden

    Forbidden

    You don't have permission to access this resource.

    可以看到,在192.168.200.1这个机器上访问就会显示403,也就是权限拒绝

    参数解析:

    • :表示所有的指令都要满足,逻辑与
    • :表示这里面的指令只需要满足一个就可以了,逻辑或的关系
    • Require all granted:表示允许所有的访问
    • Require not ip 192.168.200.1 表示排除192.168.200.1这个IP

    2. 基于主机名的访问控制

    刚刚的一个小的示例是依据客户端的IP进行访问控制,现在这种是依据于客户端的主机名进行访问控制

    前提:httpd所在的主机需要有对应的解析

    echo "192.168.200.210 ceph" >> /etc/hosts

    192.168.200.210 ceph

    DocumentRoot "/www"
    "/www">
    Require all granted
    Require not host ceph.example.com

    不推荐这样的配置,做了这个配置之后每次访问httpd服务他都会尝试去解析你的主机名,如果没有对应的解析他就会等到解析超时,然后他认为你不是被拒绝掉的那个主机,这时候才会让你访问到,这个过程很慢,了解就行

    3. 基于用户的认证

    httpd服务默认是谁都可以去查看网页的,但是当我们打开了用户认证之后,你不验证通过的话网页都是不会展示的

    用户认证有2种方式,一种是明文认证(基础认证),另一种就是密文

    基础认证配置

    选项:

    • AuthType Basic
    • AuthName 认证的提示信息
    • AuthUserFile 认证的用户和密码存储的文件
    • require user 用户名 : 表示可以认证的用户
    DocumentRoot "/www"
    "/www">
    Require all granted
    AuthType Basic
    AuthName openEuler
    AuthUserFile /opt/pass1
    require user zhangsan

    最终的配置就是这样,但是有一个/opt/pass1这个文件如何去生成呢?可以使用一个命令htpasswd

    [root@ceph conf]# htpasswd -c /opt/pass1 zhangsan
    New password:
    Re-type new password:
    Adding password for user zhangsan
    [root@ceph conf]# cat /opt/pass1
    zhangsan:$apr1$oNNigZ1D$K8hUhfxhw.dCVDY6UK8q71

    注意:第一次创建是htpasswd -c ,这是创建这个文件并写入用户名和密码,如果后续想要增加用户的话,应该使用htpasswd -a,如果继续使用-c选项的话,那么之前的文件会被覆盖掉

    这种方式的用户名和密码在传输过程中是明文的,我们可以抓包来查看

    密文认证(摘要认证)

    这种方式的配置方法与明文认证差异不大,区别只是AuthType不一样

    DocumentRoot "/www"
    "/www">
    Require all granted
    AuthType Digest
    AuthName openEuler
    AuthUserFile /opt/pass2
    require user test

    这种方式生成密码文件的方式就换成htdigest

    [root@ceph conf]# htdigest -c /opt/pass2 openEuler test
    Adding password for test in realm openEuler.
    New password:
    Re-type new password:

    这里的openEuler要与配置文件里面的AuthName一致

    [root@ceph conf]# cat /opt/pass2
    test:openEuler:540b8edab57ce9f3e1acaf99e40dac02

    你再去登录,尝试抓到就是看不到帐号密码的

    4. 配置https

    默认的http协议是不安全的,都是明文传输,所以我们需要配置https来让网站加密一下用户信息,不至于账号密码啥的直接就能被抓包给看见

    总共分3步:

    • 安装模块
    • 申请证书
    • 配置证书

    4.1 安装 ssl模块

    [root@ceph ~]# yum install mod_ssl -y

    安装好之后申请一个ssl证书

    我这里使用的自签证书

    openssl genrsa -out server.key 2048
    openssl req -new -key server.key -out server.csr
    openssl x509 -req -days 365 -in server.csr -signkey server.key -out server.crt

    4.2 配置证书

    [root@ceph ~]# vim /etc/httpd/conf.d/ssl.conf
    SSLCertificateFile /opt/server.crt
    SSLCertificateKeyFile /opt/server.key
    • SSLCertificateFile: 改为你自己申请的证书存在的路径
    • SSLCertificateKeyFile:改为私钥的存放路径

    配置好之后重启服务

    [root@ceph opt]# systemctl restart httpd

    这样就可以使用https访问了,如果的证书是用你的域名申请来的话,这里就不会显示不安全

    这样配置好之后我们的web服务就可以通过http和https两种协议访问了,我们如果想强制用户使用https访问的话,可以给http做一个重定向,尽管你是从http访问的,我依然给你重定向到https

    4.3 http重定向到https

    在httpd.conf中写重定向规则,因为目前没有配置虚拟主机,httpd只有80端口,所以我们可以直接在httpd.conf中配置

    Listen 80
    RewriteEngine on
    RewriteRule ^(/.*)$ https://%{HTTP_HOST}$1 [redirect=302]
    • RewriteEngine on :打开重写引擎
    • RewriteRule:重定向规则

    配置好之后重启httpd服务

    [root@ceph ~]# systemctl restart httpd

    现在无论是你是在浏览器输入http://IP还是https://ip,他最终都是走的https

    4. 虚拟主机

    虚拟主机有3类:

    • 基于端口的虚拟主机
      • 可以监听在多个端口,比如80,81,82当我访问80端口会显示port is 80,当我访问81端口会显示port is 81 以此类推,可以给不同的端口定义不同的网站根目录
    • 基于IP的虚拟主机
    • 基于域名的虚拟主机

    4.1 基于端口的虚拟主机

    虚拟主机的配置文件放在/etc/httpd/conf.d下,但是默认是不存在的,我们需要拷贝一个过来

    [root@ceph ~]# cd /etc/httpd/conf.d/
    [root@ceph conf.d]# cp /usr/share/doc/httpd/httpd-vhosts.conf .
    [root@ceph conf.d]# vim httpd-vhosts.conf
    ServerAdmin admin@81.com
    DocumentRoot "/var/www/81/"
    "/var/www/81">
    Require all granted

    删掉里面默认的配置,只保留这一段

    这一段的意思是,虚拟主机监听在81端口,管理员邮箱是admin@81.com,网站根目录是/var/www/81并且给这个目录配置了允许所有人访问

    现在我们还需要在主配置文件里面增加配置监听81端口

    [root@ceph conf.d]# vim /etc/httpd/conf/httpd.conf
    Listen 80
    Listen 81
    [root@ceph conf.d]# mkdir /var/www/81
    [root@ceph conf.d]# systemctl restart httpd
    [root@ceph conf.d]# ss -ntpl |grep 81
    LISTEN 0 511 *:81 *:* users:(("httpd",pid=41313,fd=6),("httpd",pid=41312,fd=6),("httpd",pid=41311,fd=6),("httpd",pid=41309,fd=6))

    可以看到81端口被监听了,我们来给81端口的网站目录创建一个index.html

    [root@ceph conf.d]# echo "port is 81" > /var/www/81/index.html

    访问81端口

    [root@ceph conf.d]# curl localhost:81
    port is 81

    这就是基于端口的访问,你如果想给他加上用户认证啊,或者其他的,参考前面的配置就可以完成,也可以一次性监听多个端口,只需要在httpd-vhosts.conf里面多写几个虚拟主机,然后在主配置文件里面开启对应的端口就好了

    4.2 基于IP的虚拟主机

    这个需要保证你的机器上有多个IP才可以,我们这里配置一个临时的IP地址

    [root@ceph conf.d]# ip addr add 192.168.1.100/24 dev ens33
    [root@ceph conf.d]# ip a show ens33
    2: ens33: mtu 1500 qdisc fq_codel state UP group default qlen 1000
    link/ether 00:0c:29:2c:0d:98 brd ff:ff:ff:ff:ff:ff
    inet 192.168.200.210/24 brd 192.168.200.255 scope global noprefixroute ens33
    valid_lft forever preferred_lft forever
    inet 192.168.1.100/24 scope global ens33
    valid_lft forever preferred_lft forever
    inet6 fe80::20c:29ff:fe2c:d98/64 scope link noprefixroute
    valid_lft forever preferred_lft forever

    现在可以看到ens33上有2个地址,一个是192.168.200.210,另一个是192.168.1.100

    IP已经配好了,现在开干

    直接在之前的虚拟主机的配置文件上修改

    ServerAdmin admin@81.com
    DocumentRoot "/var/www/81/"
    "/var/www/81">
    Require all granted
    ServerAdmin admin@82.com
    DocumentRoot "/var/www/82/"
    "/var/www/82">
    Require all granted

    现在有2个虚拟主机,一个是监听在所有地址上的81端口,另一个是监听在192.168.1.100上的82端口

    # 修改主配置文件
    [root@ceph conf.d]# vim /etc/httpd/conf/httpd.conf
    Listen 80
    Listen 81
    Listen 82
    [root@ceph conf.d]# mkdir /var/www/82
    [root@ceph conf.d]# echo port is 82 > /var/www/82/index.html
    [root@ceph conf.d]# systemctl restart httpd

    然后我们来访问这个虚拟主机

    [root@ceph conf.d]# curl 192.168.200.210:81
    port is 81
    [root@ceph conf.d]# curl 192.168.200.210:82
    "-//IETF//DTD HTML 2.0//EN">
    <head>
    302 Found

    Found

    The document has moved "https://192.168.200.210:82/">here.

    看到了吗,我们是无法通过192.168.200.210这个IP来访问82端口的,那我们来通过192.168.1.100这个IP访问

    [root@ceph conf.d]# curl 192.168.1.100:82
    port is 82

    这个就被成功访问到了

    4.3 基于域名的虚拟主机

    这个可以通过监听在同一个地址的同一个端口,但是我根据你访问的域名来给你不同的内容

    ServerName web1.example.com
    DocumentRoot "/var/www/web1/"
    "/var/www/web1/">
    Require all granted
    ServerName web2.example.com
    DocumentRoot "/var/www/web2/"
    "/var/www/web2/">
    Require all granted

    这里的配置都是监听在80,但是2个网站的根目录不一样

    [root@ceph conf.d]# mkdir /var/www/web{1,2}
    [root@ceph conf.d]# echo web1 > /var/www/web1/index.html
    [root@ceph conf.d]# echo web2 > /var/www/web2/index.html
    [root@ceph conf.d]# systemctl restart httpd

    服务重启好了之后我们的客户端需要做一个hosts解析,或者在DNS上配置解析,我们这里是测试,直接使用hosts更方便

    [root@ceph conf.d]# vim /etc/hosts
    192.168.200.210 web1.example.com
    192.168.200.210 web2.example.com

    新增这2行内容,然后我们来尝试访问

    [root@ceph conf.d]# curl web1.example.com
    web1
    [root@ceph conf.d]# curl web2.example.com
    web2

    看到了吧,同一个地址的同一个端口,可以根据我们访问的域名不同而返回不同的内容,这既是基于域名的虚拟主机

    httpd的配置大概就这么多,篇幅有点长,可以根据自己想看的内容直接跳转

  • 相关阅读:
    Spring的处理器映射器与适配器的架构设计
    jsoup框架技术文档--java爬虫--架构体系
    java(面向对象)的23种设计模式(10)——模板方法模式
    神奇的 perfma:一站式解决所有 JVM 疑难杂症!
    Pinia基础知识
    大数据数据压缩和企业优化
    c++ 智能指针 (std::weak_ptr)(三)
    线性代数学习笔记5-3:标准正交基、正交矩阵、施密特正交化、QR分解
    JavaSE——方法、递归
    【用unity实现100个游戏之12】unity制作一个俯视角2DRPG《类星露谷物语》资源收集游戏demo
  • 原文地址:https://www.cnblogs.com/fsdstudy/p/18278968