一、写在开头
最近一直在更新《Java成长计划》这个专栏,主要是Java全流程学习的一个记录,目前已经更新到Java并发多线程部分,后续会继续更新;而今天准备开设一个全新的专栏 《EfficientFarm》。
EfficientFarm:高效农场,期许软件开发工作能够像很多国外的高效农场一般机械化,自动化。拿来即用,提高工作效率,是这个专栏的宗旨!
二、Mybatis 逆向工程
我们在开发传统的Maven项目或者SpringBoot项目过程中,最终处理的就是对于数据的读与存,这时就免不了写对象关系映射代码,实体类、mapper、mapper.xml等代码,若存在大量的增删改查功能的话,我们开发时就会不断重复相同的操作,大大降低了工作效率。
为此便但成了Mybatis “逆向工程” ,所谓逆向工程,就是从数据库表结构出发,反向去生成对应的实体和映射代码,今天我们在这里提供2种方案进行实现。
三、方案一
3.1 环境准备
1)springboot 项目(JDK1.8) 2)apache-maven-3.6.1 3)MySQL 8.0.30
3.2 数据库表
逆向工程的第一步,需要先有数据库表结构!我们在这里先创建一个表,作为示例使用,sql脚本如下:
--若已存在,先删除 drop table user -- 创建数据库用户表 create table user ( id int NOT NULL AUTO_INCREMENT COMMENT '主键', name varchar(100) DEFAULT NULL COMMENT '员工姓名', phone_num varchar(20) DEFAULT NULL COMMENT '联系方式', address varchar(200) DEFAULT NULL COMMENT '住址', PRIMARY KEY (`id`) ) ENGINE=InnoDB DEFAULT CHARSET=utf8mb4 COLLATE=utf8mb4_general_ci;
3.3 添加依赖
逆向工程的实现,需要先引入mybatis相关依赖,如果项目中已经引入过,可自动忽略这一步。
<dependencies> <dependency> <groupId>org.mybatis.generatorgroupId> <artifactId>mybatis-generator-coreartifactId> <version>1.3.7version> dependency> <dependency> <groupId>org.mybatis.spring.bootgroupId> <artifactId>mybatis-spring-boot-starterartifactId> <version>2.2.2version> dependency> <dependency> <groupId>mysqlgroupId> <artifactId>mysql-connector-javaartifactId> <scope>runtimescope> dependency> <dependency> <groupId>org.springframework.bootgroupId> <artifactId>spring-boot-starter-testartifactId> <scope>testscope> dependency> dependencies>
3.4 数据库连接配置
依赖与数据库表创建好之后,我们就正式进入了springboot项目中进行逆向工程开发啦,首先在resources目录下创建一个数据库连接的配置文件:generator.properties
jdbc.driverClass=com.mysql.cj.jdbc.Driver jdbc.connectionURL=jdbc:mysql://localhost:3306/vhr?useUnicode=true&characterEncoding=UTF-8&serverTimezone=Asia/Shanghai jdbc.userId=root jdbc.password=123456
3.5 逆向工程生成规则配置
数据库配置完成后,我们紧接着来设置一个生成规则,包括编码,生成文件路径、是否设置自定义注释等等,这个配置可以从网上搜,有很多generatorConfiguration的配置。
generatorConfiguration PUBLIC "-//mybatis.org//DTD MyBatis Generator Configuration 1.0//EN" "http://mybatis.org/dtd/mybatis-generator-config_1_0.dtd"> <generatorConfiguration> <properties resource="generator.properties"/> <context id="MySqlContext" targetRuntime="MyBatis3" defaultModelType="flat"> <property name="beginningDelimiter" value="`"/> <property name="endingDelimiter" value="`"/> <property name="javaFileEncoding" value="UTF-8"/> <plugin type="org.mybatis.generator.plugins.SerializablePlugin"/> <plugin type="org.mybatis.generator.plugins.ToStringPlugin"/> <plugin type="org.mybatis.generator.plugins.UnmergeableXmlMappersPlugin" /> <commentGenerator type="org.javaboy.vhr.utils.CommentGenerator"> <property name="suppressAllComments" value="true"/> <property name="suppressDate" value="true"/> <property name="addRemarkComments" value="true"/> commentGenerator> <jdbcConnection driverClass="${jdbc.driverClass}" connectionURL="${jdbc.connectionURL}" userId="${jdbc.userId}" password="${jdbc.password}"> <property name="nullCatalogMeansCurrent" value="true" /> jdbcConnection> <javaModelGenerator targetPackage="org.javaboy.vhr.pojo" targetProject="vhr-web\src\main\java"/> <sqlMapGenerator targetPackage="mybatis.mapper" targetProject="vhr-web\src\main\resources"/> <javaClientGenerator type="XMLMAPPER" targetPackage="org.javaboy.vhr.mapper" targetProject="vhr-web\src\main\java"/> <table tableName="user" enableCountByExample="false" enableUpdateByExample="false" enableDeleteByExample="false" enableSelectByExample="false" selectByExampleQueryId="false"> <property name="useActualColumnNames" value="false"/> <property name="constructorBased" value="false"/> <generatedKey column="id" sqlStatement="JDBC" identity="true"/> table> context> generatorConfiguration>
3.6 自定义实体类注释配置
由于在上一步我们配置了注释生成器,因此,我们要在相应的路径下,创建一个类,来自定义注释的生成规则。路径:org.javaboy.vhr.utils.CommentGenerator
<commentGenerator type="org.javaboy.vhr.utils.CommentGenerator"> <property name="suppressAllComments" value="true"/> <property name="suppressDate" value="true"/> <property name="addRemarkComments" value="true"/> commentGenerator>
CommentGenerator代码
** * @author 86138 * @date 2024-05-01 13:27:15 * @description 添加自定义注释 */ public class CommentGenerator extends DefaultCommentGenerator { private boolean addRemarkComments = false; /** * 设置用户配置的参数 */ @Override public void addConfigurationProperties(Properties properties) { super.addConfigurationProperties(properties); this.addRemarkComments = StringUtility.isTrue(properties.getProperty("addRemarkComments")); } /** * 给字段添加注释 */ @Override public void addFieldComment(Field field, IntrospectedTable introspectedTable, IntrospectedColumn introspectedColumn) { String remarks = introspectedColumn.getRemarks(); //根据参数和备注信息判断是否添加备注信息 if (addRemarkComments && StringUtility.stringHasValue(remarks)) { addFieldJavaDoc(field, remarks); } } /** * 给model的字段添加注释 */ private void addFieldJavaDoc(Field field, String remarks) { //文档注释开始 field.addJavaDocLine("/**"); //获取数据库字段的备注信息 String[] remarkLines = remarks.split(System.getProperty("line.separator")); for (String remarkLine : remarkLines) { field.addJavaDocLine(" * " + remarkLine); } addJavadocTag(field, false); field.addJavaDocLine(" */"); } }
3.7 生成器
以上步骤做完后,我们就要写我们的逆向工程生成器啦,调用org.mybatis.generator.api中的MyBatisGenerator生成器进行实现。注意:当生成的代码重复时,覆盖原代码!
Generator代码
/** * @author 86138 * @date 2024-05-01 13:35:22 * @description 逆向工程生成器 */ public class Generator { public static void main(String[] args) throws Exception { //MBG 执行过程中的警告信息 List warnings = new ArrayList(); //当生成的代码重复时,覆盖原代码 boolean overwrite = true; //读取我们的 MBG 配置文件 InputStream is = Generator.class.getResourceAsStream("/generatorConfig.xml"); ConfigurationParser cp = new ConfigurationParser(warnings); Configuration config = cp.parseConfiguration(is); is.close(); DefaultShellCallback callback = new DefaultShellCallback(overwrite); //创建 MBG MyBatisGenerator myBatisGenerator = new MyBatisGenerator(config, callback, warnings); //执行生成代码 myBatisGenerator.generate(null); //输出警告信息 for (String warning : warnings) { System.out.println(warning); } } }
3.8 结果展示
直接执行上述的Generator类的main方法,就会自动读取数据库中的表,并生成对应的实体类与映射啦,以及简单的增删改查功能代码。
09:07:48.051 [main] DEBUG org.mybatis.generator.logging.LogFactory - Logging initialized using 'org.mybatis.generator.logging.slf4j.Slf4jLoggingLogFactory@1dde4cb2' adapter. 09:07:48.054 [main] DEBUG org.mybatis.generator.internal.db.DatabaseIntrospector - Retrieving column information for table "user" 09:07:48.086 [main] DEBUG org.mybatis.generator.internal.db.DatabaseIntrospector - Found column "id", data type 4, in table "vhr..user" 09:07:48.086 [main] DEBUG org.mybatis.generator.internal.db.DatabaseIntrospector - Found column "name", data type 12, in table "vhr..user" 09:07:48.086 [main] DEBUG org.mybatis.generator.internal.db.DatabaseIntrospector - Found column "phone_num", data type 12, in table "vhr..user" 09:07:48.086 [main] DEBUG org.mybatis.generator.internal.db.DatabaseIntrospector - Found column "address", data type 12, in table "vhr..user"
【生成文件】

四、方案二
基于方案一,我们可以快速的根据数据库中的表进行逆向工程的创建,大量的减少了我们的重复性工作,但是!它的实现还是比较复杂的,generatorConfiguration配置中的内容丰富且复杂,比较难记,而且在原有代码中需要写一定的代码量才能实现。
接下来我们要说的这种方案二,几乎不用写任何代码,只需要点点点就可以实现逆向工程啦,如果你使用idea的话,这种方案尤其方便。
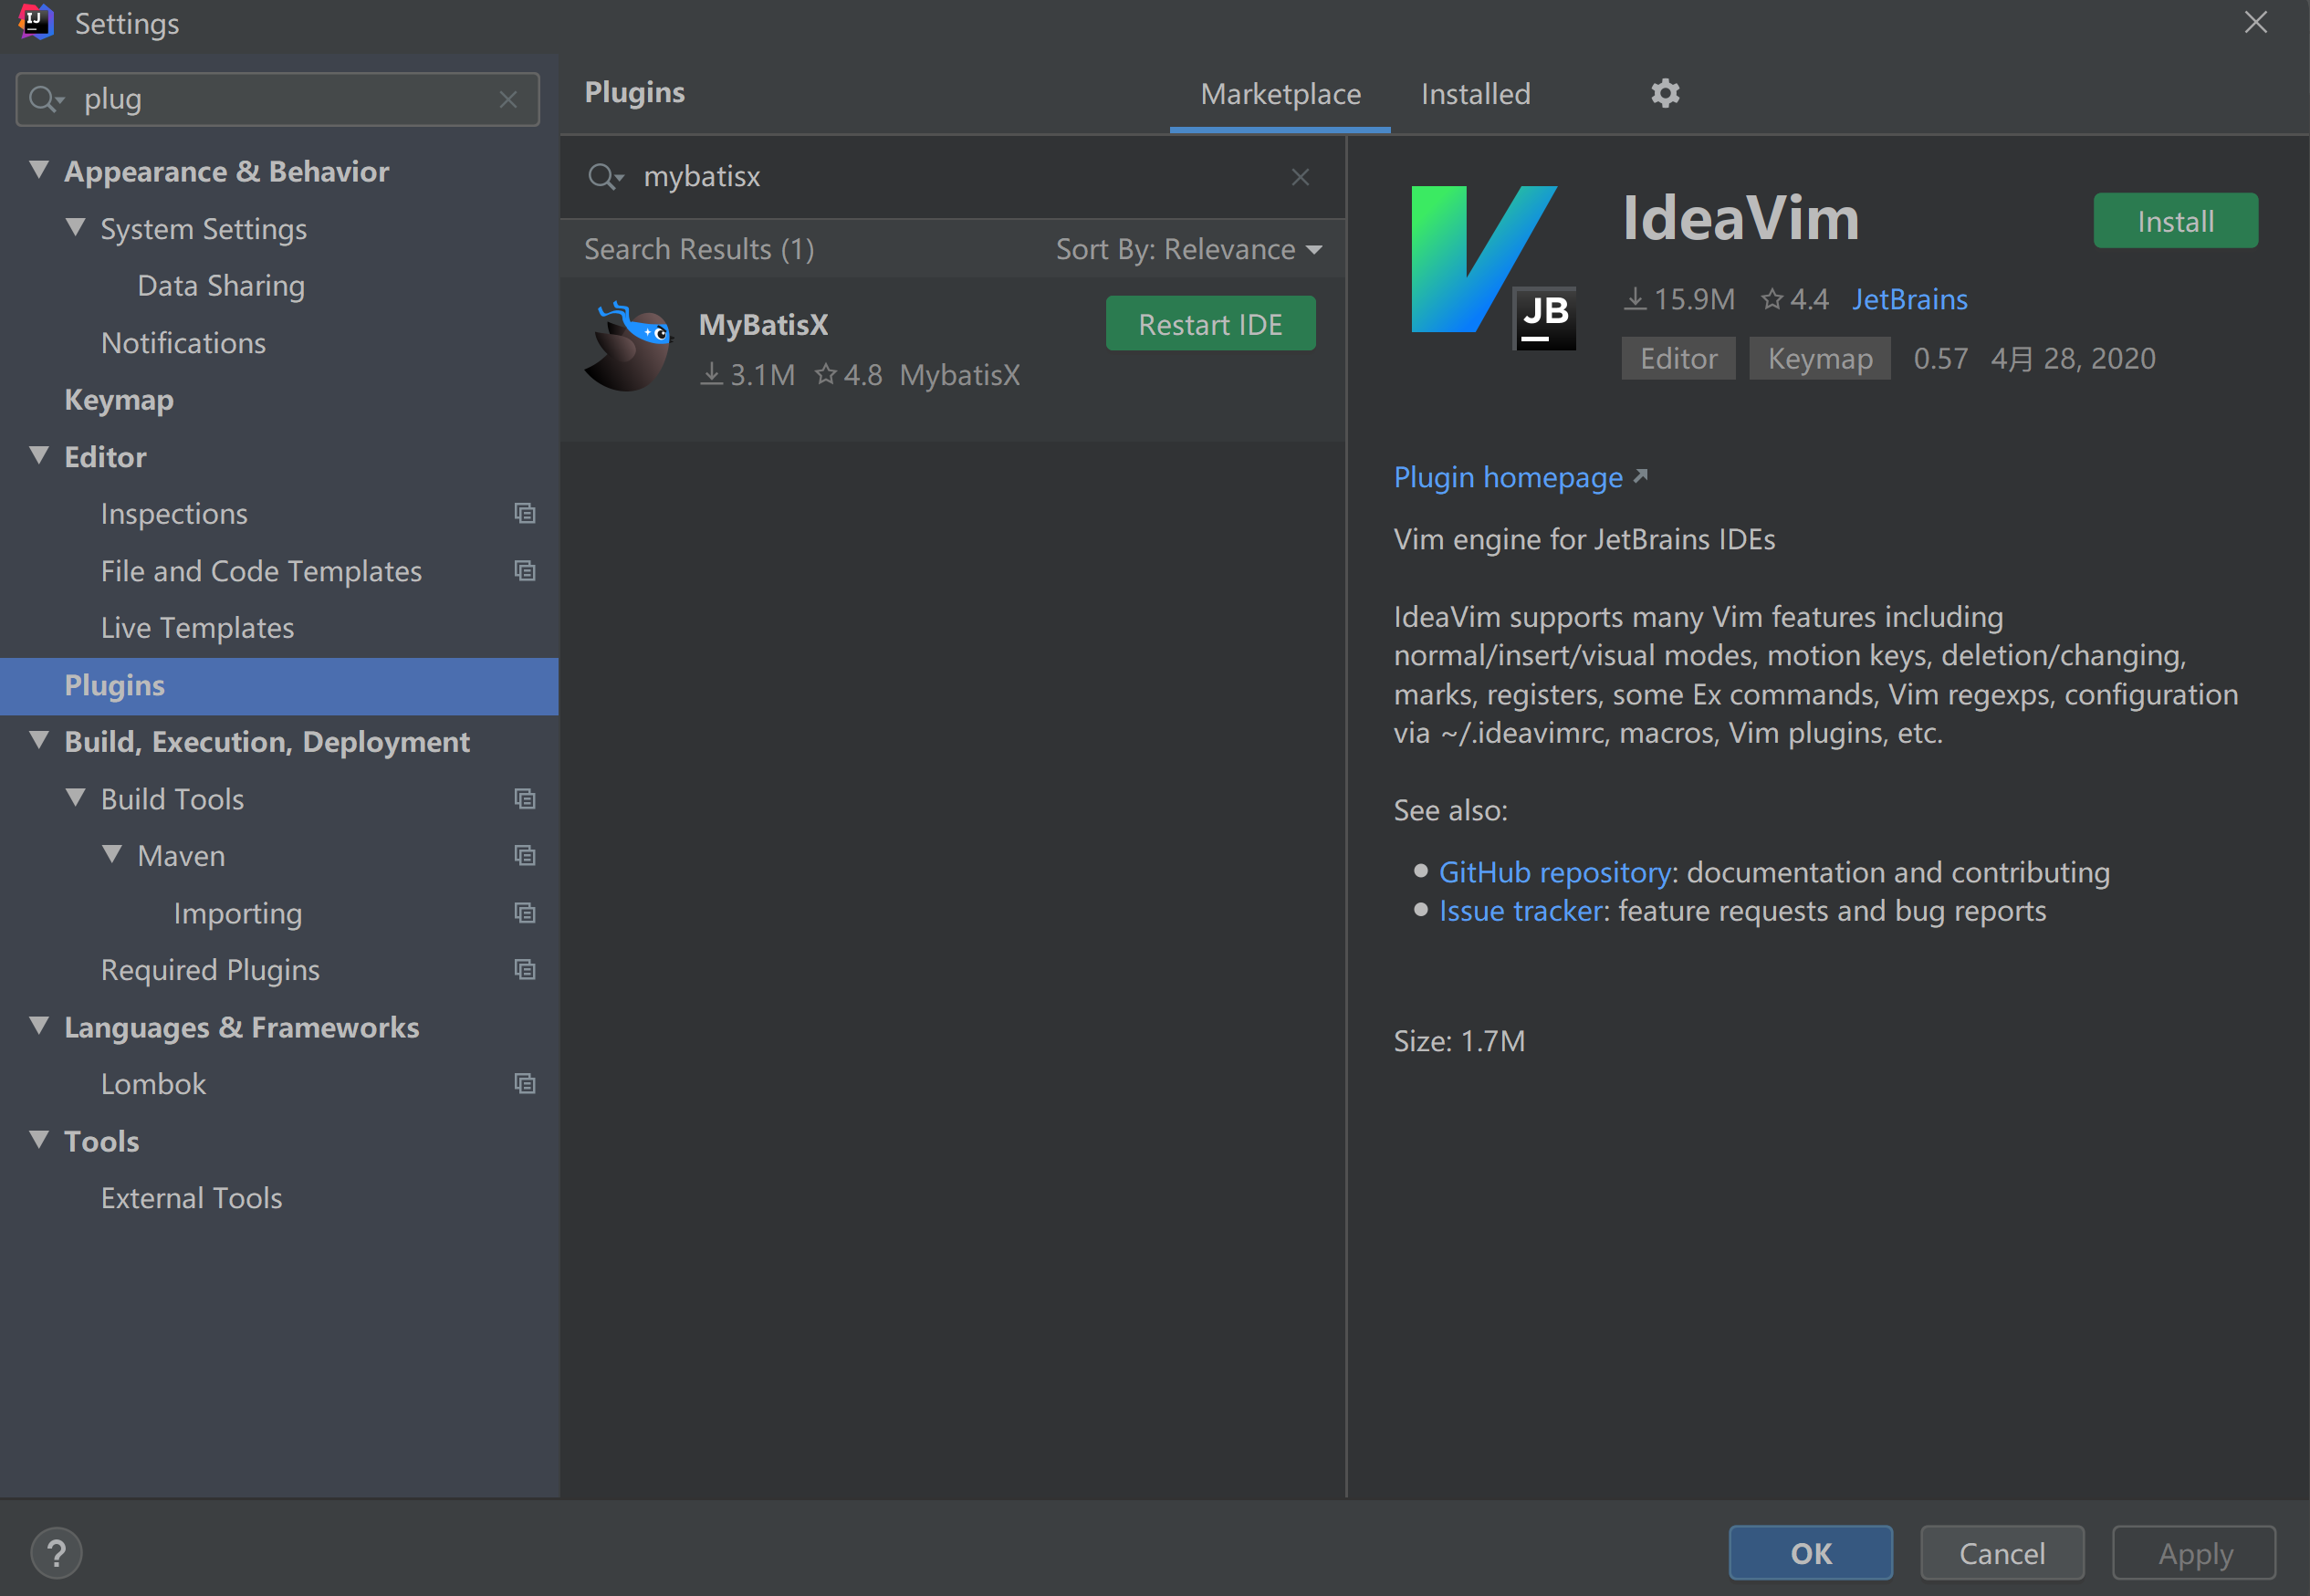
4.1 下载MybatisX插件
在插件管理中下载MybatisX插件
4.2 配置数据源
在idea的database中配置数据源,这里以MySQL为例,需要注意时区的配置。

点击Test Connection 测试成功说明配置完成啦
4.3 配置maven依赖
<dependency> <groupId>org.projectlombokgroupId> <artifactId>lombokartifactId> <optional>trueoptional> dependency> <dependency> <groupId>com.baomidougroupId> <artifactId>mybatis-plus-boot-starterartifactId> <version>3.1.0version> dependency>
4.4 配置生成规则
1)打开刚刚配置好的本地数据库,选择你想构建的数据表,右键 -> MybatisX-Generator。

2)选择项目包路径、实体包名、表名;

3) next后继续配置mapper、xml、service的生成路径以及需要的注释功能,hashCode/equals、Lombk注解等等。

4.5 结果展示
在上一步的最后配置完成,点击Finish按钮,查看结果,在对应的路径下成功的生成了我们需要的文件。

五、总结
这两种方案各有优劣:
- 方案一实现复杂,但可以满足基本的增删改查的实现,并且熟练的掌握generatorConfiguation配置的编辑,能实现更强大的功能;
- 方案二,实现简单,只需要页面点几下就可以完成完整的结构,但内容需要我们自己去实现。大家可以根据自己的日常开发场景,进行合理选择。
六、结尾彩蛋
如果本篇博客对您有一定的帮助,大家记得留言+点赞+收藏呀。原创不易,转载请联系Build哥!