-
vite+vue3使用UEditorPlus ,后端PHP
vite+vue3使用UEditorPlus
百度富文本编辑器是目前所有编辑器中功能最丰富的,但长时间不进行维护了。
之前写了一篇使用UEditor的教程,最近发现一个UEditorPlus,总结一下如何使用
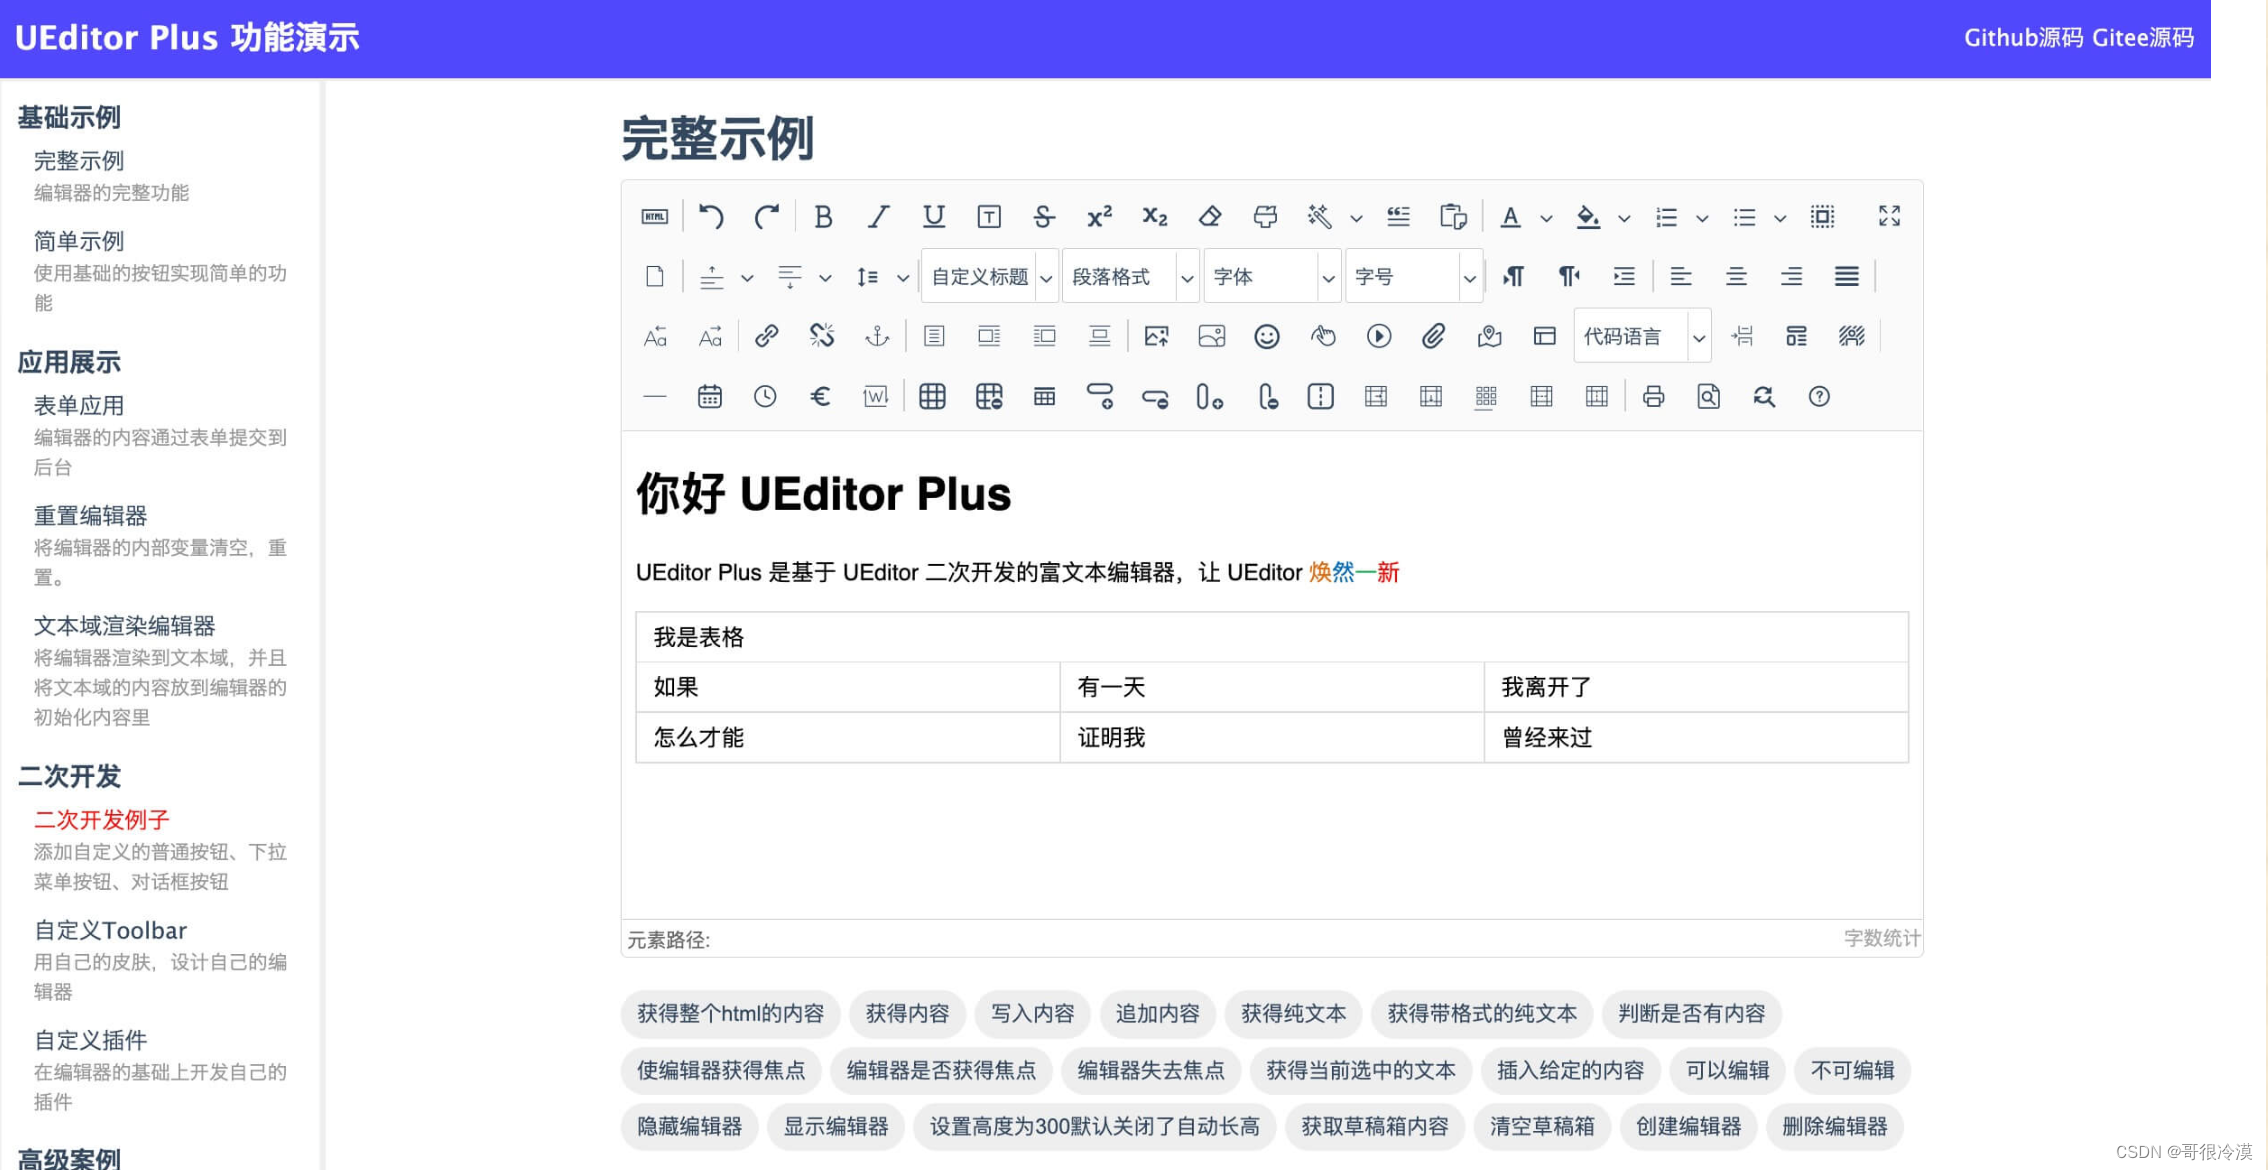
什么是UEditorPlus
基于 UEditor 二次开发的富文本编辑器,让UEditor重新焕发活力文档:https://open-doc.modstart.com/ueditor-plus/
仓库:https://gitee.com/modstart-lib/ueditor-plus
功能亮点
·全新的UI外观,使用字体图标替换原有图片图标
·移除过时、无用的插件支持,不断完善使用体验
·图片、文件、视频上传配置化定制增强
·演示界面重构,右上角可直接查看当前演示界面代码
·兼容现有UEditor,实现无缝切换
前端安装
安装vue-ueditor-wrap@3.x
vue-ueditor-wrap@3.x:一个“包装”了 UEditor 的 Vue 组件,支持通过 v-model 来绑定富文本编辑器的内容,让 UEditor 的使用简单到像 Input 框一样。省去了初始化 UEditor、手动调用 getContent,setContent 等繁琐的步骤。// vue-ueditor-wrap v3 仅支持 Vue 3 npm i vue-ueditor-wrap@3.x -S // or yarn add vue-ueditor-wrap@3.x- 1
- 2
- 3
- 4
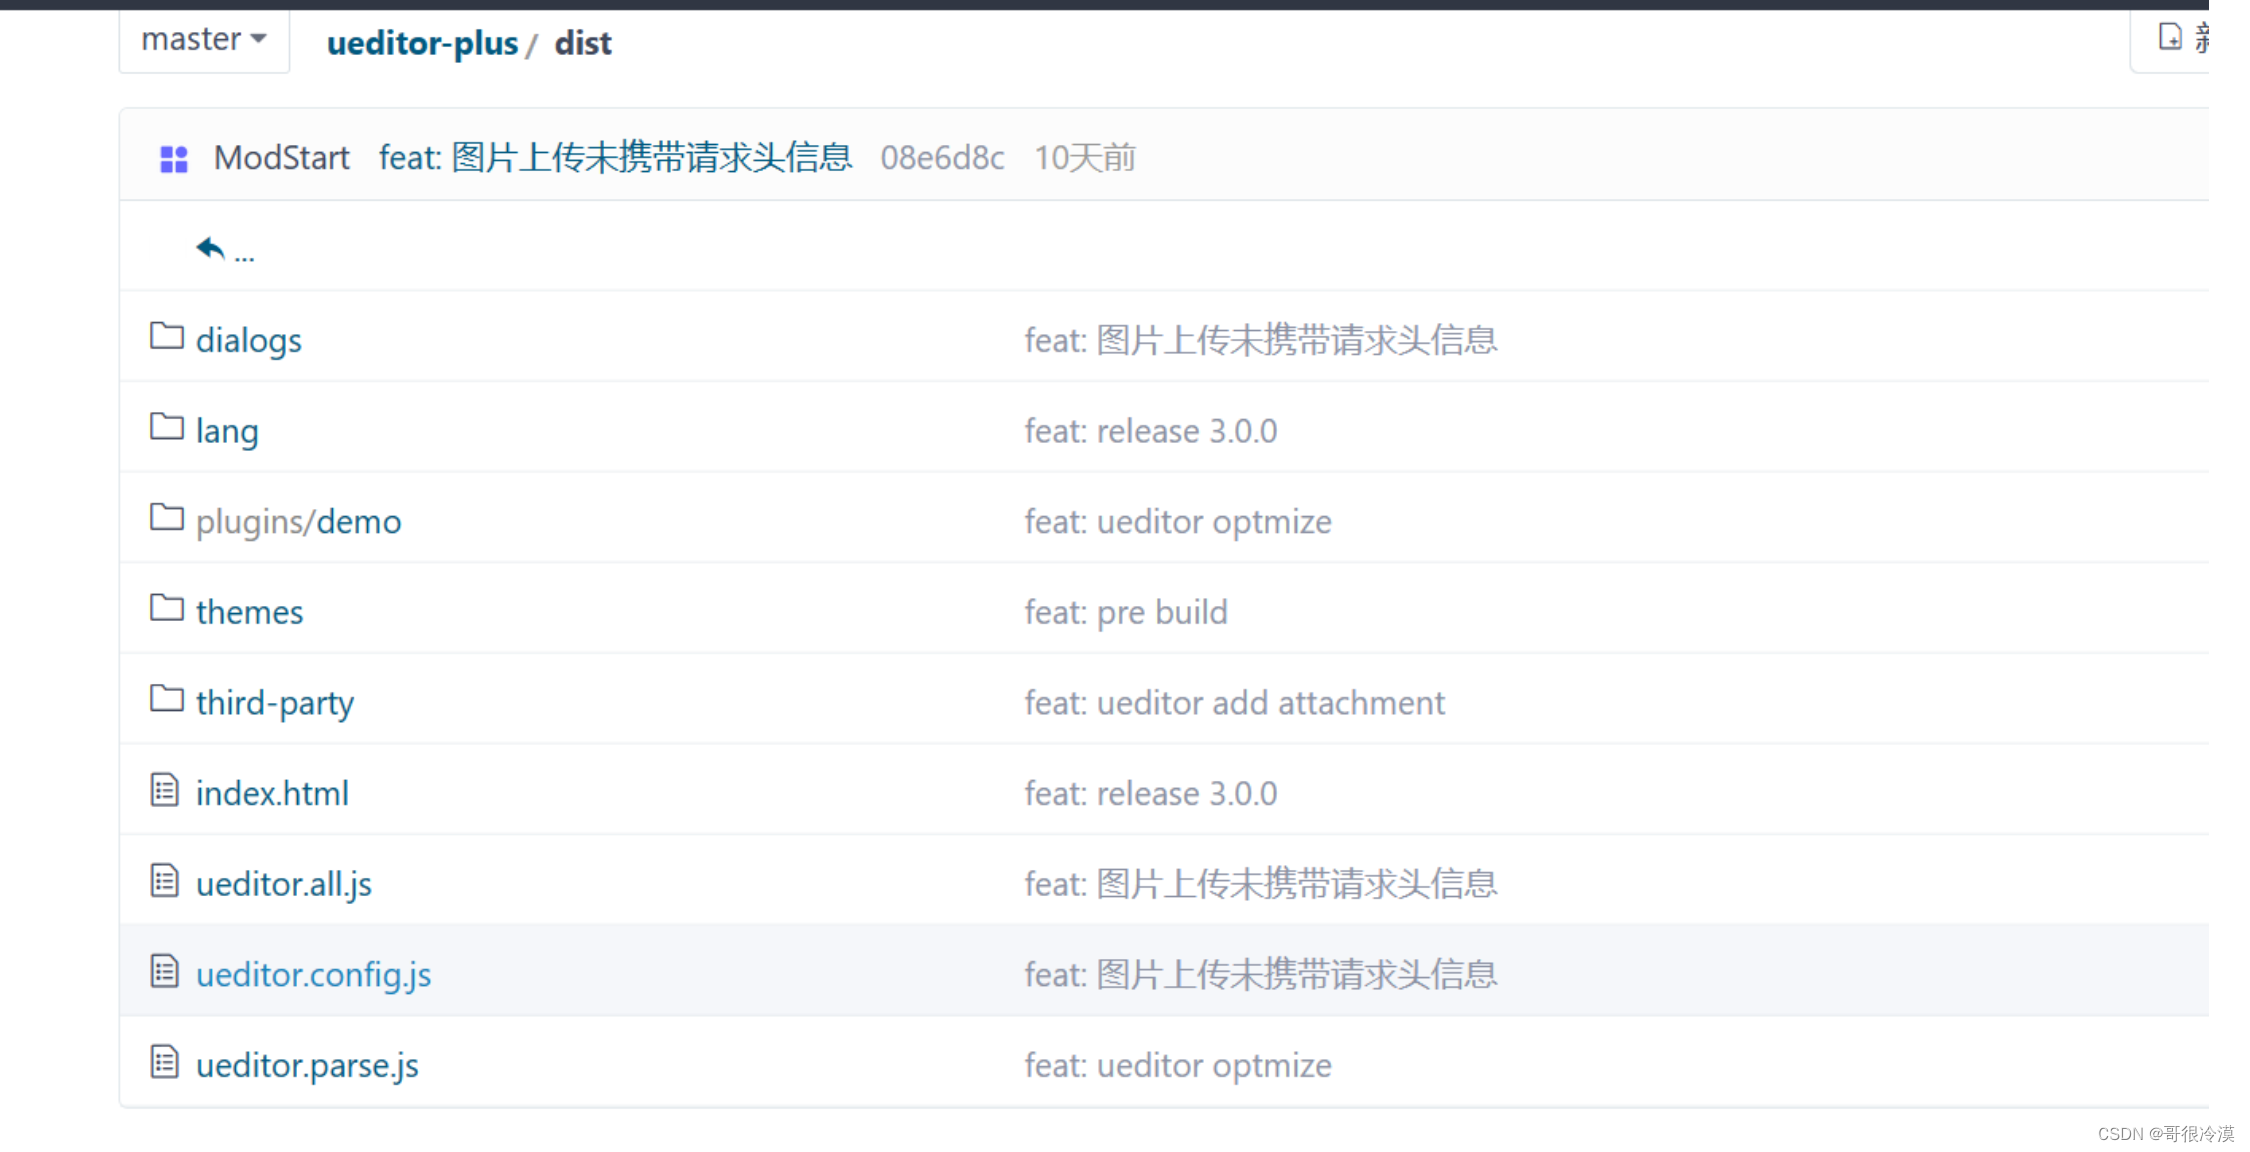
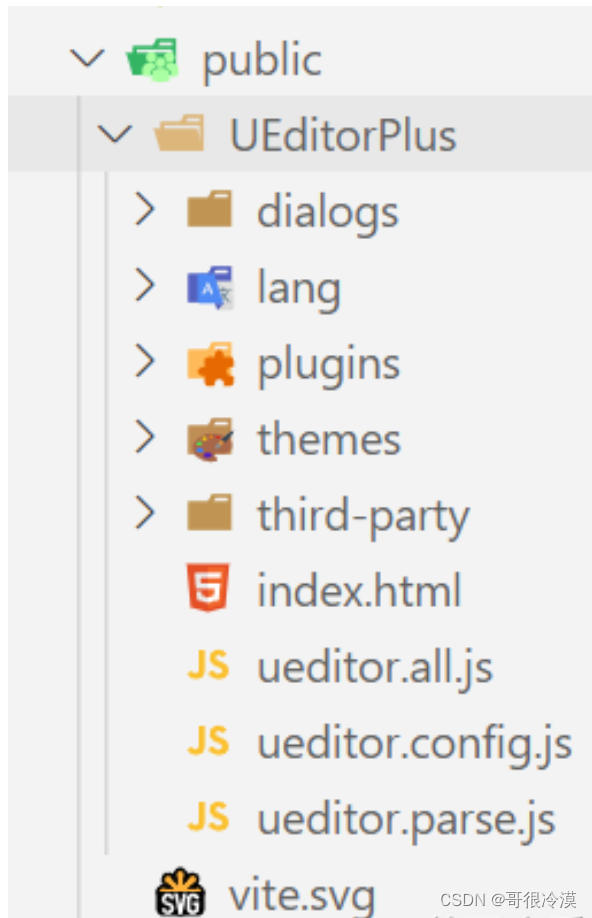
下载 UEditorPlus
下载 仓库 的dist文件夹,并放到public下,重命名为UEditorPlus
在main.js注册组件// main.js import { createApp } from 'vue'; import VueUeditorWrap from 'vue-ueditor-wrap'; import App from './App.vue'; createApp(App).use(VueUeditorWrap).mount('#app');- 1
- 2
- 3
- 4
- 5
- 6
v-model 绑定数据
<template> <div class="content"> <vue-ueditor-wrap v-model="content" editor-id="editor" :config="editorConfig" :editorDependencies="['ueditor.config.js', 'ueditor.all.js']" style="height:500px;" /> div> template> <script setup> import { ref } from 'vue'; let content = ref('Hello UEditorPlus
') let editorConfig = { serverUrl: '后端服务,下面后端的上传接口', // 配置UEditorPlus的惊天资源 UEDITOR_HOME_URL: '/UEditorPlus/' } script>- 1
- 2
- 3
- 4
- 5
- 6
- 7
- 8
- 9
- 10
- 11
- 12
- 13
- 14
- 15
后端配置
1、找一个文件夹新建config.json,写入以下代码{ "imageActionName": "uploadimage", "imageFieldName": "upfile", "imageMaxSize": 2048000, "imageAllowFiles": [".png", ".jpg", ".jpeg", ".gif", ".bmp"], "imageCompressEnable": true, "imageCompressBorder": 1600, "imageInsertAlign": "none", "imageUrlPrefix": "", "imagePathFormat": "/uploads/{yyyy}{mm}{dd}/{time}{rand:6}", "videoActionName": "uploadvideo", "videoFieldName": "upfile", "videoPathFormat": "/uploads/{yyyy}{mm}{dd}/{time}{rand:6}", "videoUrlPrefix": "", "videoMaxSize": 102400000, "videoAllowFiles": [".flv", ".swf", ".mkv", ".avi", ".rm", ".rmvb", ".mpeg", ".mpg", ".ogg", ".ogv", ".mov", ".wmv", ".mp4", ".webm", ".mp3", ".wav", ".mid"], "fileActionName": "uploadfile", "fileFieldName": "upfile", "filePathFormat": "upload/file/{yyyy}{mm}{dd}/{time}{rand:6}", "fileMaxSize": 102400000, "fileAllowFiles": [ ".png", ".jpg", ".jpeg", ".gif", ".bmp", ".flv", ".swf", ".mkv", ".avi", ".rm", ".rmvb", ".mpeg", ".mpg", ".ogg", ".ogv", ".mov", ".wmv", ".mp4", ".webm", ".mp3", ".wav", ".mid", ".rar", ".zip", ".tar", ".gz", ".7z", ".bz2", ".cab", ".iso", ".doc", ".docx", ".xls", ".xlsx", ".ppt", ".pptx", ".pdf", ".txt", ".md", ".xml", ".crx" ] }- 1
- 2
- 3
- 4
- 5
- 6
- 7
- 8
- 9
- 10
- 11
- 12
- 13
- 14
- 15
- 16
- 17
- 18
- 19
- 20
- 21
- 22
- 23
- 24
- 25
- 26
- 27
- 28
2、写文件上传接口
public function index() { $action = $this->request->param('action'); switch($action){ case 'config': $result = file_get_contents(ROOT_PATH.'/public/assets/addons/ueditorbjq/config.json');// json文件的路径 break; case 'uploadimage': $file = $this->request->file('upfile'); if($file){ $info = $file->move(ROOT_PATH . 'public' . DS . 'uploads'); $res = $info->getInfo(); $res['state'] = 'SUCCESS'; $res['url'] = '/uploads/'.$info->getSaveName(); $result = json_encode($res); } break; case 'uploadvideo': $file = $this->request->file('upfile'); if($file){ $info = $file->move(ROOT_PATH . 'public' . DS . 'uploads'); $res = $info->getInfo(); $res['state'] = 'SUCCESS'; $res['url'] = '/uploads/'.$info->getSaveName(); $result = json_encode($res); } break; case 'uploadfile': $file = $this->request->file('upfile'); if($file){ $info = $file->move(ROOT_PATH . 'public' . DS . 'uploads' . DS . 'file'); $res = $info->getInfo(); $res['state'] = 'SUCCESS'; $res['url'] = '/uploads/file/'.$info->getSaveName(); $result = json_encode($res); } break; default: break; } return $result; }- 1
- 2
- 3
- 4
- 5
- 6
- 7
- 8
- 9
- 10
- 11
- 12
- 13
- 14
- 15
- 16
- 17
- 18
- 19
- 20
- 21
- 22
- 23
- 24
- 25
- 26
- 27
- 28
- 29
- 30
- 31
- 32
- 33
- 34
- 35
- 36
- 37
- 38
- 39
- 40
- 41
- 42
效果
上传图片视频等可以使用了

-
相关阅读:
数字化经济的前沿:深入了解 Web3 的商业模式
.NET 6 实现滑动验证码(二)、基本数据
Python编程:《外星人入侵》
Toronto Research Chemicals农药检测丨甲硫威
Android12之Codec2.0配置编解码器为H264实现(四十五)
短链接系统的设计与实现
中小企业数字化转型难?为什么不试试“企业级”无代码平台
机器学习-神经网络(西瓜书)
【C++初阶】STL详解(二)string类的模拟实现
react路由介绍、路由的基本使用
- 原文地址:https://blog.csdn.net/qq_63608386/article/details/136544128
