-
VUE3 页面路由 router
VUE3 页面路由 router
1.理解路由流程
路由的作用:完成页面跳转关系的管理!!!
1.1新建工程
按照之前的方法新建工程,参考链接:VUE3环境搭建开发准备,运行命令:
vue create vue-router-demo1.2 理解路由
因为我们这次是从0开始单独理解路由,上面已经配置好了一个项目,现在开始利用项目学习路由。
首先要安装路由,运行命令:npm install --save vue-router。
然后,创建独立的配置文件(这一步的代码内容对于理解router比较重要)。
新建src\router\index.js,这个文件就是路由的配置文件。向文件编写如下几个步骤代码:// 引入路由 import {createRouter,createWebHashHistory} from "vue-router"- 1
- 2
然后 新建
src\views\HomeView.vue和src\views\AboutView.vue并且为其简单布局 。随后在src\router\index.js文件中加载这两个布局。import HomeView from "../views/HomeView" import AboutView from "../views/AboutView"- 1
- 2
然后 在
src\router\index.js中继续编写配置// 1.配置路由 // 先创建一个 routes 数组对象,数组里面承载页面配置 // 每个页面配置是对象类型,包含至少两个信息,一个是访问路径path,一个是component对应页面 // 注:routes 写成 routers 都不能识别 const routes = [ { path:"/", component:HomeView }, { path:"/about", component:AboutView } ] // 2.将配置放到路由对象中 // 两个参数,1.history代表访问方式, 2.上面的对象routes const router = createRouter({ history:createWebHashHistory(), routes }) // 3. 路由创建完成,连接外部访问 export default router; // 4.现在去 src\main.js 导入- 1
- 2
- 3
- 4
- 5
- 6
- 7
- 8
- 9
- 10
- 11
- 12
- 13
- 14
- 15
- 16
- 17
- 18
- 19
- 20
- 21
- 22
- 23
- 24
- 25
- 26
src\main.js代码导入路由import { createApp } from 'vue' import App from './App.vue' import './registerServiceWorker' // 导入 import router from './router' // 通过 .use(router) 明确安装功能 createApp(App).use(router).mount('#app')- 1
- 2
- 3
- 4
- 5
- 6
- 7
- 8
- 9
修改
src\App.vue使用路由<template> <!--路由的跳转按钮--> <router-link to="/">首页</router-link>|<router-link to="/about">关于</router-link> <!--路由的显示入口--> <router-view></router-view> </template> <script> export default { name: 'App' } </script> <style> #app { font-family: Avenir, Helvetica, Arial, sans-serif; -webkit-font-smoothing: antialiased; -moz-osx-font-smoothing: grayscale; text-align: center; color: #2c3e50; margin-top: 60px; } </style>- 1
- 2
- 3
- 4
- 5
- 6
- 7
- 8
- 9
- 10
- 11
- 12
- 13
- 14
- 15
- 16
- 17
- 18
- 19
- 20
- 21
- 22
- 23
- 24
1.3 结果
点击相应按钮,网址与页面均发生相应的变化,说明路由成功!

1.4补充
在
src\router\index.js中createWebHistory与createWebHashHistory都能实现功能的区别createwebHashHistory,网址不好看,但不需要做重定向,其原理是 A 标签的锚点标签。其路由网址例子如下:home: http://localhost:8080/#/ about: http://localhost:8080/#/about- 1
- 2
createwebHistory,网址好看,但需要后台配合做重定向。否则会出现404。其原理是 H5 pushState()。其路由网址例子如下:home: http://localhost:8080/ about: http://localhost:8080/about- 1
- 2
2.路由传递参数
2.1.新建工程
运行命令:
vue create vue-router,因为有了上面的理解,这次新建工程时选择加入路由。不熟悉这一步看这里:VUE3环境搭建开发准备。

2.2.打开项目
这次已经不需要安装 router 了,打开文件夹:
cd vue-router,运行项目:npm run serve。可以观察到前面代码的逻辑与理解与库代码一致。2.3.新建路由
新建
src\views\NewsView.vue文件,写入代码:<template> <h3>新闻</h3> </template>- 1
- 2
- 3
在
src\router\index.js文件中写入插入以下代码:{ path:"/news", name:"news", // 这是异步加载 component: () => import('../views/NewsView.vue') }- 1
- 2
- 3
- 4
- 5
- 6
在
src\App.vue中加入新页面的路由按钮<template> <nav> <router-link to="/">Home</router-link> | <router-link to="/about">About</router-link> | <!--添加路由按钮--> <router-link to="/news">新闻</router-link> </nav> <router-view/> </template>- 1
- 2
- 3
- 4
- 5
- 6
- 7
- 8
- 9
打开
http://localhost:8081/,可以看到路由成功!!!
2.4 路由传递参数
现在,如果我的代码和页面是这样:
文件:
src\views\NewsView.vue<template> <ul> <li>百度新闻</li> <li>网易新闻</li> <li>头条新闻</li> </ul> </template>- 1
- 2
- 3
- 4
- 5
- 6
- 7
页面如图:

在上面的基础上,现在要实现,点进如”百度新闻“页面,将名字”百度“带入到下一个页面。实现路由传递参数。
首先,新建下一个页面,
src\views\NewsDetails.vue,写入代码,等待参数进入:<template> </template>- 1
- 2
- 3
然后,在
src\router\index.js文件中,新建路由。注意了,此时的路由参数 path 后面带了一个/:name这就是路由带的参数。{ path:"/newsdetails/:name", name:"newsdetails", // 这是异步加载 component: () => import('../views/NewsDetails.vue') }- 1
- 2
- 3
- 4
- 5
- 6
现在回到
src\views\NewsDetails.vue,将刚才的参数引用:<template> <p>{{ $route.params.name }}</p> </template>- 1
- 2
- 3
然后在父级页面
src\views\NewsView.vue处,利用 router-link 传入实参:<template> <ul> <li><router-link to="/newsdetails/百度">百度新闻</router-link></li> <li><router-link to="/newsdetails/网页">网易新闻</router-link></li> <li><router-link to="/newsdetails/头条">头条新闻</router-link></li> </ul> </template>- 1
- 2
- 3
- 4
- 5
- 6
- 7
现在点击具体新闻名字:

可以看到,参数成功带入了下一页面!!

3.路由嵌套配置
什么是嵌套路由?如图,在上一级父导航下面,又出现了很多子导航。所以我们需要路由嵌套,一个父级导航去路由跟多子导航。

3.1 基础
现在我的
src\views\AboutView.vue代码和界面如图:<template> <div class="about"> <h1>This is an about page</h1> </div> </template>- 1
- 2
- 3
- 4
- 5
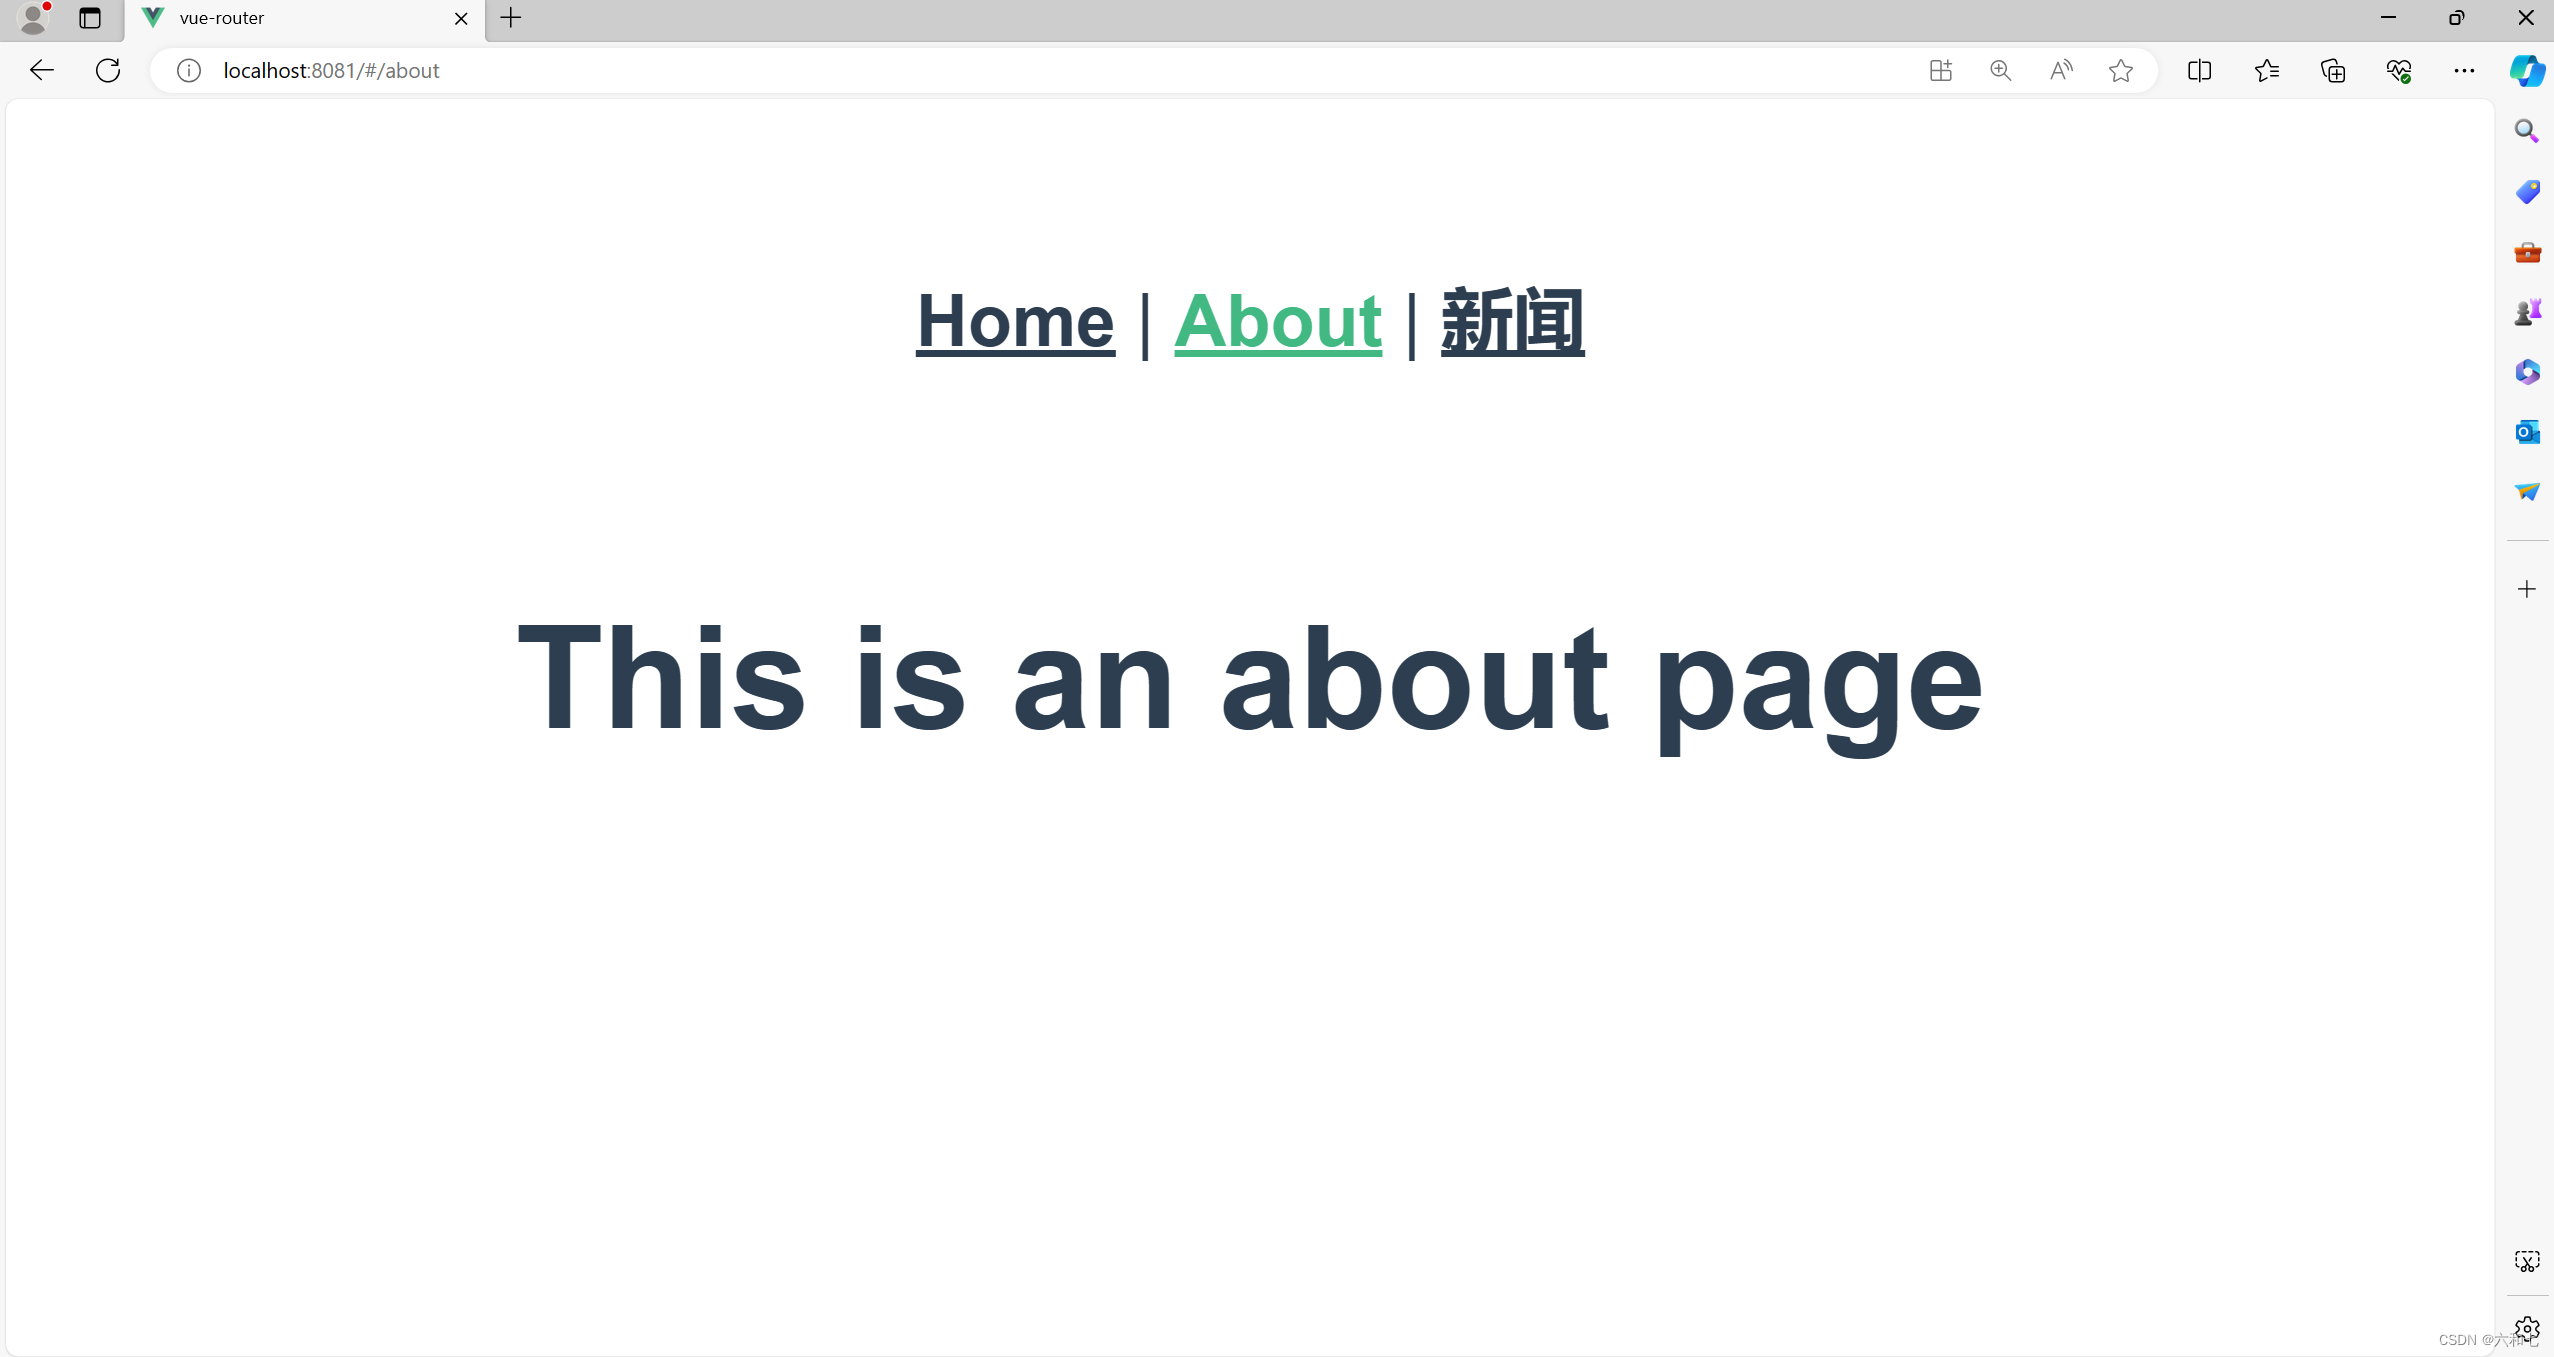
界面如图:
现在,我们要为
about页面导航,添加子级导航。3.2 子二级布局文件
先新建子二级布局文件,写入代码。
文件:src\views\AboutUs.vue<template> <h3>关于我们</h3> </template>- 1
- 2
- 3
文件:
src\views\AboutInfo.vue<template> <h3>关于信息</h3> </template>- 1
- 2
- 3
3.3 配置子二级路由
在文件
src\router\index.js的about路由处,添加以下代码:其中children就是二级路由{ path: '/about', name: 'about', component: () => import('../views/AboutView.vue'), // 添加二级导航 注:二级导航不用前面写 “/” children:[ { path:"us", component: () => import('../views/AboutUs.vue') }, { path:"info", component: () => import('../views/AboutInfo.vue') } ] }- 1
- 2
- 3
- 4
- 5
- 6
- 7
- 8
- 9
- 10
- 11
- 12
- 13
- 14
- 15
- 16
3.4 父级页面链接路由
在 文件:
src\views\AboutUs.vue和文件:src\views\AboutInfo.vue的父级布局src\views\AboutView.vue处。链接二级路由,把路径写全。<template> <div class="about"> <router-link to="/about/us">关于我们</router-link> | <router-link to="/about/info">关于信息</router-link> <router-view></router-view> </div> </template>- 1
- 2
- 3
- 4
- 5
- 6
- 7
- 8
3.5 结果
点击
about成功出现二级路由按钮,点击二级按钮成功出现对应的二级页面。
3.6 细节:子二级目录默认显示
在
src\router\index.js中,向父级路由中加入重定向代码即可。{ path: '/about', name: 'about', component: () => import('../views/AboutView.vue'), redirect:"/about/us", // 重定向使其默认显示 /about/us 。。。 },- 1
- 2
- 3
- 4
- 5
- 6
- 7
-
相关阅读:
最新最全计算机专业毕业设计选题精华汇总-持续更新中
Adadelta--学习笔记
简易实现通讯录(1.0)
【学习笔记】:Maven初级
.NET 反向代理 YARP 跨域请求 CORS
JVM(Java Virtual Machine)垃圾收集算法篇
C语言重点突破(四)自定义类型详解
【组件专题介绍】什么是组件?
IBM ELM—系统工程全生命周期管理平台
MFC网络通信-Udp服务端
- 原文地址:https://blog.csdn.net/LQ_001/article/details/136346653
