-
pytest-rerunfailures插件之测试用例失败重跑
环境前提:
只有同时满足一下先决条件才能使用pytest-rerunfailures
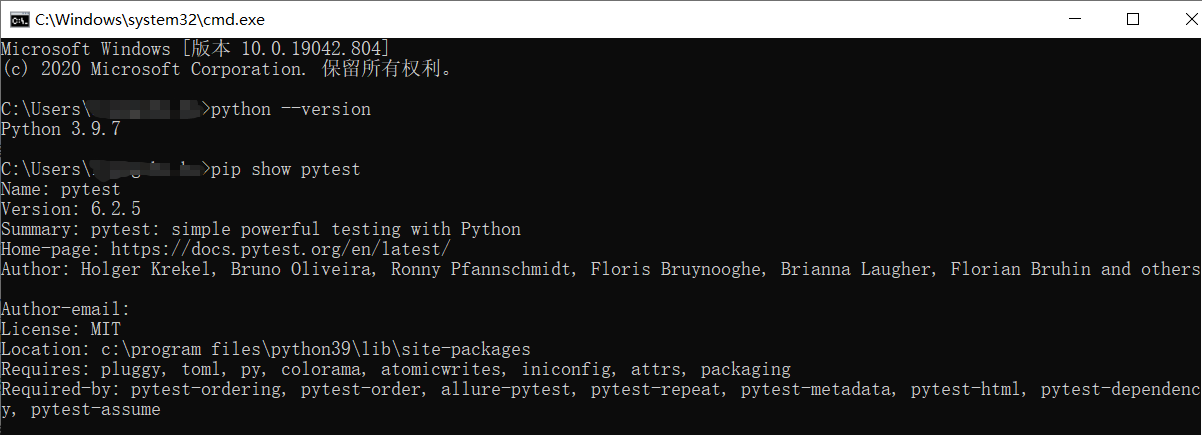
①python的版本不能过低;
②pytest 5.0或更高版本;
背景:
平时在做接口测试的时候,经常会遇到网络抖动或者环境问题导致测试用例运行失败,而这个并不是我们想要的结果;
我们想要重新运行失败的测试用例,这个就需要通过插件pytest-rerunfailures来实现了。
安装插件pytest-rerunfailures
pip install pytest-rerunfailures
①执行命令重新执行失败的测试用例:使用 --reruns 命令行参数选项,并指定要运行测试的最大次数:
pytest test_add.py --reruns NUM # NUM表示重试的次数
【注意】重复运行失败的测试用例时,对应的fixture或者setup函数也会重新执行(例如:scope参数为method的fixture前置函数)
举例:
代码参考如下:
# file_name: test_add.py- import pytest
- def test_add01():
- print("----------------->>> test_add01")
- assert 1
- def test_add02():
- print("----------------->>> test_add02")
- assert 0
- def test_add03():
- print("----------------->>> test_add03")
- assert 1
- def test_add04():
- print("----------------->>> test_add04")
- assert 1
- if __name__ == '__main__':
- pytest.main(["-s", "test_add.py"])
执行命令:
pytest ./pytest_study/test_add.py --reruns 2 -s(NUM=2表示失败测试用例重试2次,上述代码中只有test_add02()方法会失败)
注意 :
pytest多种运行模式支持叠加执行:
例如同时运行四个进程,且失败后重跑2次,pytest命令行运行:
pytest -n 4 -reruns 2②设置添加重新执行的延时时间并执行失败的测试用例
要在两次重试之间增加延迟时间,使用
--reruns-delay命令行选项,指定下次测试重新开始之前等待的秒数:pytest --reruns 5 --reruns-delay 10
③重新运行指定的测试用例:测试用例失败重跑的装饰器用法
添加flaky装饰器
@pytest.mark.flaky(reruns=5),并指定最大重新运行次数。示例代码如下:
#-*- coding: utf-8 -*-- import random
- import pytest
- @pytest.mark.flaky(reruns=5)
- def test_retry1():
- n = random.randint(0, 9)
- print(f"\n 输出随机数: {n} ")
- assert n == 2
- @pytest.mark.flaky(reruns=5)
- def test_retry2():
- assert random.choice([True, False, False])
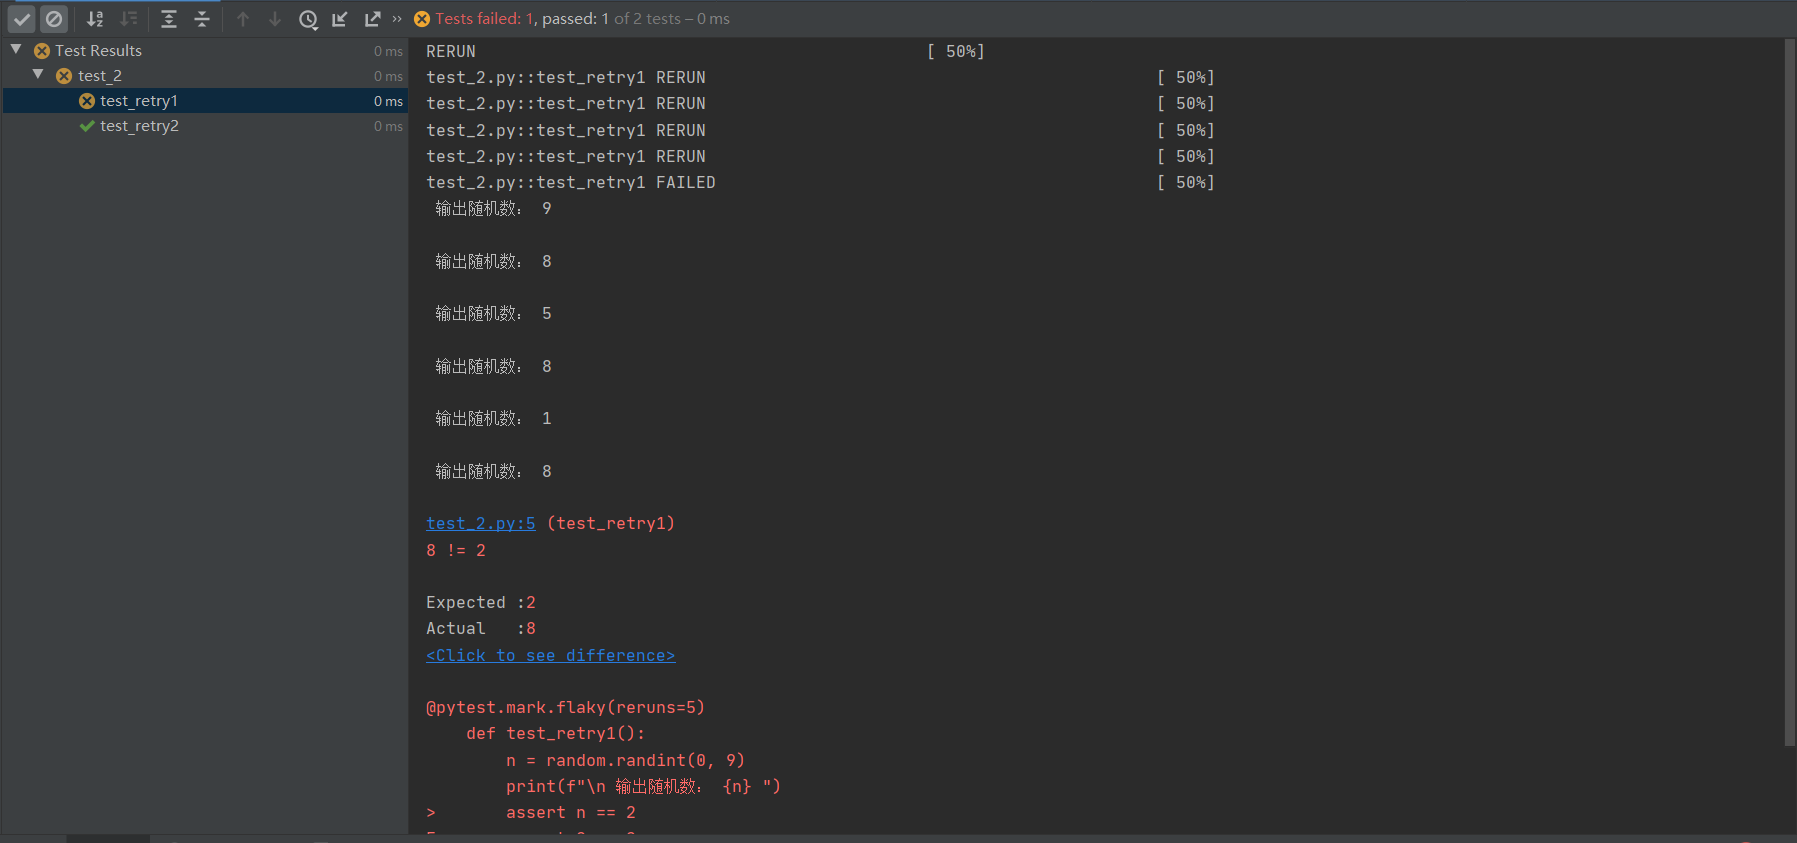
运行结果:【注意】测试结果以最后一次重新执行测试用例的结果为最终结果,即用例执行被判定为FAILED或者PASSED
第一个测试方法:
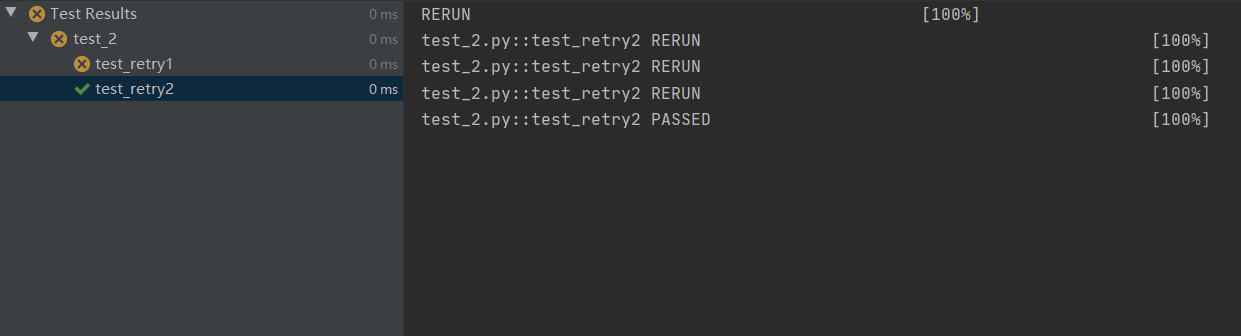
第二个测试方法:
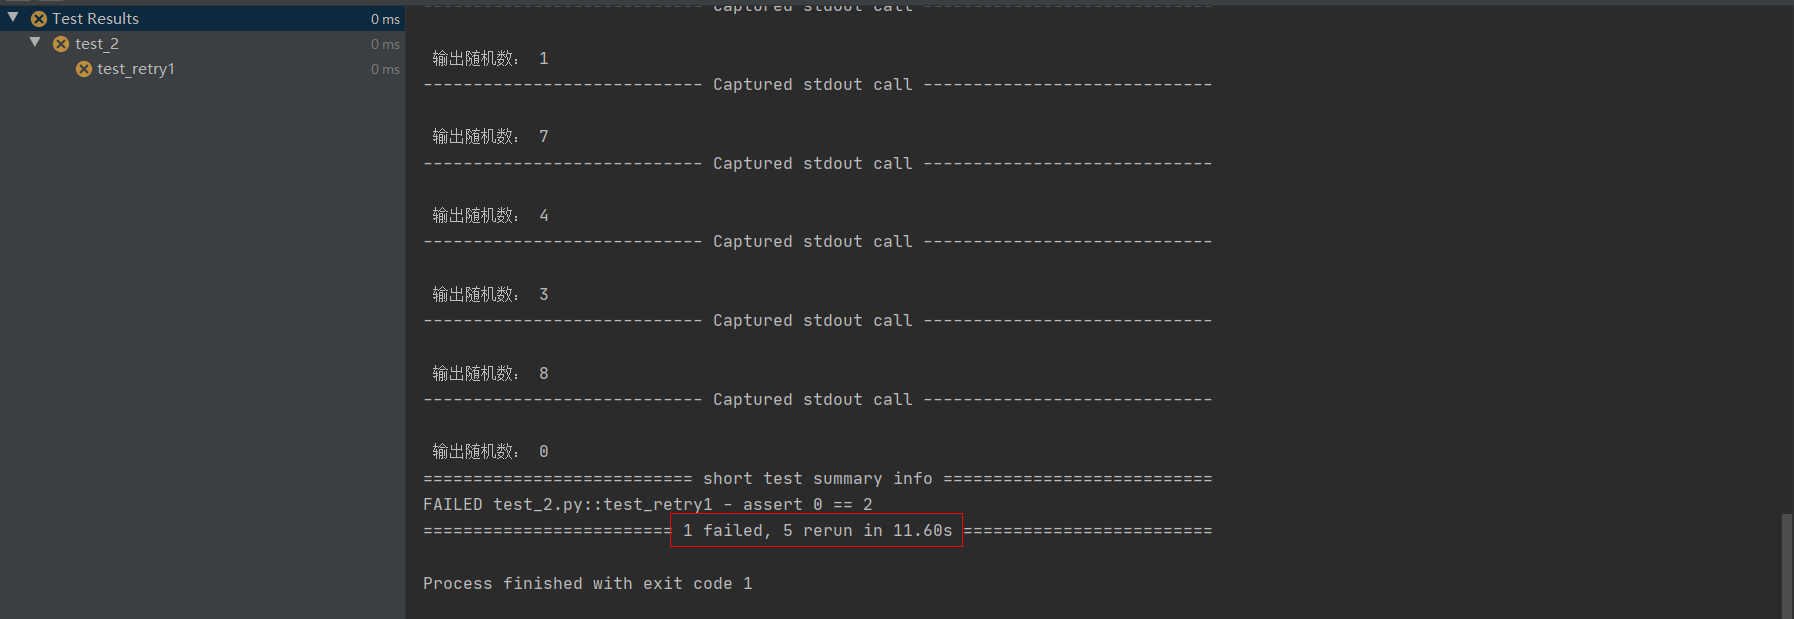
④对单个测试用例设置重新运行等待延迟时间
实例代码:
@pytest.mark.flaky(reruns=5,reruns_delay=2)- def test_retry1():
- n = random.randint(0, 9)
- print(f"\n 输出随机数: {n} ")
- assert n == 2
运行结果:
【注意】
1、如果使用装饰器的方式指定了测试用例的重新运行次数,则在命令行参数中添加–reruns对这些测试用例是不会生效的。
2、兼容性问题:
- 不可以和fixture装饰器一起使用: @pytest.fixture()
- 该插件与pytest-xdist的 --looponfail 标志不兼容
- 该插件与核心–pdb标志不兼容.
这可能是B站最详细的pytest自动化测试框架教程,整整100小时,全程实战!!!
-
相关阅读:
记录一次SQL注入src挖掘过程
【MAPBOX基础功能】16、mapbox叠加图片图层到地图上
如何通过聊天拉近与客户的距离?
Hadoop到底是什么?他又由哪些组成?
原地算法(数组向)
使用Kalibr工具线对相机+IMU离线标定
TypeScript类型--泛型类型--泛型约束
后端文章合集
SpringMVC框架学习笔记(三):url请求风格-Rest 以及 SpringMVC 映射获取到各种类型数据
Haproxy负载均衡集群
- 原文地址:https://blog.csdn.net/wqda125/article/details/134517301
