-
『亚马逊云科技产品测评』活动征文|借助AWS EC2搭建服务器群组运维系统Zabbix+spug
授权声明:本篇文章授权活动官方亚马逊云科技文章转发、改写权,包括不限于在 Developer Centre, 知乎,自媒体平台,第三方开发者媒体等亚马逊云科技官方渠道。
本文基于以下软硬件工具:
+ aws ec2
+ frp-0.52.3
+ zabbix 6.0 LTS
+ spug-3.3
+ win10笔记本
0. 环境
- 虚拟机ubuntu22(server),192.168.8.162
- 虚拟机ubuntu22(agent),192.168.8.173
- 笔记本win10,192.168.8.132
- aws ec2,54.195.224.245目录
1.2 安装 Zabbix server, frontend, agent
1.4 Configure the database for Zabbix server
1.5 Configure PHP for Zabbix frontend
1.6 Start Zabbix server and agent processes
3.2.2 Install and configure Zabbix for your platform
1. 虚拟机ubuntu22安装zabbix
切换账号
sudo -s1.1 安装 Zabbix 仓库
- wget https://repo.zabbix.com/zabbix/6.0/ubuntu/pool/main/z/zabbix-release/zabbix-release_6.0-4+ubuntu22.04_all.deb
- dpkg -i zabbix-release_6.0-4+ubuntu22.04_all.deb
- apt update
1.2 安装 Zabbix server, frontend, agent
apt install zabbix-server-mysql zabbix-frontend-php zabbix-nginx-conf zabbix-sql-scripts zabbix-agent1.3 创建 初始 数据库
mysql -uroot -p问题:ERROR 2002 (HY000): Can‘t connect to local MySQL server through socket ‘/tmp/mysql.sock‘
apt install mysql-servermysql默认输入root密码是password。
- mysql> create database zabbix character set utf8mb4 collate utf8mb4_bin;
- mysql> create user zabbix@localhost identified by 'password';
- mysql> grant all privileges on zabbix.* to zabbix@localhost;
- mysql> set global log_bin_trust_function_creators = 1;
- mysql> quit;

zcat /usr/share/zabbix-sql-scripts/mysql/server.sql.gz | mysql --default-character-set=utf8mb4 -uzabbix -p zabbix
passwordmysql -uroot -p
password- mysql> set global log_bin_trust_function_creators = 0;
- mysql> quit;

1.4 Configure the database for Zabbix serverEdit file /etc/zabbix/zabbix_server.conf
/etc/zabbix/zabbix_server.conf添加:
DBPassword=password

1.5 Configure PHP for Zabbix frontendEdit file /etc/zabbix/nginx.conf uncomment and set 'listen' and 'server_name' directives.
vim /etc/zabbix/nginx.conf取消注释这两行:
- # listen 8080;
- # server_name example.com;

1.6 Start Zabbix server and agent processes
启动zabbix服务:- systemctl restart zabbix-server zabbix-agent nginx php8.1-fpm
- systemctl enable zabbix-server zabbix-agent nginx php8.1-fpm
1.7 Open Zabbix UI web page
http://192.168.125.146:8080/setup.php

默认语音 配置中文
配置DB 配置数据库密码 password
配置时区 Asia/Shanghai

用户名:Admin
密码:zabbix

1.8 frp
1.8.1 下载可执行文件
当前最新版本是0.52.3wget https://github.com/fatedier/frp/releases/download/v0.52.3/frp_0.52.3_linux_amd64.tar.gz1.8.2 解压
tar -zvxf frp_0.52.3_linux_amd64.tar.gz1.8.3 切换目录
cd frp_0.52.3_linux_amd641.8.4 修改配置
vim frpc.ini修改为以下内容:
- serverAddr = "54.195.224.245"
- serverPort = 30000
- auth.method = "token"
- auth.token = "520101"
- [[proxies]]
- name = "zabbix_agent"
- type = "tcp"
- localIP = "127.0.0.1"
- localPort = 10050
- remotePort = 10050
- [[proxies]]
- name = "zabbix_server"
- type = "tcp"
- localIP = "127.0.0.1"
- localPort = 10051
- remotePort = 10051
- [[proxies]]
- name = "zabbix_nginx"
- type = "tcp"
- localIP = "127.0.0.1"
- localPort = 8080
- remotePort = 10052
1.8.5 运行
./frpc -c frpc.toml &
2. aws ec2准备2.1 控制台
本步骤我们低成本创建服务器。
https://aws.amazon.com/cn/在控制台主页,地区选择 爱尔兰 eu-west-1
创建服务器
Search栏输入 -> EC2
-> 启动实例 ->
-> Quick Start: Amazon Linux aws,
-> 实例类型:选择符合条件的免费套餐,t2.micro
-> 密钥对:创建密钥对
-> 名称:zzzzzzzzzzzzzzzzzzzz2#,RSA,.pem,然后保存到本地。ssh登录需要用到。
-> 创建实例
得到了服务器IP:54.195.224.245
2.2 连接到实例
用 MobaXterm为例
打开 MobaXterm -> Session -> SSH
-> Remote host: 54.229.195.3
-> 勾选Specify username: ec2-user
-> Avanced SSH settings
-> 勾选 Use private key
2.3 部署frp
2.3.1 下载可执行文件到
https://github.com/fatedier/frp/releases
下载当前最新版本是0.52.3
wget https://github.com/fatedier/frp/releases/download/v0.52.3/frp_0.52.3_linux_amd64.tar.gz2.3.2 解压
- tar -zvxf frp_0.52.3_linux_amd64.tar.gz
2.3.3 切换目录
cd frp_0.52.3_linux_amd642.3.4 修改配置
vim frps.toml修改为以下内容:
- bindPort = 30000
- auth.method = "token"
- auth.token = "520101"
- webServer.addr = "0.0.0.0"
- webServer.port = 30001
- webServer.user = "admin"
- webServer.password = "jian@123"

运行
./frps -c frps.toml &
2.3.5 服务器开启端口
通过web配置,开启自定义TCP,30000、30001、10050、10051、10052
2.3.6 测试web浏览器打开 54.195.224.245:30001

2.3.7 测试zabbix server部署情况浏览器打开 54.195.224.245:10052
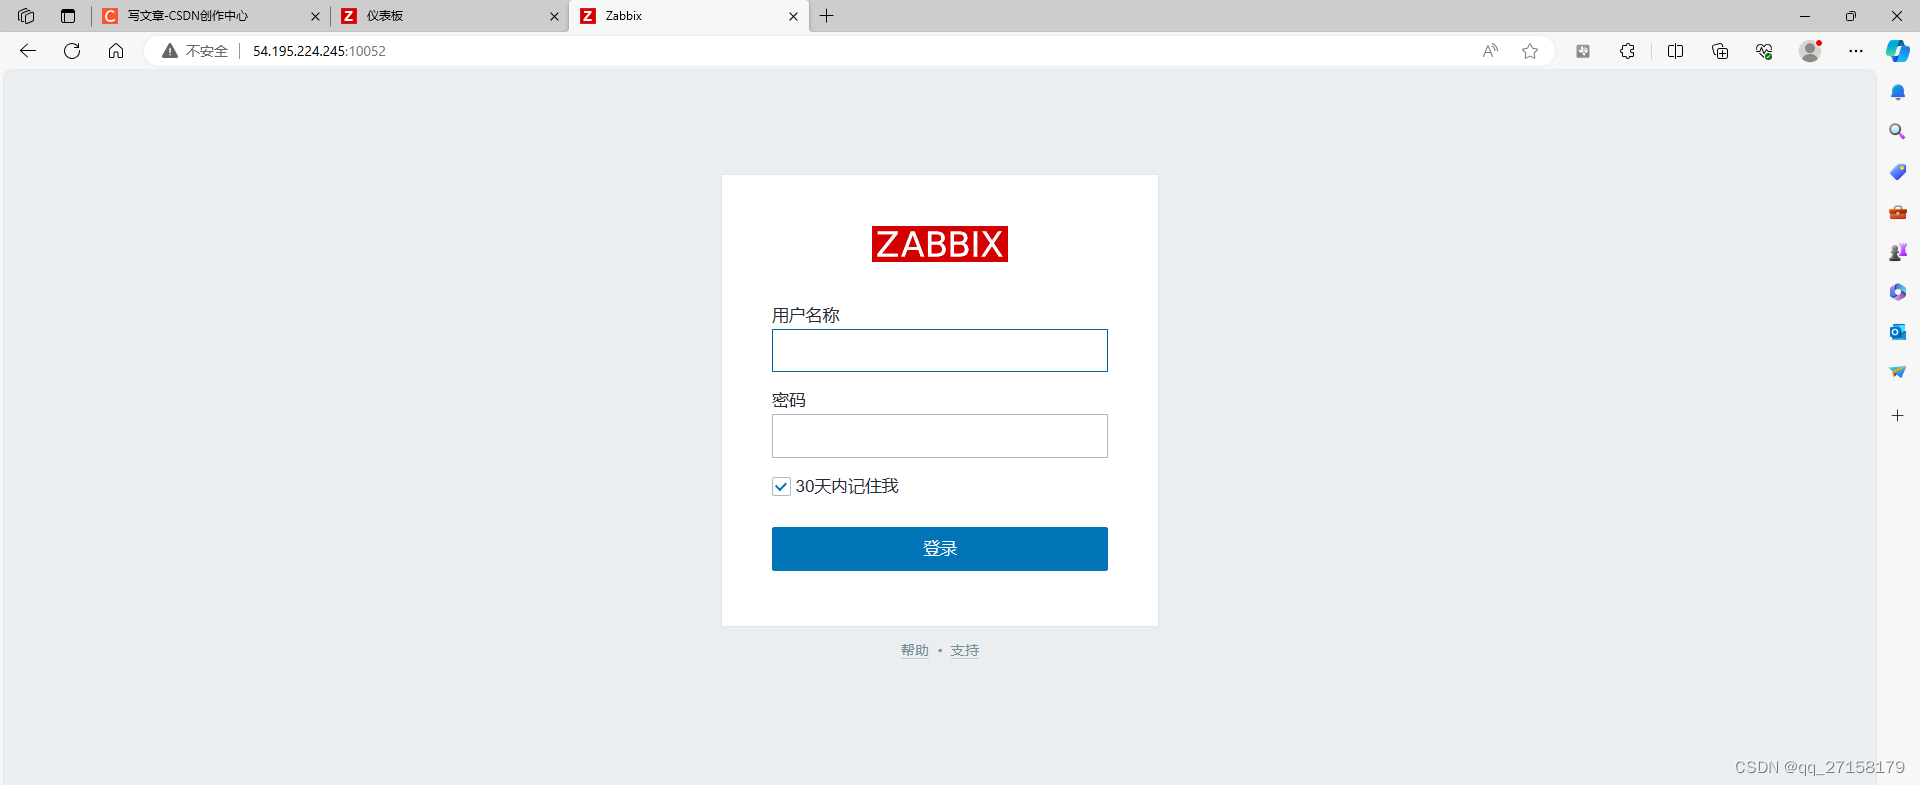
登录账号和密码:
Admin
zabbix
3. 添加监控设备3.1 win10
3.1.1 下载
到
https://www.zabbix.com/download_agents?version=6.4&release=6.4.8&os=Windows&os_version=Any&hardware=amd64&encryption=OpenSSL&packaging=Archive&show_legacy=0下载
zabbix_agent-6.0.23-windows-amd64-openssl.zip
解压到
zabbix_agent-6.0.23-windows-amd64-openssl3.2 修改配置
修改agent配置文件
zabbix_agent-6.0.23-windows-amd64-openssl\conf\zabbix_agentd.conf- Server=192.168.8.162
- ServerActive=192.168.8.162
- Hostname=192.168.8.132
其中Server和ServerActive用aws EC2的公网IP。Hostname用win10的ip。
3.3 启动 zabbix agent
打开命令行
切换目录zabbix_agent-6.0.23-windows-amd64-openssl\bin
然后:zabbix_agentd.exe -c ..\conf\zabbix_agentd.conf -f
3.4 web添加主机
打开web:http://54.195.224.245:10052
配置 -> 主机 -> 创建主机
-> 主机名称:192.168.8.132
-> 模板: AIX by Zabbix agent
-> 群组: Templates
-> Interfaces: 客户端 192.168.8.132:10050
-> 更新
3.2 ubuntu22
3.2.1 切换用户
sudo -s
3.2.2 Install and configure Zabbix for your platform
a. Install Zabbix repository- # wget https://repo.zabbix.com/zabbix/6.0/ubuntu/pool/main/z/zabbix-release/zabbix-release_6.0-4+ubuntu22.04_all.deb
- # dpkg -i zabbix-release_6.0-4+ubuntu22.04_all.deb
- # apt update
b. Install Zabbix agent
# apt install zabbix-agent3.2.3 修改agent配置文件
vim /etc/zabbix/zabbix_agentd.conf- Server=192.168.8.162 #指定zabbix server地 址
- ServerActive=192.168.8.162
- Hostname=192.168.8.173
3.2.4 重启 zabbix服务
Start Zabbix agent process and make it start at system boot.- # systemctl restart zabbix-agent
- # systemctl enable zabbix-agent
3.2.5 web添加主机
打开web:http://54.195.224.245:10052
配置 -> 主机 -> 创建主机
-> 主机名称:192.168.8.173
-> 模板: AIX by Zabbix agent
-> 群组: Templates
-> Interfaces: 客户端 192.168.8.173:10050
-> 更新
3.5 效果


小结
本文借助AWS EC2的公网功能,可以远程检测服务器群组的运行情况。当前zabbix agent的模式是被动模式,需要和server处于同一网段才可以连接成功。主动模式下agent可以主动向server传输被检测服务器的状态,但是本文未实现,暂时先进展到这。另外,除了通过web检测服务器群组,还存在通过web ssh服务器群组的工具,比如spug。
4. 服务器部署spug
在ubuntu22的zabbix server中部署spug,可通过web登录被服务器群组。
4.1 安装docker
- $ sudo apt remove docker docker-engine docker
- $ sudo apt update
- $ sudo apt install -y apt-transport-https ca-certificates curl software-properties-common
- $ curl -fsSL http://mirrors.aliyun.com/docker-ce/linux/ubuntu/gpg | sudo apt-key add -
- $ sudo add-apt-repository "deb [arch=amd64] https://mirrors.aliyun.com/docker-ce/linux/ubuntu $(lsb_release -cs) stable"
- $ sudo apt-key adv --keyserver keyserver.ubuntu.com --recv-keys 7EA0A9C3F273FCD8
- $ sudo apt update
- $ sudo apt install docker-ce docker-ce-cli containerd.io
- $ sudo systemctl status docker
- $ sudo systemctl restart docker
- $ sudo docker run hello-world
4.2 创建docker-compose.yml
- cd ~/
- mkdir spug && cd spug
- gedit docker-compose.yml
添加以下内容:
- version: "3.3"
- services:
- db:
- image: mariadb:10.8.2
- container_name: spug-db
- restart: always
- command: --port 3306 --character-set-server=utf8mb4 --collation-server=utf8mb4_unicode_ci
- volumes:
- - /data/spug/mysql:/var/lib/mysql
- environment:
- - MYSQL_DATABASE=spug
- - MYSQL_USER=spug
- - MYSQL_PASSWORD=spug.cc
- - MYSQL_ROOT_PASSWORD=spug.cc
- spug:
- image: openspug/spug-service
- container_name: spug
- privileged: true
- restart: always
- volumes:
- - /data/spug/service:/data/spug
- - /data/spug/repos:/data/repos
- ports:
- # 如果80端口被占用可替换为其他端口,例如: - "8000:80"
- - "18000:80"
- environment:
- - MYSQL_DATABASE=spug
- - MYSQL_USER=spug
- - MYSQL_PASSWORD=spug.cc
- - MYSQL_HOST=db
- - MYSQL_PORT=3306
- depends_on:
- - db
4.3 启动容器sudo docker compose up -d
4.4 初始化
以下操作会创建一个用户名为 admin 密码为 spug.dev 的管理员账户,可自行替换管理员账户/密码。sudo docker exec spug init_spug admin spug.dev
4.5 访问测试
在浏览器中输入 http://192.168.8.162:18000/host 访问(默认账户密码在第4步初始化时设置)。
admin
spug.dev
参考:https://www.spug.cc/docs/install-docker/
4.6 通过aws访问本主机
4.6.1 开通端口
开通18000

4.6.2 frp客户端添加端口
在前文的基础上添加18000
- [[proxies]]
- name = "spug"
- type = "tcp"
- localIP = "127.0.0.1"
- localPort = 18000
- remotePort = 18000

并重启frpc

4.6.3 测试


-
相关阅读:
javaweb:springboot+vue实现在线点餐系统:ssm+mysql线上点餐
[html] 动态炫彩渐变背景
我们为何看好投资 DAO?
git 命令使用
人机融合有助于解决P-NP问题的理解与解决
springboot解决跨域问题
Activiti简单介绍
Elasticsearch如何保证数据不丢失?
C#将图片转换为ICON格式(程序运行图标)
ArcGIS基础:字段的别名和字段属性域设置
- 原文地址:https://blog.csdn.net/qq_27158179/article/details/134489530
