-
Web前端—小兔鲜儿电商网站底部设计及网站中间过渡部分设计
版本说明
当前版本号[20231116]。
版本 修改说明 20231116 初版 目录
底部(footer)

结构:通栏 > 版心 > 服务(service)+ 帮助中心(help)+ 版权(copyright)
服务
1、将所需文字填入。
- 1
- 2
- 3
- 4
- 5
- 6
- 7
- 8
- 9
- 10
- 11

2、画出底部的框.
/* 底部 */ .footer{ height: 580px; background-color: #f5f5f5; }- 1
- 2
- 3
- 4
- 5

3、为“服务”添加边框线。
/* 服务 */ .service{ height: 158px; border-bottom: 1px solid #e8e8e8; }- 1
- 2
- 3
- 4
- 5

4、布局“帮助中心”,而余下的空间分配给“版权”区域.
/* 帮助中心 */ .help{ height: 300px; background-color: pink; }- 1
- 2
- 3
- 4
- 5

5、设置宽、高。
.service li{ width: 190px; height: 58px; background-color: greenyellow; }- 1
- 2
- 3
- 4
- 5

6、修改成flex布局,并且进行居中对齐。
.service ul{ display: flex; justify-content: space-evenly; }- 1
- 2
- 3
- 4

7、使用精灵图将图标取出,再对应不同的选项提供不同的选择。
.service li{ display: flex; width: 190px; height: 58px; background-color: greenyellow; } .service li h5{ width: 58px; height: 58px; background-image: url(../images/sprite.png); }- 1
- 2
- 3
- 4
- 5
- 6
- 7
- 8
- 9
- 10
- 11
- 12

8、调整位置。
margin-right: 20px;- 1

9、调整位置,把精灵图中的四个不同图标拿出来。
.service li:nth-child(2) h5{ background-position: 0 -58px; } .service li:nth-child(3) h5{ background-position: 0 -116px; } .service li:nth-child(4) h5{ background-position: 0 -174px; }- 1
- 2
- 3
- 4
- 5
- 6
- 7
- 8
- 9
- 10
- 11

10、为其增加内边距、高度和底部边框。
.service{ padding: 60px 0; height: 178px; border-bottom: 1px solid #e8e8e8; }- 1
- 2
- 3
- 4
- 5

帮助中心
1、设置左顶点与右顶点,并使用主轴对齐方式。
12- 1
- 2
- 3
- 4
- 5
/* 帮助中心 */ .help{ display: flex; justify-content: space-between; height: 300px; background-color: pink; }- 1
- 2
- 3
- 4
- 5
- 6
- 7

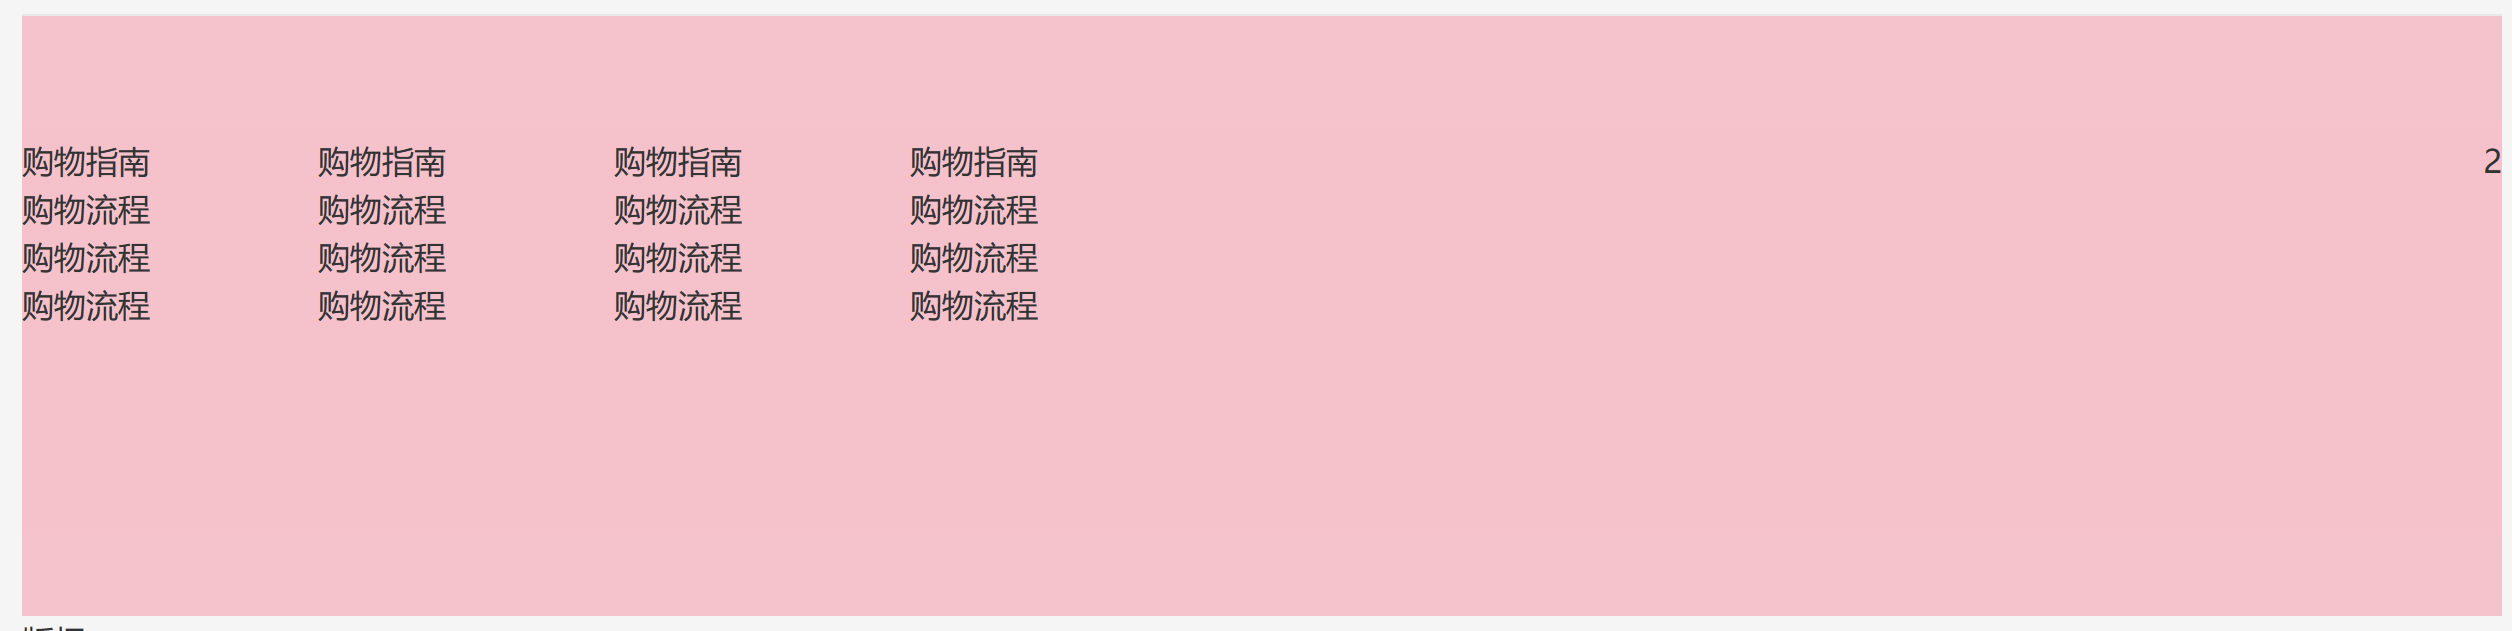
2、留出“购物指南”的位置。
2- 1
- 2
- 3
- 4
- 5
- 6
- 7
- 8
- 9
- 10
- 11
- 12
- 13
- 14
- 15
- 16
- 17
- 18
- 19
- 20
- 21
- 22
- 23
- 24
- 25
- 26
- 27
- 28
- 29
.help .left{ display: flex; }- 1
- 2
- 3

3、增加元素的右边距。
.help .left dl{ margin-right: 84px; }- 1
- 2
- 3
4、最后一个不需要右边距。
.help .left dl:last-child { margin-right: 0; }- 1
- 2
- 3

5、增加元素的下边距,拉开与下面文字间的距离。
.help .left dt{ margin-bottom: 30px; font-size: 18px; }- 1
- 2
- 3
- 4

6、因为a有默认样式,如果不在a上面精确地修改字号,就会优先去使用默认的样式。
.help .left dd{ margin-bottom: 10px; } .help .left a{ color: #969696; }- 1
- 2
- 3
- 4
- 5
- 6
- 7

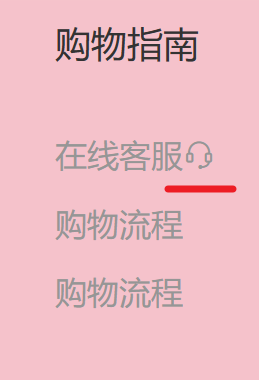
7、增加字节图标。
- 1
- 2
- 3
- 4
- 5
- 6
8、来设置 right 内容。
- 1
- 2
- 1
- 2
- 3
- 4
- 5
- 6
/* right */ .help .right ul{ display: flex; }- 1
- 2
- 3
- 4

9、给第一个 li 增加右边距。
.help .right ul li:first-child{ margin-right: 55px; }- 1
- 2
- 3

10、把右边的图片及文字的样式修改好。
.help .right .pic{ margin-bottom: 10px; width: 120px; height: 120px; } .help .right p{ color: #969696; text-align: center; }- 1
- 2
- 3
- 4
- 5
- 6
- 7
- 8
- 9
- 10

版权
1、初步设置。
- 1
- 2
- 3
- 4
- 5
- 6
- 7
- 8
- 9
- 10
- 11
- 12
- 13

2、使文本内容在元素中居中对齐。
/* 版权 */ .copyright{ text-align: center; }- 1
- 2
- 3
- 4

3、“关于我们” 与“版权区域”分开。
.copyright p{ margin-bottom: 10px; color: #a1a1a1; }- 1
- 2
- 3
- 4

4、使元素的外边距为0像素,左边距和右边距均为10像素。
.copyright p a{ margin: 0 10px; color: #a1a1a1; }- 1
- 2
- 3
- 4


banner

结构:通栏 > 版心 > 轮播图(ul.pic)+ 侧导航(subnav > ul)+ 圆点指示器(ol) 布局:定位(子绝父相)
1、初步设置。
- 1
- 2
- 3
- 4
/* 首页内容的样式 */ /* banner */ .banner{ height: 500px; background-color: #f5f5f5; } .banner .wrapper{ height: 500px; background-color: pink; }- 1
- 2
- 3
- 4
- 5
- 6
- 7
- 8
- 9
- 10
- 11

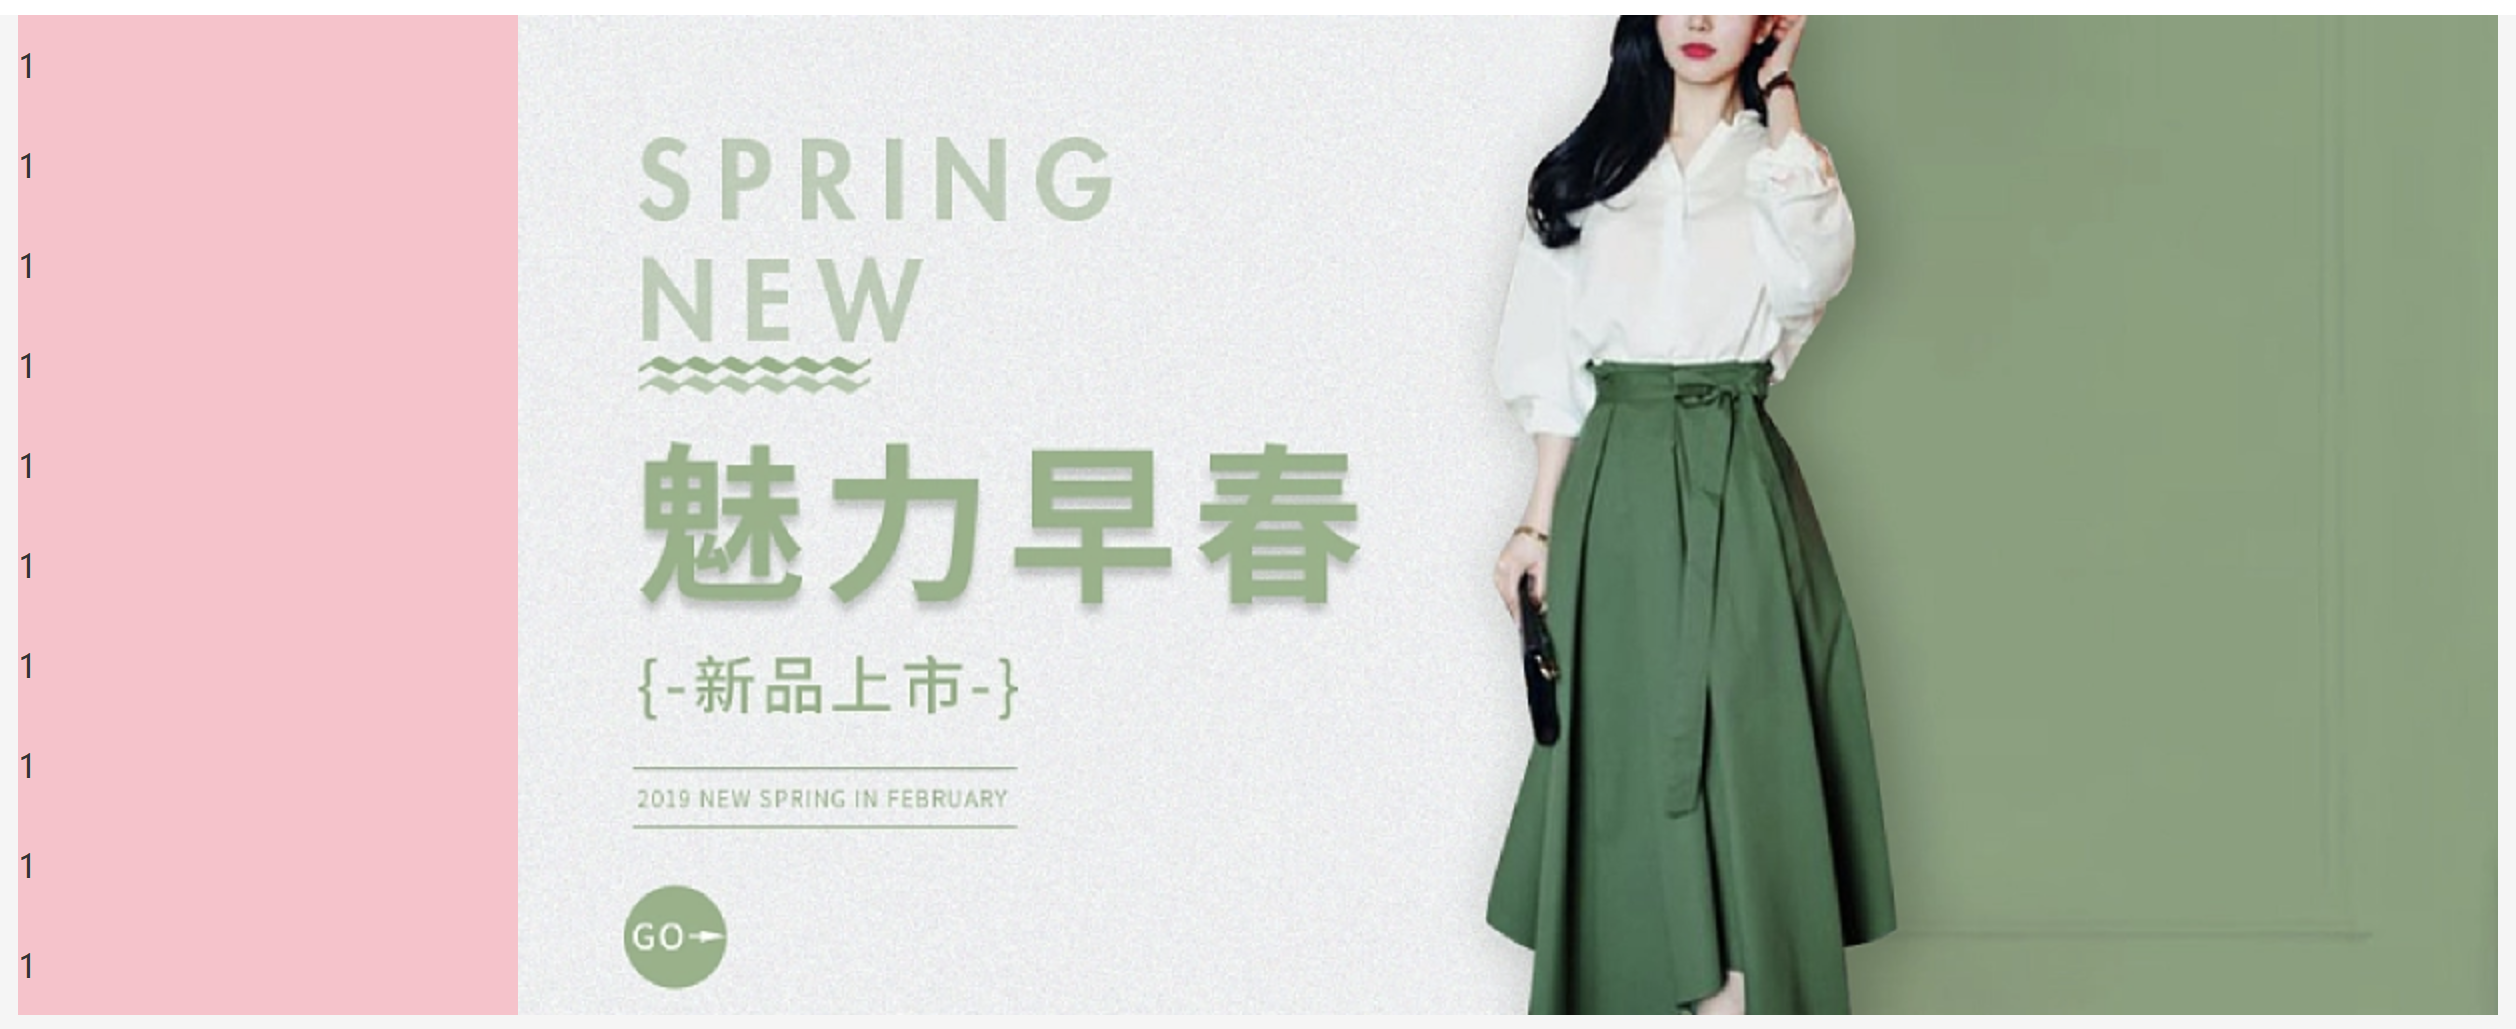
2、添加图片进去。
- 1
- 2
- 3
- 4
- 5
- 6
.banner .wrapper{ height: 500px; background-color: pink; overflow: hidden; } /* banner 图片 */ .banner .pic{ display: flex; /* flex布局 ,父级宽度不够, 子级被挤小,不想挤小就增大父级尺寸*/ width: 3720px; }- 1
- 2
- 3
- 4
- 5
- 6
- 7
- 8
- 9
- 10
- 11
- 12
- 13

3、注:如果不增大父级尺寸,以及不隐藏多出的图片,会出现无法占据整页的现象:

侧边栏
1、记住要遵守“子绝父相”的原则。
- 1
- 2
.banner .wrapper{ position: relative; height: 500px; background-color: pink; overflow: hidden; } /* 侧导航 */ .subnav{ position: absolute; left: 0; top: 0; width: 250px; height: 500px; background-color: rgb(0, 0, 0,0.42); }- 1
- 2
- 3
- 4
- 5
- 6
- 7
- 8
- 9
- 10
- 11
- 12
- 13
- 14
- 15
- 16

2、开始建立侧边栏。
- 1
- 1
- 1
- 1
- 1
- 1
- 1
- 1
- 1
- 1
- 1
- 2
- 3
- 4
- 5
- 6
- 7
- 8
- 9
- 10
- 11
- 12
.subnav li{ height: 50px; background-color: pink; line-height: 50px; }- 1
- 2
- 3
- 4
- 5
3、给第一个栏进行设置。
- 1
- 2
- 3
- 4
- 5
- 6
- 7
- 8
.subnav li{ display: flex; padding-left: 30px; padding-right: 18px; height: 50px; background-color: pink; line-height: 50px; }- 1
- 2
- 3
- 4
- 5
- 6
- 7
- 8

4、进行对齐,并且修改字体颜色。
.subnav li{ display: flex; padding-left: 30px; padding-right: 18px; height: 50px; justify-content: space-between; background-color: pink; line-height: 50px; color: #fff; } /* 默认所有a都是小字,分类就是大字 */ .subnav li a{ margin-right: 5px; font-size: 14px; color: #fff; }- 1
- 2
- 3
- 4
- 5
- 6
- 7
- 8
- 9
- 10
- 11
- 12
- 13
- 14
- 15
- 16
- 17

5、给首个词修改样式,比如增加字体大小。
生鲜- 1
.subnav li .classify{ margin-right: 14px; font-size: 16px; }- 1
- 2
- 3
- 4
6、添加好10个li后,再把背景色给去掉。

7、对字体图标进行修改样式。
.subnav li .iconfont{ font-size: 14px; }- 1
- 2
- 3

8、鼠标悬停,变换颜色。
.subnav li:hover{ background-color: #00be92; }- 1
- 2
- 3

圆点
结构:ol > li > i(li 是大圆,i 是小圆
1、初步建立。
- 1
- 1
- 1
- 1
- 2
- 3
- 4
- 5
- 6
/* 圆点指示器 */ .banner ol{ position: absolute; bottom: 17px; right: 16px; }- 1
- 2
- 3
- 4
- 5
- 6

2、画出圆点。
.banner ol li{ margin-left: 8px; width: 22px; height: 22px; background-color: pink; border-radius: 50%; }- 1
- 2
- 3
- 4
- 5
- 6
- 7

3.设置透明度,形成一种大圆套小圆的现象。
.banner ol i{ display: block; margin: 4px; width: 14px; height: 14px; background-color: rgb(255, 255, 255,0.5); border-radius: 50%; }- 1
- 2
- 3
- 4
- 5
- 6
- 7
- 8

4、换好底色,并且给第一个设置特别的样式。
/* 圆点指示器 */ .banner ol{ position: absolute; bottom: 17px; right: 16px; display: flex; } .banner ol li{ margin-left: 8px; width: 22px; height: 22px; /* background-color: pink; */ border-radius: 50%; } .banner ol i{ display: block; margin: 4px; width: 14px; height: 14px; background-color: rgba(255, 255, 255,0.5); border-radius: 50%; } /* 透明:li半透明,i白色 */ .banner ol .current{ background-color: rgba(255,255,255,0.5); } .banner ol .current i{ background-color: #fff; }- 1
- 2
- 3
- 4
- 5
- 6
- 7
- 8
- 9
- 10
- 11
- 12
- 13
- 14
- 15
- 16
- 17
- 18
- 19
- 20
- 21
- 22
- 23
- 24
- 25
- 26
- 27
- 28
- 29
- 30
- 31
- 32
- 33
- 34

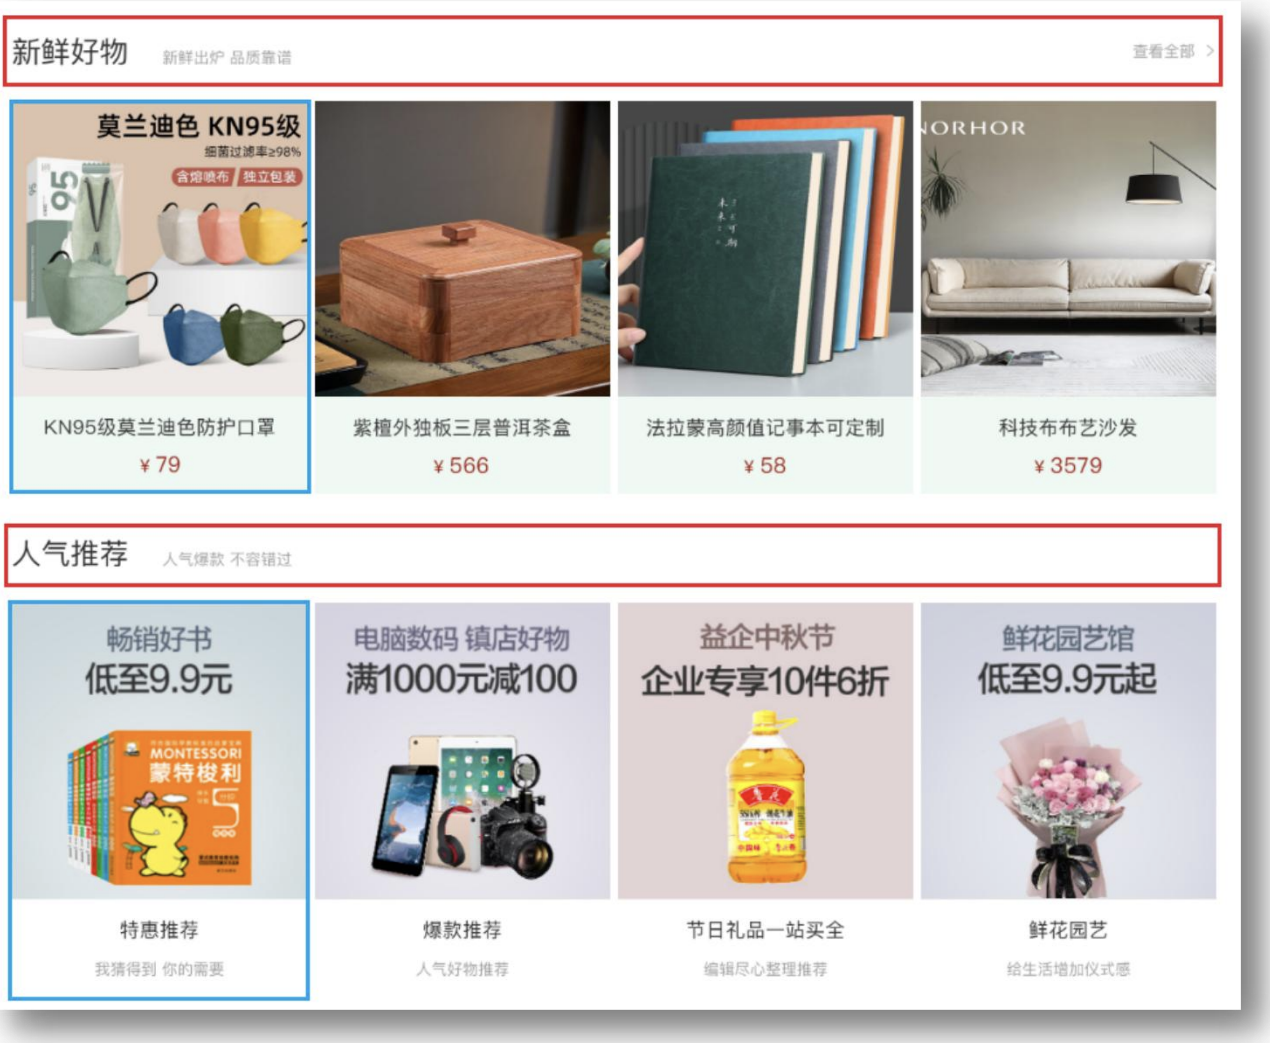
新鲜好物(goods)
标题
结构:标题(title) + 内容(bd)
提示:多区域样式共用
1、初步设置。
1- 1
- 2
- 3
- 4
- 5
/* 标题(公共) */ .title{ margin-top: 40px; margin-bottom: 30px; height: 42px; background-color: pink; }- 1
- 2
- 3
- 4
- 5
- 6
- 7

2、标题的左、右部分都分出来。
.title{ display: flex; justify-content: space-between; margin-top: 40px; margin-bottom: 30px; height: 42px; background-color: pink; }- 1
- 2
- 3
- 4
- 5
- 6
- 7
- 8

3、套进文字后,把首个词的字体大小及样式进行改变。
.title .left h3{ margin-right: 35px; font-size: 30px; } .title .left p{ align-self: flex-end; color: #a1a1a1; }- 1
- 2
- 3
- 4
- 5
- 6
- 7
- 8
- 9
4、设置右边的样式。
- 1
- 2
- 3

5、居中。
/* 查看全部 */ .title .right .more{ line-height: 42px; }- 1
- 2
- 3
- 4

6、把字体改成了浅色,并且在文字及字体图标中增加了间距。
/* 查看全部 */ .title .right .more{ line-height: 42px; color: #a1a1a1; } .title .right .more .iconfont{ margin-left: 10px; }- 1
- 2
- 3
- 4
- 5
- 6
- 7
- 8
- 9
- 相关阅读:
JavaWeb项目部署到服务器并连接本地数据库(超详细!)
ebay获取商品详情 API接口
帆船动力学仿真分析
Python进阶学习----一闭三器
vue.js表单
真正“搞”懂HTTP协议02之空间穿梭
九、Sentinel熔断与限流
应用在温度测量仪领域中的数字温度传感芯片
Java便捷生成二维码并使用Excel
[HJ56 完全数计算]
- 原文地址:https://blog.csdn.net/weixin_65106708/article/details/134453210

