-
【yolov8目标检测】使用yolov8训练自己的数据集
目录
准备数据集
首先得准备好数据集,你的数据集至少包含images和labels,严格来说你的images应该包含训练集train、验证集val和测试集test,不过为了简单说明使用步骤,其中test可以不要,val和train可以用同一个,因此我这里只用了一个images
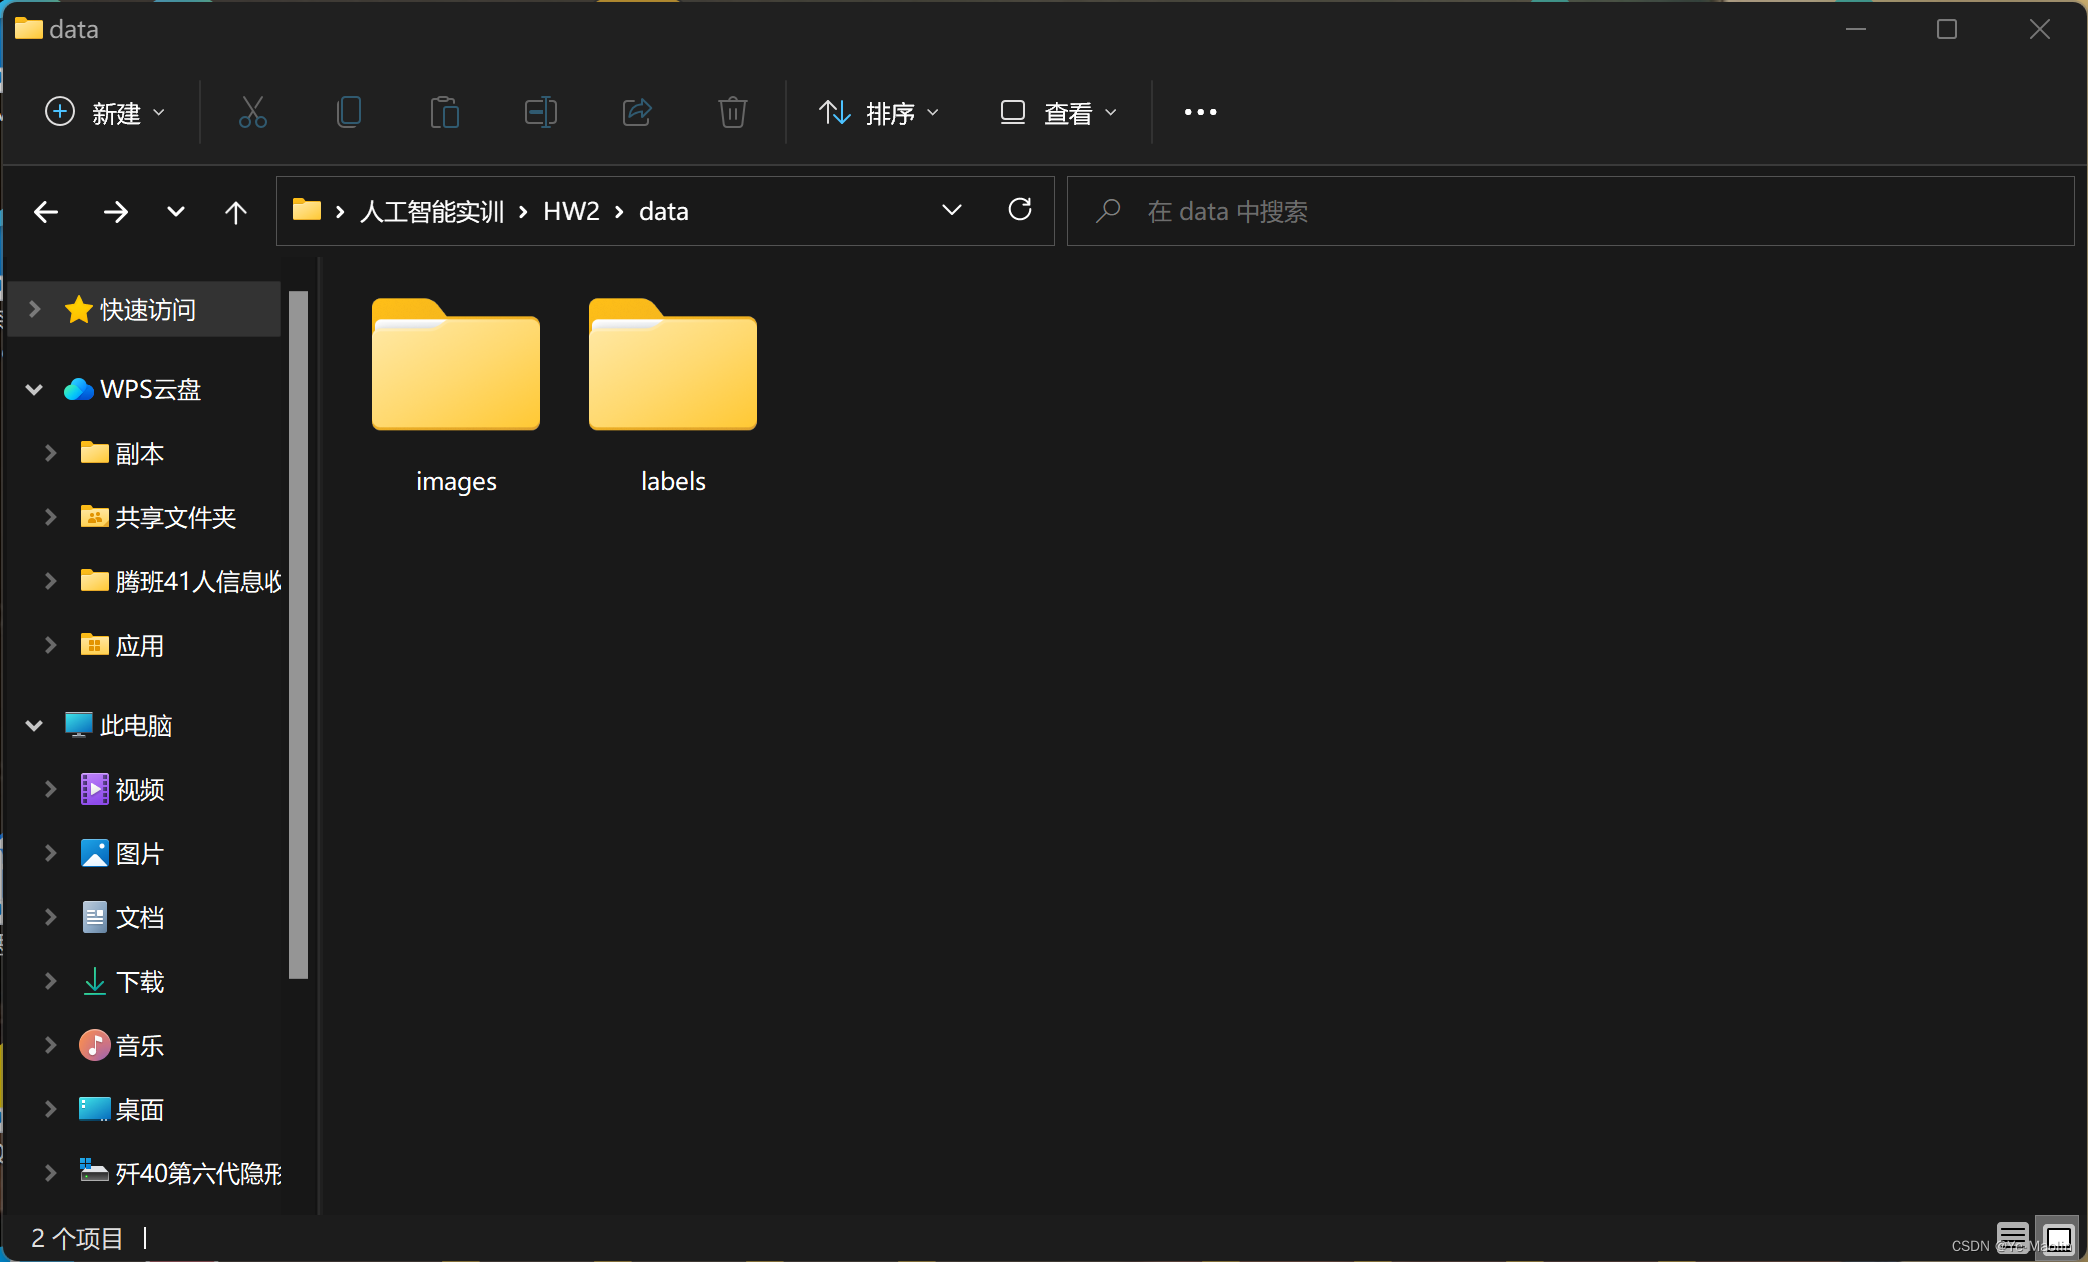
其中images装的是图片数据,labels装的是与图片一一对应同名的yolo格式txt,即类别号,经过归一化的中心x和y坐标以及宽和高

python安装yolov8
然后我们开始准备yolov8,使用python的API的话就比较简单,首先安装一下yolov8
用pip的话安装的话
pip install ultralytics使用pycharm安装的话

配置yaml
安装完了之后,差不多就可以开始了,我们首先看看官方给的代码
- from ultralytics import YOLO
- # Load a model
- model = YOLO("yolov8n.yaml") # build a new model from scratch
- model = YOLO("yolov8n.pt") # load a pretrained model (recommended for training)
- # Use the model
- model.train(data="coco128.yaml", epochs=3) # train the model
- metrics = model.val() # evaluate model performance on the validation set
- results = model("https://ultralytics.com/images/bus.jpg") # predict on an image
- path = model.export(format="onnx") # export the model to ONNX format
其中迷惑的是yolov8n.yaml、yolov8n.pt和coco128.yaml这几个文件,yolov8n.yaml是yolov8的配置,yolov8n.pt是预训练的模型,coco128.yaml是coco数据集的配置参数
因此如果我们想要训练自己的模型的话,需要修改一下配置文件,首先到GitHub上下载yolov8n.yaml和coco128.yaml下来,这两个文件的位置有可能会变,所以最好在仓库上直接搜索

大概长这样,你也可以自己创建,然后把内容复制进去
yolov8n.yaml
- # Ultralytics YOLO 🚀, AGPL-3.0 license
- # YOLOv8 object detection model with P3-P5 outputs. For Usage examples see https://docs.ultralytics.com/tasks/detect
- # Parameters
- nc: 80 # number of classes
- scales: # model compound scaling constants, i.e. 'model=yolov8n.yaml' will call yolov8.yaml with scale 'n'
- # [depth, width, max_channels]
- n: [0.33, 0.25, 1024] # YOLOv8n summary: 225 layers, 3157200 parameters, 3157184 gradients, 8.9 GFLOPs
- s: [0.33, 0.50, 1024] # YOLOv8s summary: 225 layers, 11166560 parameters, 11166544 gradients, 28.8 GFLOPs
- m: [0.67, 0.75, 768] # YOLOv8m summary: 295 layers, 25902640 parameters, 25902624 gradients, 79.3 GFLOPs
- l: [1.00, 1.00, 512] # YOLOv8l summary: 365 layers, 43691520 parameters, 43691504 gradients, 165.7 GFLOPs
- x: [1.00, 1.25, 512] # YOLOv8x summary: 365 layers, 68229648 parameters, 68229632 gradients, 258.5 GFLOPs
- # YOLOv8.0n backbone
- backbone:
- # [from, repeats, module, args]
- - [-1, 1, Conv, [64, 3, 2]] # 0-P1/2
- - [-1, 1, Conv, [128, 3, 2]] # 1-P2/4
- - [-1, 3, C2f, [128, True]]
- - [-1, 1, Conv, [256, 3, 2]] # 3-P3/8
- - [-1, 6, C2f, [256, True]]
- - [-1, 1, Conv, [512, 3, 2]] # 5-P4/16
- - [-1, 6, C2f, [512, True]]
- - [-1, 1, Conv, [1024, 3, 2]] # 7-P5/32
- - [-1, 3, C2f, [1024, True]]
- - [-1, 1, SPPF, [1024, 5]] # 9
- # YOLOv8.0n head
- head:
- - [-1, 1, nn.Upsample, [None, 2, 'nearest']]
- - [[-1, 6], 1, Concat, [1]] # cat backbone P4
- - [-1, 3, C2f, [512]] # 12
- - [-1, 1, nn.Upsample, [None, 2, 'nearest']]
- - [[-1, 4], 1, Concat, [1]] # cat backbone P3
- - [-1, 3, C2f, [256]] # 15 (P3/8-small)
- - [-1, 1, Conv, [256, 3, 2]]
- - [[-1, 12], 1, Concat, [1]] # cat head P4
- - [-1, 3, C2f, [512]] # 18 (P4/16-medium)
- - [-1, 1, Conv, [512, 3, 2]]
- - [[-1, 9], 1, Concat, [1]] # cat head P5
- - [-1, 3, C2f, [1024]] # 21 (P5/32-large)
- - [[15, 18, 21], 1, Detect, [nc]] # Detect(P3, P4, P5)
coco128.yaml
- # Ultralytics YOLO 🚀, AGPL-3.0 license
- # COCO128 dataset https://www.kaggle.com/ultralytics/coco128 (first 128 images from COCO train2017) by Ultralytics
- # Example usage: yolo train data=coco128.yaml
- # parent
- # ├── ultralytics
- # └── datasets
- # └── coco128 ← downloads here (7 MB)
- # Train/val/test sets as 1) dir: path/to/imgs, 2) file: path/to/imgs.txt, or 3) list: [path/to/imgs1, path/to/imgs2, ..]
- path: ../datasets/coco128 # dataset root dir
- train: images/train2017 # train images (relative to 'path') 128 images
- val: images/train2017 # val images (relative to 'path') 128 images
- test: # test images (optional)
- # Classes
- names:
- 0: person
- 1: bicycle
- 2: car
- 3: motorcycle
- 4: airplane
- 5: bus
- 6: train
- 7: truck
- 8: boat
- 9: traffic light
- 10: fire hydrant
- 11: stop sign
- 12: parking meter
- 13: bench
- 14: bird
- 15: cat
- 16: dog
- 17: horse
- 18: sheep
- 19: cow
- 20: elephant
- 21: bear
- 22: zebra
- 23: giraffe
- 24: backpack
- 25: umbrella
- 26: handbag
- 27: tie
- 28: suitcase
- 29: frisbee
- 30: skis
- 31: snowboard
- 32: sports ball
- 33: kite
- 34: baseball bat
- 35: baseball glove
- 36: skateboard
- 37: surfboard
- 38: tennis racket
- 39: bottle
- 40: wine glass
- 41: cup
- 42: fork
- 43: knife
- 44: spoon
- 45: bowl
- 46: banana
- 47: apple
- 48: sandwich
- 49: orange
- 50: broccoli
- 51: carrot
- 52: hot dog
- 53: pizza
- 54: donut
- 55: cake
- 56: chair
- 57: couch
- 58: potted plant
- 59: bed
- 60: dining table
- 61: toilet
- 62: tv
- 63: laptop
- 64: mouse
- 65: remote
- 66: keyboard
- 67: cell phone
- 68: microwave
- 69: oven
- 70: toaster
- 71: sink
- 72: refrigerator
- 73: book
- 74: clock
- 75: vase
- 76: scissors
- 77: teddy bear
- 78: hair drier
- 79: toothbrush
- # Download script/URL (optional)
- download: https://ultralytics.com/assets/coco128.zip
然后修改yolov8n.yaml,把nc的数值改成你的数据集的类别数,我这里的数据集只有乌骨鸡和狮头鹅两个
- # Ultralytics YOLO 🚀, AGPL-3.0 license
- # YOLOv8 object detection model with P3-P5 outputs. For Usage examples see https://docs.ultralytics.com/tasks/detect
- # Parameters
- nc: 2 # number of classes
- scales: # model compound scaling constants, i.e. 'model=yolov8n.yaml' will call yolov8.yaml with scale 'n'
- # [depth, width, max_channels]
- n: [0.33, 0.25, 1024] # YOLOv8n summary: 225 layers, 3157200 parameters, 3157184 gradients, 8.9 GFLOPs
- s: [0.33, 0.50, 1024] # YOLOv8s summary: 225 layers, 11166560 parameters, 11166544 gradients, 28.8 GFLOPs
- m: [0.67, 0.75, 768] # YOLOv8m summary: 295 layers, 25902640 parameters, 25902624 gradients, 79.3 GFLOPs
- l: [1.00, 1.00, 512] # YOLOv8l summary: 365 layers, 43691520 parameters, 43691504 gradients, 165.7 GFLOPs
- x: [1.00, 1.25, 512] # YOLOv8x summary: 365 layers, 68229648 parameters, 68229632 gradients, 258.5 GFLOPs
- # YOLOv8.0n backbone
- backbone:
- # [from, repeats, module, args]
- - [-1, 1, Conv, [64, 3, 2]] # 0-P1/2
- - [-1, 1, Conv, [128, 3, 2]] # 1-P2/4
- - [-1, 3, C2f, [128, True]]
- - [-1, 1, Conv, [256, 3, 2]] # 3-P3/8
- - [-1, 6, C2f, [256, True]]
- - [-1, 1, Conv, [512, 3, 2]] # 5-P4/16
- - [-1, 6, C2f, [512, True]]
- - [-1, 1, Conv, [1024, 3, 2]] # 7-P5/32
- - [-1, 3, C2f, [1024, True]]
- - [-1, 1, SPPF, [1024, 5]] # 9
- # YOLOv8.0n head
- head:
- - [-1, 1, nn.Upsample, [None, 2, 'nearest']]
- - [[-1, 6], 1, Concat, [1]] # cat backbone P4
- - [-1, 3, C2f, [512]] # 12
- - [-1, 1, nn.Upsample, [None, 2, 'nearest']]
- - [[-1, 4], 1, Concat, [1]] # cat backbone P3
- - [-1, 3, C2f, [256]] # 15 (P3/8-small)
- - [-1, 1, Conv, [256, 3, 2]]
- - [[-1, 12], 1, Concat, [1]] # cat head P4
- - [-1, 3, C2f, [512]] # 18 (P4/16-medium)
- - [-1, 1, Conv, [512, 3, 2]]
- - [[-1, 9], 1, Concat, [1]] # cat head P5
- - [-1, 3, C2f, [1024]] # 21 (P5/32-large)
- - [[15, 18, 21], 1, Detect, [nc]] # Detect(P3, P4, P5)
然后修改coco128.yaml,我把文件名也改成了data.yaml,path改成images和labels的上一级目录地址,train改成训练集相对于path的地址,val也是改成验证集的相对于path的地址,我这里训练集和验证集用的是同一个嘿嘿嘿,然后把test注释掉,因为我没用测试集,还有就是names那里改成你的训练集的类别名,并把多余的类别删掉
- # Ultralytics YOLO 🚀, AGPL-3.0 license
- # COCO128 dataset https://www.kaggle.com/ultralytics/coco128 (first 128 images from COCO train2017) by Ultralytics
- # Example usage: yolo train data=coco128.yaml
- # parent
- # ├── ultralytics
- # └── datasets
- # └── coco128 ← downloads here (7 MB)
- # Train/val/test sets as 1) dir: path/to/imgs, 2) file: path/to/imgs.txt, or 3) list: [path/to/imgs1, path/to/imgs2, ..]
- path: C:/Users/Yezi/Desktop/人工智能实训/HW2/data # dataset root dir
- train: images # train images (relative to 'path') 128 images
- val: images # val images (relative to 'path') 128 images
- #test: # test images (optional)
- # Classes
- names:
- 0: goose
- 1: chicken
这样子就配置好了
然后开始训练
从0开始训练
下面是从0开始训练的过程
其实训练的代码就两行
- model = YOLO("yolov8n.yaml") # build a new model from scratch
- model.train(data="data.yaml", epochs=5) # train the model
不过从0开始训练的效果并不好,下面是我自己的测试代码,由于我电脑比较烂,GPU摆不上用场,所以只能用cpu训练
- from ultralytics import YOLO
- import matplotlib.pyplot as plt
- model = YOLO("yolov8n.yaml") # build a new model from scratch
- model.train(data="data.yaml", epochs=30, device='cpu') # train the model
- model.val(data="data.yaml")
- results = model(r"C:\Users\Yezi\Desktop\人工智能实训\HW2\data\images\00909.jpg") # predict on an image
- plt.imshow(results[0].plot())
- plt.show()
- results = model(r"C:\Users\Yezi\Desktop\人工智能实训\HW2\data\images\100318.jpg") # predict on an image
- plt.imshow(results[0].plot())
- plt.show()
从预训练模型开始训练
官方推荐用预训练好的模型开始训练
首先下载一个官方预训练好的模型
我这里下载的是yolov8n

然后使用预训练模型训练我的数据集
- from ultralytics import YOLO
- import matplotlib.pyplot as plt
- model=YOLO("yolov8n.pt")
- model.train(data="data.yaml", epochs=30, device='cpu') # train the model
- model.val(data="data.yaml")
- results = model(r"C:\Users\Yezi\Desktop\人工智能实训\HW2\data\images\00909.jpg") # predict on an image
- plt.imshow(results[0].plot())
- plt.show()
- results = model(r"C:\Users\Yezi\Desktop\人工智能实训\HW2\data\images\100318.jpg") # predict on an image
- plt.imshow(results[0].plot())
- plt.show()
乌骨鸡的效果是这样的

狮头鹅的效果是这样的

-
相关阅读:
Codeforces Round #790 (Div. 4) G. White-Black Balanced Subtrees 感觉很好的树形dp的板子题
好的plm软件有哪些?plm软件排行榜
查看进程与对应的线程
Linux TCP 单机优化
【PTHREAD】线程属性
VS正确引入头文件仍然报C2065等错(不同编码代码页导致)
如何手动获取spring/springboot中的IOC容器(全局上下文对象)?
PlotNeuralNet resnet34和resnet18绘图
阅读开源软件源码的心得体会
如何学习深度学习
- 原文地址:https://blog.csdn.net/weixin_62264287/article/details/133868548
