-
vite+vue3.0 + TypeScript+element-plus环境搭建
1、环境要求:node版本16+以上
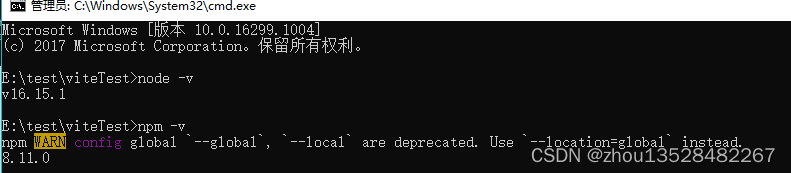
2、搭建vite项目
npm create vite@latest

cmd运行下面命令
cd vite-project
npm install
npm run dev
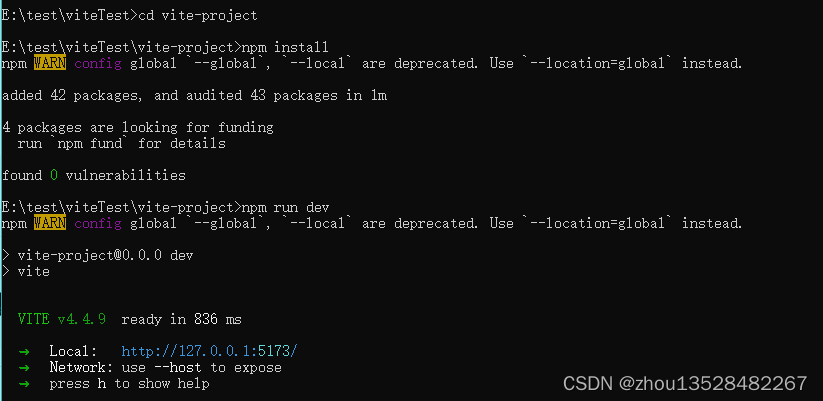
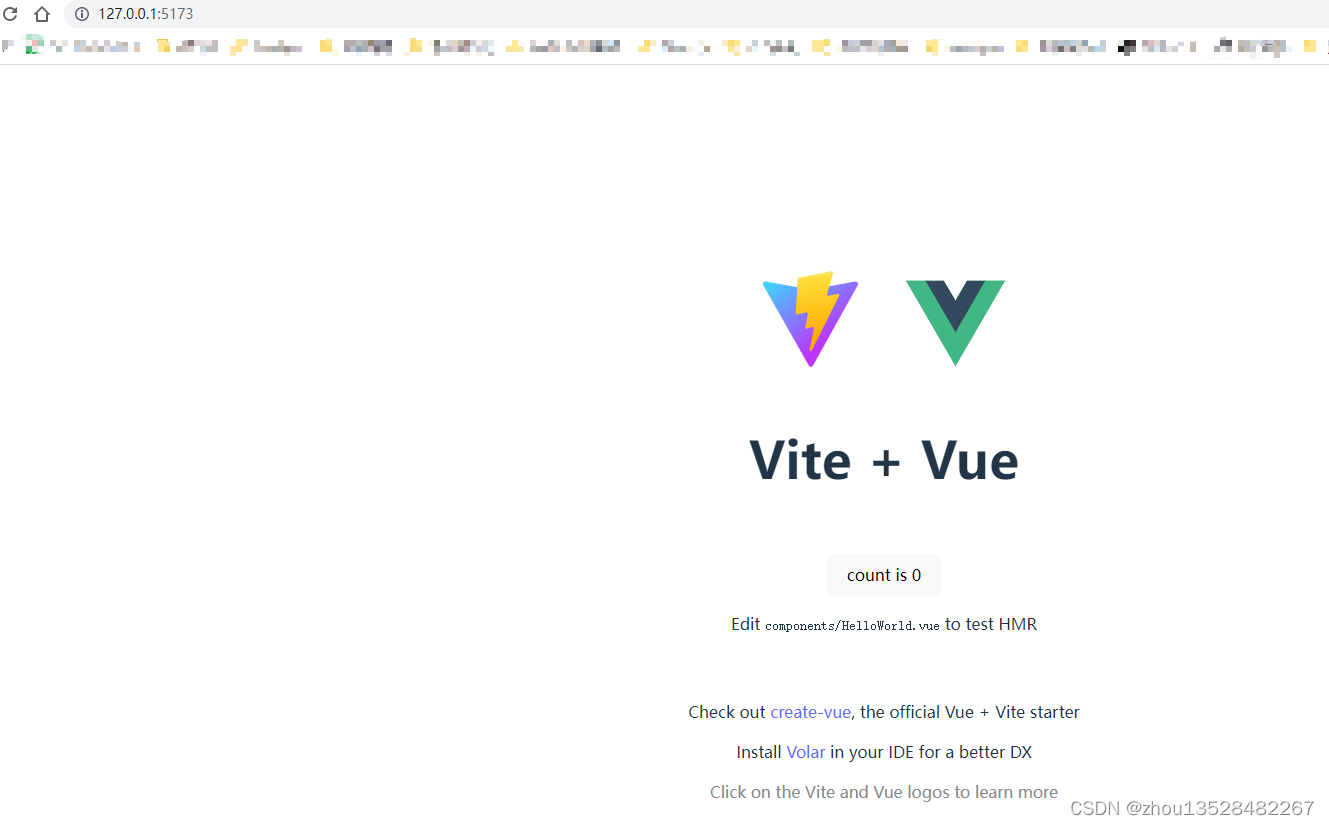
谷歌浏览器访问http://127.0.0.1:5173/ 查看效果
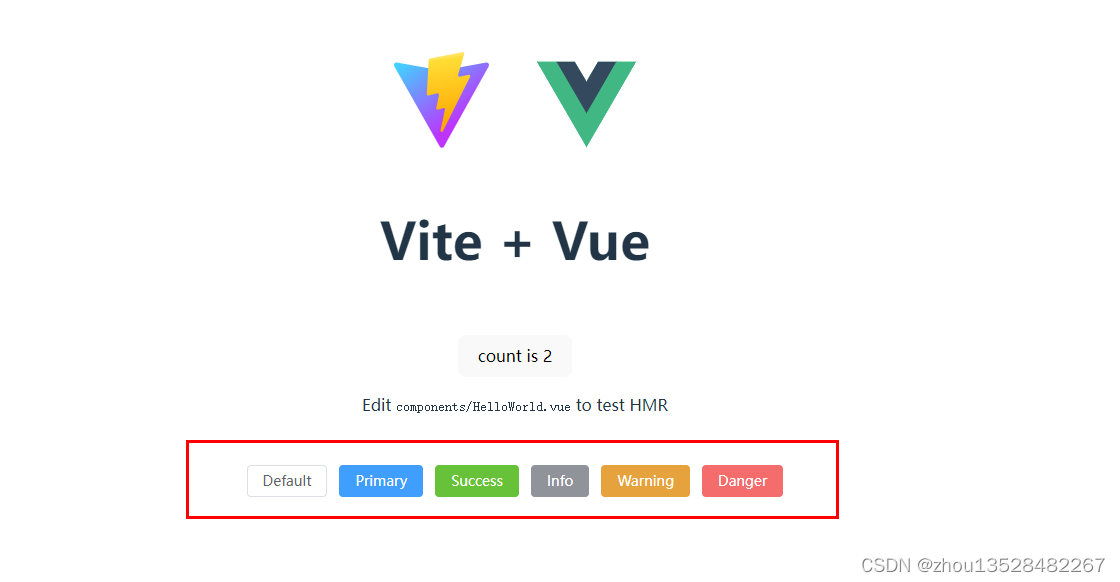
3、安装element-plus组件
npm运行以下命令进行安装element-plus
npm install element-plus -S

在vue的main.ts文件里面,全局引用elementUI
- import { createApp } from 'vue'
- import './style.css'
- import App from './App.vue'
- import ElementPlus from 'element-plus'
- import 'element-plus/dist/index.css'
- const app = createApp(App)
- app.use(ElementPlus)
- app.mount('#app')
- <el-row class="mb-4">
- <el-button>Defaultel-button>
- <el-button type="primary">Primaryel-button>
- <el-button type="success">Successel-button>
- <el-button type="info">Infoel-button>
- <el-button type="warning">Warningel-button>
- <el-button type="danger">Dangerel-button>
- el-row>
4、VSCode编辑器扩展调整
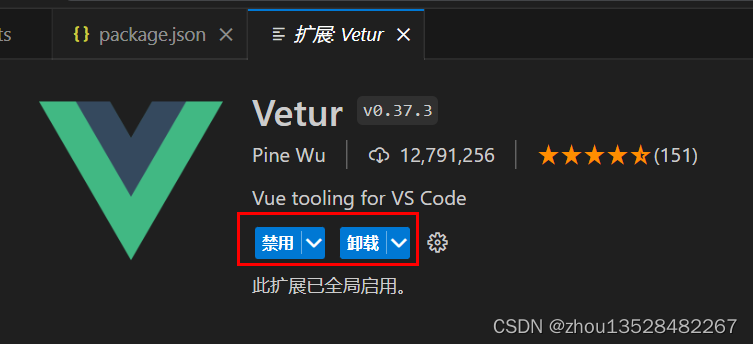
原因: 因为vue3已经不支持vetur插件。
在扩展里面进行搜索Vetur插件,进行禁用或卸载;
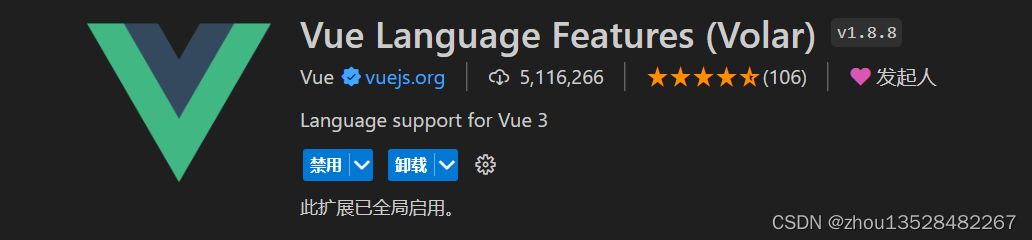
在 VScode扩展里面搜索并下载对应插件: Vue Language Features (Volar)和TypeScript Vue Plugin (Volar)
 如果提示下载失败,需要手动进行下载;(原因:可能是VScode版本太低,需要升级最新版本,菜单栏-》帮助-》检查更新...)
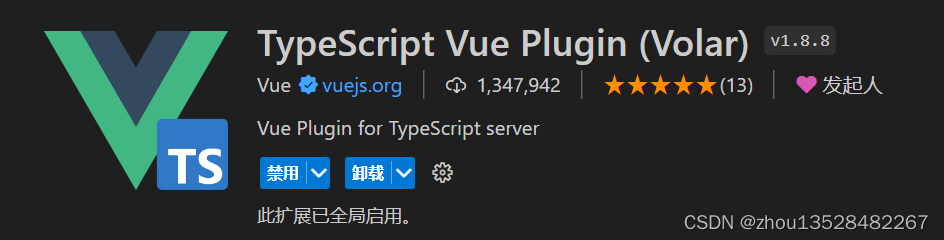
VScode编辑器设置ref()自动补全.value命令;

5、调整web端口配置
- //vite.config.ts
- server: {
- port: 8090,
- open: false,
- proxy: {
- },
- },
6、下载安装其他依赖包
6.1 安装@types/node,配置@=src目录路径
npm install @types/node --save-dev

在vite.config.ts文件添加配置
- import { resolve } from 'path'
- resolve: {
- extensions: [
- ".mjs",
- ".js",
- ".ts",
- ".jsx",
- ".tsx",
- ".json",
- ".vue",
- ".ttf",
- ],
- alias: {
- "@": resolve(__dirname, "./src"),
- }
- },

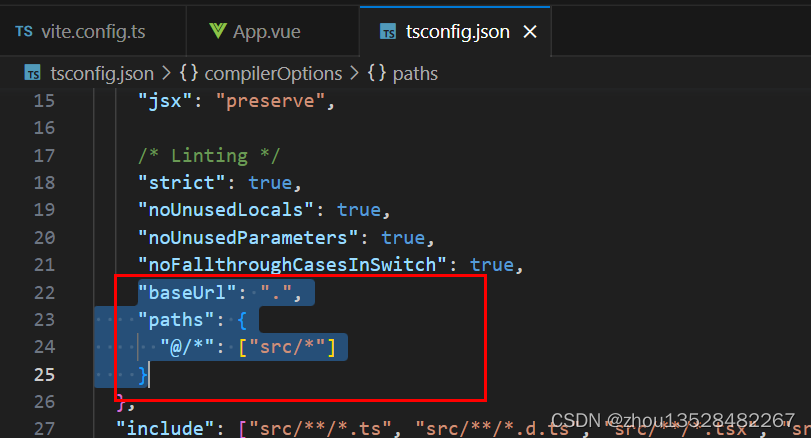
在tsconfig.json文件里面添加配置
- "baseUrl": ".",
- "paths": {
- "@/*": ["src/*"]
- }
6.2 安装sass依赖包
处理使用css使用lang="scss"报错问题
npm install sass --save-dev

参考资料: https://www.w3cschool.cn/sass/
6.3、安装vue-router
npm install vue-router@4
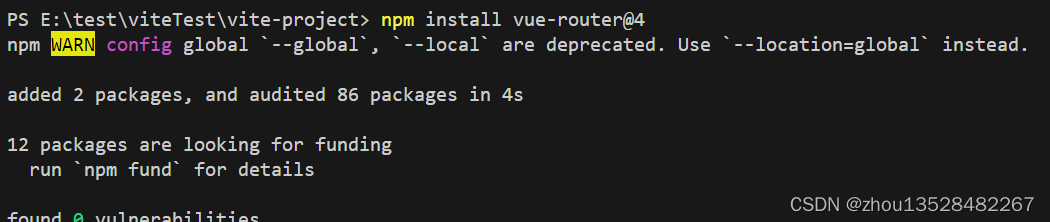
参考资料: https://router.vuejs.org/zh/installation.html
6.4、安装pinia
npm install pinia
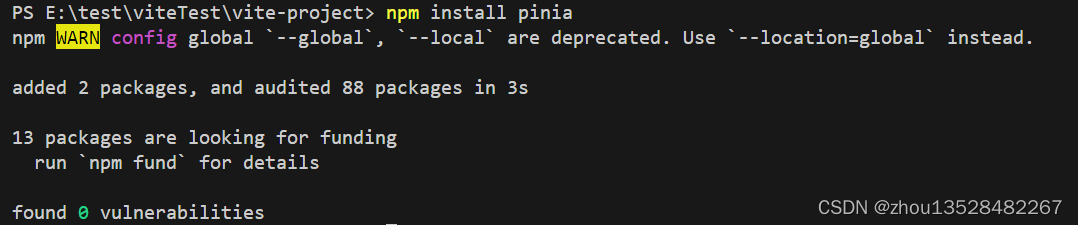
参考资料: https://pinia.vuejs.org/zh/getting-started.html
6.5、安装vuex(可安装)
Pinia 起源于一次探索 Vuex 下一个迭代的实验,因此结合了 Vuex 5 核心团队讨论中的许多想法。最后,我们意识到 Pinia 已经实现了我们在 Vuex 5 中想要的大部分功能,所以决定将其作为新的推荐方案来代替 Vuex。
与 Vuex 相比,Pinia 不仅提供了一个更简单的 API,也提供了符合组合式 API 风格的 API,最重要的是,搭配 TypeScript 一起使用时有非常可靠的类型推断支持。
npm install vuex@next --save
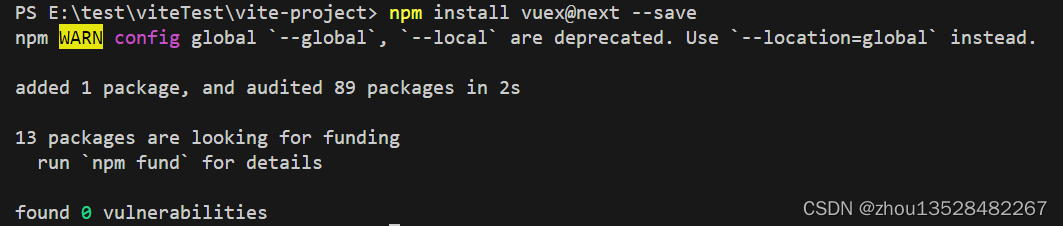
参考资料: https://vuex.vuejs.org/zh/installation.html
6.6、安装axios
npm install axios --save
参考资料: https://www.w3cschool.cn/jquti/jquti-kb3a35x1.html
6.7、安装echarts
npm install echarts --save
 参考资料: https://echarts.apache.org/examples/zh/index.html
6.8、安装lodash
npm install lodash --save
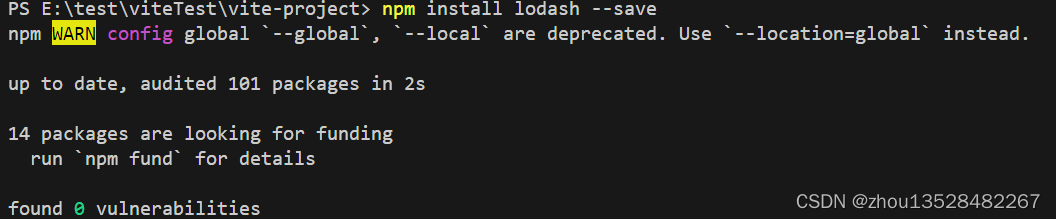
参考资料: https://www.lodashjs.com/
6.9、安装moment
npm install moment --save
 参考资料: http://momentjs.cn/docs/#/use-it/
6.10、安装@ant/g6
npm install --save @antv/g6

参考资料: https://antv-g6.gitee.io/zh/docs/manual/getting-started
6.11、安装nprogress
npm install --save nprogress
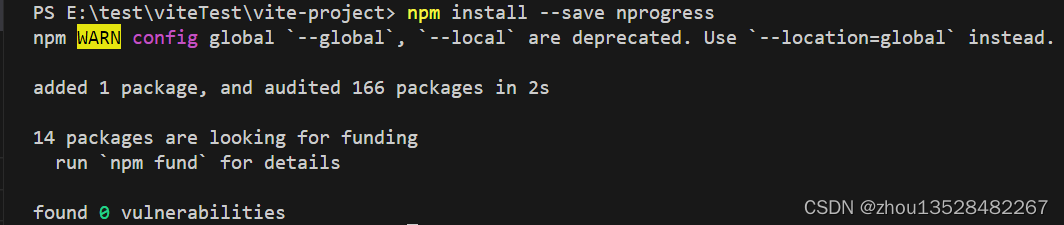
参考资料: https://blog.csdn.net/qq_31968791/article/details/106790179
6.12、 安装jquery
npm install --save jquery
 参考资料: https://www.runoob.com/jquery/jquery-tutorial.html
7、组件使用
7.1、vue-router和router-view使用
APP.vue文件里面添加
- <script setup lang="ts">
- script>
- <template>
- <div class="frame-container">
- <router-view/>
- div>
- template>
- <style scoped>
- html,
- body {
- margin: 0px;
- height: 100%;
- }
- .frame-container {
- width: 100%;
- height: 100%;
- }
- style>
src下新增router/index.ts文件
- import { createRouter, RouteRecordRaw, createWebHashHistory } from "vue-router";
- const appRoutes: Array<RouteRecordRaw> = [
- {
- path: "/",
- name: "home",
- component: () => import("@/components/HelloWorld.vue")
- },
- {
- path: "/HelloWorld",
- name: "HelloWorld",
- component: () => import("@/components/HelloWorld.vue")
- },
- ];
- const router = createRouter({
- // 4. 内部提供了 history 模式的实现。为了简单起见,我们在这里使用 hash 模式。
- history: createWebHashHistory(),
- routes: [ ...appRoutes ]
- });
- export default router;
在main.ts文件里面添加引用
- import { createApp } from 'vue'
- import App from './App.vue'
- import router from "@/router";
- const app = createApp(App)
- app.use(router)
- app.mount('#app')
7.2 jQuery使用
在main.ts文件中添加
- declare const window: any;
- import jQuery from 'jquery';
- window.$ = window.jQuery = jQuery;
在.vue文件中使用
- declare const $: any;
- $.ajax({
- url: "",
- type: "GET",
- dataType: "JSON"
- }).then( (res:any) =>{
- //to some thing
- });
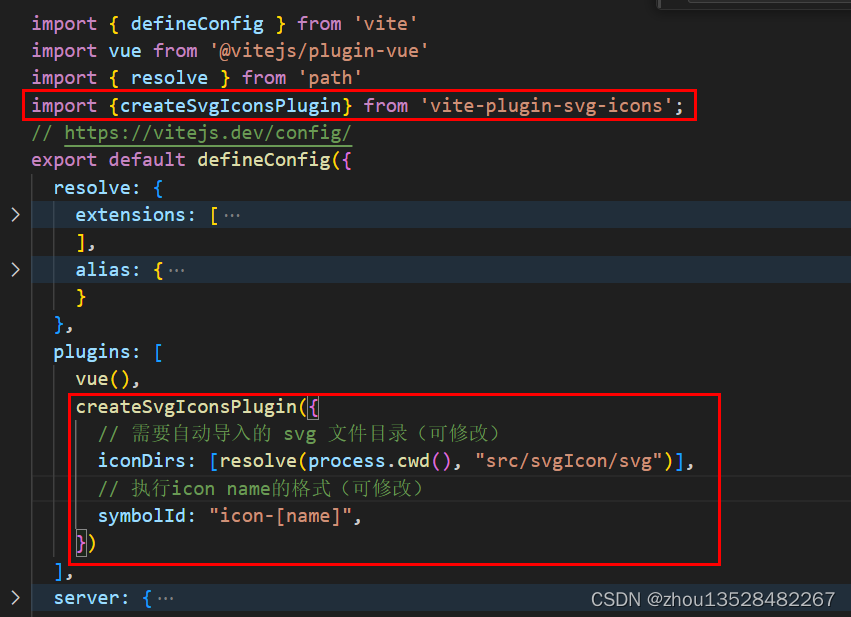
7.3、引用svg图片
安装依赖插件vite-plugin-svg-icons和fast-glob
npm install vite-plugin-svg-icons --save
npm install fast-glob --save
在vite.config.ts文件修改配置
import {createSvgIconsPlugin} from 'vite-plugin-svg-icons';
createSvgIconsPlugin({
// 需要自动导入的 svg 文件目录(可修改)
iconDirs: [resolve(process.cwd(), "src/svgIcon/svg")],
// 执行icon name的格式(可修改)
symbolId: "icon-[name]",
})
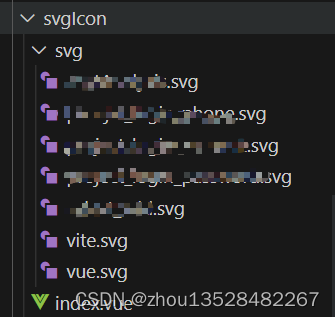
封装svg-icon图标
在src目录下面创建svgIcon文件夹,svg文件夹下放.svg图片;index.vue封装svg-icon组件;
- <template>
- <svg class="svg-icon" aria-hidden="true" v-bind="$attrs" v-on="$listeners">
- <use :xlink:href="symbolId" />
- svg>
- template>
- <script setup lang="ts">
- import { computed, toRefs } from "vue";
- const props = defineProps({
- name: {
- type: String
- },
- });
- const { name } = toRefs(props);
- const symbolId = computed(() => `#icon-${name.value}`);
- script>
- <style scoped lang="scss">
- .svg-icon {
- width: 1em;
- height: 1em;
- vertical-align: middle;
- fill: currentColor;
- overflow: hidden;
- transition-duration: 0.3s;
- border-radius: 4px;
- box-sizing: border-box;
- }
- style>
在main.ts文件引用
import svgIcon from '@/svgIcon/index.vue'
import "virtual:svg-icons-register";
app.component('svg-icon',svgIcon)- import { createApp } from 'vue'
- import App from './App.vue'
- import svgIcon from '@/svgIcon/index.vue'
- import "virtual:svg-icons-register";
- const app = createApp(App)
- app.component('svg-icon',svgIcon)
- app.mount('#app')
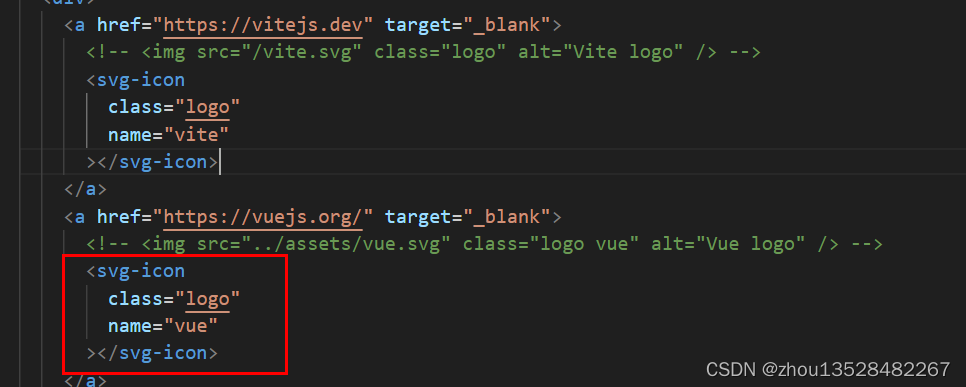
.vue文件引用组件
class="logo"
name="vue"
>
7.4、引用pinia
在main.ts文件中添加
- import { createApp } from 'vue'
- import App from './App.vue'
- import { createPinia } from 'pinia'
- const pinia = createPinia()
- const app = createApp(App)
- app.use(pinia)
- app.mount('#app')
新增src/store/pinia/index.ts文件
- import { defineStore } from "pinia";
- // 你可以对 `defineStore()` 的返回值进行任意命名,但最好使用 store 的名字,同时以 `use` 开头且以 `Store` 结尾。(比如 `useUserStore`,`useCartStore`,`useProductStore`)
- // 第一个参数是你的应用中 Store 的唯一 ID。
- export const useAppConfigStore = defineStore('appConfig', {
- state() {
- return {
- count: 0
- }
- },
- getters: {
- double: (state) => {
- return state.count * 2
- }
- },
- actions: {
- increment() {
- this.count++
- },
- }
- });
在.vue文件中使用
- <template>
- <div>
- <el-button type="button" @click="handleCount()">操作appConfit.countel-button>
- <p>appConfig.count: {{ appConfig.count }}p>
- <p>appConfig.double: {{ appConfig.double }}p>
- div>
- template>

7.5、引用tailwindcss组件
参考资料: https://www.tailwindcss.cn/docs/installation
npm install -D tailwindcss
npm install postcss
npm install autoprefixer
npx tailwindcss init -p
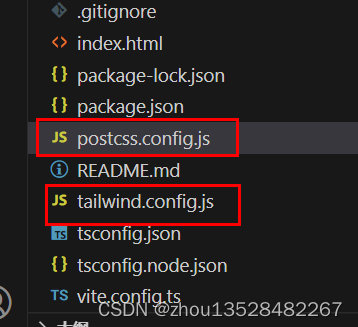
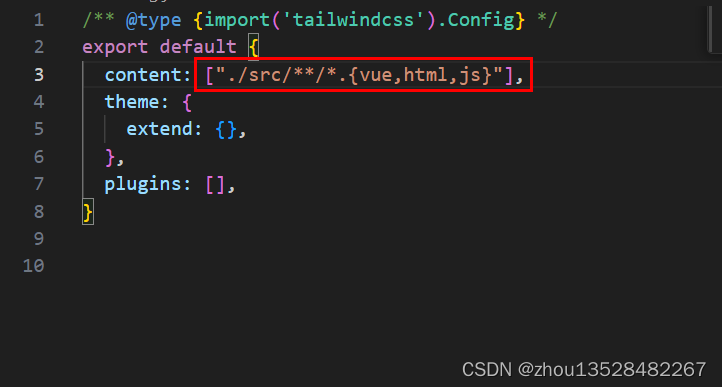
生成/src/tailwind.config.js和/src/postcss.config.js配置文件
在/src/tailwind.config.js配置文件中添加所有模板文件路径
新建/src/resources/tailwind.var.css文件;在文件中添加:
- @tailwind base;
- @tailwind components;
- @tailwind utilities;
在/src/main.ts中进行引用
import "./resources/tailwind.var.css";
在vue文件中使用
- <template>
- <div class="h-full">
- <h1 class="text-3xl font-bold underline">Hello world!h1>
- <div class="flex">
- <div class="flex-none h-10 w-[80px] bg-red-400" >11div>
- <div class="flex-1 h-10 bg-orange-400">22div>
- <div class="flex-1 h-10 bg-lime-400">33div>
- div>
- div>
- template>
- <script setup lang="ts">script>
- <style lang="scss" scoped>
- style>

-
相关阅读:
Dataset 的一些 Java api 操作
【iOS】—— 调用手机相册换图片
Linux笔记 - - vim的使用
CoM-Px30|RK3358核心模块串口通信测试
RISC-V架构的函数调用规范和栈布局
【算法与数据结构】链表、哈希表、栈和队列、二叉树
可能是最漂亮的Spring事务管理详解
程序员怎样才能学好算法? 这本书送几本给大家!
计算机网络【第一章】
Netty 入门 — 亘古不变的Hello World
- 原文地址:https://blog.csdn.net/zhou13528482267/article/details/132692091
