-
4.springcloudalibaba sentinel v1.8.6版本服务搭建
前言
前面完成了gateway项目部署并且测试,现在部署搭建sentinel服务并且测试。
一、sentinel服务端安装
1.1 服务端下载
下载地址
这里选择的是目前最新的sentinel版本
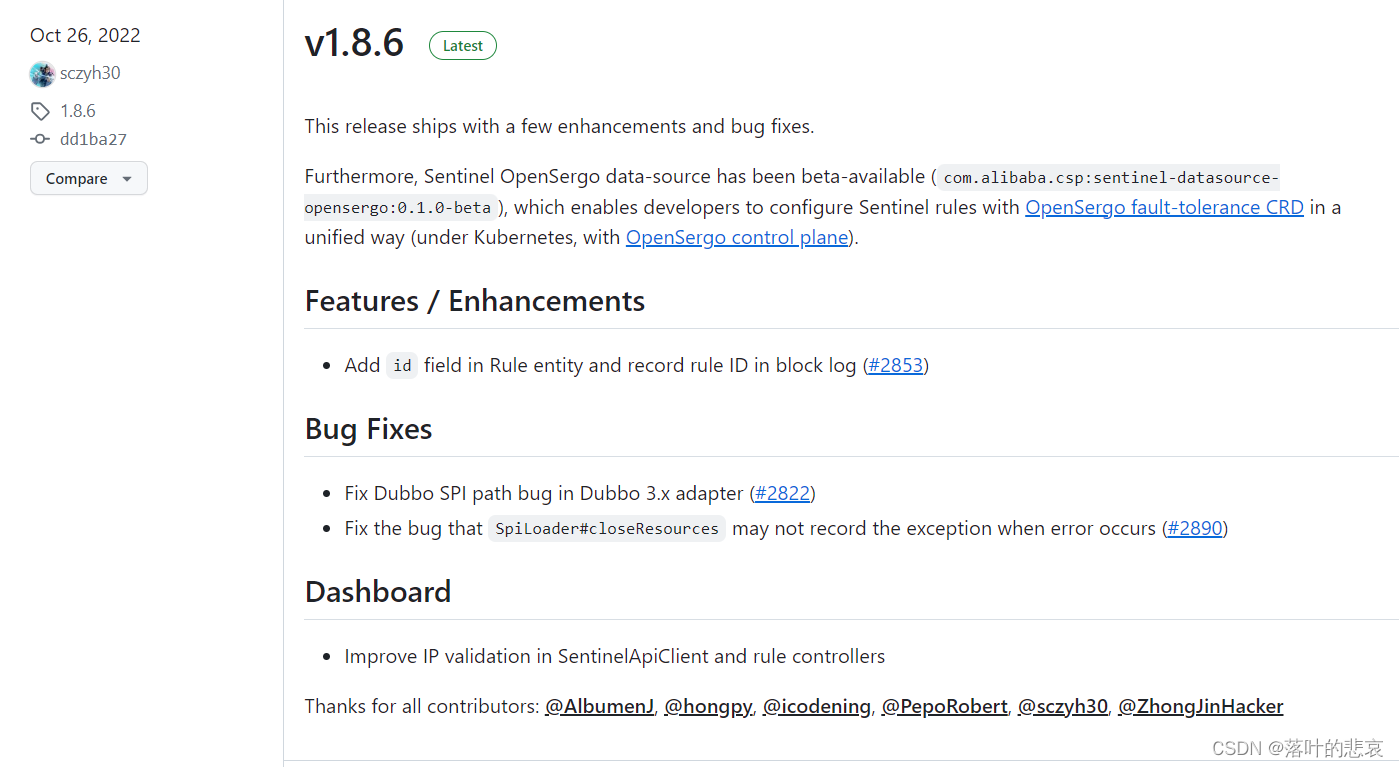
直接下载启动jar包,使用命令安装服务

1.2 启动sentinel服务
java -Dserver.port=8480 -Dcsp.sentinel.dashboard.server=192.168.184.131:8480 -Dproject.name=sentinel-dashboard -Dsentinel.dashboard.auth.username=sentinel -Dsentinel.dashboard.auth.password=123456 -jar sentinel-dashboard-1.8.6.jar &- 1
# 指定控制台的端口为8480 -Dserver.port=8480 # 指定要被哪个控制台监控(这里指定的是自己监控自己) -Dcsp.sentinel.dashboard.server=192.168.184.131:8480 # 指定实例名称(名称会在控制台左侧以菜单显示) -Dproject.name=sentinel-dashboard # 设置登录的帐号为:sentinel -Dsentinel.dashboard.auth.username=sentinel # 设置登录的密码为:123456 -Dsentinel.dashboard.auth.password=123456- 1
- 2
- 3
- 4
- 5
- 6
- 7
- 8
- 9
- 10
- 11
使用设置的账号密码登录如下图所示启动成功

二、客户端使用sentinel
2.1.pom增加sentinel包
<dependency> <groupId>com.alibaba.cloud</groupId> <artifactId>spring-cloud-starter-alibaba-sentinel</artifactId> </dependency>- 1
- 2
- 3
- 4
完整pom如下
<?xml version="1.0" encoding="UTF-8"?> <project xmlns="http://maven.apache.org/POM/4.0.0" xmlns:xsi="http://www.w3.org/2001/XMLSchema-instance" xsi:schemaLocation="http://maven.apache.org/POM/4.0.0 https://maven.apache.org/xsd/maven-4.0.0.xsd"> <modelVersion>4.0.0</modelVersion> <groupId>com.springcloudalibaba</groupId> <artifactId>server</artifactId> <version>0.0.1-SNAPSHOT</version> <name>server</name> <description>Demo project for Spring Boot</description> <properties> <java.version>8</java.version> <spring-boot.version>2.6.13</spring-boot.version> <spring-cloud.version>2021.0.5</spring-cloud.version> <spring-cloud-alibaba.version>2021.0.5.0</spring-cloud-alibaba.version> </properties> <dependencies> <dependency> <groupId>com.alibaba.cloud</groupId> <artifactId>spring-cloud-starter-alibaba-sentinel</artifactId> </dependency> <dependency> <groupId>org.springframework.boot</groupId> <artifactId>spring-boot-starter-web</artifactId> </dependency> <!-- SpringCloud Alibaba Nacos --> <dependency> <groupId>com.alibaba.cloud</groupId> <artifactId>spring-cloud-starter-alibaba-nacos-discovery</artifactId> </dependency> <!-- SpringCloud Alibaba Nacos Config --> <dependency> <groupId>com.alibaba.cloud</groupId> <artifactId>spring-cloud-starter-alibaba-nacos-config</artifactId> </dependency> <dependency> <groupId>org.springframework.cloud</groupId> <artifactId>spring-cloud-starter-bootstrap</artifactId> </dependency> </dependencies> <dependencyManagement> <dependencies> <!-- SpringCloud 微服务 --> <dependency> <groupId>org.springframework.cloud</groupId> <artifactId>spring-cloud-dependencies</artifactId> <version>${spring-cloud.version}</version> <type>pom</type> <scope>import</scope> </dependency> <!-- SpringCloud Alibaba 微服务 --> <dependency> <groupId>com.alibaba.cloud</groupId> <artifactId>spring-cloud-alibaba-dependencies</artifactId> <version>${spring-cloud-alibaba.version}</version> <type>pom</type> <scope>import</scope> </dependency> <!-- SpringBoot 依赖配置 --> <dependency> <groupId>org.springframework.boot</groupId> <artifactId>spring-boot-dependencies</artifactId> <version>${spring-boot.version}</version> <type>pom</type> <scope>import</scope> </dependency> </dependencies> </dependencyManagement> <build> <plugins> <plugin> <groupId>org.springframework.boot</groupId> <artifactId>spring-boot-maven-plugin</artifactId> <version>2.6.0</version> <configuration> <excludes> <exclude> <groupId>org.projectlombok</groupId> <artifactId>lombok</artifactId> </exclude> </excludes> </configuration> </plugin> </plugins> </build> </project>- 1
- 2
- 3
- 4
- 5
- 6
- 7
- 8
- 9
- 10
- 11
- 12
- 13
- 14
- 15
- 16
- 17
- 18
- 19
- 20
- 21
- 22
- 23
- 24
- 25
- 26
- 27
- 28
- 29
- 30
- 31
- 32
- 33
- 34
- 35
- 36
- 37
- 38
- 39
- 40
- 41
- 42
- 43
- 44
- 45
- 46
- 47
- 48
- 49
- 50
- 51
- 52
- 53
- 54
- 55
- 56
- 57
- 58
- 59
- 60
- 61
- 62
- 63
- 64
- 65
- 66
- 67
- 68
- 69
- 70
- 71
- 72
- 73
- 74
- 75
- 76
- 77
- 78
- 79
- 80
- 81
- 82
- 83
- 84
- 85
- 86
- 87
- 88
- 89
- 90
- 91
- 92
- 93
2.2 增加配置
sentinel: #取消懒加载 eager: true #sentinel服务地址 transport: dashboard: 192.168.184.131:8480- 1
- 2
- 3
- 4
- 5
- 6
完整的配置如下
# Tomcat server: port: 8081 # Spring spring: application: # 应用名称 name: server profiles: # 环境配置 active: dev main: allow-bean-definition-overriding: true cloud: nacos: discovery: # 服务注册地址 server-addr: 192.168.184.130:8848 group: alibaba namespace: 7dd9fa65-9c9d-484f-94f8-d621ca05d0e5 register-enabled: true config: # 配置中心地址 server-addr: 192.168.184.130:8848 # 配置文件格式 file-extension: yml group: ${spring.cloud.nacos.discovery.group} namespace: ${spring.cloud.nacos.discovery.namespace} shared-configs[0]: data-id: application-${spring.profiles.active}.${spring.cloud.nacos.config.file-extension} # 配置文件名-Data Id group: ${spring.cloud.nacos.discovery.group} # 默认为DEFAULT_GROUP refresh: false sentinel: #取消懒加载 eager: true #sentinel服务地址 transport: dashboard: 192.168.184.131:8480 logging: level: com.alibaba.nacos.client: info- 1
- 2
- 3
- 4
- 5
- 6
- 7
- 8
- 9
- 10
- 11
- 12
- 13
- 14
- 15
- 16
- 17
- 18
- 19
- 20
- 21
- 22
- 23
- 24
- 25
- 26
- 27
- 28
- 29
- 30
- 31
- 32
- 33
- 34
- 35
- 36
- 37
- 38
- 39
- 40
- 41
- 42
2.3 启动服务
启动服务后,查看控制台,发现server服务已经可以看到监控情况。
可以看到server服务已经在监控下了三、验证
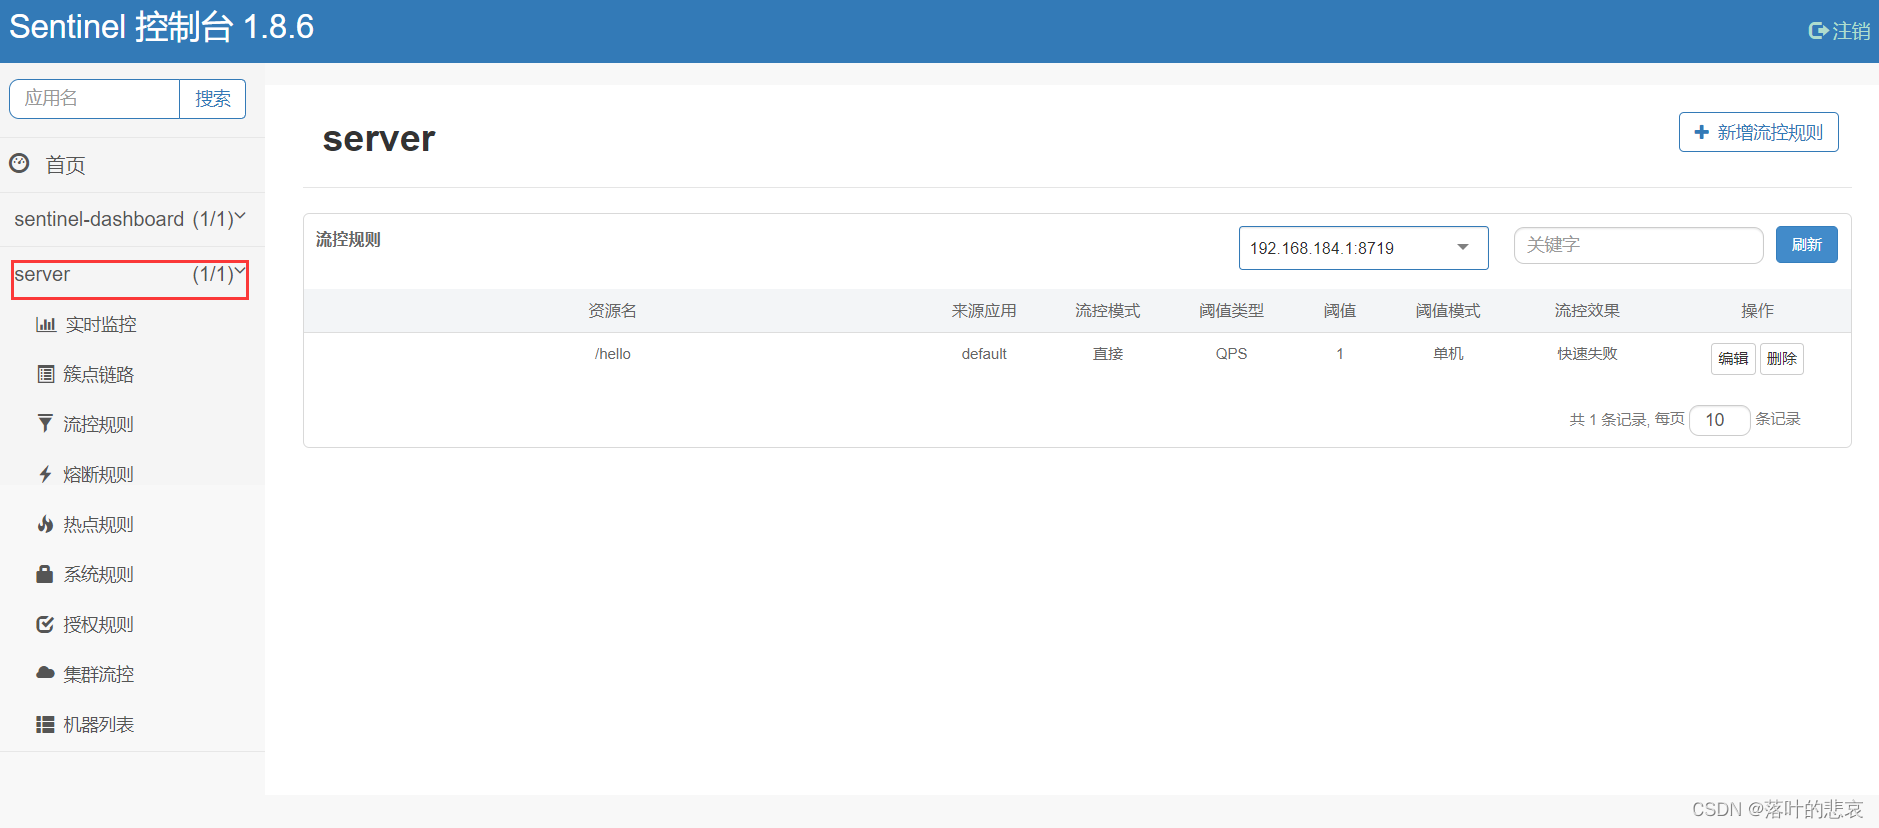
3.1 给hello接口增加流控规则
接口如下
package com.springcloudalibaba.gateway.control; import com.alibaba.csp.sentinel.annotation.SentinelResource; import org.springframework.beans.factory.annotation.Autowired; import org.springframework.beans.factory.annotation.Value; import org.springframework.web.bind.annotation.RequestMapping; import org.springframework.web.bind.annotation.RequestMethod; import org.springframework.web.bind.annotation.RestController; @RestController public class Control { @RequestMapping(value = "/hello") public String index() { System.out.println("testname: "); return "testName"; } }- 1
- 2
- 3
- 4
- 5
- 6
- 7
- 8
- 9
- 10
- 11
- 12
- 13
- 14
- 15
- 16
- 17
- 18
- 19
- 20
给hello接口增加流控规则
资源名为请求接口路径,qps为1s请求数

3.2 测试结果如下

可以看到流控规则已经生效总结
1.sentinel启动使用,比较简单,后面还可以配置流控规则持久化,这里就不演示了,大概知道了sentinel如何使用。
2.sentinel不仅仅可以限流,还可以熔断,配置接口白名单,黑名单。
3.使用@sentinelResource注解还可以自定义异常返回,更加灵活的使用sentinel配置异常返回。 -
相关阅读:
Log4j2
x86架构 --- 内核组成
第四届齐鲁校赛+二分思维+cf
初学者如何学习编程(从2014到2023年十年编程工作总结)
【入门-03】时钟系统
Python在不同对象中使用 in 操作符的查找效率
HTTP协议初始
Android 11.0 mt6771新增分区功能实现二
迪文屏K600+ 数据库的读写操作
基于FPGA的移相波束形成verilog实现
- 原文地址:https://blog.csdn.net/qq_34526237/article/details/133712839
