-
Element登录+注册
目录
一、ElementUI
ElementUI的使用通常涉及导入该框架提供的组件,并按需配置和使用这些组件来构建用户界面。开发者可以根据项目需求,进行定制、样式调整以及事件处理,以实现所需的功能和效果。 ElementUI的开放源代码使得开发者可以自由使用、定制和贡献,促进了Web开发的效率和质量。
1.1 定义
ElementUI(Element-UI)是一款基于Vue.js的开源UI框架,专注于快速构建Web界面。它提供了一套现成的高质量UI组件,能够帮助开发者快速搭建现代化、美观、响应式的Web应用程序。ElementUI的设计理念是简单、易用、高效,同时也注重美观和用户体验。
1.2 特点
该框架的特点包括但不限于:
-
丰富的组件库:ElementUI提供了各种常用的UI组件,如按钮、表单、表格、对话框、菜单、导航等,涵盖了开发Web应用所需的基本元素。
-
样式美观:ElementUI拥有现代化、清晰、简洁的设计风格,能够帮助开发者快速搭建漂亮的用户界面。
-
响应式设计:组件能够根据不同设备的屏幕大小自适应,保证在不同终端上都能有良好的展示效果。
-
易用性:ElementUI的组件易于理解、使用和定制,开发者可以轻松地根据项目需求进行定制。
-
丰富的文档和示例:官方提供了详尽的文档和示例,方便开发者学习和使用。
1.3 完成用户注册登录界面搭建
1.3.1 创建一个Vue项目
1.3.2 在src目录下创建views目录
如下:

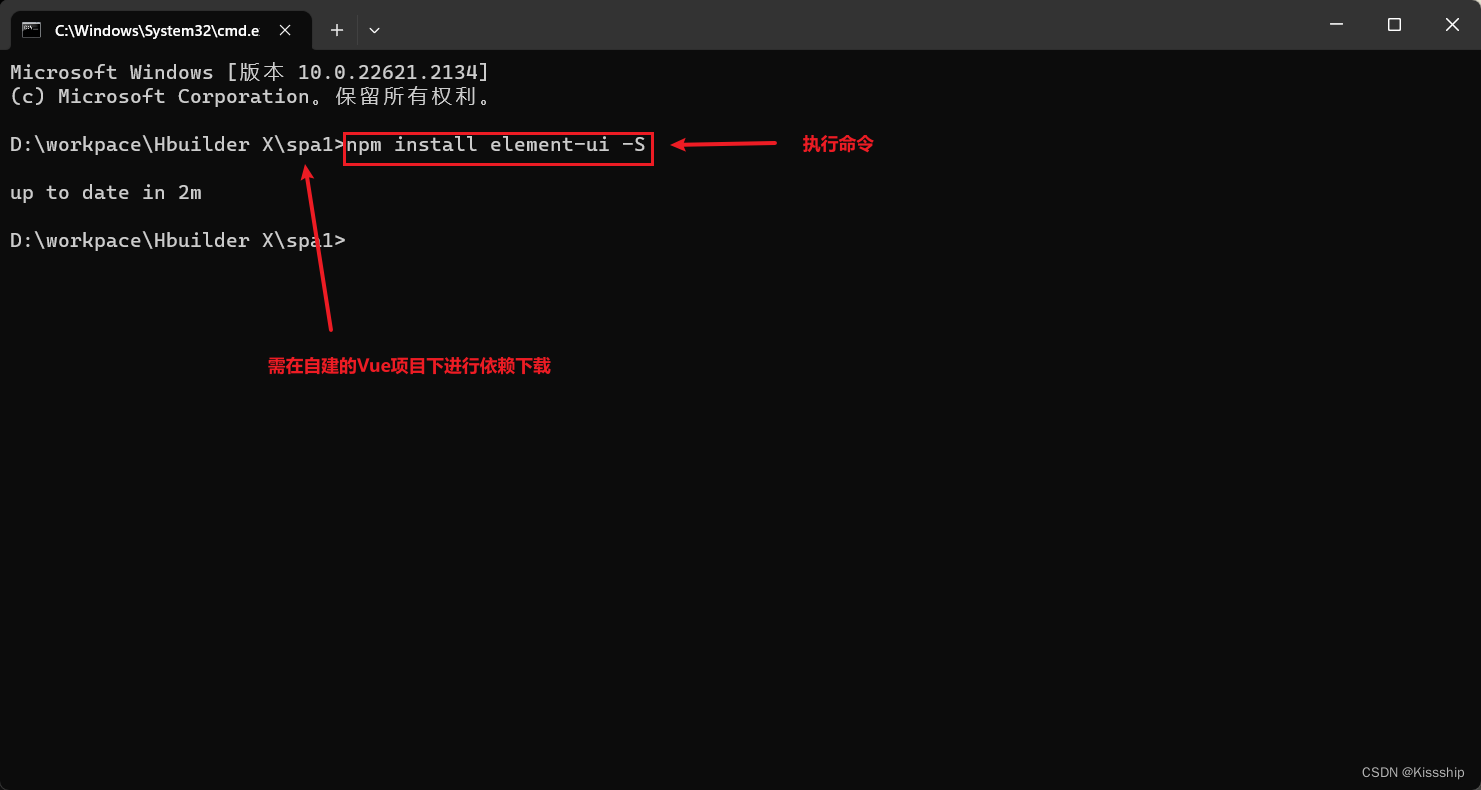
1.3.3 下载js依赖
下载的指令分为三种,分别是如下:
npm install -g:将依赖下载node_global全局依赖
npm install -d:下载依赖到SPA工程中,不会参与打包
npm install -s:下载依赖到SPA工程中,会参与打包
执行命令,如下:
npm install element-ui -S
效果如下:
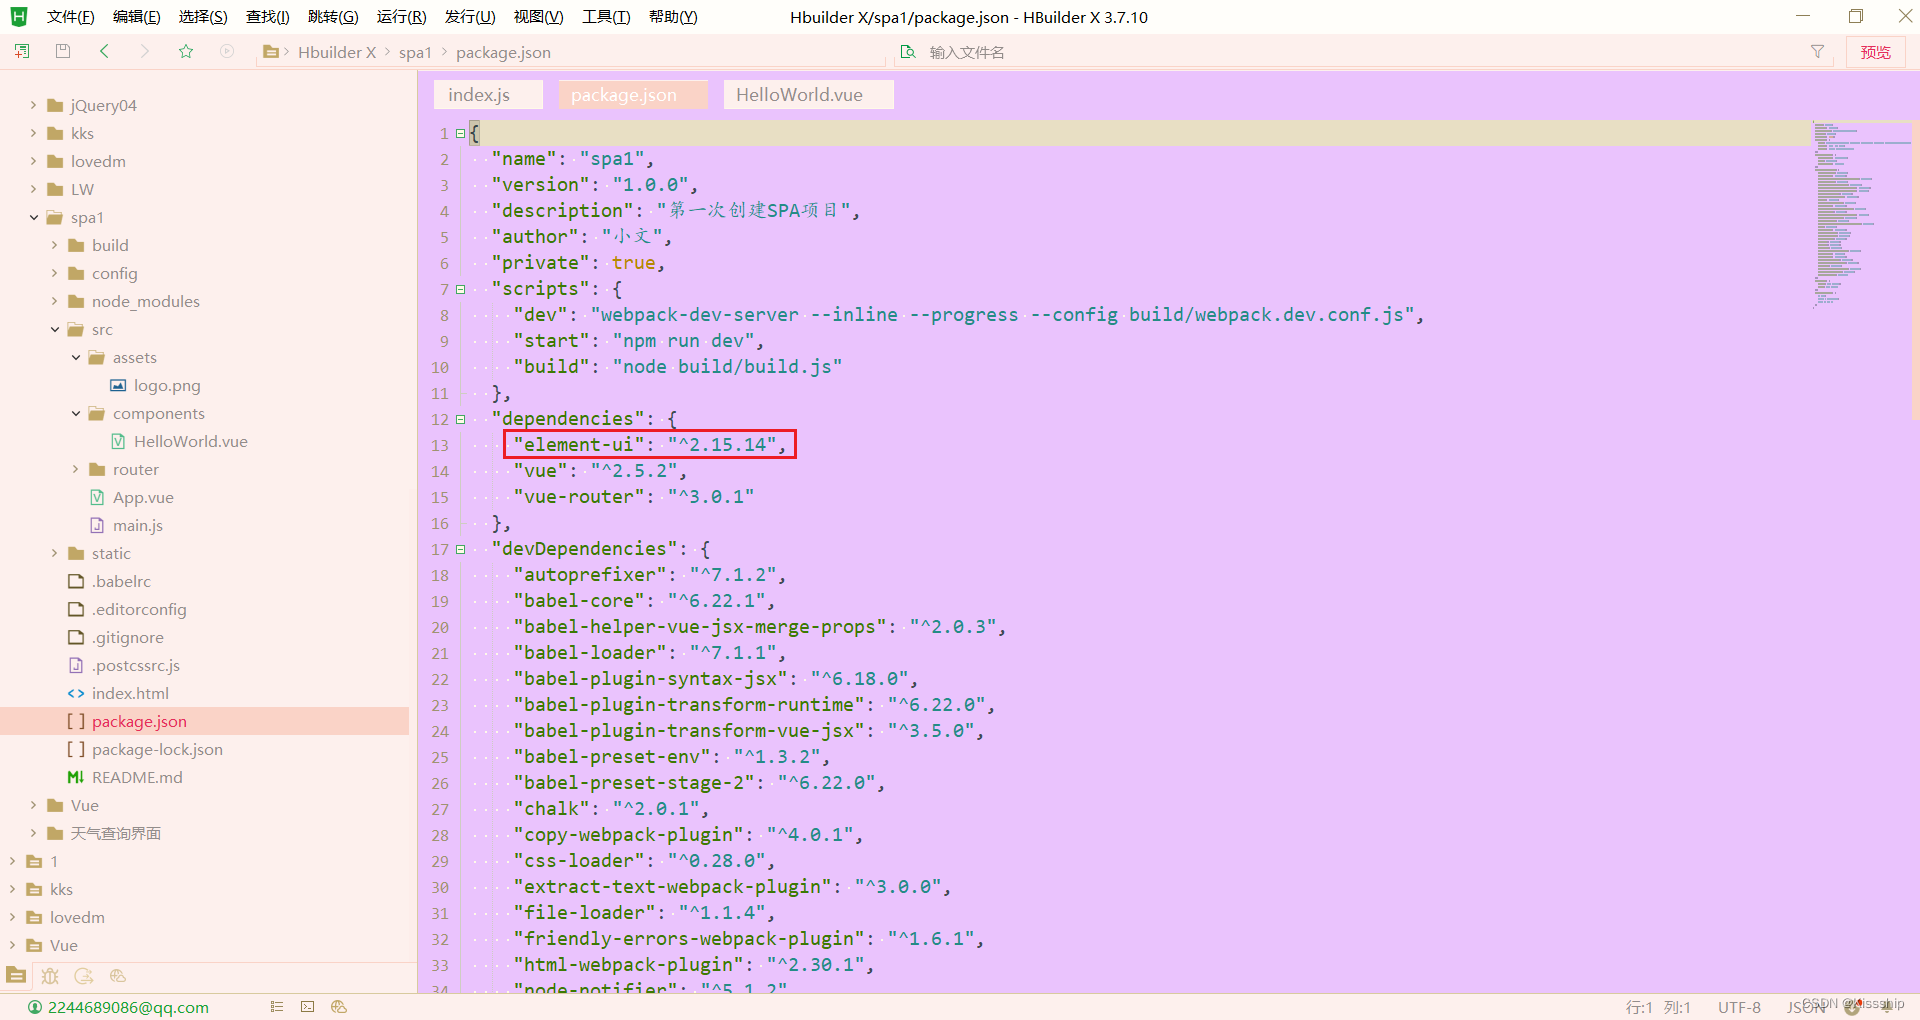
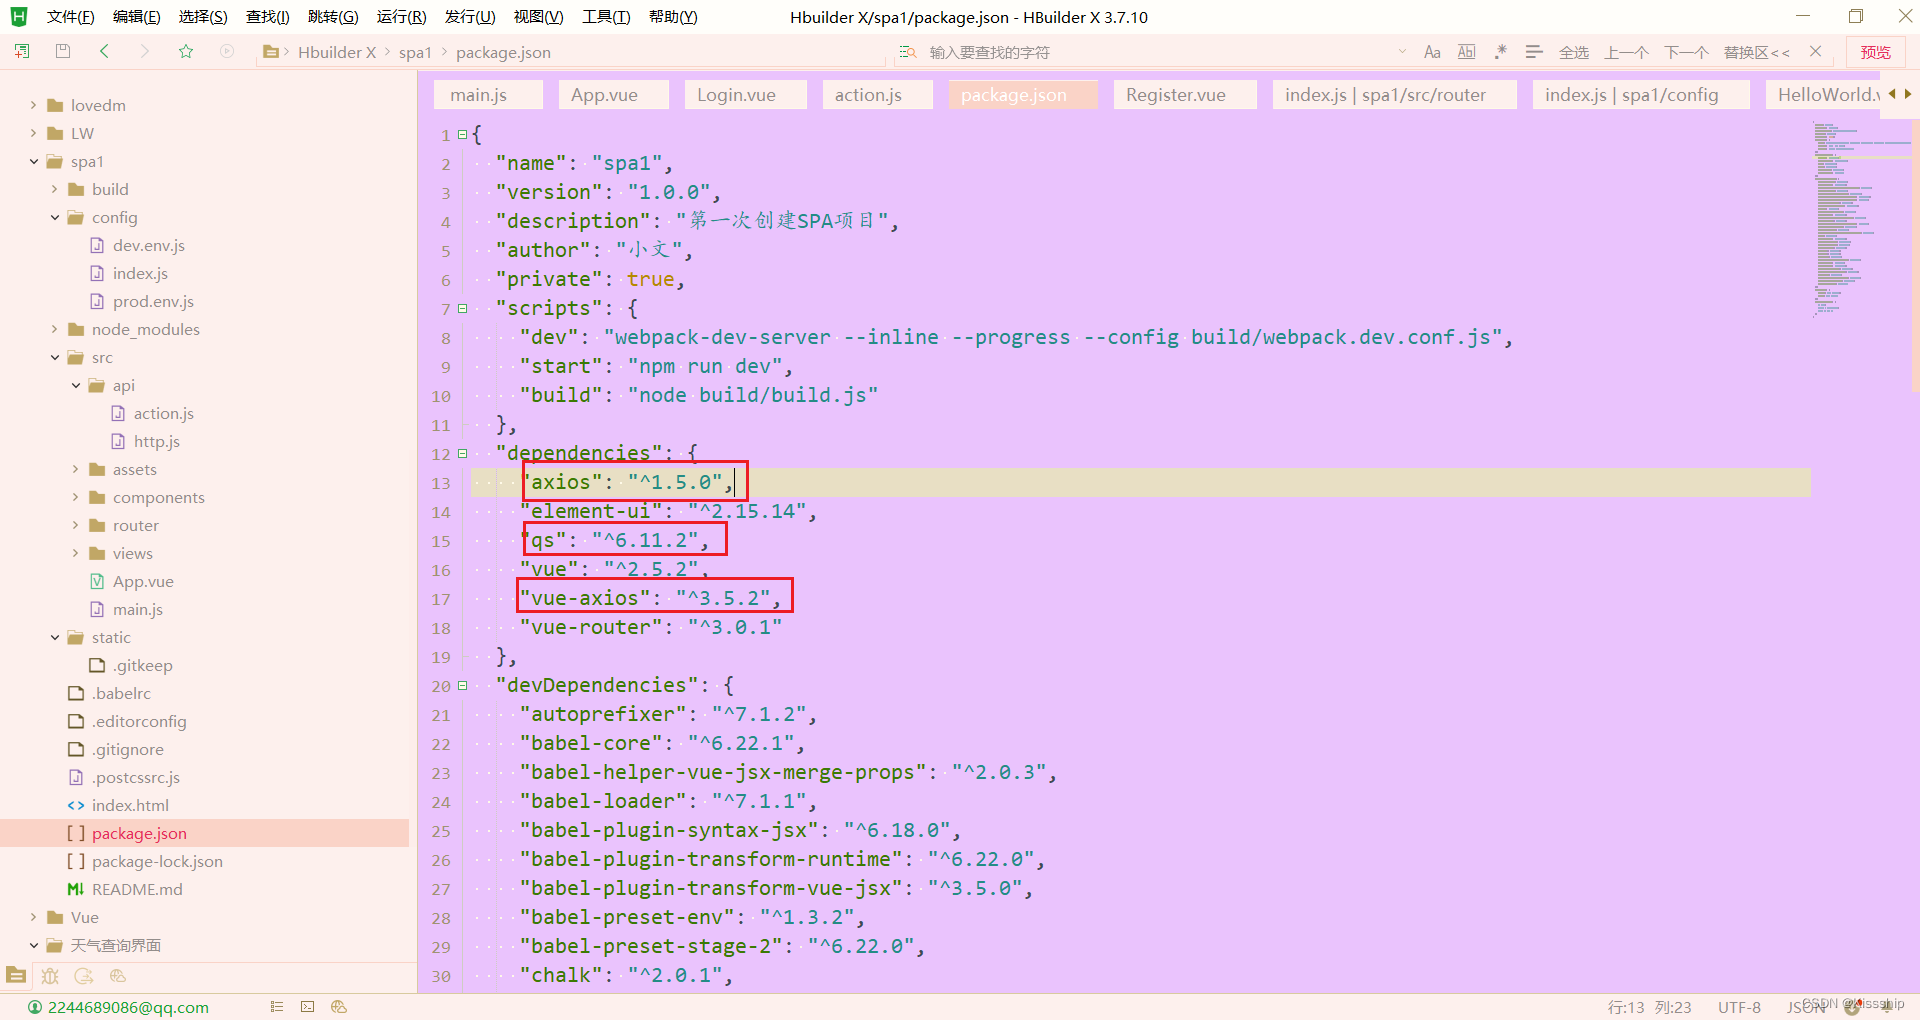
下载完成后,就可以在package.json下看到导入的Element依赖,如下:
在项目中src目录下找到
main.js,并在指定位置添加三行代码,添加后如下:main.js:
- // The Vue build version to load with the `import` command
- // (runtime-only or standalone) has been set in webpack.base.conf with an alias.
- import Vue from 'vue'
- // 新添加1
- import ElementUI from 'element-ui'
- // 新添加2,避免后期打包样式不同,要放在import App from './App';之前
- import 'element-ui/lib/theme-chalk/index.css'
- import App from './App'
- import router from './router'
- // 新添加3
- Vue.use(ElementUI)
- Vue.config.productionTip = false
- /* eslint-disable no-new */
- new Vue({
- el: '#app',
- router,
- components: { App },
- template: '
' - })
注:必须要在指定位置添加相对应代码。
1.3.4 创建用户登录注册组件
Login.vue:
- <template>
- <div class="login-wrap">
- <el-form class="login-container">
- <h1 class="title">用户登录h1>
- <el-form-item label="">
- <el-input type="text" v-model="username" placeholder="登录账号" autocomplete="off">el-input>
- el-form-item>
- <el-form-item label="">
- <el-input type="password" v-model="password" placeholder="登录密码" autocomplete="off">el-input>
- el-form-item>
- <el-form-item>
- <el-button type="primary" style="width:100%;" @click="doSubmit()">提交el-button>
- el-form-item>
- <el-row style="text-align: center;margin-top:-10px">
- <el-link type="primary">忘记密码el-link>
- <el-link type="primary" @click="gotoRegister()">用户注册el-link>
- el-row>
- el-form>
- div>
- template>
- <script>
- export default {
- name: 'Login',
- data () {
- return {
- username: '',
- passwprd: ''
- }
- }
- ,methods:{
- gotoRegister(){
- this.$router.push('/Register');
- }
- }
- }
- script>
- <style scoped>
- .login-wrap {
- box-sizing: border-box;
- width: 100%;
- height: 100%;
- padding-top: 10%;
- background-image: url('~@/assets/绿叶.jpg'); /* 使用背景图片的路径 */
- background-repeat: no-repeat;
- background-position: center right;
- background-size: 100%;
- }
- .login-container {
- border-radius: 10px;
- margin: 0px auto;
- width: 350px;
- padding: 30px 35px 15px 35px;
- background: #fff;
- border: 1px solid #eaeaea;
- text-align: left;
- box-shadow: 0 0 20px 2px rgba(0, 0, 0, 0.1);
- }
- .title {
- margin: 0px auto 40px auto;
- text-align: center;
- color: #505458;
- }
- style>
Register.vue:
- <template>
- <div class="login-wrap">
- <el-form class="login-container">
- <h1 class="title">用户注册h1>
- <el-form-item label="">
- <el-input type="text" v-model="username" placeholder="注册账号" autocomplete="off">el-input>
- el-form-item>
- <el-form-item label="">
- <el-input type="password" v-model="password" placeholder="注册密码" autocomplete="off">el-input>
- el-form-item>
- <el-form-item>
- <el-button type="primary" style="width:100%;" @click="doSubmit()">提交el-button>
- el-form-item>
- <el-row style="text-align: center;margin-top:-10px">
- <el-link type="primary">忘记密码el-link>
- <el-link type="primary" @click="gotoLogin()">用户登录el-link>
- el-row>
- el-form>
- div>
- template>
- <script>
- export default {
- name: 'Login',
- data () {
- return {
- username: '',
- passwprd: ''
- }
- }
- ,methods:{
- gotoLogin(){
- this.$router.push('/');
- }
- }
- }
- script>
- <style scoped>
- .login-wrap {
- box-sizing: border-box;
- width: 100%;
- height: 100%;
- padding-top: 10%;
- background-image: url('~@/assets/绿叶.jpg'); /* 使用背景图片的路径 */
- background-repeat: no-repeat;
- background-position: center right;
- background-size: 100%;
- }
- .login-container {
- border-radius: 10px;
- margin: 0px auto;
- width: 350px;
- padding: 30px 35px 15px 35px;
- background: #fff;
- border: 1px solid #eaeaea;
- text-align: left;
- box-shadow: 0 0 20px 2px rgba(0, 0, 0, 0.1);
- }
- .title {
- margin: 0px auto 40px auto;
- text-align: center;
- color: #505458;
- }
- style>
1.3.5 配置路由
在
router/index.js中修改vue项目默认显示路由,如下,index.js:
- import Vue from 'vue'
- import Router from 'vue-router'
- import HelloWorld from '@/components/HelloWorld'
- import Login from '@/Views/Login'
- import Register from '@/Views/Register'
- Vue.use(Router)
- export default new Router({
- routes: [{
- path: '/',
- name: 'Login',
- component: Login
- },{
- path: '/Register',
- name: 'Register',
- component: Register
- }
- ]
- })
1.3.6 修改项目端口并启动项目
在
config/index.js目录下修改vue项目运行端口,如下,
然后启动项目,演示效果如下:
二、数据交互
2.1 数据导入
在以MySQL做为基础数据库,进行虚拟数据导入(为展示效果),如下:
新建数据库,如下:
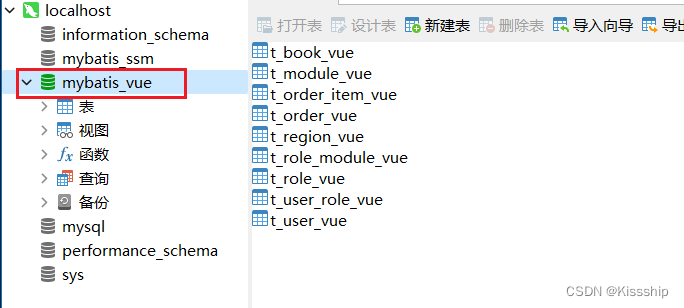
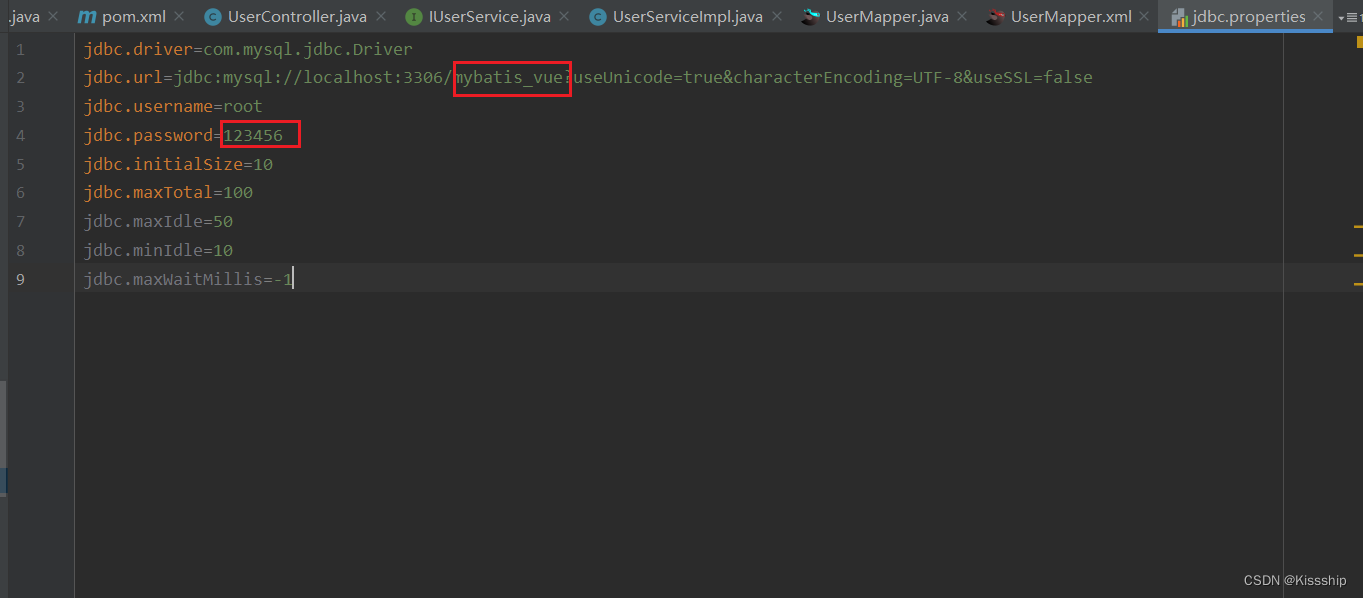
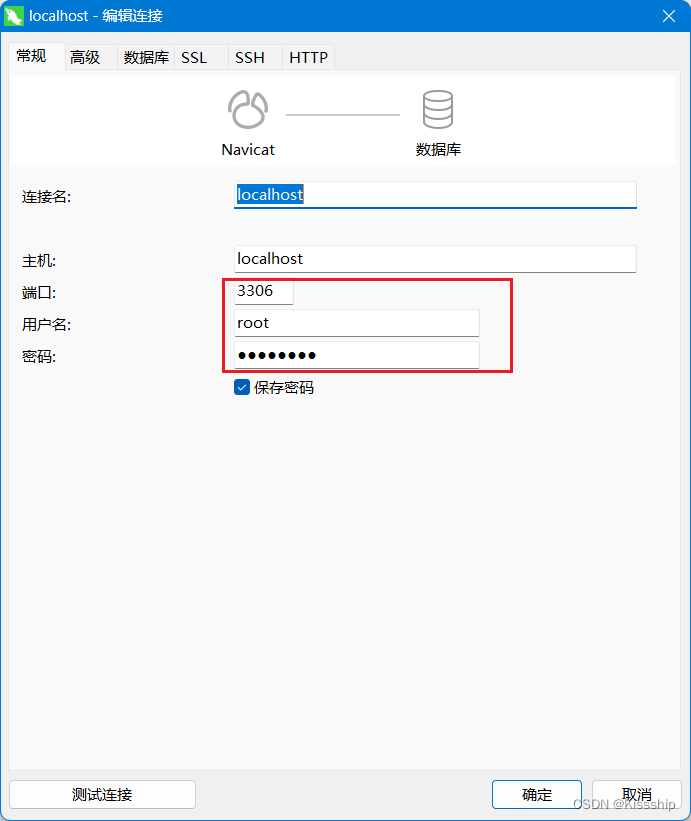
注:我们导入sql文件之后,需要打开查看Navicat端口号,数据库账号密码是否一致。
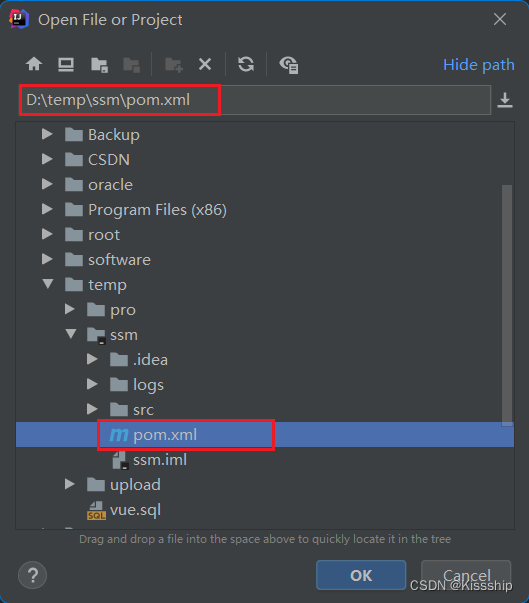
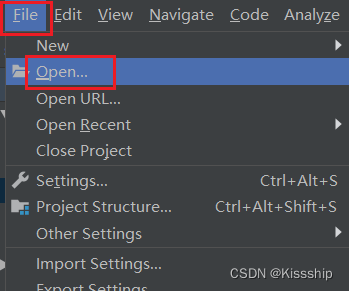
2.2 ssm项目导入
使用SSM项目构建Java后台,模拟提供一个用户登录的action地址,Vue通过请求指定的用户登录接口。
2.3安装引用相关模块
2.3.1 安装相关模块
命令提示符执行:
npm i axios -S
npm i vue-axios -S
npm i qs -S
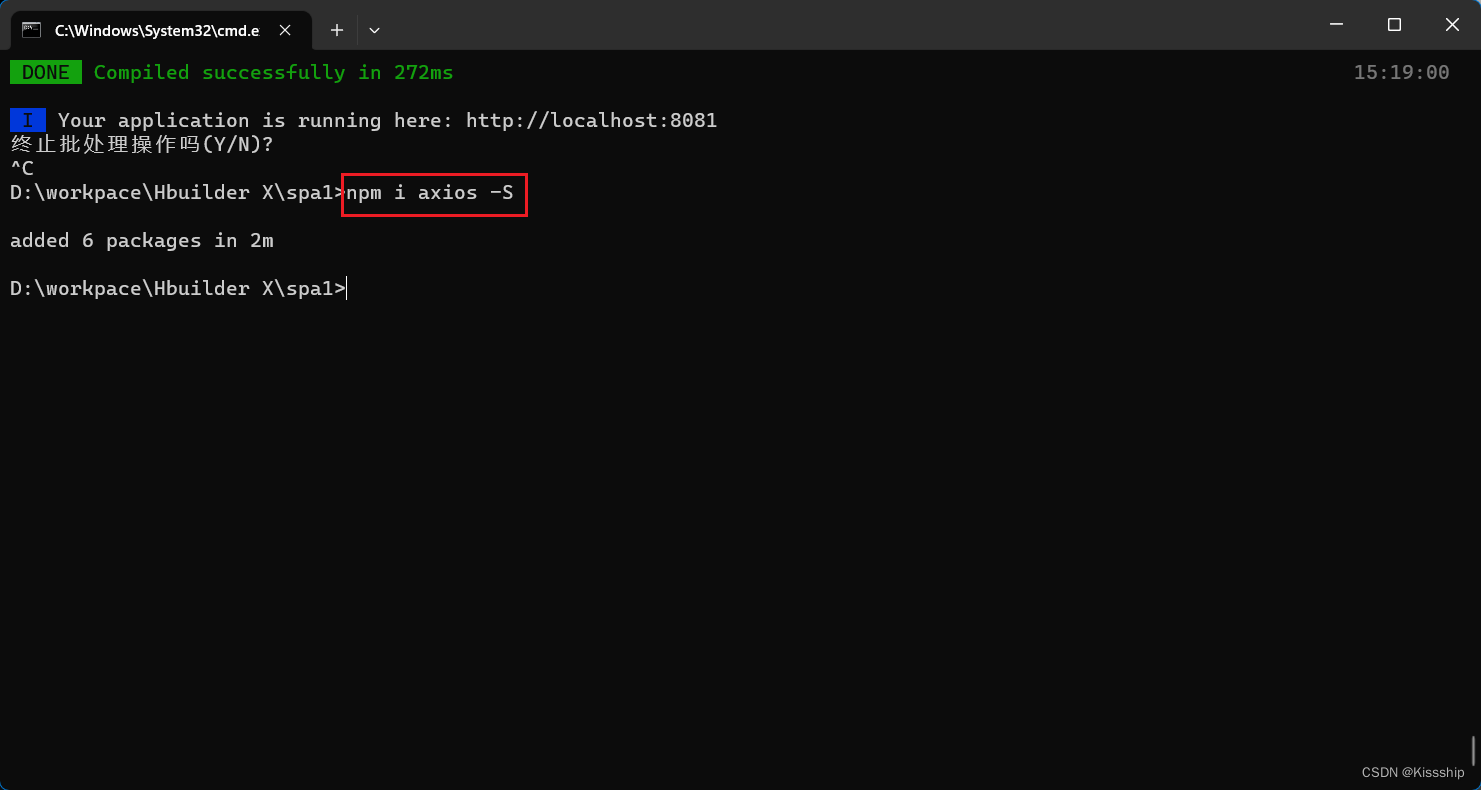
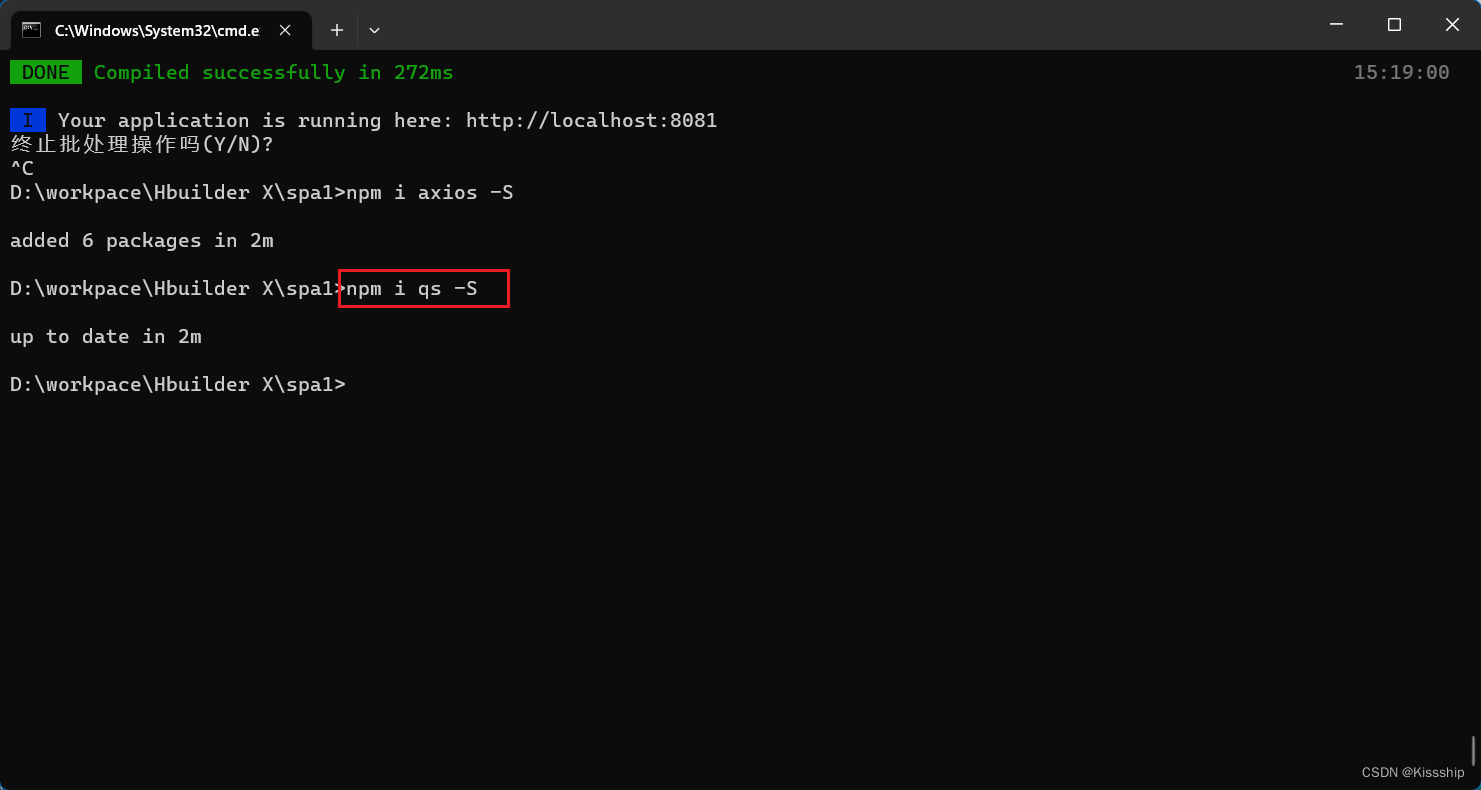
出现以下内容就是下载成功了,如下:
2.3.2引用相关模块
安装好后即进行模块引用,安装后就在项目中进行引用,添加axios的全局配置,创建一个actio.js,如下:
解释:action.js(针对后台请求接口的封装定义)
- /**
- * 对后台请求的地址的封装,URL格式如下:
- * 模块名_实体名_操作
- */
- export default {
- 'SERVER': 'http://localhost:8080/', //服务器
- 'SYSTEM_USER_DOLOGIN': 'user/userLogin', //登陆
- 'SYSTEM_USER_DOREG': 'userAction.action', //注册
- 'getFullPath': k => { //获得请求的完整地址,用于mockjs测试时使用
- return this.SERVER + this[k];
- }
- }
创建http.js,用于vue项目对axios的全局配置,如下:
解释:http.js(针对axios的全局配置)
- /**
- * vue项目对axios的全局配置
- */
- import axios from 'axios'
- import qs from 'qs'
- //引入action模块,并添加至axios的类属性urls上
- import action from '@/api/action'
- axios.urls = action
- // axios默认配置
- axios.defaults.timeout = 10000; // 超时时间
- // axios.defaults.baseURL = 'http://localhost:8080/j2ee15'; // 默认地址
- axios.defaults.baseURL = action.SERVER;
- //整理数据
- // 只适用于 POST,PUT,PATCH,transformRequest` 允许在向服务器发送前,修改请求数据
- axios.defaults.transformRequest = function(data) {
- data = qs.stringify(data);
- return data;
- };
- // 请求拦截器
- axios.interceptors.request.use(function(config) {
- return config;
- }, function(error) {
- return Promise.reject(error);
- });
- // 响应拦截器
- axios.interceptors.response.use(function(response) {
- return response;
- }, function(error) {
- return Promise.reject(error);
- });
- // // 路由请求拦截
- // // http request 拦截器
- // axios.interceptors.request.use(
- // config => {
- // //config.data = JSON.stringify(config.data);
- // //config.headers['Content-Type'] = 'application/json;charset=UTF-8';
- // //config.headers['Token'] = 'abcxyz';
- // //判断是否存在ticket,如果存在的话,则每个http header都加上ticket
- // // if (cookie.get("token")) {
- // // //用户每次操作,都将cookie设置成2小时
- // // cookie.set("token", cookie.get("token"), 1 / 12)
- // // cookie.set("name", cookie.get("name"), 1 / 12)
- // // config.headers.token = cookie.get("token");
- // // config.headers.name = cookie.get("name");
- // // }
- // return config;
- // },
- // error => {
- // return Promise.reject(error.response);
- // });
- // // 路由响应拦截
- // // http response 拦截器
- // axios.interceptors.response.use(
- // response => {
- // if (response.data.resultCode == "404") {
- // console.log("response.data.resultCode是404")
- // // 返回 错误代码-1 清除ticket信息并跳转到登录页面
- // // cookie.del("ticket")
- // // window.location.href='http://login.com'
- // return
- // } else {
- // return response;
- // }
- // },
- // error => {
- // return Promise.reject(error.response) // 返回接口返回的错误信息
- // });
- export default axios;
最后在前端的项目中main.js文件中引入vue-axios 模块,如下:
- import axios from '@/api/http'
- import VueAxios from 'vue-axios'
- Vue.use(VueAxios,axios)
Axios是一个基于Promise 用于浏览器和 nodejs 的 HTTP 客户端,本质上也是对原生XHR的封装,只不过它是Promise的实现版本,符合最新的ES规范。
2.4 axios之get请求
登入组件中进行axios的get请求,编写Login.vue的代码,如下:
- <template>
- <div class="login-wrap">
- <el-form class="login-container">
- <h1 class="title">用户登录h1>
- <el-form-item label="">
- <el-input type="text" v-model="username" placeholder="登录账号" autocomplete="off">el-input>
- el-form-item>
- <el-form-item label="">
- <el-input type="password" v-model="password" placeholder="登录密码" autocomplete="off">el-input>
- el-form-item>
- <el-form-item>
- <el-button type="primary" style="width:100%;" @click="doSubmit()">提交el-button>
- el-form-item>
- <el-row style="text-align: center;margin-top:-10px">
- <el-link type="primary">忘记密码el-link>
- <el-link type="primary" @click="gotoRegister()">用户注册el-link>
- el-row>
- el-form>
- div>
- template>
- <script>
- import axios from 'axios'
- import qs from 'qs'
- export default {
- name: 'Login',
- data () {
- return {
- username: '',
- password: ''
- }
- },
- methods:{
- gotoRegister(){
- this.$router.push('/Register');
- },
- doSubmit(){
- let url = this.axios.urls.SYSTEM_USER_DOLOGIN;
- let params = {
- username: this.username,
- password: this.password
- };
- axios.get(url, {
- params: params
- }).then(r => {
- console.log(r);
- if (r.data.success) {
- this.$message({
- message: r.data.msg,
- type: 'success'
- });
- } else {
- this.$message.error(r.data.msg);
- }
- }).catch(e => {
- });
- // axios.post(url,params).then(r => {
- // console.log(r);
- // if (r.data.success) {
- // this.$message({
- // message: r.data.msg,
- // type: 'success'
- // });
- // } else {
- // this.$message.error(r.data.msg);
- // }
- // }).catch(e => {
- // });
- }
- }
- }
- script>
- <style scoped>
- .login-wrap {
- box-sizing: border-box;
- width: 100%;
- height: 100%;
- padding-top: 10%;
- background-image: url('~@/assets/绿叶.jpg'); /* 使用背景图片的路径 */
- background-repeat: no-repeat;
- background-position: center right;
- background-size: 100%;
- }
- .login-container {
- border-radius: 10px;
- margin: 0px auto;
- width: 350px;
- padding: 30px 35px 15px 35px;
- background: #fff;
- border: 1px solid #eaeaea;
- text-align: left;
- box-shadow: 0 0 20px 2px rgba(0, 0, 0, 0.1);
- }
- .title {
- margin: 0px auto 40px auto;
- text-align: center;
- color: #505458;
- }
- style>
然后在后端代码中,需要一个视图解析器来处理我们前端发送的请求,代码如下:
Usercontroller.java:
- package com.zking.ssm.controller;
- import com.zking.ssm.service.IUserService;
- import com.zking.ssm.util.JsonResponseBody;
- import com.zking.ssm.util.PageBean;
- import com.zking.ssm.vo.UserVo;
- import org.springframework.beans.factory.annotation.Autowired;
- import org.springframework.stereotype.Controller;
- import org.springframework.web.bind.annotation.RequestMapping;
- import org.springframework.web.bind.annotation.ResponseBody;
- import javax.servlet.http.HttpServletRequest;
- import javax.servlet.http.HttpServletResponse;
- import java.util.HashMap;
- import java.util.List;
- import java.util.Map;
- import com.zking.ssm.jwt.*;
- @Controller
- @RequestMapping("/user")
- public class UserController {
- @Autowired
- private IUserService userService;
- @RequestMapping("/userLogin")
- @ResponseBody
- public JsonResponseBody userLogin(UserVo userVo, HttpServletResponse response){
- if(userVo.getUsername().equals("admin")&&userVo.getPassword().equals("123")){
- //私有要求claim
- // Map
- // json.put("username", userVo.getUsername());
- //生成JWT,并设置到response响应头中
- // String jwt=JwtUtils.createJwt(json, JwtUtils.JWT_WEB_TTL);
- // response.setHeader(JwtUtils.JWT_HEADER_KEY, jwt);
- return new JsonResponseBody<>("用户登陆成功!",true,0,null);
- }else{
- return new JsonResponseBody<>("用户名或密码错误!",false,0,null);
- }
- }
- @RequestMapping("/queryUserPager")
- @ResponseBody
- public JsonResponseBody
- queryUserPager(UserVo userVo, HttpServletRequest request){
- try {
- PageBean pageBean=new PageBean();
- pageBean.setRequest(request);
- List
- return new JsonResponseBody<>("OK",true,pageBean.getTotal(),users);
- } catch (Exception e) {
- e.printStackTrace();
- return new JsonResponseBody<>("分页查询用户信息失败!",false,0,null);
- }
- }
- }
接着启动项目,展示结果。如下:
2.5 axios之post请求
将用于get请求方法的代码注释,添加Post请求代码,如下:
Login.vue:
- <template>
- <div class="login-wrap">
- <el-form class="login-container">
- <h1 class="title">用户登录h1>
- <el-form-item label="">
- <el-input type="text" v-model="username" placeholder="登录账号" autocomplete="off">el-input>
- el-form-item>
- <el-form-item label="">
- <el-input type="password" v-model="password" placeholder="登录密码" autocomplete="off">el-input>
- el-form-item>
- <el-form-item>
- <el-button type="primary" style="width:100%;" @click="doSubmit()">提交el-button>
- el-form-item>
- <el-row style="text-align: center;margin-top:-10px">
- <el-link type="primary">忘记密码el-link>
- <el-link type="primary" @click="gotoRegister()">用户注册el-link>
- el-row>
- el-form>
- div>
- template>
- <script>
- import axios from 'axios'
- import qs from 'qs'
- export default {
- name: 'Login',
- data () {
- return {
- username: '',
- password: ''
- }
- },
- methods:{
- gotoRegister(){
- this.$router.push('/Register');
- },
- doSubmit(){
- let url = this.axios.urls.SYSTEM_USER_DOLOGIN;
- let params = {
- username: this.username,
- password: this.password
- };
- // axios.get(url, {
- // params: params
- // }).then(r => {
- // console.log(r);
- // if (r.data.success) {
- // this.$message({
- // message: r.data.msg,
- // type: 'success'
- // });
- // } else {
- // this.$message.error(r.data.msg);
- // }
- // }).catch(e => {
- // });
- axios.post(url,params).then(r => {
- console.log(r);
- if (r.data.success) {
- this.$message({
- message: r.data.msg,
- type: 'success'
- });
- } else {
- this.$message.error(r.data.msg);
- }
- }).catch(e => {
- });
- }
- }
- }
- script>
- <style scoped>
- .login-wrap {
- box-sizing: border-box;
- width: 100%;
- height: 100%;
- padding-top: 10%;
- background-image: url('~@/assets/绿叶.jpg'); /* 使用背景图片的路径 */
- background-repeat: no-repeat;
- background-position: center right;
- background-size: 100%;
- }
- .login-container {
- border-radius: 10px;
- margin: 0px auto;
- width: 350px;
- padding: 30px 35px 15px 35px;
- background: #fff;
- border: 1px solid #eaeaea;
- text-align: left;
- box-shadow: 0 0 20px 2px rgba(0, 0, 0, 0.1);
- }
- .title {
- margin: 0px auto 40px auto;
- text-align: center;
- color: #505458;
- }
- style>
然后接着进行效果展示,如下:

四、注册
前端注册页面搭建,代码如下:
- <template>
- <div class="login-wrap">
- <el-form class="login-container">
- <h1 class="title">用户注册h1>
- <el-form-item label="">
- <el-input type="text" v-model="username" placeholder="注册账号" autocomplete="off">el-input>
- el-form-item>
- <el-form-item label="">
- <el-input type="password" v-model="password" placeholder="注册密码" autocomplete="off">el-input>
- el-form-item>
- <el-form-item>
- <el-button type="primary" style="width:100%;" @click="doSubmit()">提交el-button>
- el-form-item>
- <el-row style="text-align: center;margin-top:-10px">
- <el-link type="primary">忘记密码el-link>
- <el-link type="primary" @click="gotoLogin()">用户登录el-link>
- el-row>
- el-form>
- div>
- template>
- <script>
- export default {
- name: 'Register',
- data () {
- return {
- username: '',
- password: ''
- }
- },
- methods:{
- gotoLogin(){
- this.$router.push('/');
- },
- doSubmit(){
- let url = this.axios.urls.SYSTEM_USER_DOREG;
- let params = {
- username: this.username,
- password: this.password
- };
- this.axios.post(url,params).then(r => {
- console.log(r);
- if (r.data.success) {
- this.$message({
- message: r.data.msg,
- type: 'success'
- });
- //注册完成后自动进入登入界面
- this.$router.push('/');
- } else {
- this.$message.error(r.data.msg);
- }
- }).catch(e => {
- console.log(e);
- });
- }
- }
- }
- script>
- <style scoped>
- .login-wrap {
- box-sizing: border-box;
- width: 100%;
- height: 100%;
- padding-top: 10%;
- background-image: url('~@/assets/绿叶.jpg'); /* 使用背景图片的路径 */
- background-repeat: no-repeat;
- background-position: center right;
- background-size: 100%;
- }
- .login-container {
- border-radius: 10px;
- margin: 0px auto;
- width: 350px;
- padding: 30px 35px 15px 35px;
- background: #fff;
- border: 1px solid #eaeaea;
- text-align: left;
- box-shadow: 0 0 20px 2px rgba(0, 0, 0, 0.1);
- }
- .title {
- margin: 0px auto 40px auto;
- text-align: center;
- color: #505458;
- }
- style>
在后端的maven项目中 IUserService 的代码,如下:
int insertSelective(User record);
在后端的maven项目中Controller层的代码,如下:
- @RequestMapping("/userRegister")
- @ResponseBody
- public JsonResponseBody userRegister(UserVo userVo, HttpServletResponse response){
- userVo.setId("17");
- int i = userService.insertSelective(userVo);
- if(i>0){
- return new JsonResponseBody<>("用户注册成功!",true,0,null);
- }else{
- return new JsonResponseBody<>("用户注册失败!",false,0,null);
- }
- }
效果演示如下:

-
-
相关阅读:
防火墙基础之华为防火墙分支与分支IPSec 对接
three.js创建基础模型
基础课24——开放域QA问答
Java基础:Java面向对象
【附源码】计算机毕业设计SSM网络调查问卷系统
JSP科研处管理信息系统免费源代码+LW
网站服务器怎么部署
【大数据存储与处理】1. hadoop单机伪分布安装和集群安装
HiveSQL分位数函数percentile()使用详解+实例代码
神经网络中的Heloo,World,基于MINST数据集的LeNet
- 原文地址:https://blog.csdn.net/weixin_74263417/article/details/133177404
