-
Mysql--Java的JDBC编程
Java的数据库编程:JDBC
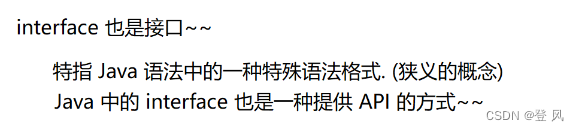
JDBC,即Java Database Connectivity,java数据库连接。是一种用于执行SQL语句的Java API,它是
Java中的数据库连接规范。


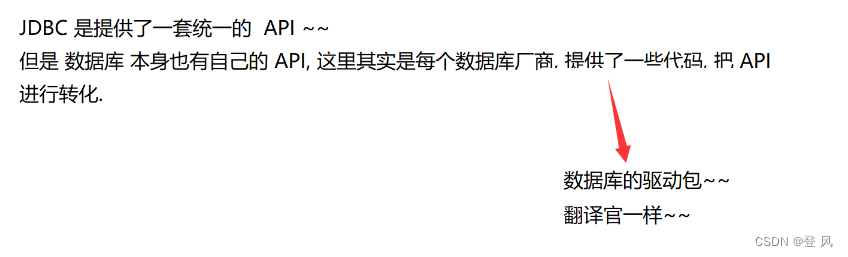

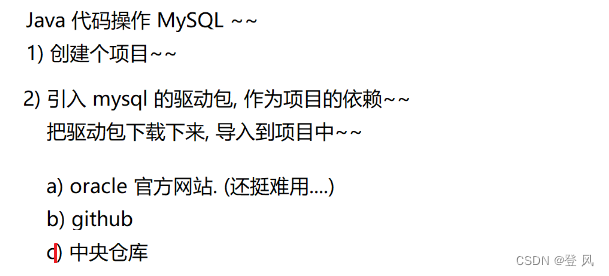
下载驱动包作为项目的依赖,数据库驱动包的版本要和数据库服务器的版本一致(小版本不要求,大版本要一致)


把下载的jar文件导入到项目中


下面就可以准备写代码了
1.创建数据源


jdbc:mysql:用来说明url是一个什么样类型的url,这里指的是给jdbc的mysql使用的
127.0.0.1:网络上设备的IP地址,这是一个特殊的IP地址,特指我自己这个主机,叫环回IP(loopback)
3306:端口号,用来区分主机上的应用程序 d09073:数据库名 characterEncoding=utf8:统一字符集为utf8
useSSL=false:数据库服务器和客户端之间的通信要不要加密,这里为不加密下面设置用户名和密码

到这里,只是描述了以下数据库服务器所在的地址,但是还没有真正的连接服务器,下面建立连接
- 和数据库服务器建立连接


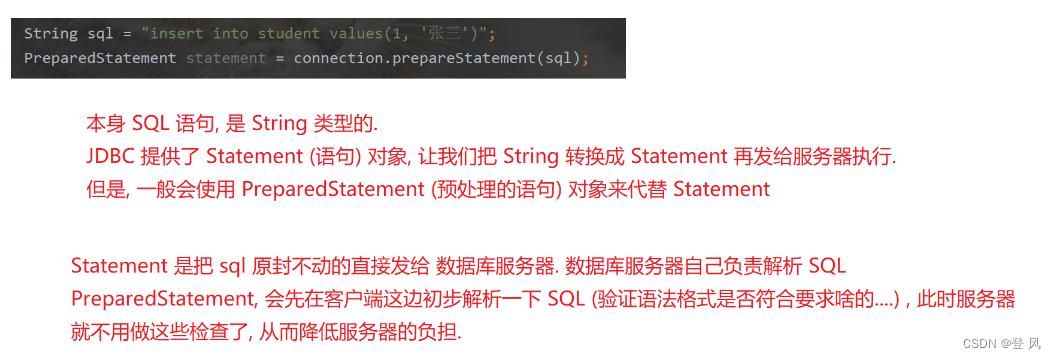
3 构造 SQL 语句
- 执行 SQL 语句~. 返回值就是 “这次操作影响到几行”

- 释放必要的资源. 关闭连接.

运行结果如下:

上述过程的代码如下:
import com.mysql.jdbc.jdbc2.optional.MysqlDataSource; import javax.sql.DataSource; import java.sql.Connection; import java.sql.PreparedStatement; import java.sql.SQLException; public class JDBCDemo1 { public static void main(String[] args) throws SQLException { //1.创建数据源 DataSource dataSource=new MysqlDataSource(); ((MysqlDataSource)dataSource).setUrl("jdbc:mysql://127.0.0.1:3306/d09073?characterEncoding=utf8&useSSL=false"); ((MysqlDataSource)dataSource).setUser("root"); ((MysqlDataSource)dataSource).setPassword("1111"); //2.和数据库服务器建立连接 Connection connection=dataSource.getConnection();//这里要抛出异常 //3.构造SQL语句 String sql="insert into student values(6,'zhansan11',2)"; PreparedStatement statement=connection.prepareStatement(sql); //4. 执行 SQL 语句~. 返回值就是 "这次操作影响到几行" int n=statement.executeUpdate(); System.out.println("n="+n); // 5. 释放必要的资源. 关闭连接. statement.close(); connection.close(); } }- 1
- 2
- 3
- 4
- 5
- 6
- 7
- 8
- 9
- 10
- 11
- 12
- 13
- 14
- 15
- 16
- 17
- 18
- 19
- 20
- 21
- 22
- 23
- 24
- 25
- 26
- 27
- 28
下面实现数据的动态插入(基于占位符的写法,可以避免SQL注入攻击)


运行结果如下
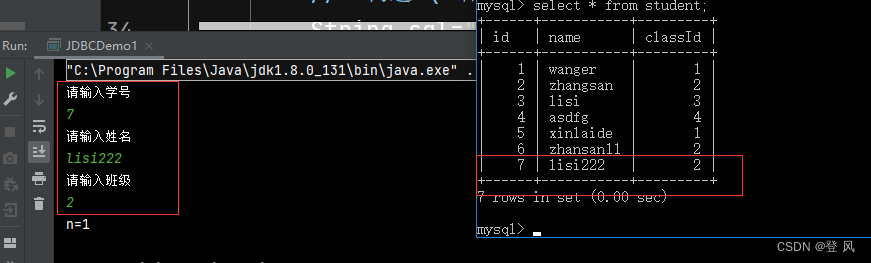
修改后的完整代码如下:import com.mysql.jdbc.jdbc2.optional.MysqlDataSource; import javax.sql.DataSource; import java.sql.Connection; import java.sql.PreparedStatement; import java.sql.SQLException; import java.sql.SQLOutput; import java.util.Scanner; public class JDBCDemo1 { public static void main(String[] args) throws SQLException { Scanner scanner=new Scanner(System.in); System.out.println("请输入学号"); int id1=scanner.nextInt(); System.out.println("请输入姓名"); String name=scanner.next(); System.out.println("请输入班级"); int id2=scanner.nextInt(); //1.创建数据源 DataSource dataSource=new MysqlDataSource(); ((MysqlDataSource)dataSource).setUrl("jdbc:mysql://127.0.0.1:3306/d09073?characterEncoding=utf8&useSSL=false"); ((MysqlDataSource)dataSource).setUser("root"); ((MysqlDataSource)dataSource).setPassword("1111"); //2.和数据库服务器建立连接 Connection connection=dataSource.getConnection();//这里要抛出异常 //3.构造SQL语句 String sql="insert into student values(?,?,?)"; PreparedStatement statement=connection.prepareStatement(sql); statement.setInt(1,id1); statement.setString(2,name); statement.setInt(3,id2); //4. 执行 SQL 语句~. 返回值就是 "这次操作影响到几行" int n=statement.executeUpdate(); System.out.println("n="+n); // 5. 释放必要的资源. 关闭连接. statement.close(); connection.close(); } }- 1
- 2
- 3
- 4
- 5
- 6
- 7
- 8
- 9
- 10
- 11
- 12
- 13
- 14
- 15
- 16
- 17
- 18
- 19
- 20
- 21
- 22
- 23
- 24
- 25
- 26
- 27
- 28
- 29
- 30
- 31
- 32
- 33
- 34
- 35
- 36
- 37
- 38
- 39
下面我们执行一个删除的操作
代码如下:import com.mysql.jdbc.jdbc2.optional.MysqlDataSource; import javax.sql.DataSource; import java.sql.Connection; import java.sql.PreparedStatement; import java.sql.SQLException; import java.util.Scanner; public class JDBCDemo2{ public static void main(String[] args) throws SQLException { Scanner scanner=new Scanner(System.in); System.out.println("请输入你要删除的id号"); int id=scanner.nextInt(); DataSource dataSource=new MysqlDataSource(); ((MysqlDataSource)dataSource).setUrl("jdbc:mysql://127.0.0.1:3306/d09073?characterEncoding=utf8&useSSL=false"); ((MysqlDataSource)dataSource).setUser("root"); ((MysqlDataSource)dataSource).setPassword("1111"); Connection connection=dataSource.getConnection(); String sql="delete from student where id=?"; PreparedStatement statement=connection.prepareStatement(sql); statement.setInt(1,id); int n=statement.executeUpdate(); System.out.println("n="+n); statement.close(); connection.close(); } }- 1
- 2
- 3
- 4
- 5
- 6
- 7
- 8
- 9
- 10
- 11
- 12
- 13
- 14
- 15
- 16
- 17
- 18
- 19
- 20
- 21
- 22
- 23
- 24
- 25
- 26
- 27
- 28
- 29
- 30
- 31
- 32
- 33
运行结果如下:

下面我们进行一个查询操作,它的返回值是一个临时表的形式,我们需要遍历进行打印
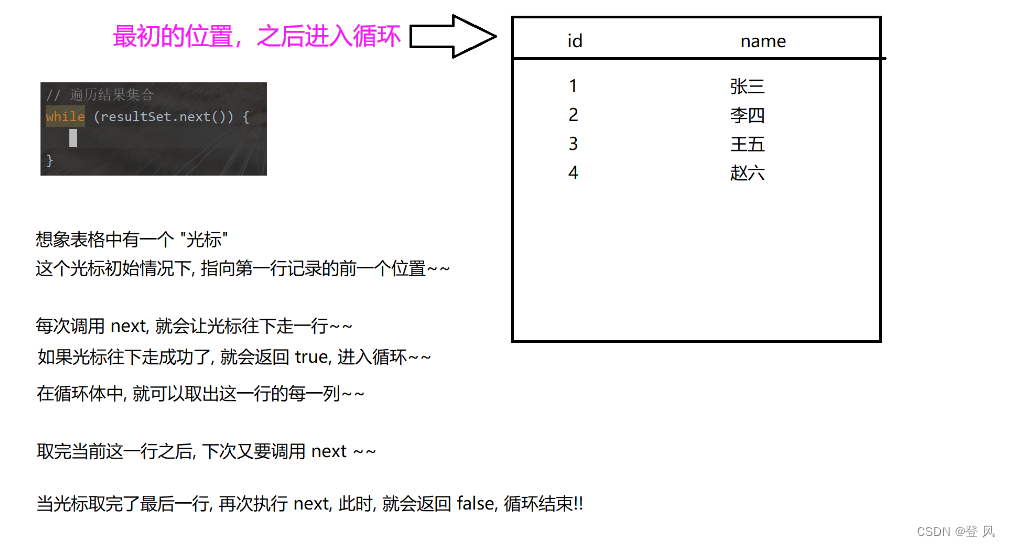
代码如下:import com.mysql.jdbc.jdbc2.optional.MysqlDataSource; import javax.sql.DataSource; import java.sql.Connection; import java.sql.PreparedStatement; import java.sql.ResultSet; import java.sql.SQLException; public class JDBCDemo3 { public static void main(String[] args) throws SQLException { DataSource dataSource=new MysqlDataSource(); ((MysqlDataSource)dataSource).setUrl("jdbc:mysql://127.0.0.1:3306/d09073?characterEncoding=utf8&useSSL=false"); ((MysqlDataSource)dataSource).setUser("root"); ((MysqlDataSource)dataSource).setPassword("1111"); Connection connection=dataSource.getConnection(); String sql="select * from student"; PreparedStatement statement=connection.prepareStatement(sql); // 执行查询操作, 要使用 executeQuery. 返回值是一个 ResultSet 类型的对象. 表示了一个 "表格" ResultSet resultSet=statement.executeQuery(); while(resultSet.next()){ int id1= resultSet.getInt("id"); String name= resultSet.getString("name"); int id2= resultSet.getInt("classId"); System.out.println("id="+id1+" name="+name+" classId="+id2); } resultSet.close(); statement.close(); connection.close(); } }- 1
- 2
- 3
- 4
- 5
- 6
- 7
- 8
- 9
- 10
- 11
- 12
- 13
- 14
- 15
- 16
- 17
- 18
- 19
- 20
- 21
- 22
- 23
- 24
- 25
- 26
- 27
- 28
- 29
- 30
- 31
- 32
- 33
- 34
- 35
- 36
运行结果如下:

针对如上,我们还可以选出特定的id进行查询
修改后的代码如下:import com.mysql.jdbc.jdbc2.optional.MysqlDataSource; import javax.sql.DataSource; import java.sql.Connection; import java.sql.PreparedStatement; import java.sql.ResultSet; import java.sql.SQLException; import java.util.Scanner; public class JDBCDemo3 { public static void main(String[] args) throws SQLException { Scanner scanner =new Scanner(System.in); System.out.println("请输入需要查询的id号"); int id= scanner.nextInt(); DataSource dataSource=new MysqlDataSource(); ((MysqlDataSource)dataSource).setUrl("jdbc:mysql://127.0.0.1:3306/d09073?characterEncoding=utf8&useSSL=false"); ((MysqlDataSource)dataSource).setUser("root"); ((MysqlDataSource)dataSource).setPassword("1111"); Connection connection=dataSource.getConnection(); String sql="select * from student where id = ?"; PreparedStatement statement=connection.prepareStatement(sql); statement.setInt(1,id); // 执行查询操作, 要使用 executeQuery. 返回值是一个 ResultSet 类型的对象. 表示了一个 "表格" ResultSet resultSet=statement.executeQuery(); while(resultSet.next()){ int id1= resultSet.getInt("id"); String name= resultSet.getString("name"); int id2= resultSet.getInt("classId"); System.out.println("id="+id1+" name="+name+" classId="+id2); } resultSet.close(); statement.close(); connection.close(); } }- 1
- 2
- 3
- 4
- 5
- 6
- 7
- 8
- 9
- 10
- 11
- 12
- 13
- 14
- 15
- 16
- 17
- 18
- 19
- 20
- 21
- 22
- 23
- 24
- 25
- 26
- 27
- 28
- 29
- 30
- 31
- 32
- 33
- 34
- 35
- 36
- 37
- 38
- 39
- 40
- 41
- 42
运行后的结果如下:


JDBC使用步骤总结
- 创建数据库连接Connection
- 创建操作命令Statement
- 使用操作命令来执行SQL
- 处理结果集ResultSet
- 释放资源
- 和数据库服务器建立连接
-
相关阅读:
Spring的“一站式解决方案”体现在哪里?
[附源码]计算机毕业设计springboot基于人脸识别的社区防疫管理系统
矿山自动驾驶技术点分析
初识java
视频实现输入密码才能观看的应用效果
Android Jetpack应用指南学习笔记11使用safe args方式安全传递参数
Android sdk 生成api doc文档
【无标题】C语言学习笔记5--循环结构和选择结构
ONNX Runtime入门示例:在C#中使用ResNet50v2进行图像识别
二、反应式集成-spring
- 原文地址:https://blog.csdn.net/qq_43570634/article/details/132942650
