-
MyBatis ---- 搭建MyBatis
MyBatis ---- 搭建MyBatis
1. 开发环境
IDE:idea 2022.1
构建工具:maven 3.8.1
MySql 版本:MySql 8
MyBatis 版本:MyBatis 3.5.112. 创建maven工程
a>打包方式:jar
<groupId>org.examplegroupId> <artifactId>MyBatis_demo1artifactId> <version>1.0-SNAPSHOTversion> <packaging>jarpackaging>- 1
- 2
- 3
- 4
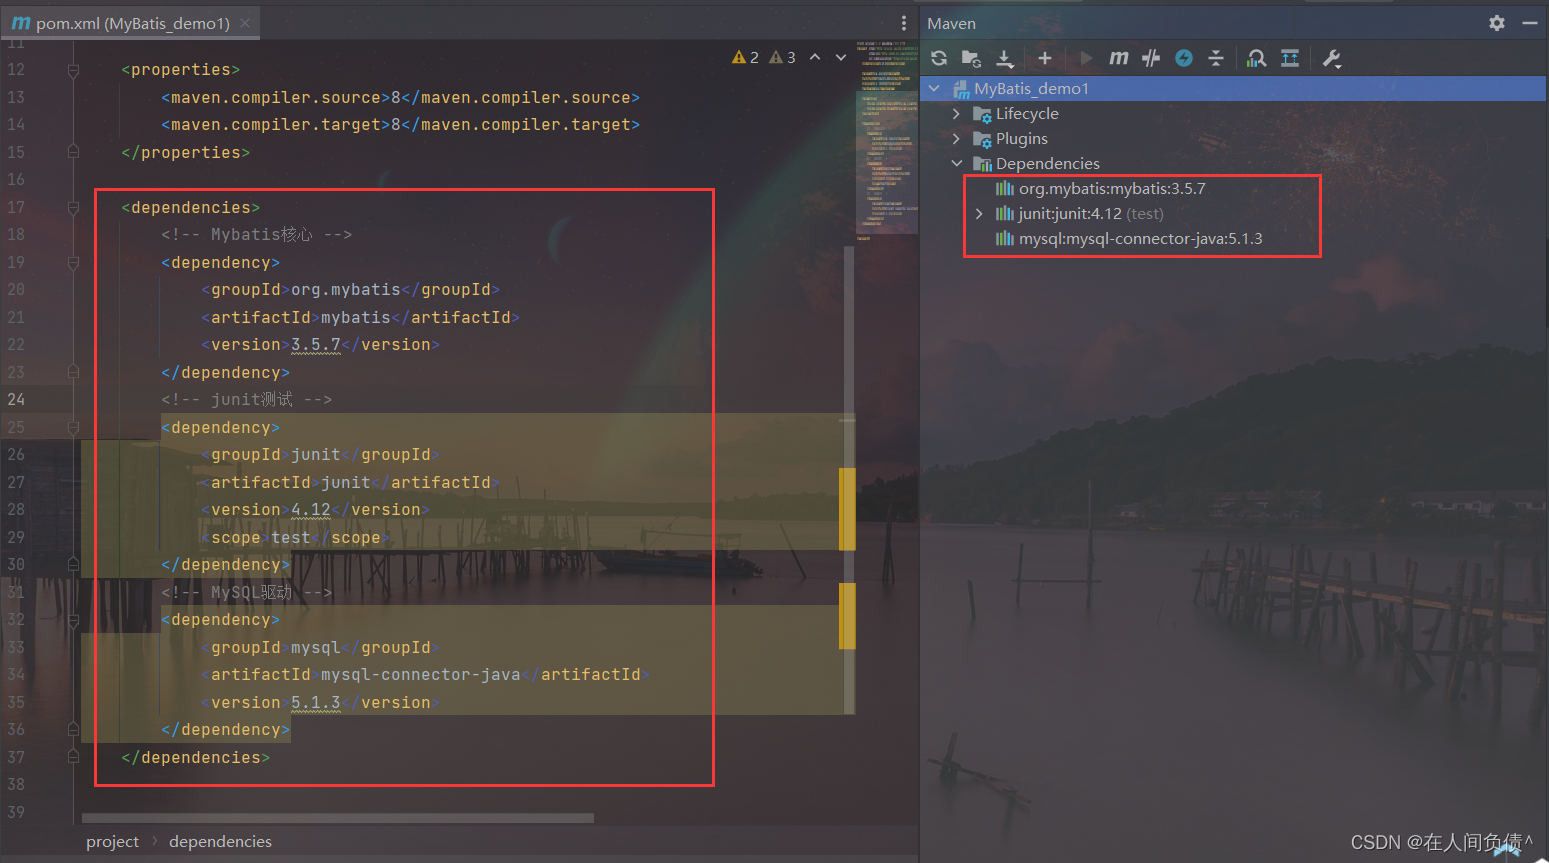
b>引入依赖
<dependencies> <dependency> <groupId>org.mybatisgroupId> <artifactId>mybatisartifactId> <version>3.5.7version> dependency> <dependency> <groupId>junitgroupId> <artifactId>junitartifactId> <version>4.12version> <scope>testscope> dependency> <dependency> <groupId>mysqlgroupId> <artifactId>mysql-connector-javaartifactId> <version>5.1.3version> dependency> dependencies>- 1
- 2
- 3
- 4
- 5
- 6
- 7
- 8
- 9
- 10
- 11
- 12
- 13
- 14
- 15
- 16
- 17
- 18
- 19
- 20
- 21
3. 创建MyBatis的核心配置文件
MyBatis的核心配置文件习惯是命名为
mybatis-config.xml,这个文件名仅仅只是建议,并非强制要求。将来整合 Spring 之后,这个配置文件可以省略,所以大家操作时可以直接复制、黏贴。
核心配置文件主要用于配置连接数据库的环境以及 MyBatis 的全局配置信息
核心配置文件存放的位置是 src/main/resources 目录下DOCTYPE configuration PUBLIC "-//mybatis.org//DTD Config 3.0//EN" "http://mybatis.org/dtd/mybatis-3-config.dtd"> <configuration> <environments default="development"> <environment id="development"> <transactionManager type="JDBC"/> <dataSource type="POOLED"> <property name="driver" value="com.mysql.jdbc.Driver"/> <property name="url" value="jdbc:mysql://localhost:3306/mybatis?useUnicode=true&characterEncoding=utf8&serverTimezone=UTC&useSSL=false&rewriteBatchedStatements=true"/> <property name="username" value="root"/> <property name="password" value="root"/> dataSource> environment> environments> <mappers> <mapper resource="mappers/UserMapper.xml"/> mappers> configuration>- 1
- 2
- 3
- 4
- 5
- 6
- 7
- 8
- 9
- 10
- 11
- 12
- 13
- 14
- 15
- 16
- 17
- 18
- 19
- 20
- 21
- 22
- 23
4. 创建mapper接口
MyBatis 中的 mapper 接口相当于以前的 dao。但是区别在于,mapper 仅仅是接口,我们不需要提供实现类。
- 在数据库中创建
t_user表
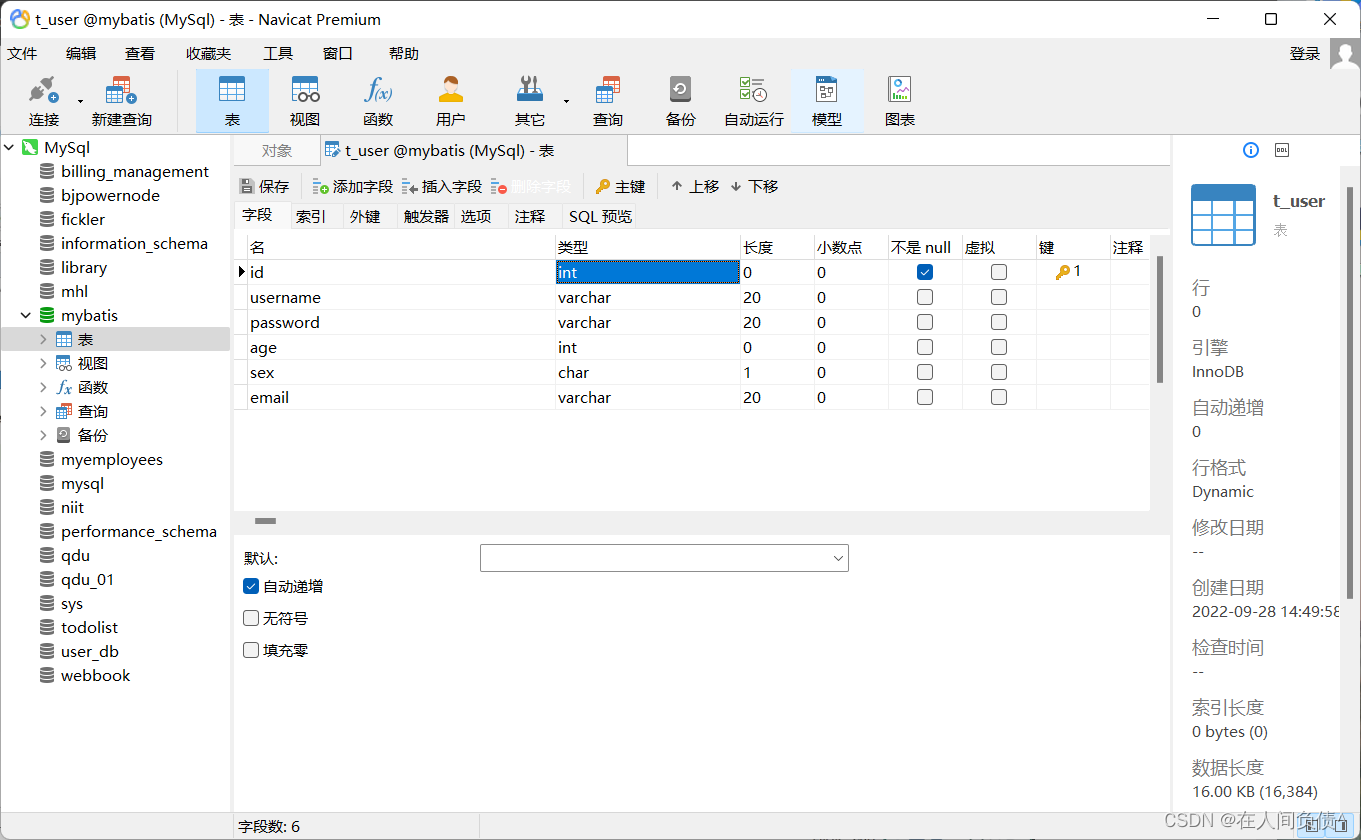
- 在 项目中创建对应数据库
t_user表的实体类
package com.fickler.mybatis.pojo; /** * @author dell * @version 1.0 */ public class User { private Integer id; private String username; private String password; private Integer age; private String sex; private String email; public User() { } public User(Integer id, String username, String password, Integer age, String sex, String email) { this.id = id; this.username = username; this.password = password; this.age = age; this.sex = sex; this.email = email; } public Integer getId() { return id; } public void setId(Integer id) { this.id = id; } public String getUsername() { return username; } public void setUsername(String username) { this.username = username; } public String getPassword() { return password; } public void setPassword(String password) { this.password = password; } public Integer getAge() { return age; } public void setAge(Integer age) { this.age = age; } public String getSex() { return sex; } public void setSex(String sex) { this.sex = sex; } public String getEmail() { return email; } public void setEmail(String email) { this.email = email; } @Override public String toString() { return "User{" + "id=" + id + ", username='" + username + '\'' + ", password=(排除文章风险提示)'" + password + '\'' + ", age=" + age + ", sex='" + sex + '\'' + ", email='" + email + '\'' + '}'; } }- 1
- 2
- 3
- 4
- 5
- 6
- 7
- 8
- 9
- 10
- 11
- 12
- 13
- 14
- 15
- 16
- 17
- 18
- 19
- 20
- 21
- 22
- 23
- 24
- 25
- 26
- 27
- 28
- 29
- 30
- 31
- 32
- 33
- 34
- 35
- 36
- 37
- 38
- 39
- 40
- 41
- 42
- 43
- 44
- 45
- 46
- 47
- 48
- 49
- 50
- 51
- 52
- 53
- 54
- 55
- 56
- 57
- 58
- 59
- 60
- 61
- 62
- 63
- 64
- 65
- 66
- 67
- 68
- 69
- 70
- 71
- 72
- 73
- 74
- 75
- 76
- 77
- 78
- 79
- 80
- 81
- 82
- 83
- 84
- 85
- 86
- 87
- 88
- 创建 mapper 接口
package com.fickler.mybatis.mapper; /** * @author dell * @version 1.0 */ public interface UserMapper { /** * MyBatis面向接口编程的两个一致: * 1.映射文件的namespace要和mapper接口的全类名保持一致 * 2.映射文件中的SQL语句的id要和mapper接口中的方法名保持一致 * 表--实体类--mapper接口--映射文件 */ /** * 添加用户信息 */ int insertUser(); }- 1
- 2
- 3
- 4
- 5
- 6
- 7
- 8
- 9
- 10
- 11
- 12
- 13
- 14
- 15
- 16
- 17
- 18
- 19
- 20
- 21
- 22
5. 创建MyBatis的映射文件
相关概念:ORM(Object Relationship Mapping)对象关系映射。
对象:Java 的实体类对象
关系:关系型数据库
映射:二者之间的对应关系Java概念 数据库概念 类 表 属性 字段/列 对象 记录/行 - 映射文件的命名规则:
表所对应的实体类的类名 + Mapper.xml
例如:表 t_user,映射的实体类为 User,所对应的映射文件为 UserMapper.xml
因此一个映射文件对应一个实体类,对应一张表的操作
MyBatis 映射文件用于编写 SQL,访问以及操作表中的数据
MyBatis 映射文件存放的位置是 src/main/resources/mappers 目录下 - MyBatis 中可以面向接口操作数据,要保持两个一致:
a> mapper 接口的全类名和映射文件的命名空间(namespace)保持一致
b> mapper 接口中方法的方法名和映射文件中编写 SQL 的标签的 id 属性保持一致
DOCTYPE mapper PUBLIC "-//mybatis.org//DTD Mapper 3.0//EN" "http://mybatis.org/dtd/mybatis-3-mapper.dtd"> <mapper namespace="com.fickler.mybatis.mapper.UserMapper"> <insert id="insertUser"> insert into t_user values(null,'张三','123',23,'女','123456@qq.com') insert> mapper>- 1
- 2
- 3
- 4
- 5
- 6
- 7
- 8
- 9
- 10
- 11
- 12
- 13
6. 通过junit测试功能
package com.fickler.mybatis.test; import com.fickler.mybatis.mapper.UserMapper; import com.fickler.mybatis.pojo.User; import org.apache.ibatis.io.Resources; import org.apache.ibatis.session.SqlSession; import org.apache.ibatis.session.SqlSessionFactory; import org.apache.ibatis.session.SqlSessionFactoryBuilder; import org.junit.Test; import java.io.IOException; import java.io.InputStream; /** * @author dell * @version 1.0 */ public class MyBatisTest { /** * SqlSession默认不自动提交事务,若需要自动提交事务 * 可以使用sqlSessionFactory.openSession(true); * @throws IOException */ @Test public void testMyBatis() throws IOException { //加载核心配置文件 InputStream resourceAsStream = Resources.getResourceAsStream("mybatis-config.xml"); //获取SqlSessionFactoryBuilder SqlSessionFactoryBuilder sqlSessionFactoryBuilder = new SqlSessionFactoryBuilder(); //获取sqlSessionFactory SqlSessionFactory sqlSessionFactory = sqlSessionFactoryBuilder.build(resourceAsStream); //获取SqlSession SqlSession sqlSession = sqlSessionFactory.openSession(true); //自动提交 //获取mapper接口对象 UserMapper userMapper = sqlSession.getMapper(UserMapper.class); //测试功能 int result = userMapper.insertUser(); //提交事务 // sqlSession.commit(); System.out.println("result: " + result); } }- 1
- 2
- 3
- 4
- 5
- 6
- 7
- 8
- 9
- 10
- 11
- 12
- 13
- 14
- 15
- 16
- 17
- 18
- 19
- 20
- 21
- 22
- 23
- 24
- 25
- 26
- 27
- 28
- 29
- 30
- 31
- 32
- 33
- 34
- 35
- 36
- 37
- 38
- 39
- 40
- 41
- 42
- 43
- 44
- 45
- 46
- 47
- 48
SqlSession:代表 Java 程序和数据库之间的会话。(HttpSession 是 Java 程序和浏览器之间的会话)
SqlSessionFactory:是“生产” SqlSession 的“工厂”。
工厂模式:如果创建某一个对象,使用的过程基本固定,那么我们就可以把创建这个对象的相关代码封装到一个“工厂类”中,以后都使用这个工厂类来“生产”我们需要的对象。7. 加入log4j日志功能
a>加入依赖
<dependency> <groupId>log4jgroupId> <artifactId>log4jartifactId> <version>1.2.17version> dependency>- 1
- 2
- 3
- 4
- 5
- 6
b>加入log4j的配置文件
log4j 的配置文件名为 log4j.xml,存放的位置是 src/main/resources 目录下
DOCTYPE log4j:configuration SYSTEM "log4j.dtd"> <log4j:configuration> <appender name="STDOUT" class="org.apache.log4j.ConsoleAppender"> <param name="Encoding" value="UTF-8"/> <layout class="org.apache.log4j.PatternLayout"> <param name="ConversionPattern" value="%-5p %d{MM-dd HH:mm:ss,SSS} %m (%F:%L) \n"/> layout> appender> <logger name="java.sql"> <level value="debug"/> logger> <logger name="org.apache.ibatis"> <level value="info"/> logger> <root> <level value="debug"/> <appender-ref ref="STDOUT"/> root> log4j:configuration>- 1
- 2
- 3
- 4
- 5
- 6
- 7
- 8
- 9
- 10
- 11
- 12
- 13
- 14
- 15
- 16
- 17
- 18
- 19
- 20
- 21
日志级别
FATAL(致命)>ERROR(错误)>WARN(警告)>INFO(信息)>DEBUG(调试)
从左到右打印的内容越来越详细 -
相关阅读:
广西建筑模板厂家-能强优品木业
魔众API支持接口数量配额邮件告警
uniapp/小程序 onload方法每次打开页面都执行解读
新话题来啦!仿真与理论的完美结合---开篇
Pytorch CUDA CPP简易教程,在Windows上操作
VR机器人教你如何正确打乒乓球
http和https包解析
[附源码]计算机毕业设计校园便携系统Springboot程序
【深度学习之模型优化】模型剪枝、模型量化、知识蒸馏概述
最强开源大模型面世:阿里发布Qwen2
- 原文地址:https://blog.csdn.net/qq_52354698/article/details/127088767
