-
SpringBoot SpringBoot 原理篇 2 自定义starter 2.2 IP计数业务功能开发【自定义starter】
SpringBoot
【黑马程序员SpringBoot2全套视频教程,springboot零基础到项目实战(spring boot2完整版)】
SpringBoot 原理篇
2 自定义starter
2.2 IP计数业务功能开发【自定义starter】
2.2.1 大概看看别人的starter

命名虽然可以随便,但是还是尽量和人家的像一点
而且,这些starter 是分成两部分的

这里面好像没有功能,在上面的自动配置里面

org → … → data → redis
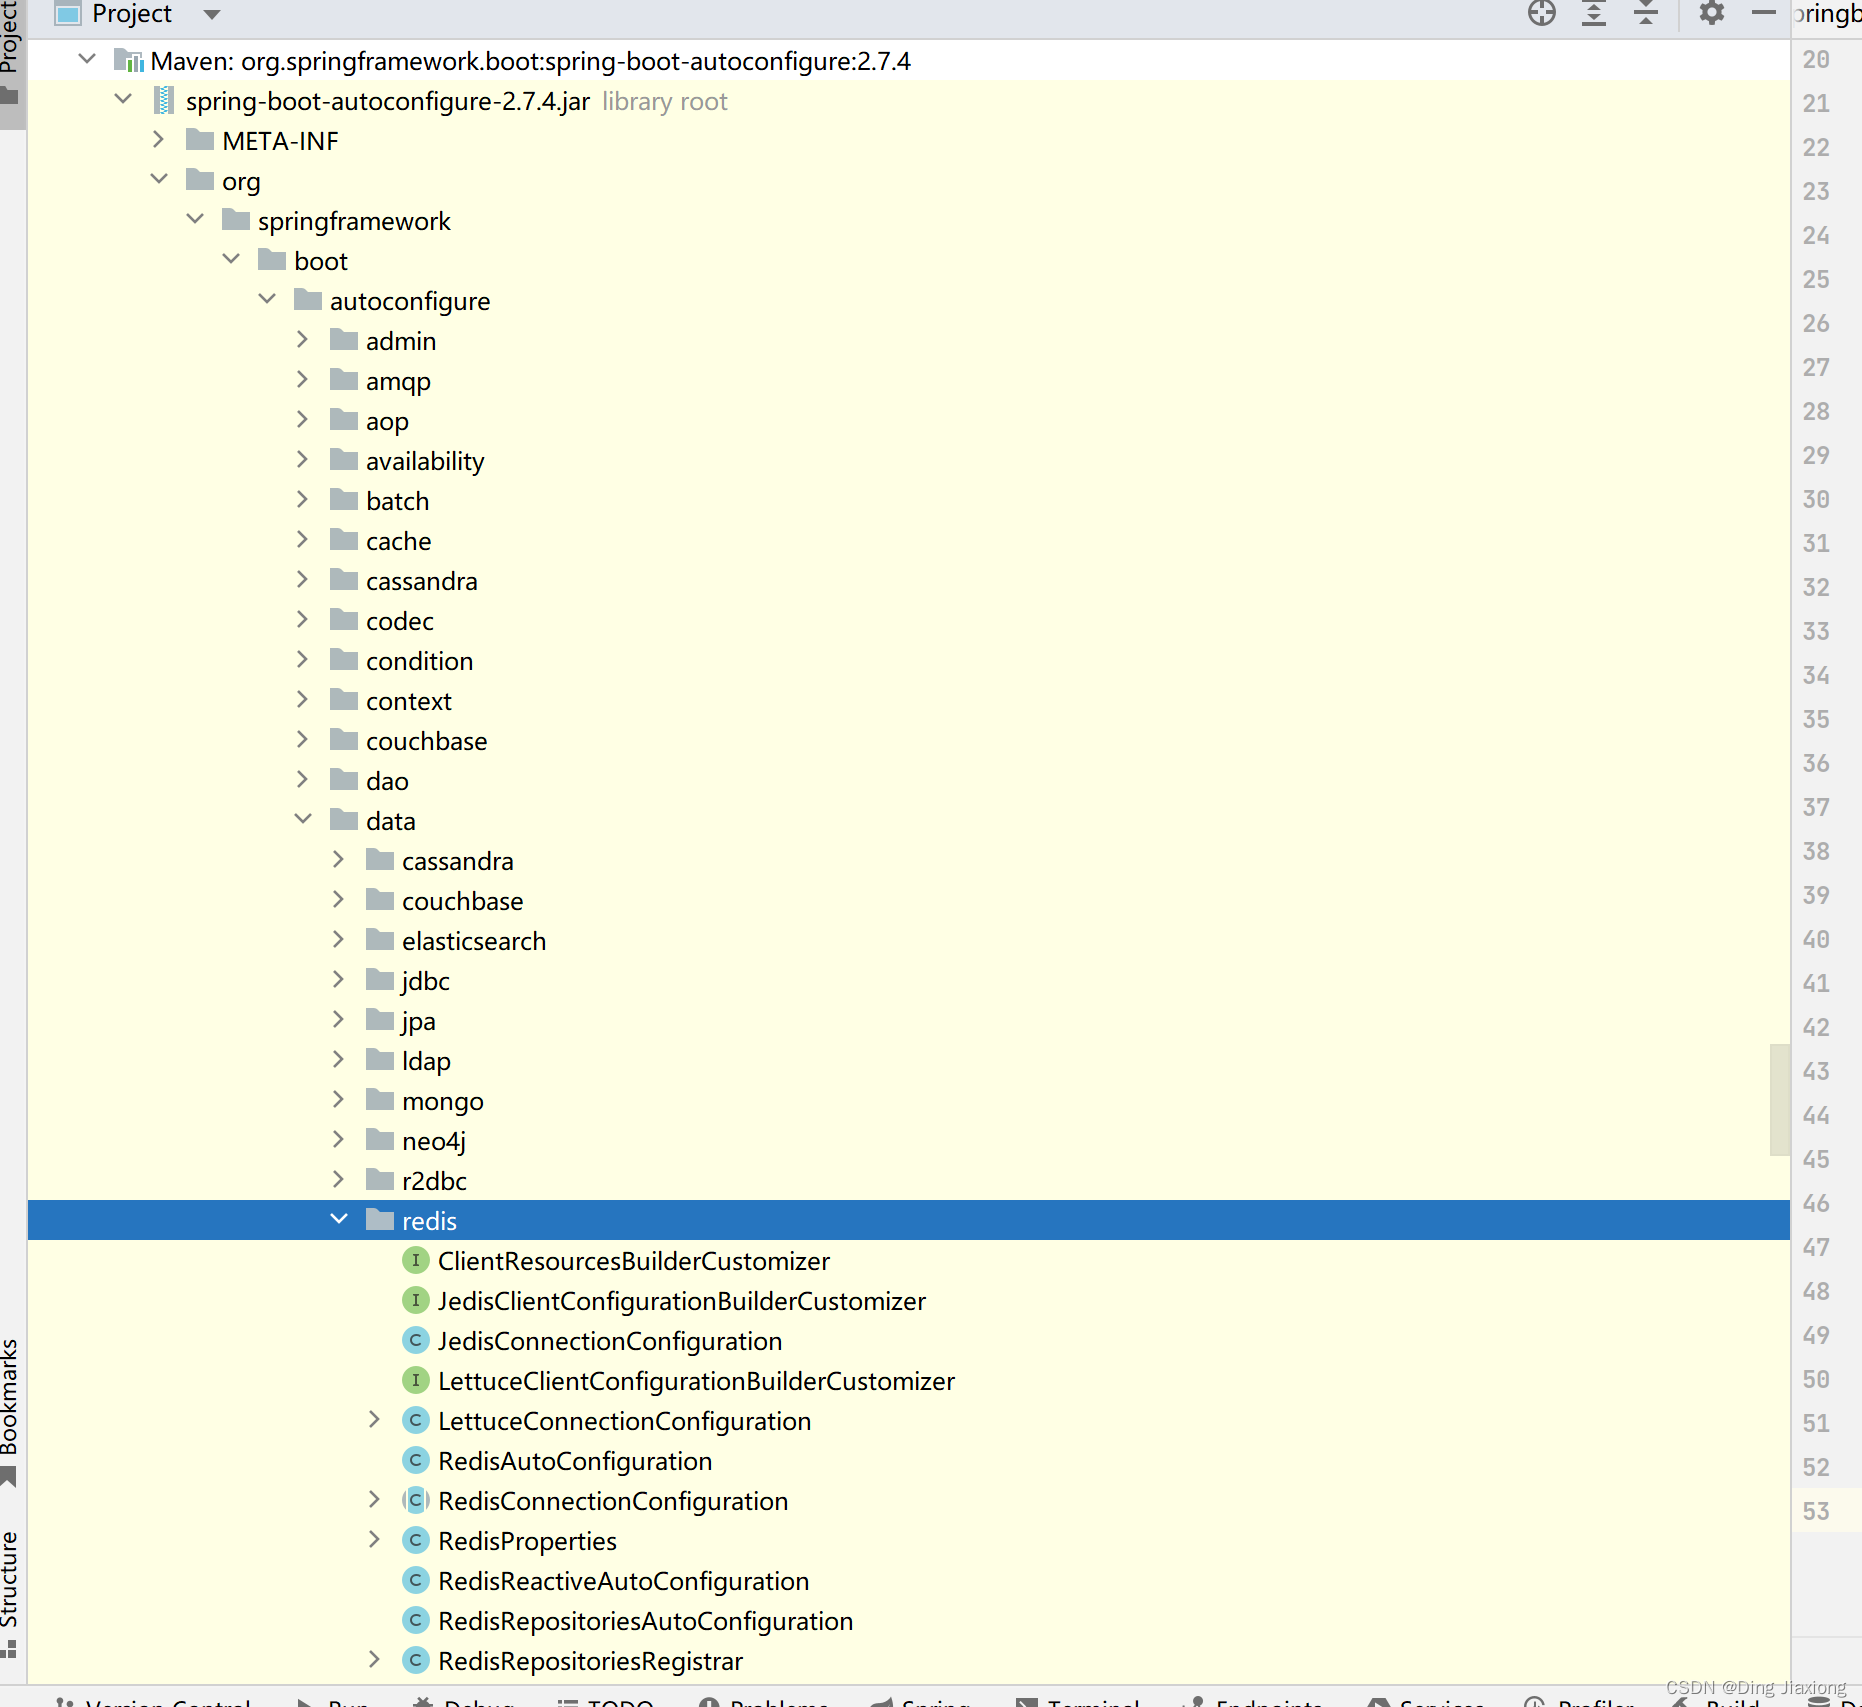
这里面就有它的自动配置类 了
先把坐标定义出来, 然后做了一个工程
看看MP 的

好像也是这样哈
【咱们就一个模块搞定,像druid 那样】

2.2.2 直接开干
创建一个全新的SpringBoot 工程模块

依赖都不勾

直接创建,上来先把SpringBoot 的版本改掉

OK, 一个全新的SpringBoot 工程
大概修改一下pom 文件
不要测试依赖、也不要maven 插件

把测试直接拿掉了,已经无意义了
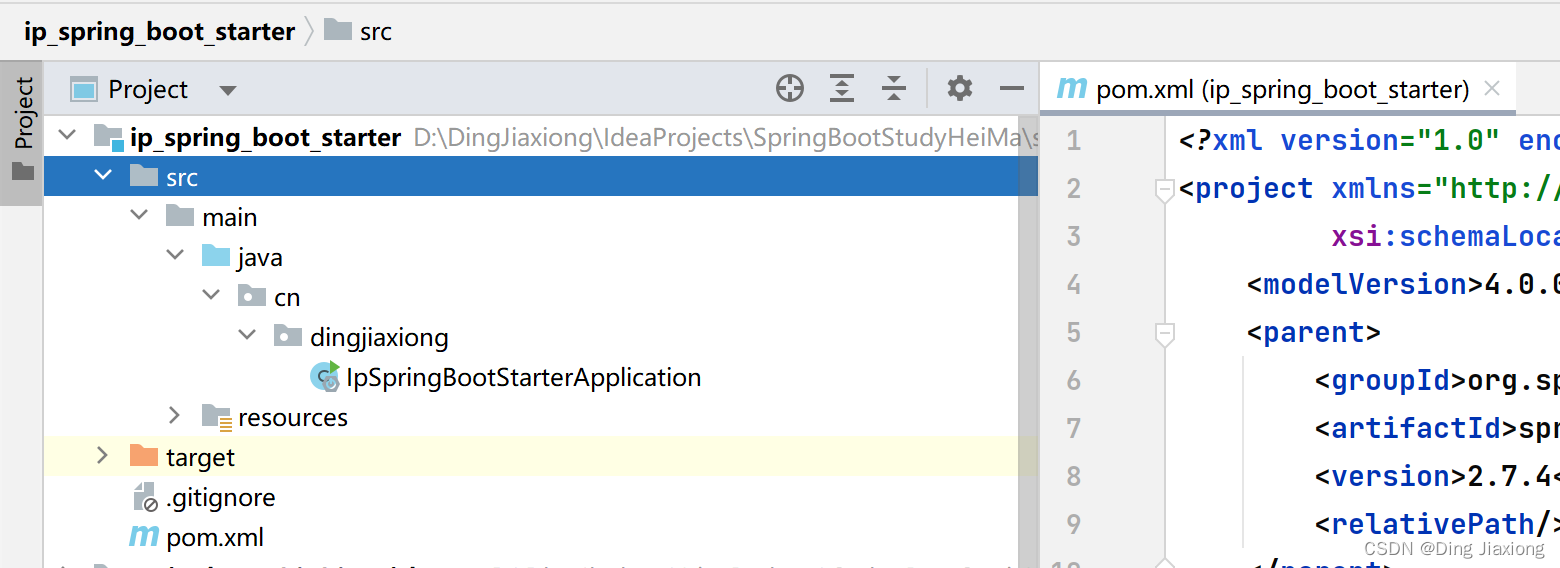

OK,结构的空壳就起来了
【业务类】
先导入web 包
<dependency> <groupId>org.springframework.bootgroupId> <artifactId>spring-boot-starter-webartifactId> dependency>- 1
- 2
- 3
- 4

package cn.dingjiaxiong.service; import org.springframework.beans.factory.annotation.Autowired; import javax.servlet.http.HttpServletRequest; import java.util.HashMap; import java.util.Map; /** * ClassName: IpCountService * date: 2022/10/25 16:49 * * @author DingJiaxiong */ public class IpCountService { private Map<String, Integer> ipCountMap = new HashMap<String, Integer>(); @Autowired private HttpServletRequest httpServletRequest; //当前的request 对象的注入工作由使用当前starter的工程提供自动装配 //调用这个方法,就可以统计ip的访问次数 public void count() { System.out.println("=============================================="); //每次调用当前操作,就记录当前访问的IP,然后累加访问次数 //1. 获取当前操作的IP地址 String ip = httpServletRequest.getRemoteAddr(); //2. 根据IP地址从Map取值,并递增 Integer count = ipCountMap.get(ip); if (count == null){ ipCountMap.put(ip,1); }else{ ipCountMap.put(ip,ipCountMap.get(ip) + 1); } } }- 1
- 2
- 3
- 4
- 5
- 6
- 7
- 8
- 9
- 10
- 11
- 12
- 13
- 14
- 15
- 16
- 17
- 18
- 19
- 20
- 21
- 22
- 23
- 24
- 25
- 26
- 27
- 28
- 29
- 30
- 31
- 32
- 33
- 34
- 35
- 36
- 37
- 38
- 39
- 40
- 41
OK, 做业务就是这样了
【自动配置类】
package cn.dingjiaxiong.autoconfig; /** * ClassName: IpAutoConfiguration * date: 2022/10/25 17:15 * * @author DingJiaxiong */ public class IpAutoConfiguration { }- 1
- 2
- 3
- 4
- 5
- 6
- 7
- 8
- 9
- 10
- 11
【创建META-INF 的 spring.factories,让它自动配置】
# Auto Configure org.springframework.boot.autoconfigure.EnableAutoConfiguration=\ cn.dingjiaxiong.autoconfig.IpAutoConfiguration- 1
- 2
- 3

实现一下配置类
package cn.dingjiaxiong.autoconfig; import cn.dingjiaxiong.service.IpCountService; import org.springframework.context.annotation.Bean; /** * ClassName: IpAutoConfiguration * date: 2022/10/25 17:15 * * @author DingJiaxiong */ public class IpAutoConfiguration { @Bean public IpCountService ipCountService(){ return new IpCountService(); } }- 1
- 2
- 3
- 4
- 5
- 6
- 7
- 8
- 9
- 10
- 11
- 12
- 13
- 14
- 15
- 16
- 17
- 18
- 19
- 20
OK了,现在我们已经可以直接在08 SSMP 中去使用这个starter 了
不过要先安装到仓库中,【先clean 再 install】

OK,在08 中导入坐标
<dependency> <groupId>cn.dingjiaxionggroupId> <artifactId>ip_spring_boot_starterartifactId> <version>0.0.1-SNAPSHOTversion> dependency>- 1
- 2
- 3
- 4
- 5

这样这个模块就进来了
调用一下
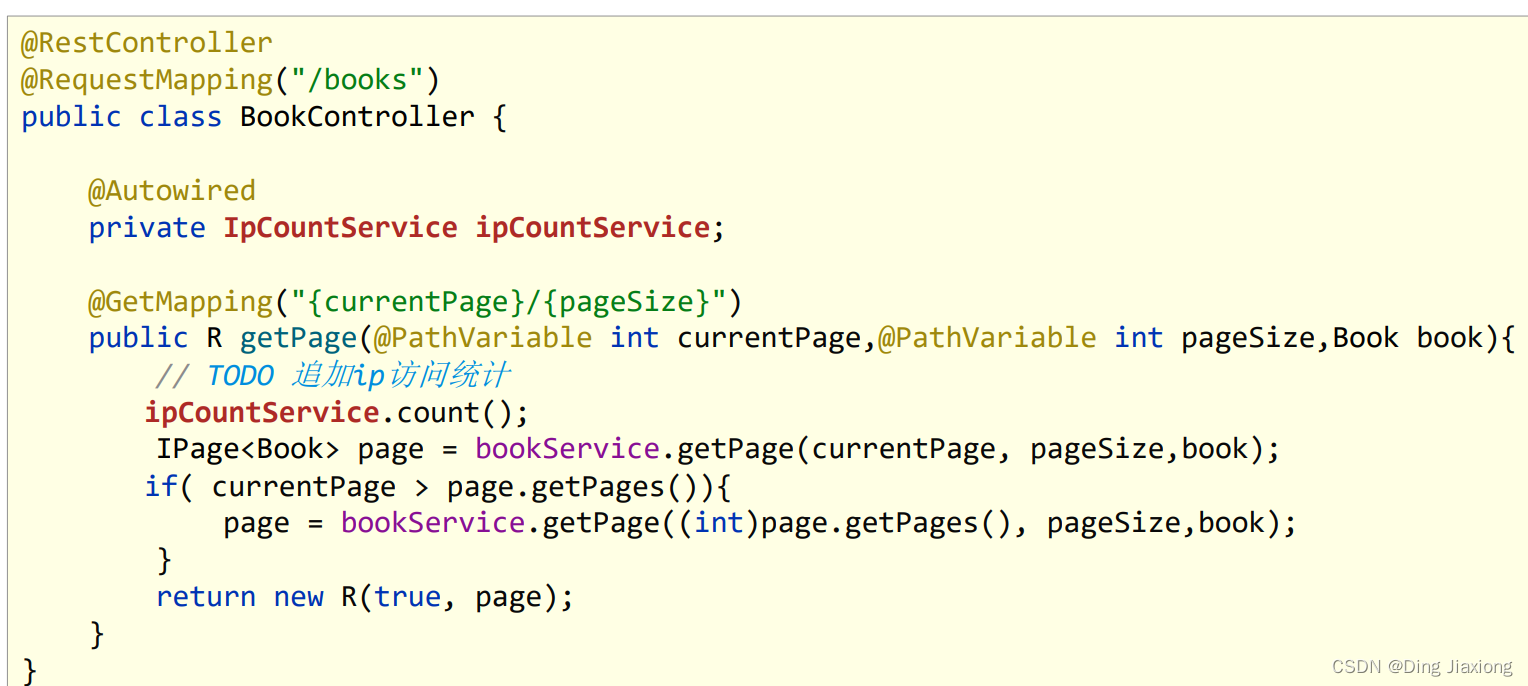
修改controller
@Autowired private IpCountService ipCountService; @GetMapping("/{currentPage}/{pageSize}") public R getPage(@PathVariable int currentPage, @PathVariable int pageSize,Book book) { ipCountService.count(); IPage<Book> page = bookService.getPage(currentPage, pageSize,book); //如果当前页码值大于了总页码值,那么重新执行查询操作,使用最大页码值作为当前页码值 if (currentPage > page.getPages()){ page = bookService.getPage((int) page.getPages(),pageSize); } return new R(null != page, page); }- 1
- 2
- 3
- 4
- 5
- 6
- 7
- 8
- 9
- 10
- 11
- 12
- 13
- 14
- 15
- 16
为了更好的查看到效果
package cn.dingjiaxiong.service; import org.springframework.beans.factory.annotation.Autowired; import javax.servlet.http.HttpServletRequest; import java.util.HashMap; import java.util.Map; /** * ClassName: IpCountService * date: 2022/10/25 16:49 * * @author DingJiaxiong */ public class IpCountService { private Map<String, Integer> ipCountMap = new HashMap<String, Integer>(); @Autowired private HttpServletRequest httpServletRequest; //当前的request 对象的注入工作由使用当前starter的工程提供自动装配 //调用这个方法,就可以统计ip的访问次数 public void count() { //每次调用当前操作,就记录当前访问的IP,然后累加访问次数 //1. 获取当前操作的IP地址 String ip = httpServletRequest.getRemoteAddr(); System.out.println("==============================================" + ip); //2. 根据IP地址从Map取值,并递增 Integer count = ipCountMap.get(ip); if (count == null){ ipCountMap.put(ip,1); }else{ ipCountMap.put(ip,ipCountMap.get(ip) + 1); } } }- 1
- 2
- 3
- 4
- 5
- 6
- 7
- 8
- 9
- 10
- 11
- 12
- 13
- 14
- 15
- 16
- 17
- 18
- 19
- 20
- 21
- 22
- 23
- 24
- 25
- 26
- 27
- 28
- 29
- 30
- 31
- 32
- 33
- 34
- 35
- 36
- 37
- 38
- 39
- 40
- 41
- 42
- 43
- 44
改了下打印
记得重新clean 、安装一下

OK, 直接启动SSMP

效果很明显,已经拿到了。OK,这就说明程序已经跑通了
OK回顾一下
业务功能开发

自动配置类

配置

模板调用
2.2.3 小结
- 使用自动配置加载业务功能
- 切记使用之前先clean后install安装到maven仓库,确保资源更新
-
相关阅读:
天龙八部科举答题问题和答案(全4/8)
阿里最新分享第九次更新的Spring Cloud Alibaba笔记,太强了
mongodb的认识
ansible User 模块
2023华为杯数学建模D题第三问-碳排放路径优化(能源消费结构调整的多目标优化模型构建详细过程+模型假设(可复制))
『Linux』Linux环境搭建 | 阿里云云服务器白嫖 | Xshell环境配置
第二课第一周第4-6节 医学预后案例欣赏+作业解析
什么是MDM
java毕业生设计医药网络挂号系统计算机源码+系统+mysql+调试部署+lw
【长文】带你搞明白Redis
- 原文地址:https://blog.csdn.net/weixin_44226181/article/details/128060462