-
Python爬虫:scrapy从项目创建到部署可视化定时任务运行
前言
-
前面1-3小节就是
基本功能实现,完成了scrapy项目的创建和运行功能,能够爬取网络数据了,需要具备一定的Python基础和页面解析的能力 -
中间的4-6小节是
部署工作的内容,主要是实现定时任务,自动运行爬虫,可视化查看爬虫运行状态 -
最后的7-9小节是
部署优化工作的内容,基本上每个Python web应用甚至其他编程语言实现的Web应用都通用
第一节 基本功能
1、使用 pyenv创建虚拟环境
文档
创建虚拟环境
# 创建虚拟环境 $ pyenv virtualenv 3.7.0 scrapy-env # 切换环境 $ pyenv local scrapy-env- 1
- 2
- 3
- 4
- 5
强烈建议:不同的项目使用各自单独的虚拟环境来运行,确保不同项目的依赖库不冲突2、创建 scrapy项目

文档
- 官网:https://scrapy.org/
- 文档:https://docs.scrapy.org/en/latest/index.html
- github:https://github.com/scrapy/scrapy/
创建步骤
# 安装scrapy $ pip install scrapy # 查看版本 $ pip show scrapy Version: 2.7.1 # 创建项目 $ scrapy startproject scrapy_demo $ cd scrapy_demo- 1
- 2
- 3
- 4
- 5
- 6
- 7
- 8
- 9
- 10
- 11
需要修改一些必要的配置
settings.py
# Obey robots.txt rules # ROBOTSTXT_OBEY = True ROBOTSTXT_OBEY = False # 日志级别 # https://docs.scrapy.org/en/latest/topics/settings.html#std-setting-LOG_LEVEL LOG_LEVEL = 'INFO'- 1
- 2
- 3
- 4
- 5
- 6
- 7
3、创建爬虫
# 创建爬虫 $ scrapy genspider baidu_spider www.baidu.com- 1
- 2
爬虫文件示例
仅完成一个title标题的解析打印输出功能
scrapy_demo/scrapy_demo/spiders/baidu_spider.py
import scrapy from scrapy import cmdline from scrapy.http import HtmlResponse class BaiduSpiderSpider(scrapy.Spider): name = 'baidu_spider' allowed_domains = ['www.baidu.com'] start_urls = ['http://www.baidu.com/'] def parse(self, response: HtmlResponse, **kwargs): title = response.css('title::text').extract_first() print({'title': title}) if __name__ == '__main__': cmdline.execute("scrapy crawl baidu_spider".split())- 1
- 2
- 3
- 4
- 5
- 6
- 7
- 8
- 9
- 10
- 11
- 12
- 13
- 14
- 15
- 16
- 17
- 18
- 19
- 20
运行爬虫
# 运行爬虫 $ scrapy crawl baidu_spider- 1
- 2
第二节 部署爬虫
4、启动 scrapyd
文档
安装启动
pip install scrapyd # 运行scrapyd,可以单独新建一个文件夹,作为运行目录 $ scrapyd- 1
- 2
- 3
- 4
- 5
浏览器访问:http://127.0.0.1:6800/

最佳实践
方式一:
scrapyd 仅运行在本机,避免外网访问,仅通过 本机地址 和 可视化的工具访问
方式二:
如果需要外网访问,
必须配置用户名和密码,以免遭受到网络攻击scrapyd.conf
[scrapyd] username = password =- 1
- 2
- 3
5、使用 scrapyd-client 部署爬虫项目
文档
切换回项目根目录
$ pip install scrapyd-client- 1
修改部署信息的配置文件
scrapy.cfg
[settings] default = scrapy_demo.settings [deploy:default] url = http://localhost:6800/ project = scrapy_demo- 1
- 2
- 3
- 4
- 5
- 6
- 7
部署
$ scrapyd-deploy- 1
6、使用 spider-admin-pro管理爬虫
文档
pip install spider-admin-pro # 启动 gunicorn 'spider_admin_pro.main:app'- 1
- 2
- 3
- 4
浏览器访问:http://127.0.0.1:8000/
- 默认账号:admin
- 默认密码:123456
最佳实践:修改配置文件,设置用户名和密码
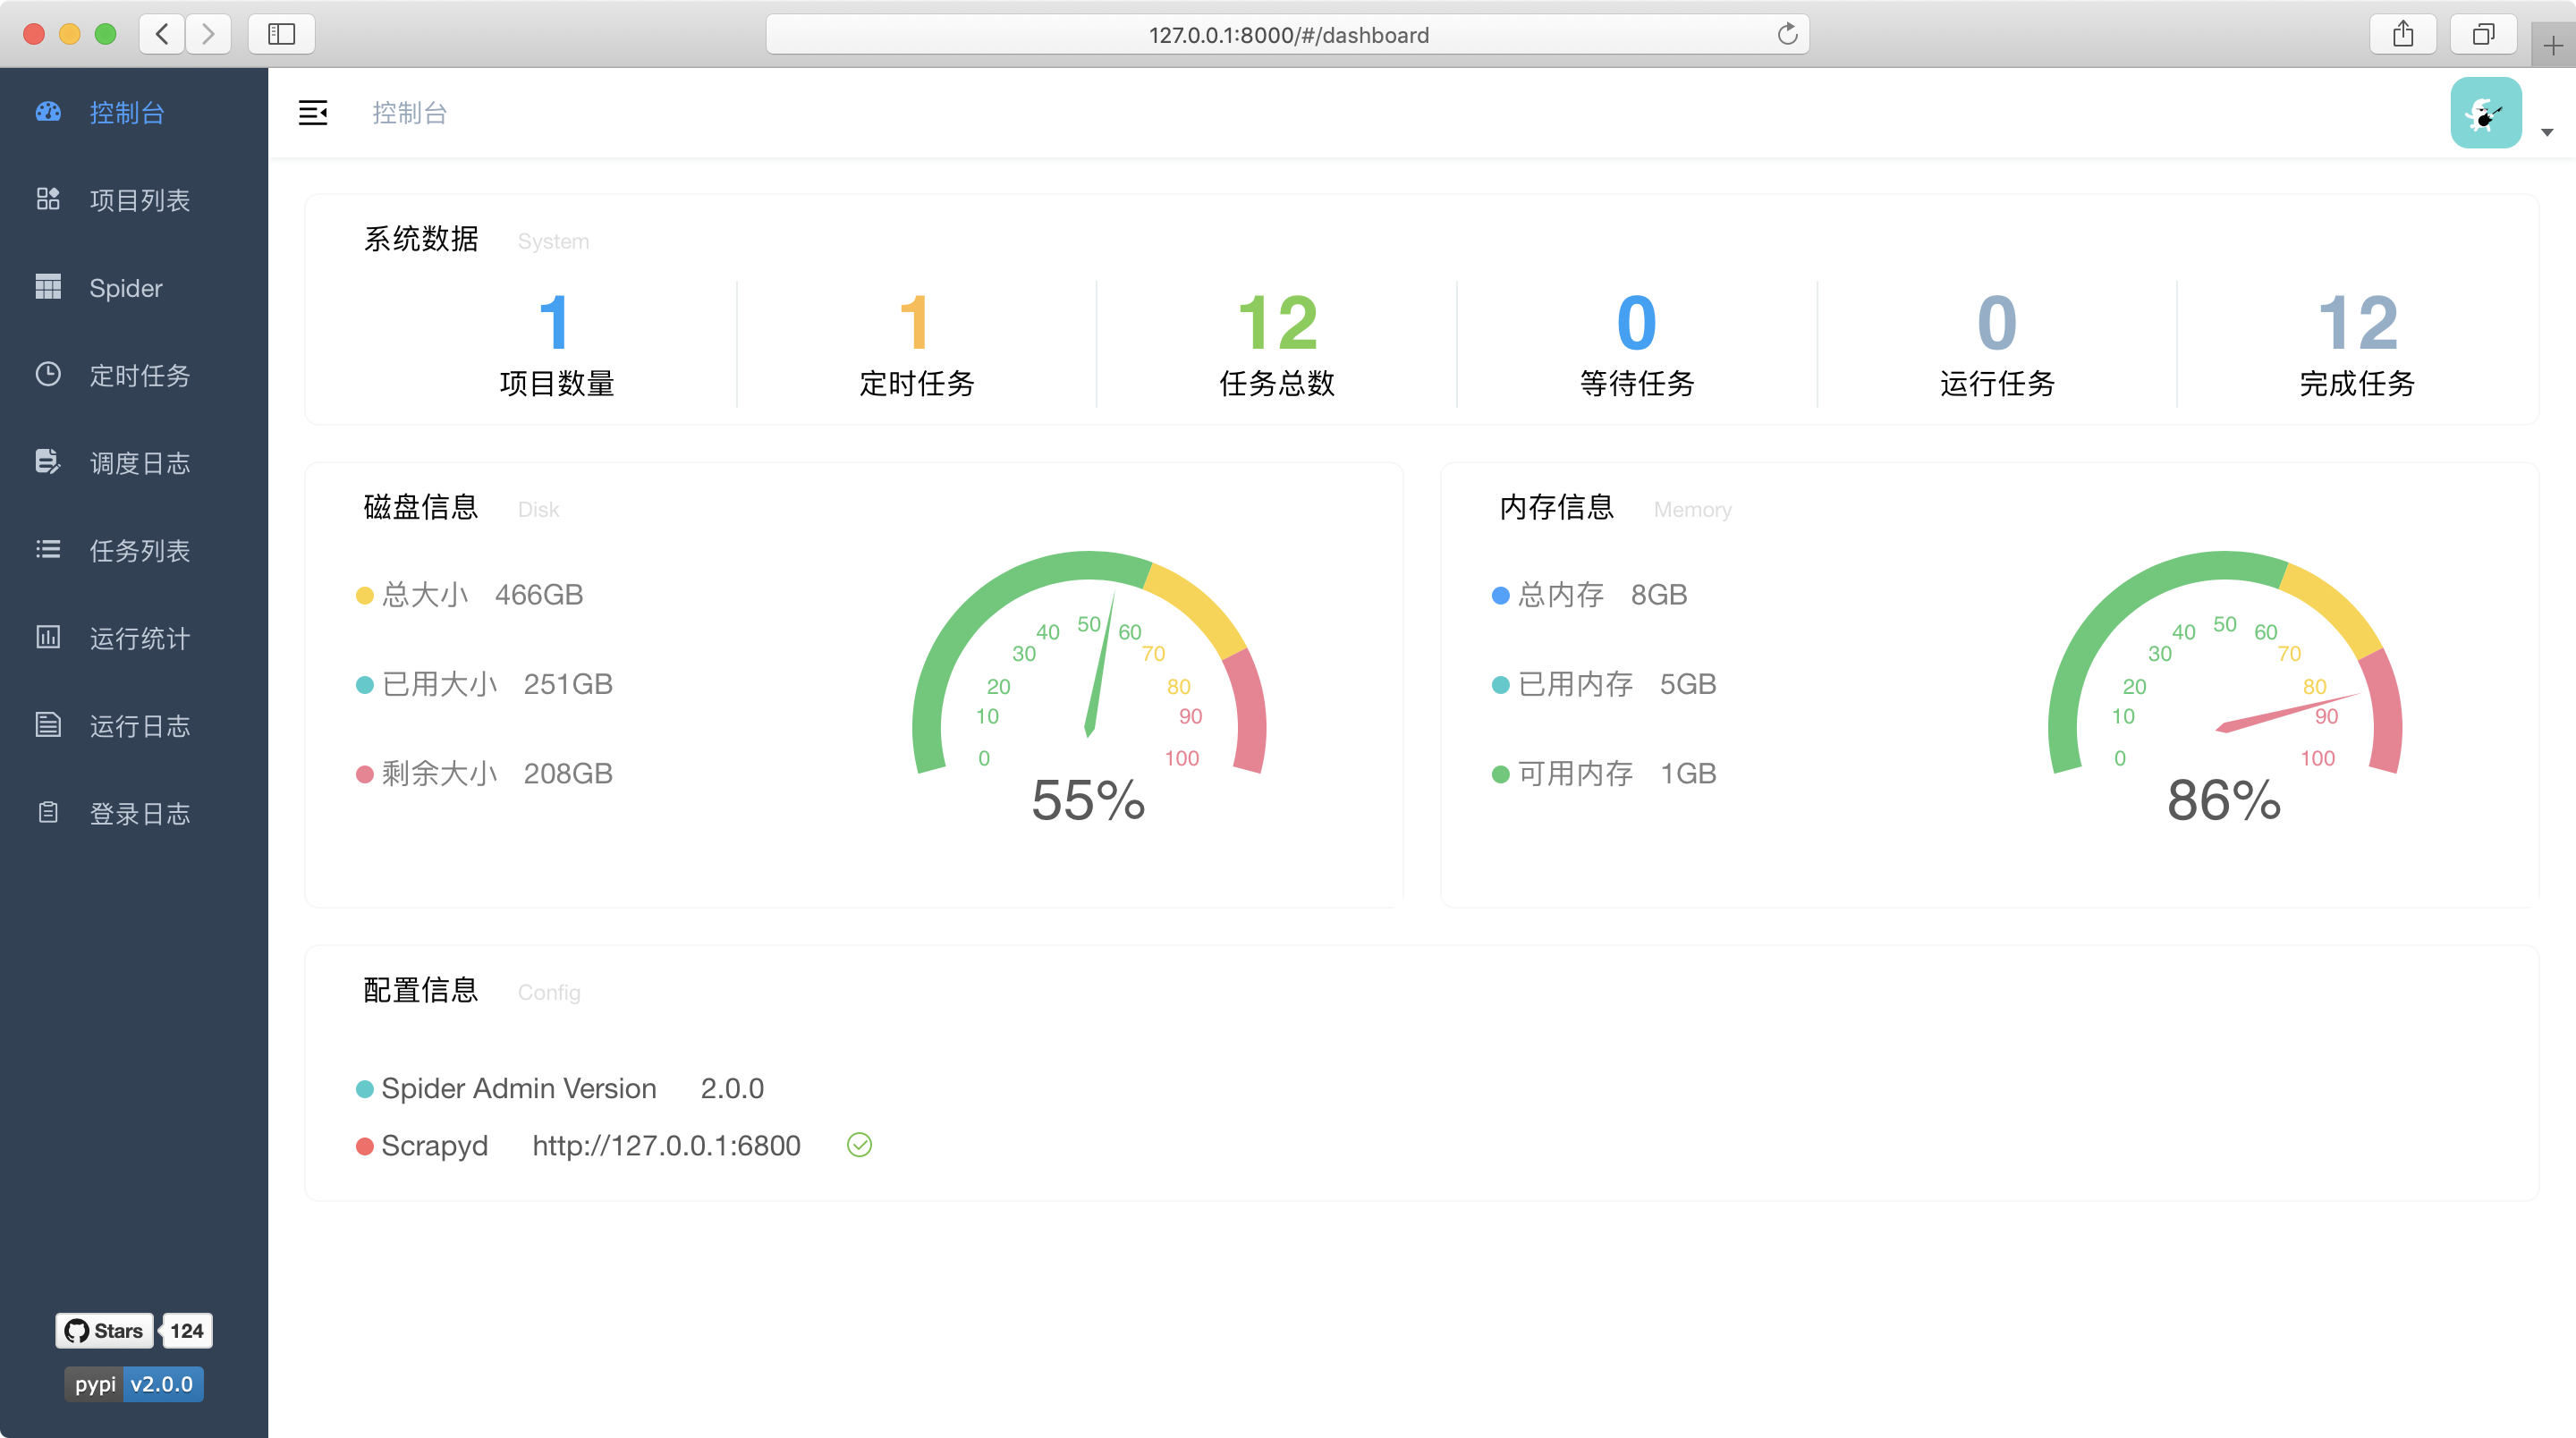
设置定时任务

第三节 部署优化
7、使用 Gunicorn管理应用
Gunicorn文档:https://docs.gunicorn.org/
# 启动服务 $ gunicorn --config gunicorn.conf.py spider_admin_pro.run:app- 1
- 2
注意:
一个配置示例:gunicorn.conf.py
# -*- coding: utf-8 -*- """ $ gunicorn --config gunicorn.conf.py spider_admin_pro.run:app """ import multiprocessing import os # 日志文件夹 LOG_DIR = 'logs' if not os.path.exists(LOG_DIR): os.mkdir(LOG_DIR) def resolve_file(filename): return os.path.join(LOG_DIR, filename) def get_workers(): return multiprocessing.cpu_count() * 2 + 1 # daemon = True daemon = False # 使用supervisor不能是后台进程 # 进程名称 proc_name = "spider-admin-pro" # 启动端口 bind = "127.0.0.1:5001" # 日志文件 loglevel = 'debug' pidfile = resolve_file("gunicorn.pid") accesslog = resolve_file("access.log") errorlog = resolve_file("error.log") # 启动的进程数 # workers = get_workers() workers = 1 worker_class = 'gevent' # 启动时钩子 def on_starting(server): ip, port = server.address[0] print('server.address:', f'http://{ip}:{port}')- 1
- 2
- 3
- 4
- 5
- 6
- 7
- 8
- 9
- 10
- 11
- 12
- 13
- 14
- 15
- 16
- 17
- 18
- 19
- 20
- 21
- 22
- 23
- 24
- 25
- 26
- 27
- 28
- 29
- 30
- 31
- 32
- 33
- 34
- 35
- 36
- 37
- 38
- 39
- 40
- 41
- 42
- 43
- 44
- 45
- 46
- 47
- 48
- 49
- 50
8、使用 supervisor管理进程
文档:
spider-admin-pro.ini
[program: spider-admin-pro] directory=/spider-admin-pro command=/usr/local/python3/bin/gunicorn --config gunicorn.conf.py spider_admin_pro.run:app stdout_logfile=logs/out.log stderr_logfile=logs/err.log stdout_logfile_maxbytes = 20MB stdout_logfile_backups = 0 stderr_logfile_maxbytes=10MB stderr_logfile_backups=0- 1
- 2
- 3
- 4
- 5
- 6
- 7
- 8
- 9
- 10
- 11
9、使用 Nginx转发请求
一般线上环境都是通过Nginx来转发外部请求到内部地址
server { listen 80; server_name _; access_log /var/log/nginx/access.log; error_log /var/log/nginx/error.log; location / { proxy_pass http://127.0.0.1:5001/; proxy_redirect off; proxy_set_header Host $host; proxy_set_header X-Real-IP $remote_addr; proxy_set_header X-Forwarded-For $proxy_add_x_forwarded_for; proxy_set_header X-Forwarded-Proto $scheme; } }- 1
- 2
- 3
- 4
- 5
- 6
- 7
- 8
- 9
- 10
- 11
- 12
- 13
- 14
- 15
- 16
- 17
- 18
- 19
-
-
相关阅读:
OneNote 教程,如何在 OneNote 中做笔记?
Qt5开发从入门到精通——第十二篇一节(Qt5 事件处理及实例——多线程及简单实例)
RK3568 + 国产 PHY YT8531 调试
原生js实现移动端京东首页搜索框、菜单栏滑动弹回、倒计时、banner动画、缓慢返回顶部效果(HTML+CSS+JS)
【考研英语语法】语篇标记
Redis部署方式(三)主从模式
过滤器(filter)、watch 侦听器 、计算属性 、axios、vue-cli 的使用 、vue组件化
基于SSM的会议管理系统设计与实现
2023年中国自动化微生物样本处理系统竞争现状及行业市场规模分析[图]
【题解】Educational Codeforces Round 82
- 原文地址:https://blog.csdn.net/mouday/article/details/127933825
