-
javaEE高阶---Spring创建和使用
一 : 引言
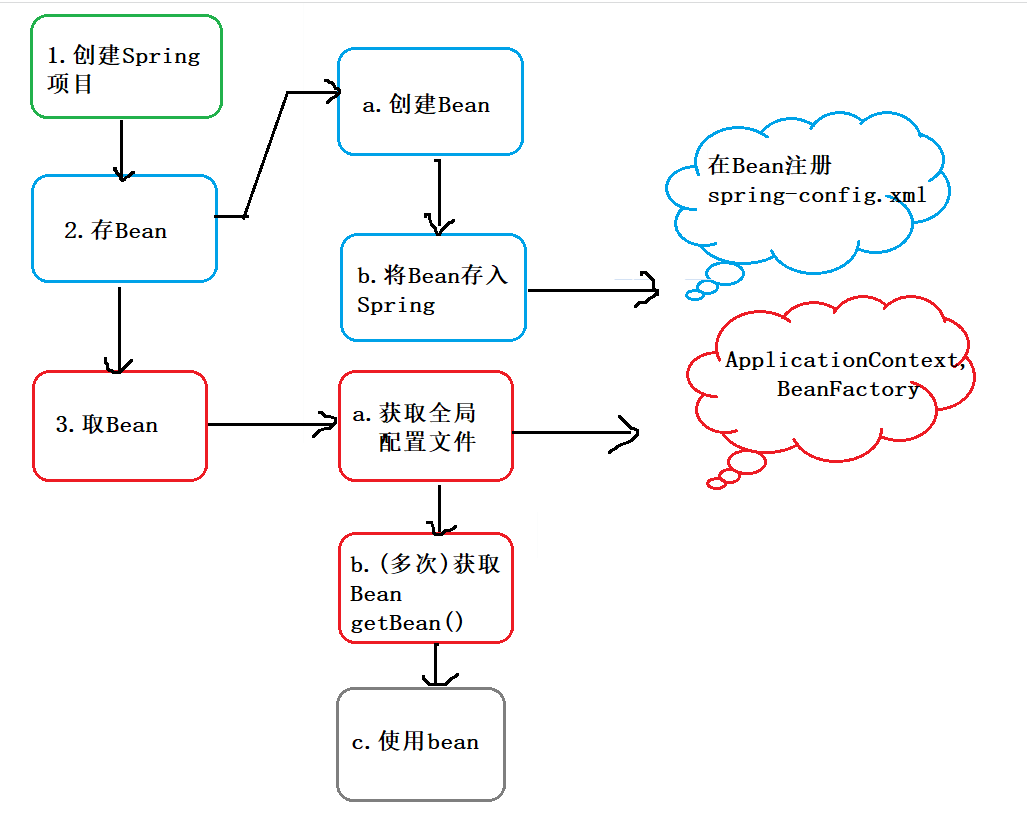
Spring 就是一个包含了众多工具方法的 IoC 容器 . 既然是容器那么它就具备两个最基本的功能:
- 将对象存储到容器 (Spring) 中;
- 从容器中取出对象 (Bean) .
在 Java 语言中对象也叫做 Bean,所以后面咱们再遇到对象 , 就将其称之为Bean .
二 : 创建Spring项目
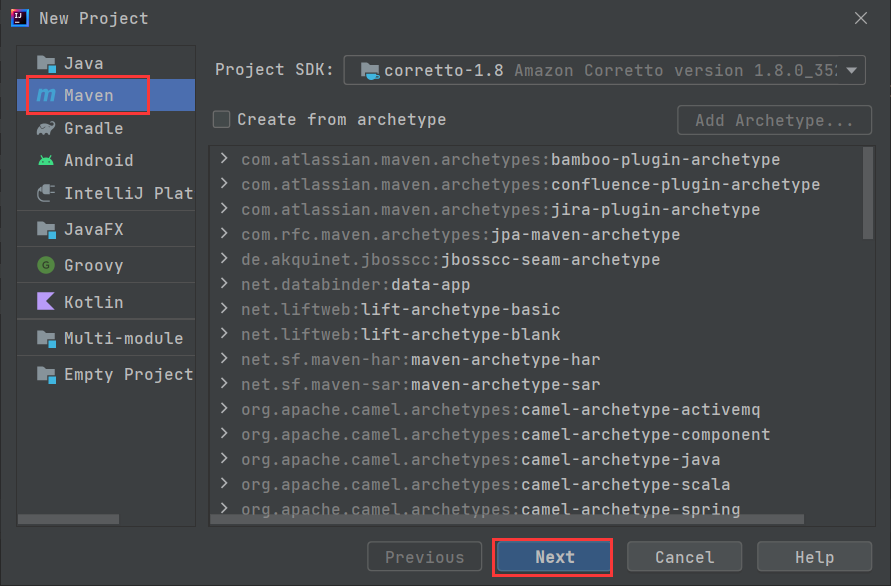
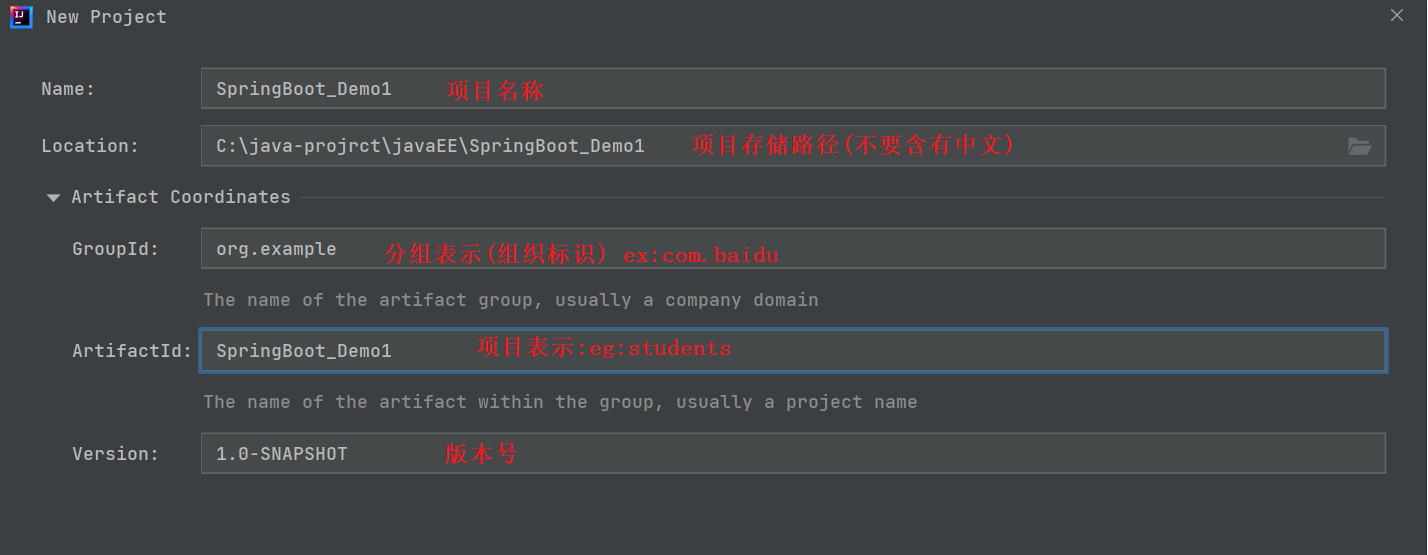
1.创建一个maven项目
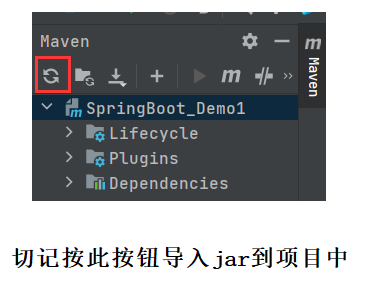
2.添加Spring框架依赖

在pom.xml中添加依赖 :<dependencies> <dependency> <groupId>org.springframework</groupId> <artifactId>spring-context</artifactId> <version>5.2.3.RELEASE</version> </dependency> <dependency> <groupId>org.springframework</groupId> <artifactId>spring-beans</artifactId> <version>5.2.3.RELEASE</version> </dependency> </dependencies>- 1
- 2
- 3
- 4
- 5
- 6
- 7
- 8
- 9
- 10
- 11
- 12
- 13
3.手动创建启动类
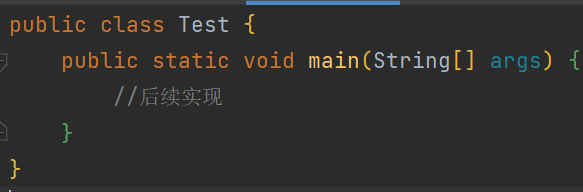
类名随意 .
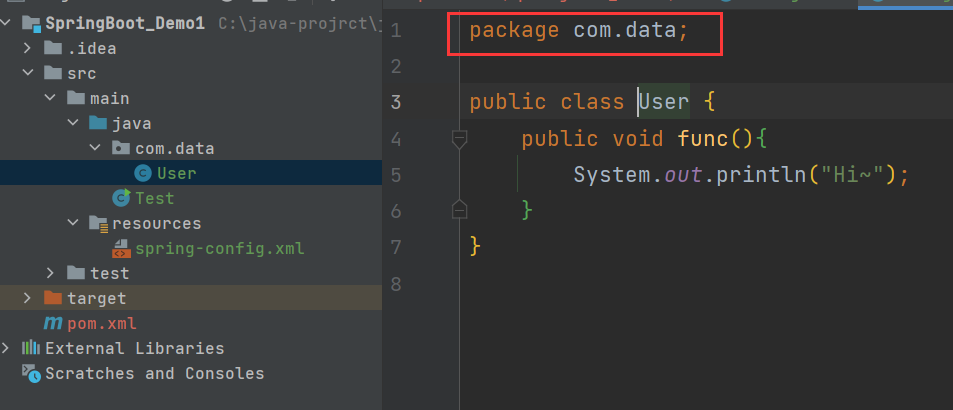
三 : 将Bean对象存到Spring
1.创建Bean对象
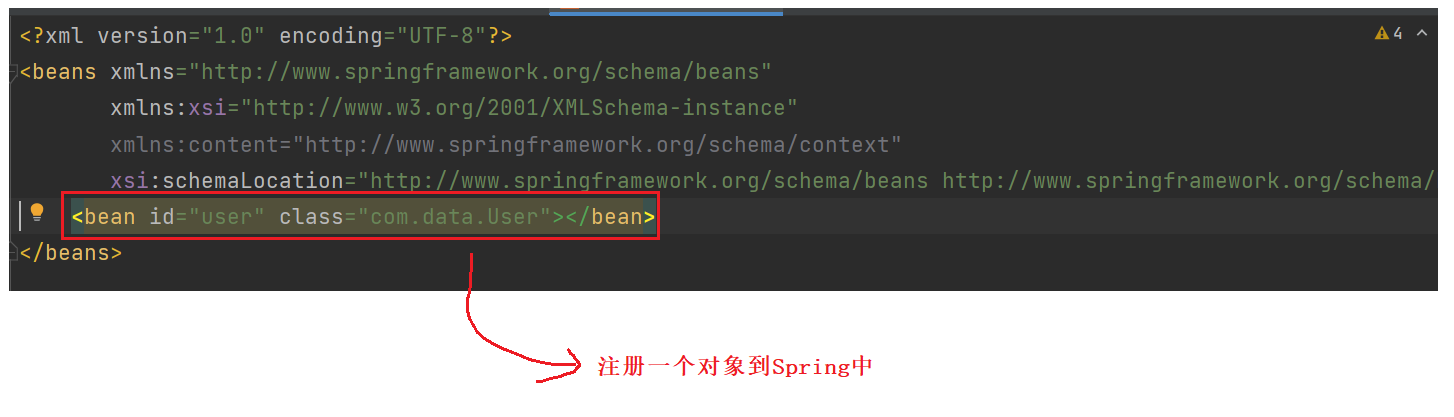
2.将Bean存储到Spring [使用Spring 配置文件]
并不是真的存储,而是告诉Spring,此Bean需要托管给Spring.- 1
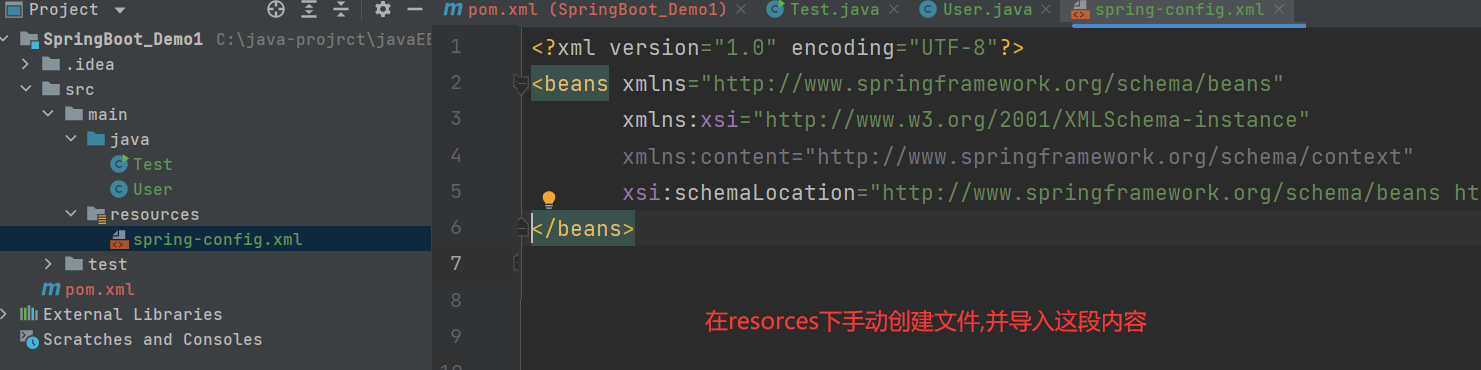
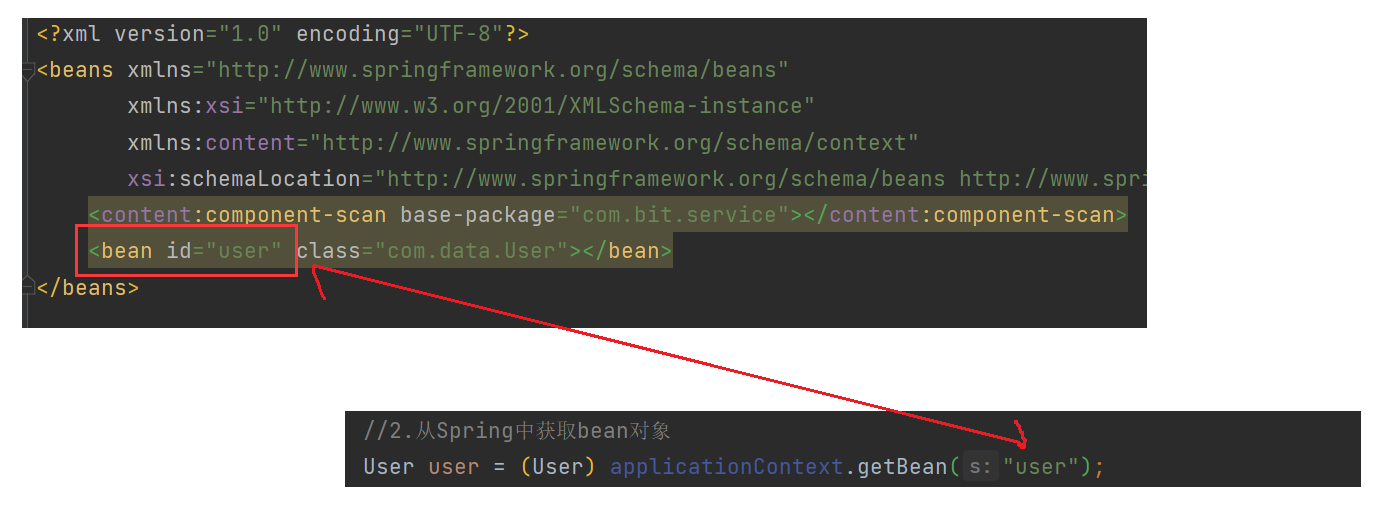
<?xml version="1.0" encoding="UTF-8"?> <beans xmlns="http://www.springframework.org/schema/beans" xmlns:xsi="http://www.w3.org/2001/XMLSchema-instance" xmlns:content="http://www.springframework.org/schema/context" xsi:schemaLocation="http://www.springframework.org/schema/beans http://www.springframework.org/schema/beans/spring-beans.xsd http://www.springframework.org/schema/context https://www.springframework.org/schema/context/spring-context.xsd"> </beans>- 1
- 2
- 3
- 4
- 5
- 6
四 : 从Spring中取出bean对象
public class Test { public static void main(String[] args) { //1.得到Spring上下文对象 ApplicationContext applicationContext = new ClassPathXmlApplicationContext("spring-config.xml"); //2.从Spring中获取bean对象 User user = (User) applicationContext.getBean("user"); //3.使用bean user.func(); } }- 1
- 2
- 3
- 4
- 5
- 6
- 7
- 8
- 9
- 10
- 11
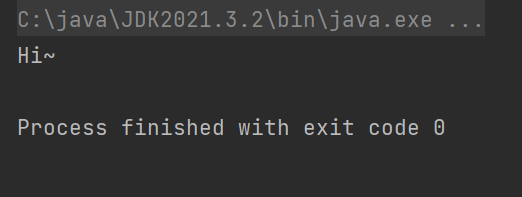
运行结果 :
以上三步 , 就是Spring对象的创建和使用 . 总结如下 :

注意事项 :1.xml配置文件一定要写正确 ;

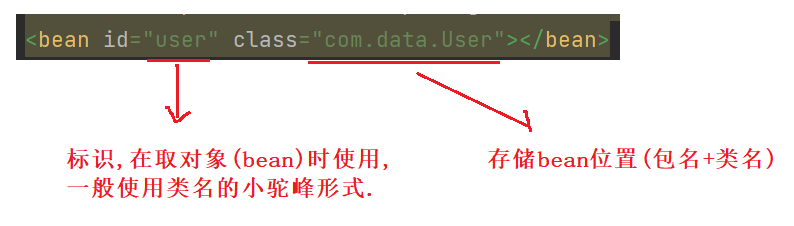
2.bean标识一定要写对 !
五 : getBean的用法
import com.data.User; import org.springframework.context.ApplicationContext; import org.springframework.context.support.ClassPathXmlApplicationContext; public class Test { public static void main(String[] args) { //1.得到Spring上下文对象 ApplicationContext applicationContext = new ClassPathXmlApplicationContext("spring-config.xml"); //2.从Spring中获取bean对象 //2.1根据一个String参数获取bean [根据bean id来获取bean对象] //User user = (User) applicationContext.getBean("user"); //2.2根据一个Class参数获取bean [根据类型来获取bean对象] // 需要注意,当同类型的对象被注册到Spring中多次时,此用法就会报错(后面演示) //User user = applicationContext.getBean(User.class); //2.3根据String(bean id)+Class参数获取bean User user = applicationContext.getBean("user",User.class); //3.使用bean user.func(); } }- 1
- 2
- 3
- 4
- 5
- 6
- 7
- 8
- 9
- 10
- 11
- 12
- 13
- 14
- 15
- 16
- 17
- 18
- 19
- 20
- 21
- 22
- 23
- 24
当同类型的对象被注册到Spring中多次时 , 如果使用String参数从Spring中获取bean , 可行 , 不会报错 :

import com.data.User; import org.springframework.context.ApplicationContext; import org.springframework.context.support.ClassPathXmlApplicationContext; public class Test { public static void main(String[] args) { //1.得到Spring上下文对象 ApplicationContext applicationContext = new ClassPathXmlApplicationContext("spring-config.xml"); //2.从Spring中获取bean对象 User user1 = (User) applicationContext.getBean("user1"); User user2 = (User) applicationContext.getBean("user2"); //3.使用bean user1.func(); user2.func(); } }- 1
- 2
- 3
- 4
- 5
- 6
- 7
- 8
- 9
- 10
- 11
- 12
- 13
- 14
- 15
- 16
- 17
- 18
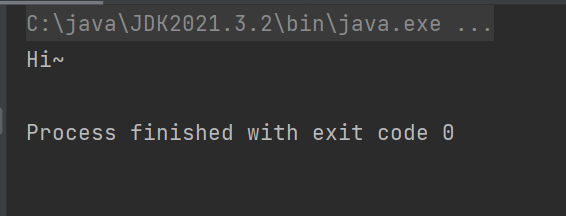
运行结果 :

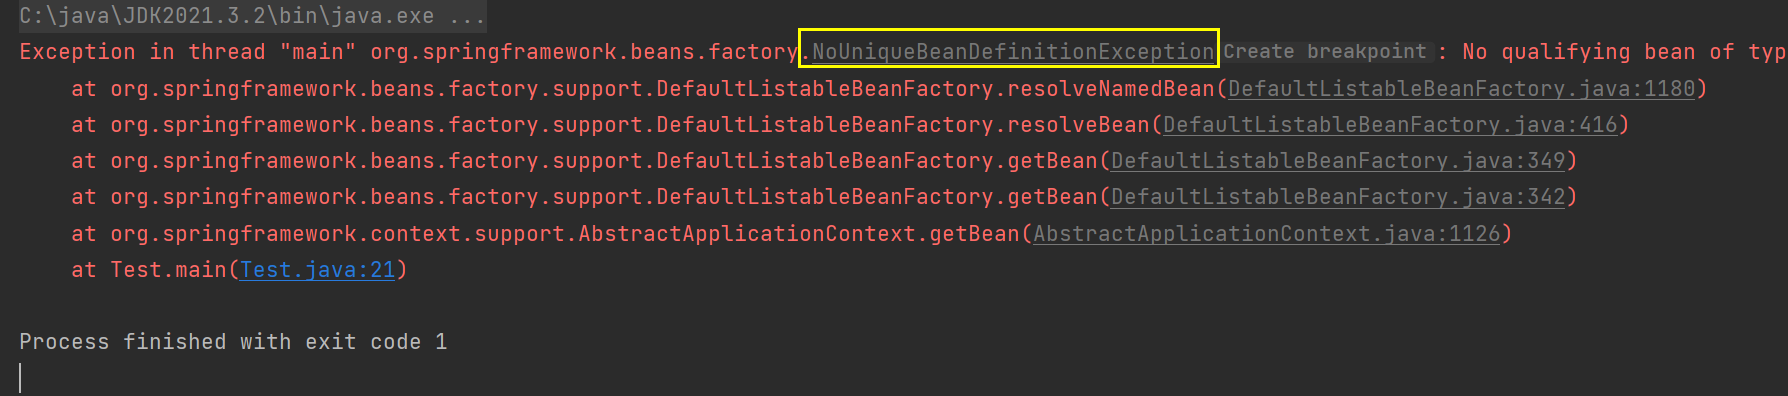
当同类型的对象被注册到Spring中多次时 , 如果使用类型从Spring中获取bean , 不可行 , 会报错 :
import com.data.User; import org.springframework.context.ApplicationContext; import org.springframework.context.support.ClassPathXmlApplicationContext; public class Test { public static void main(String[] args) { //1.得到Spring上下文对象 ApplicationContext applicationContext = new ClassPathXmlApplicationContext("spring-config.xml"); //2.从Spring中获取bean对象 User user1 = applicationContext.getBean(User.class); User user2 = applicationContext.getBean(User.class); //3.使用bean user1.func(); user2.func(); } }- 1
- 2
- 3
- 4
- 5
- 6
- 7
- 8
- 9
- 10
- 11
- 12
- 13
- 14
- 15
- 16
- 17
- 18
除了 ApplicationContext 之外,我们还可以使用 BeanFactory 来作为 Spring 的上下文,如下代码所示:
import com.data.User; import org.springframework.beans.factory.BeanFactory; import org.springframework.beans.factory.xml.XmlBeanFactory; import org.springframework.context.ApplicationContext; import org.springframework.context.support.ClassPathXmlApplicationContext; import org.springframework.core.io.ClassPathResource; public class Test { public static void main(String[] args) { //1.得到Spring上下文对象 BeanFactory beanFactory = new XmlBeanFactory(new ClassPathResource("spring-config.xml")); //2.从Spring中获取bean对象 User user = beanFactory.getBean(User.class); //3.使用bean user.func(); } }- 1
- 2
- 3
- 4
- 5
- 6
- 7
- 8
- 9
- 10
- 11
- 12
- 13
- 14
- 15
- 16
- 17
- 18
面试高频题:ApplicationContext和BeanFactory有什么区别 ?- 1

六 : 总结
本节内容到此结束 , 下节我们会介绍Spring 更简单的读取和存储对象 , 由此可见Spring的优势在哪 !

-
相关阅读:
Easyrecovery靠谱不收费的数据恢复电脑软件
129-Vue中表单修饰符
SpringCloud-Nacos
使用 OpenAI Whisper v2 模型进行中英文混合语音识别
Part3_理解MATSIM_第50章 运动波的排队表示
[LeetCode算法]有了二叉树层序遍历,妈妈再也不用担心我不会做二叉树层级题了
绽放新笑容:儿童换牙期的关怀与注意
创建性-构造者设计模式
Amazon Braket 与量子计算
ADSP-21489的图形化编程详解(3:音效开发例程-直通三个例程讲清楚)
- 原文地址:https://blog.csdn.net/baijaiyu/article/details/127832113
