-
Vue研习录(09)——Axios网络请求知识详解及示例分析
版权声明
- 本文原创作者:清风不渡
- 博客地址:https://blog.csdn.net/WXKKang
重拾前端记忆,记录学习笔记,现在进入Axios网络请求知识部分
一、Axios
Axios是一个基于promise的网络请求库,使用步骤如下
第一步:安装
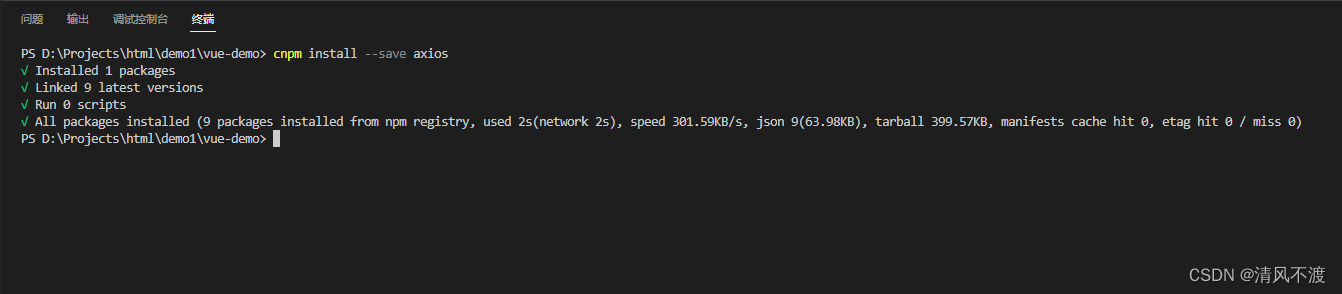
第二步:引入
- 组件中引入:import axios from “axios”
- 全局中引入:
import axios from "axios" const app = createApp(App); app.config.globalProperties.$axios = axios app.mount('#app') //在组件中调用 this.$axios- 1
- 2
- 3
- 4
- 5
- 6
- 7
- 8
1、get请求示例
axios({ method : "get", url : "网络请求地址" }).then(res =>{ console.log(res.data); })- 1
- 2
- 3
- 4
- 5
- 6
2、post请求示例
post请求参数需要进行额外处理:
①:安装依赖,如下图:
②:转换参数格式:querystring.stringify()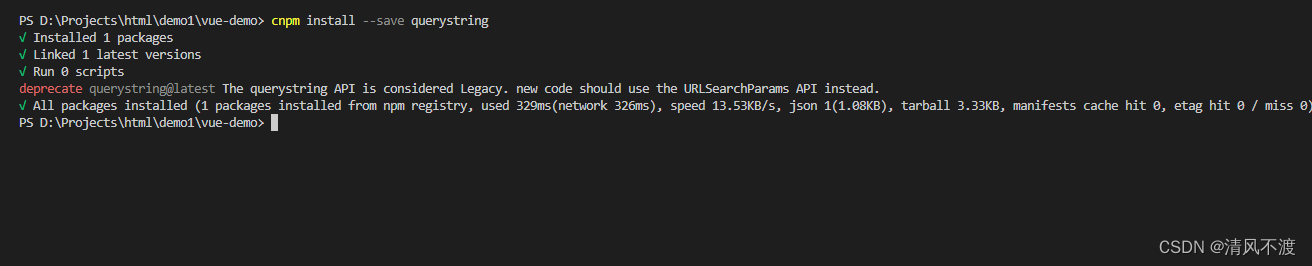
import querystring from "querystring" axios({ method : "post", url : "网络请求地址", data : querystring.stringify({ key : value, key : value, key : value }) }).then(res=>{ console.log(res.data); })- 1
- 2
- 3
- 4
- 5
- 6
- 7
- 8
- 9
- 10
- 11
- 12
1、get及post快捷方案
axios.get("网络请求地址").then(res =>{ console.log(res.data); })- 1
- 2
- 3
axios.post("网络请求地址",querystring.stringify({ key : value, key : value, key : value ... })).then(res =>{ console.log(res.data); })- 1
- 2
- 3
- 4
- 5
- 6
- 7
- 8
二、Axios网络请求封装
在日常应用过程中,一个项目中的网络请求会很多,此时一般采取的方案是将网络请求进行封装,然后在组件中进行调用
第一步:在src目录下创建文件夹unils,并创建文件request,用来存储网络请求对象axios,如下:import axios from "axios"; import qs from "querystring"; //参考文档(看云):https://www.kancloud.cn/yunye/axios/234845/ const errorHandle = (status,info) => { switch(status){ case 400: console.log("语义有误"); break; case 401: console.log("服务器认证失败"); break; case 403: console.log("服务器拒绝访问"); break; case 404: console.log("地址错误"); break; case 500: console.log("服务器遇到错误"); break; case 502: console.log("服务器无响应"); break; default: console.log(info); break; } } const instance = axios.create({ // 网络请求的公共配置 timeout : 500 }) // 拦截器 //发送数据之前 instance.interceptors.request.use( config => { //如果请求方式为post则进行参数转换 if (config.methods === "post"){ config.data = qs.stringify(config.data) } //config 中包含网络请求的所有信息 return config; }, error => { return Promise.reject(error) } ) //获取信息之前 instance.interceptors.response.use( response => response.status === 200 ? Promise.resolve(response) : Promise.reject(response) , error => { const { response } = error; errorHandle(response.status,response.info); } ) export default instance;- 1
- 2
- 3
- 4
- 5
- 6
- 7
- 8
- 9
- 10
- 11
- 12
- 13
- 14
- 15
- 16
- 17
- 18
- 19
- 20
- 21
- 22
- 23
- 24
- 25
- 26
- 27
- 28
- 29
- 30
- 31
- 32
- 33
- 34
- 35
- 36
- 37
- 38
- 39
- 40
- 41
- 42
- 43
- 44
- 45
- 46
- 47
- 48
- 49
- 50
- 51
- 52
- 53
- 54
- 55
- 56
- 57
- 58
- 59
- 60
- 61
- 62
- 63
第二步:在src目录下创建api文件夹,并创建path.js文件用于存储请求地址,index.js文件用于存储网络请求方法,如下:
const base = { url1 : "", url2 : "" } export default base;- 1
- 2
- 3
- 4
- 5
- 6
import axios from "../unils/request"; import path from "./path"; const api = { //网络请求1 getDemo(){ return axios.get(path.url1) } } export default api;- 1
- 2
- 3
- 4
- 5
- 6
- 7
- 8
- 9
- 10
- 11
第三步:在组件中直接调用即可,如下:
import api from "../api/index" mounted(){ api.getDemo().then(res=>{ console.log(res.data); }) }- 1
- 2
- 3
- 4
- 5
- 6
- 7
三、网络请求跨域解决方案
JS采取的是同源策略,所谓同源策略是浏览器的一项安全策略,浏览器只允许js代码请求和所在当前服务器域名、端口、协议相同的数据接口上的数据
也就是说,当协议、域名、端口任意一个不相同时,就会产生跨域问题。
目前跨域常用的有以下两种解决方案:后台解决:cors
前台解决:proxy// 在vue.config.js 文件中引入下方代码 devServer : { proxy : { 'api' : { target : '' , changeOrigin : true } } }- 1
- 2
- 3
- 4
- 5
- 6
- 7
- 8
- 9
注意:解决完跨域问题后,需要重启服务器
-
相关阅读:
如何使用 Flutter Web 构建 Chrome 扩展(教程含源码)
MMDetection模型代码训练及测试过程的详细解析
面试突击68:为什么 TCP 需要 3 次握手?
只分享这一次。阿里软件架构师深入底层手写JDK源码
快速掌握并发编程---深入学习ThreadLocal
R语言易错点(持续更新中~~)
G1 GC核心原理、执行流程
Python 爬虫教程之使用 Python 从 YouTube 链接获取频道名称并存储到SQLite数据库中(教程含源码)
百度百科小程序源码 基于uniapp开发的zblog多端小程序开源源码
基于VitePress创建组件文档
- 原文地址:https://blog.csdn.net/WXKKang/article/details/127708971
