-
postgreSQL15发布,难掩激动快速尝鲜
📢📢📢📣📣📣
哈喽!大家好,我是【IT邦德】,江湖人称jeames007,10余年DBA工作经验
一位上进心十足的【大数据领域博主】!😜😜😜
中国DBA联盟(ACDU)成员,目前从事DBA及程序编程
擅长主流数据Oracle、MySQL、PG 运维开发,备份恢复,安装迁移,性能优化、故障应急处理等。
✨ 如果有对【数据库】感兴趣的【小可爱】,欢迎关注【IT邦德】💞💞💞
❤️❤️❤️感谢各位大可爱小可爱!❤️❤️❤️前言
PostgreSQL全球开发小组与2022年10月13日,宣布发布PostgreSQL15,这是世界上最先进的开源数据库的最新版本
📣 1.新版本发布
1.官方网址: https://www.postgresql.org/ PostgreSQL是一个功能强大的开放源码对象关系数据库系统,经过35年的积极开发,它在可靠性、功能健壮性和性能方面享有盛誉。 PostgreSQL全球开发小组与2022年10月13日,宣布发布PostgreSQL15,这是世界上最先进的开源数据库的最新版本。 PostgreSQL 15基于最近版本的性能改进,在管理本地和分布式部署中的工作负载方面取得了显著的进步。 PostgreSQL 15包含许多新功能和增强功能,大致包括: 1.支持SQL MERGE命令。 2.通过指定列列表和行筛选条件,在逻辑复制发布中选择性地发布表的内容。 3.更多压缩选项,包括支持Zstandard(zstd)压缩。这包括支持在pg_basebackup期间在服务器端执行压缩。 4.支持使用JSON格式的结构化服务器日志输出。 5.性能改进,特别是在内存和磁盘排序方面。- 1
- 2
- 3
- 4
- 5
- 6
- 7
- 8
- 9
- 10
- 11
- 12
- 13

📣 2.yum在线安装
✨ 2.1 删除原有PG
yum remove -y postgresql* rm -rf /var/lib/pgsql rm -rf /usr/pgsql* userdel -r postgres groupdel postgres- 1
- 2
- 3
- 4
- 5
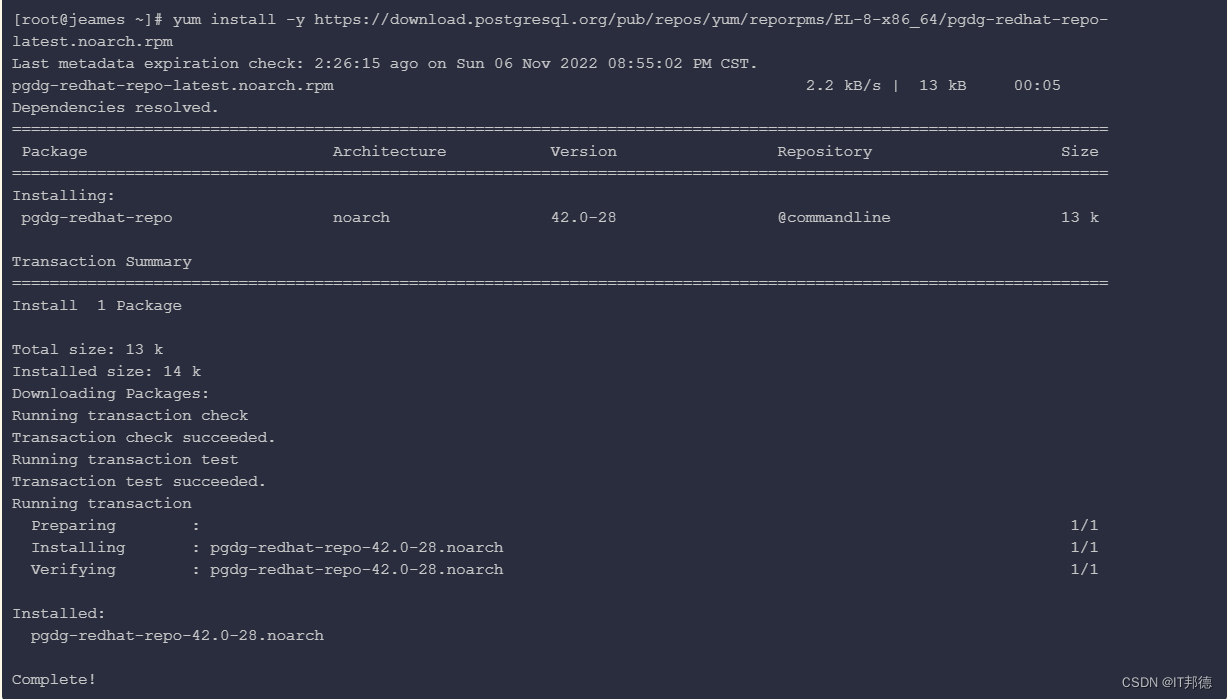
✨ 2.2 安装yum源
[root@jeames ~]# yum install -y https://download.postgresql.org/pub/repos/yum/reporpms/EL-8-x86_64/pgdg-redhat-repo-latest.noarch.rpm- 1
✨ 2.3 安装PG15
[root@jeames ~]# yum-config-manager --enable pgdg15 [root@jeames ~]# yum repolist enabled | grep pgdg pgdg-common PostgreSQL common RPMs for RHEL / Rocky 8 - x86_64 pgdg10 PostgreSQL 10 for RHEL / Rocky 8 - x86_64 pgdg11 PostgreSQL 11 for RHEL / Rocky 8 - x86_64 pgdg12 PostgreSQL 12 for RHEL / Rocky 8 - x86_64 pgdg13 PostgreSQL 13 for RHEL / Rocky 8 - x86_64 pgdg14 PostgreSQL 14 for RHEL / Rocky 8 - x86_64 pgdg15 PostgreSQL 15 for RHEL / Rocky 8 - x86_64 [root@jeames ~]# yum module disable postgresql [root@jeames ~]# yum install -y postgresql15 postgresql15-server postgresql15-libs postgresql15-contrib- 1
- 2
- 3
- 4
- 5
- 6
- 7
- 8
- 9
- 10
- 11
- 12
✨ 2.4 验证安装
[root@jeames ~]# rpm -aq| grep postgres postgresql15-15.0-1PGDG.rhel8.x86_64 postgresql15-server-15.0-1PGDG.rhel8.x86_64 postgresql15-contrib-15.0-1PGDG.rhel8.x86_64 postgresql15-libs-15.0-1PGDG.rhel8.x86_64 以上说明已经全部安装OK- 1
- 2
- 3
- 4
- 5
- 6
- 7
✨ 2.5 环境变量设置
[root@jeames ~]# which psql /usr/bin/psql [root@jeames ~]# echo "export PATH=/usr/pgsql-15/bin:$PATH" >> /etc/profile [root@jeames ~]# source /etc/profile- 1
- 2
- 3
- 4
- 5
✨ 2.6 初始化PG
[root@jeames ~]# /usr/pgsql-15/bin/postgresql-15-setup initdb Initializing database ... OK [root@jeames ~]# systemctl status postgresql-15 [root@jeames ~]# systemctl start postgresql-15 [root@jeames ~]# systemctl enable postgresql-15- 1
- 2
- 3
- 4
- 5
- 6
- 7
- 8

✨ 2.7 登陆PG
以下方法是本地登陆 [root@jeames ~]# su - postgres [postgres@jeames ~]$ psql psql (15.0) Type "help" for help. postgres=# \c You are now connected to database "postgres" as user "postgres". postgres=# \l List of databases Name | Owner | Encoding | Collate | Ctype | ICU Locale | Locale Provider | Access privileges -----------+----------+----------+-------------+-------------+------------+-----------------+----------------------- postgres | postgres | UTF8 | en_US.UTF-8 | en_US.UTF-8 | | libc | template0 | postgres | UTF8 | en_US.UTF-8 | en_US.UTF-8 | | libc | =c/postgres + | | | | | | | postgres=CTc/postgres template1 | postgres | UTF8 | en_US.UTF-8 | en_US.UTF-8 | | libc | =c/postgres + | | | | | | | postgres=CTc/postgres (3 rows)- 1
- 2
- 3
- 4
- 5
- 6
- 7
- 8
- 9
- 10
- 11
- 12
- 13
- 14
- 15
- 16
- 17
- 18
✨ 2.8 postgres密码修改
postgres=# \password Enter new password for user "postgres": Enter it again: 注意:以上输入密码即可- 1
- 2
- 3
- 4
- 5

📣 3.PG参数设置
[root@jeames ~]# su - postgres cat >> /var/lib/pgsql/15/data/postgresql.conf <<"EOF" listen_addresses = '*' port=5432 unix_socket_directories='/var/lib/pgsql/15/data' logging_collector = on log_directory = 'pg_log' log_filename = 'postgresql-%a.log' log_truncate_on_rotation = on EOF- 1
- 2
- 3
- 4
- 5
- 6
- 7
- 8
- 9
- 10
📣 4.PG白名单设置
[root@jeames ~]# su - postgres cat > /var/lib/pgsql/15/data/pg_hba.conf << EOF # TYPE DATABASE USER ADDRESS METHOD host all all 0.0.0.0/0 trust EOF ## root用户下启动 [root@jeames ~]# systemctl restart postgresql-15- 1
- 2
- 3
- 4
- 5
- 6
- 7
- 8
- 9
📣 5.远程登陆
其他服务器: C:\Users\wangd> psql -U postgres -h X.X.X.X -d postgres -p5432- 1
- 2

📣 6.建表测试
postgres=# CREATE DATABASE mesdb WITH OWNER=postgres ENCODING='UTF-8'; CREATE DATABASE postgres=# \c mesdb You are now connected to database "mesdb" as user "postgres". create table student ( id integer not null, name character(32), number char(5), constraint student_pkey primary key (id) ); mesdb=# \d student Table "public.student" Column | Type | Collation | Nullable | Default --------+---------------+-----------+----------+--------- id | integer | | not null | name | character(32) | | | number | character(5) | | | Indexes: "student_pkey" PRIMARY KEY, btree (id) mesdb=# INSERT INTO student (id, name, number) VALUES (1, 'IT邦德', '10086'); INSERT 0 1 mesdb=# SELECT * FROM student WHERE id=1; id | name | number ----+------------------------------------+-------- 1 | IT邦德 | 10086 (1 row)- 1
- 2
- 3
- 4
- 5
- 6
- 7
- 8
- 9
- 10
- 11
- 12
- 13
- 14
- 15
- 16
- 17
- 18
- 19
- 20
- 21
- 22
- 23
- 24
- 25
- 26
- 27
- 28
- 29
- 30
- 31
- 32
- 33
-
相关阅读:
基于N32G45的OLED驱动
【深蓝学院】手写VIO第8章--相机与IMU时间戳同步--作业
教培机构怎么做在线教育直播
3_使用传统CNN网络训练图像分类模型
【定语从句练习题】定语从句中的介词
电脑无线网络不显示网络列表应该如何解决
CMake教程-第 3 步:添加库的使用要求
STM32 invalid UTF-8 in comment 警告解决办法
@ControllerAdvice + @ExceptionHandler 定义全局异常
【附gpt4.0升级秘笈】百度智能云万源全新一代智能计算操作系统发布:引领AI新纪元
- 原文地址:https://blog.csdn.net/weixin_41645135/article/details/127724260
